Description
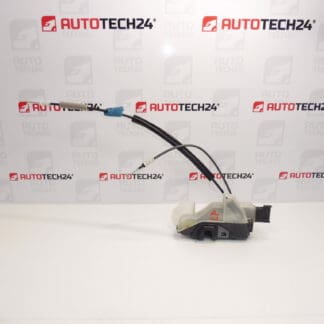
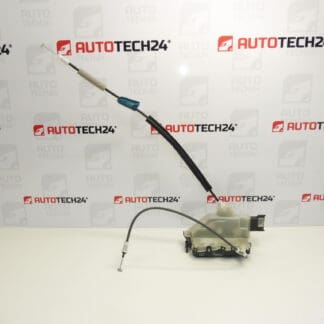
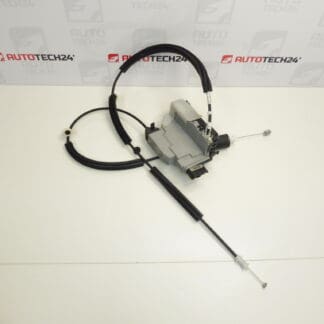
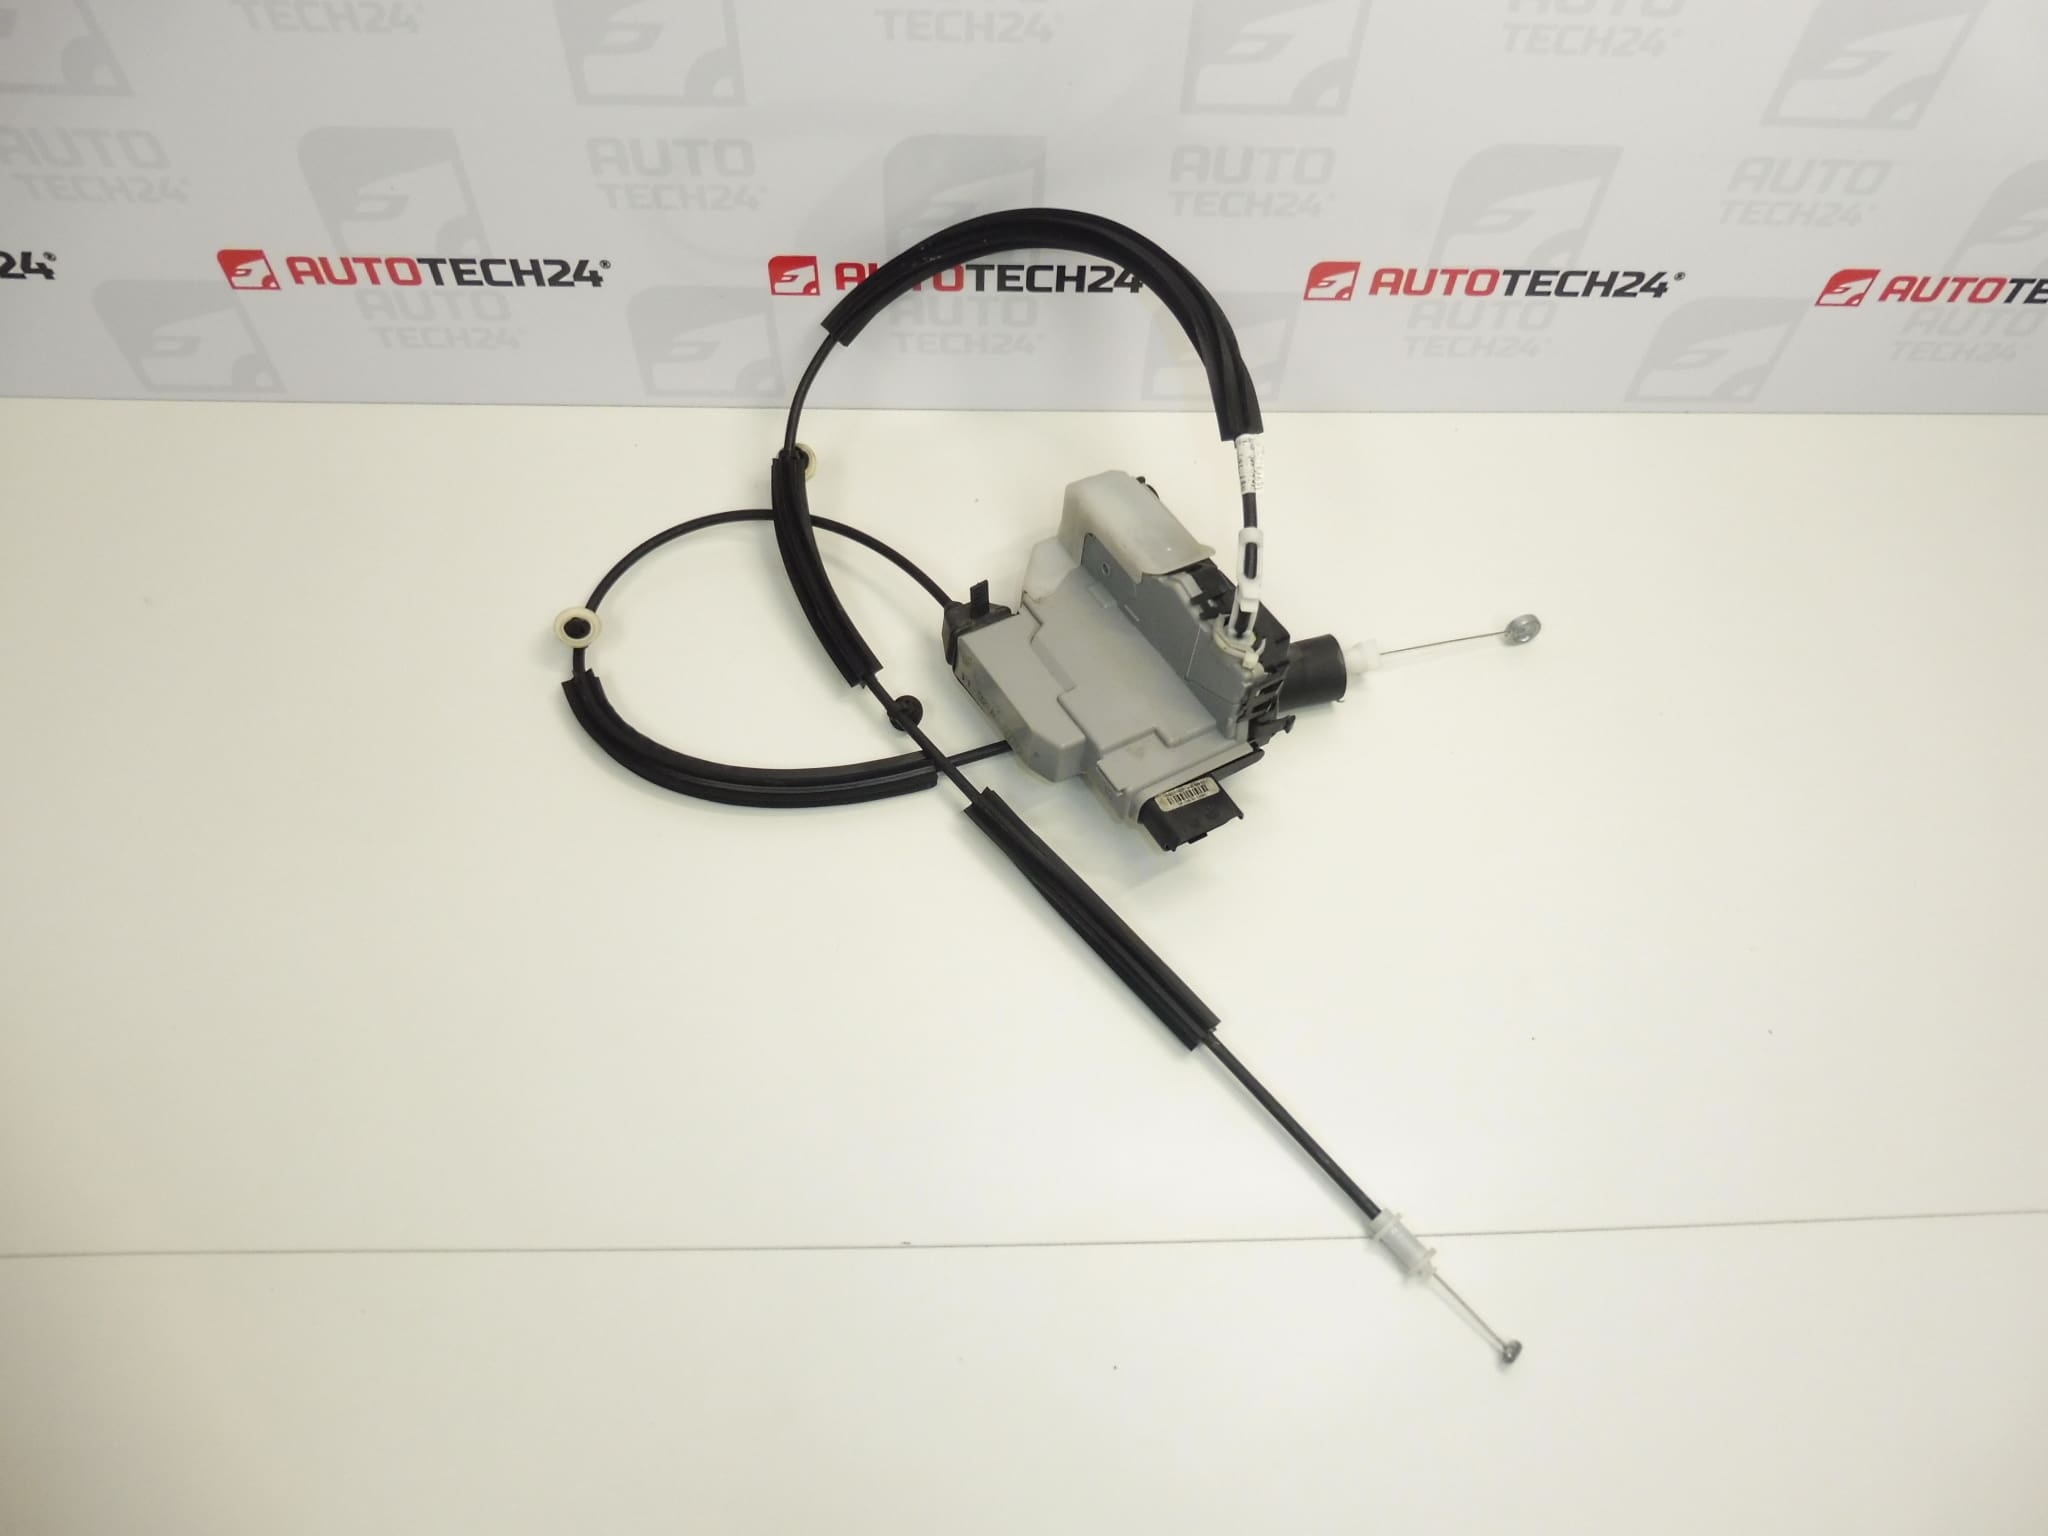
Rear door lock behind the driver for Stellantis Group vehicles: CITROEN PEUGEOT OPEL FIAT TOYOTA
Part description
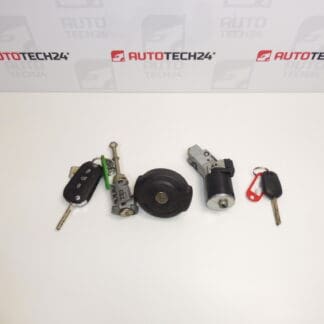
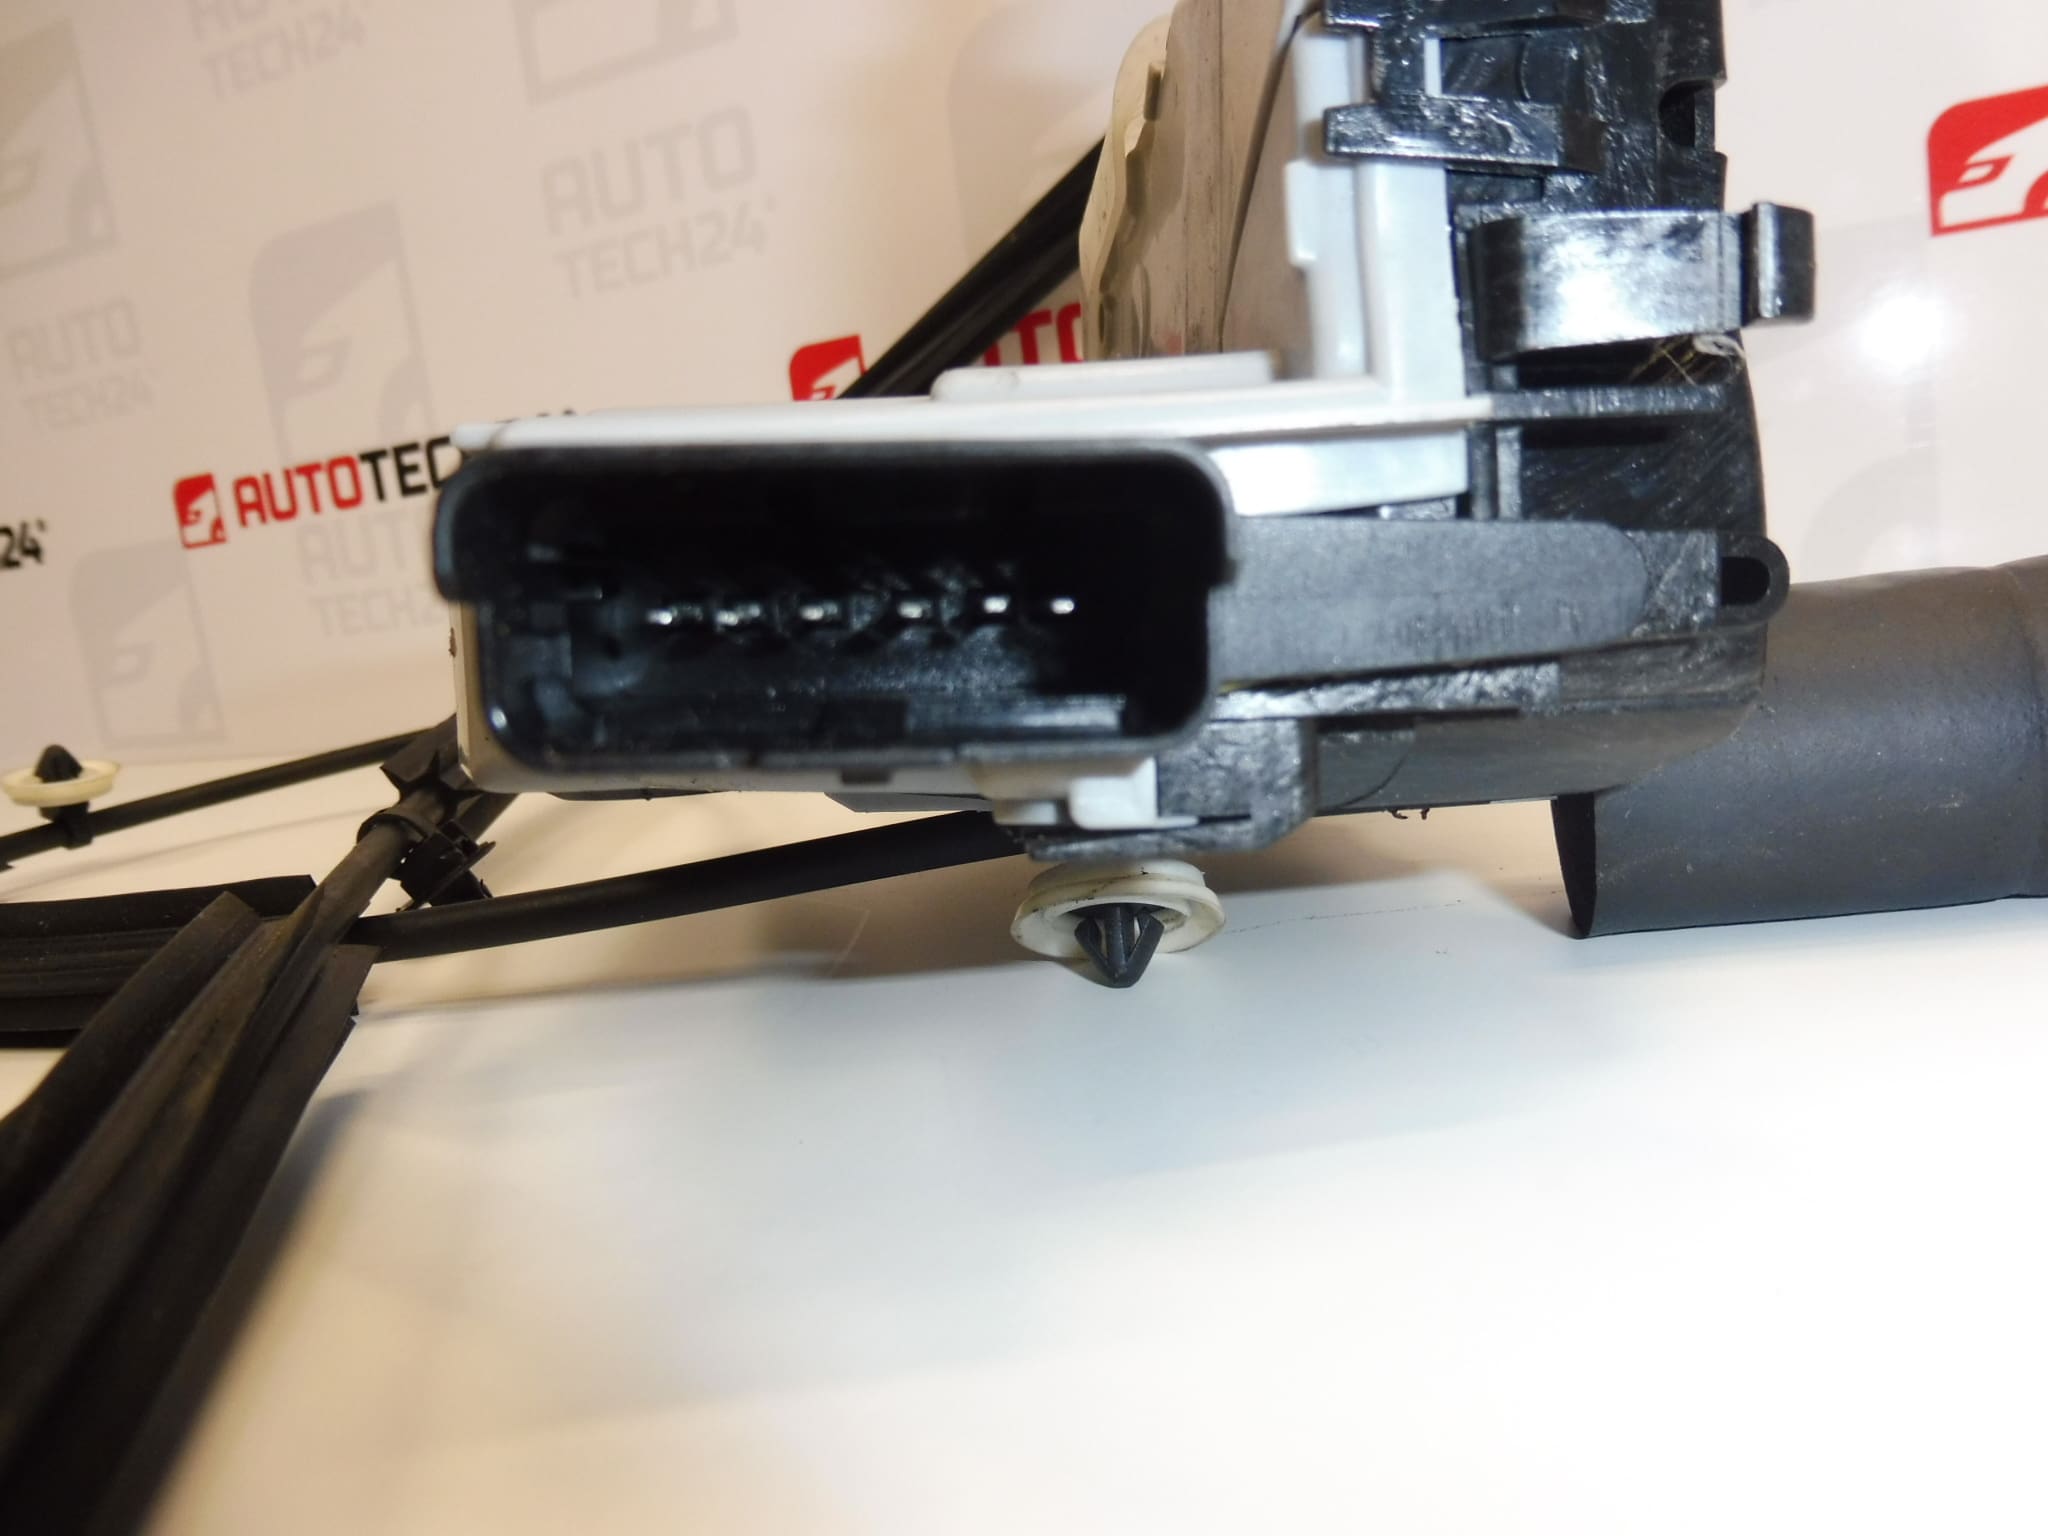
Used rear door lock behind the driver, product number 9824358680, intended to replace a faulty door lock. This type of part holds the door in the closed position and locks and unlocks it. Its proper function is important for ensuring that the door closes securely and for convenient use of the vehicle.
The documentation lists the part for the Citroën Berlingo K9, OPEL COMBO E K9, PEUGEOT PARTNER III and PEUGEOT RIFTER models. When selecting a part, compare the product number, lock design, mounting points and connections with the original part. A used part offers a practical way to carry out the repair without having to purchase a new lock.
Technical information
- Manufacturer: not specified; the documentation lists the designation Stellantis CITROEN PEUGEOT.
- Model: Citroën Berlingo K9, OPEL COMBO E K9, PEUGEOT PARTNER III, PEUGEOT RIFTER.
- Part type: door lock.
- Location according to the documentation: door behind the driver.
- Condition: used part.
- Additional numbers: not specified.
Product codes
- Product codes: 9824358680.
Number 9824358680 is the primary detail to use when searching for this lock. Matching the model name alone does not replace comparing the specific design of the part.
Installation recommendations
The following procedure applies generally to this type of part. Exact access to the lock, the method for removing the trim and the connection of the operating components depend on the specific model and vehicle configuration. Follow the manufacturer’s service procedure.
1) Before installation
- Compare the part number, housing shape, mounting points and any electrical connector with the original lock.
- Check the cable or rod connection points and their orientation.
- Inspect the used part: the housing must not be cracked, the mounting points must not be damaged, and the contacts must not be heavily corroded. Check accessible moving parts without using force.
- Before replacing the part, rule out other causes of the fault, such as damaged wiring, a loose door handle control or incorrect door alignment.
2) Tools and materials required
- Hand tools suitable for the fasteners used.
- A plastic trim removal tool for careful removal of the trim, a flashlight and protective gloves.
- A clean cloth and a product suitable for cleaning the area around the part.
- Depending on the design, materials for restoring the seal of the original protective film or door cover.
3) Step-by-step installation procedure
- Secure the vehicle against movement, open the relevant door and secure it against accidentally closing.
- Switch off the ignition. If the lock is electrically connected, prepare the electrical system and, if necessary, disconnect the battery according to the vehicle manufacturer’s instructions.
- Remove the necessary trim and covers according to the service procedure. Release the retaining clips gradually to avoid damaging them.
- If there is a protective film or sealing layer, carefully peel it back so that its seal can be restored.
- Before disconnecting anything, record the routing of the wiring, cables and rods, for example by taking a photograph.
- Release and disconnect any electrical connector. Do not pull on the wires, and check the condition of the contacts.
- Disconnect the attached cables or rods, including their retainers. Do not bend them or pry against the plastic clips.
- Support the original lock, release its fasteners and carefully remove it. Clean the accessible mating surfaces.
- Fit the replacement lock without forcing it and secure it according to the manufacturer’s procedure. Connect the operating components and any connector, making sure all retainers are properly secured.
- Check that the wiring and cables are not pinched, stretched or in the path of moving parts. If the battery was disconnected, restore the power supply according to the manufacturer’s instructions.
- Before fully closing the door, check the operation of the lock and handles as specified by the manufacturer. If the latch is moved during the check, return it to the open position before closing the door.
- Restore the seal of the protective layers and refit the trim. Then carefully close the door and test its operation again.
4) Post-installation checks and function testing
- Check closing, locking, unlocking and opening the door several times using the available controls, depending on the vehicle’s equipment.
- Check that the door stays securely closed and that it does not require excessive force to close.
- If the vehicle is equipped with a door-open warning, check that it responds correctly.
- If the lock does not latch securely, do not drive the vehicle. If necessary, only take a test drive after successfully checking the operation while stationary; listen for unusual noises and watch for door warning signals.
5) Common installation errors and how to avoid them
- Incorrect version: compare the part number, mounting points and connections before disassembly.
- Cable retainers or connector not fully engaged: gently check each connection after installation.
- Pinched or incorrectly routed cable: follow the original route and check that the control moves freely.
- Closing the door without testing it first: test the mechanism with the door open first to prevent the door from becoming locked shut.
- Damaged door protective layer: restore its seal to prevent water from reaching the trim and electrical connections.
Reasons why the part may become damaged
The following factors can generally cause door locks to fail; this is not a description of the condition of this particular part:
- Mechanical wear of the latch and operating mechanism through prolonged use.
- Moisture, dirt and corrosion, which increase resistance in moving parts or impair electrical connections.
- Repeated slamming of the door or incorrect door alignment, which puts excessive strain on the lock.
- A seized or damaged cable or rod, which prevents the mechanism from moving fully.
- An electrical control fault in electrically operated locks; wiring or a connector can also cause similar symptoms.
- Careless disassembly, especially damage to plastic retainers and connection points.