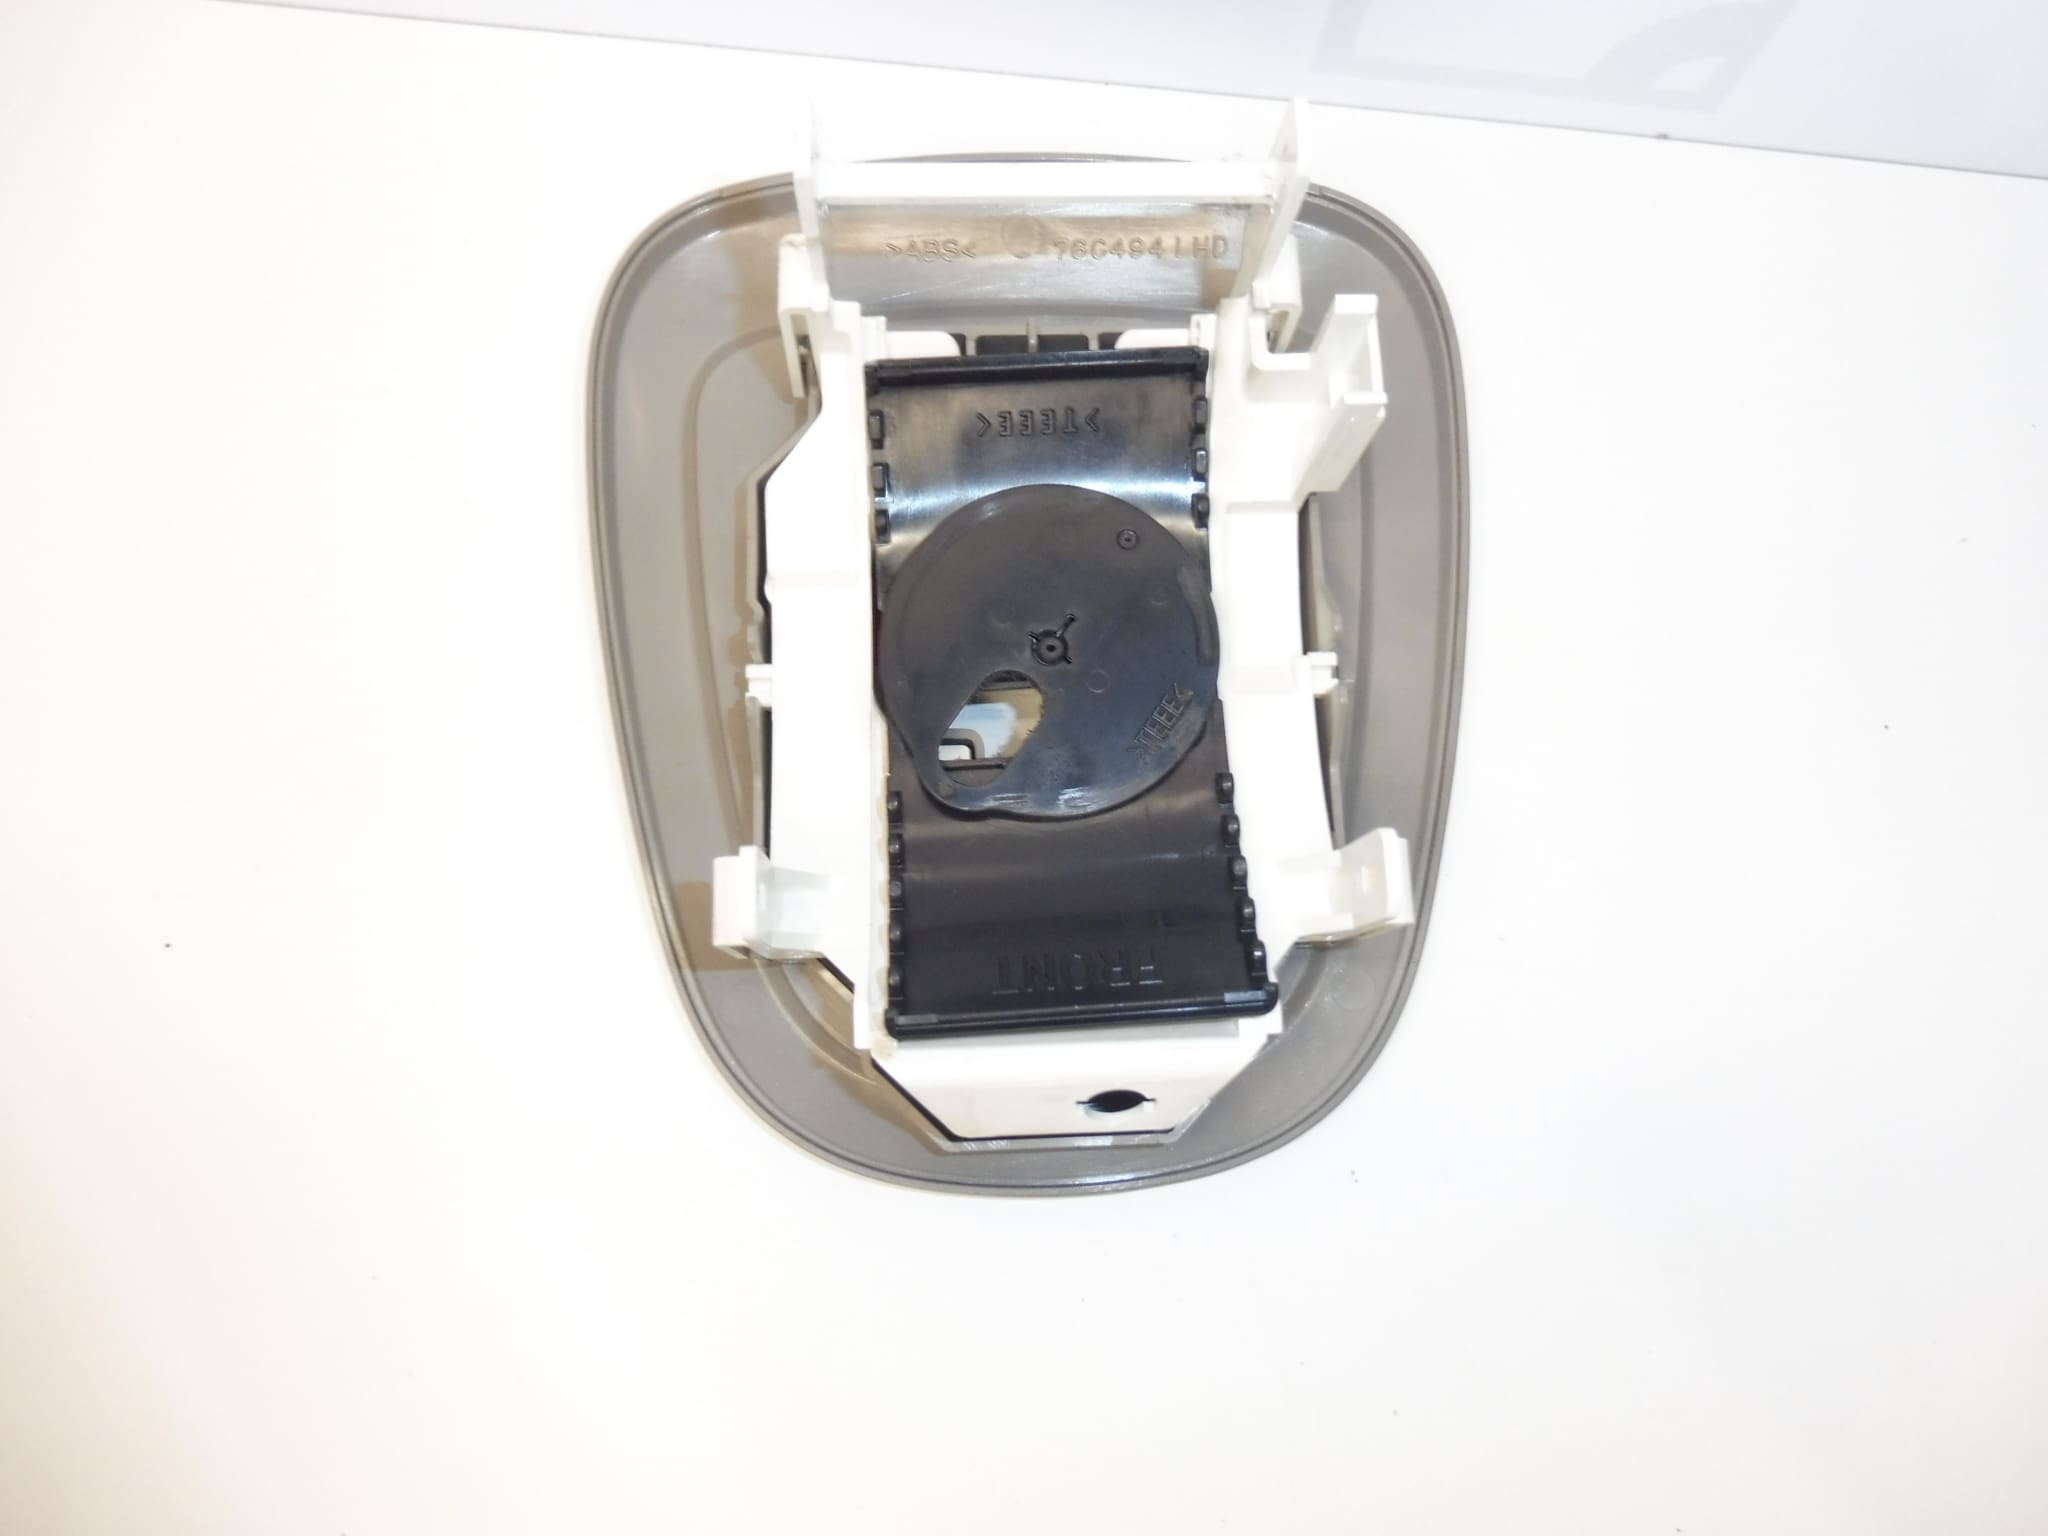
Description
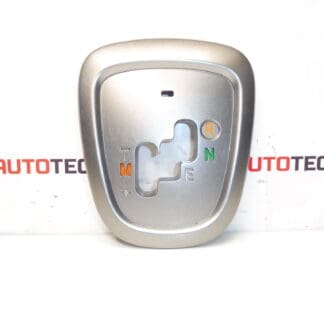
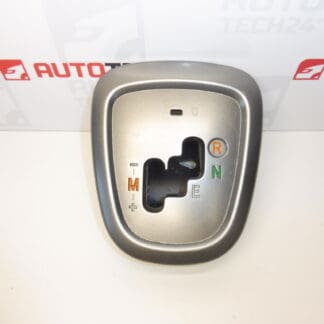
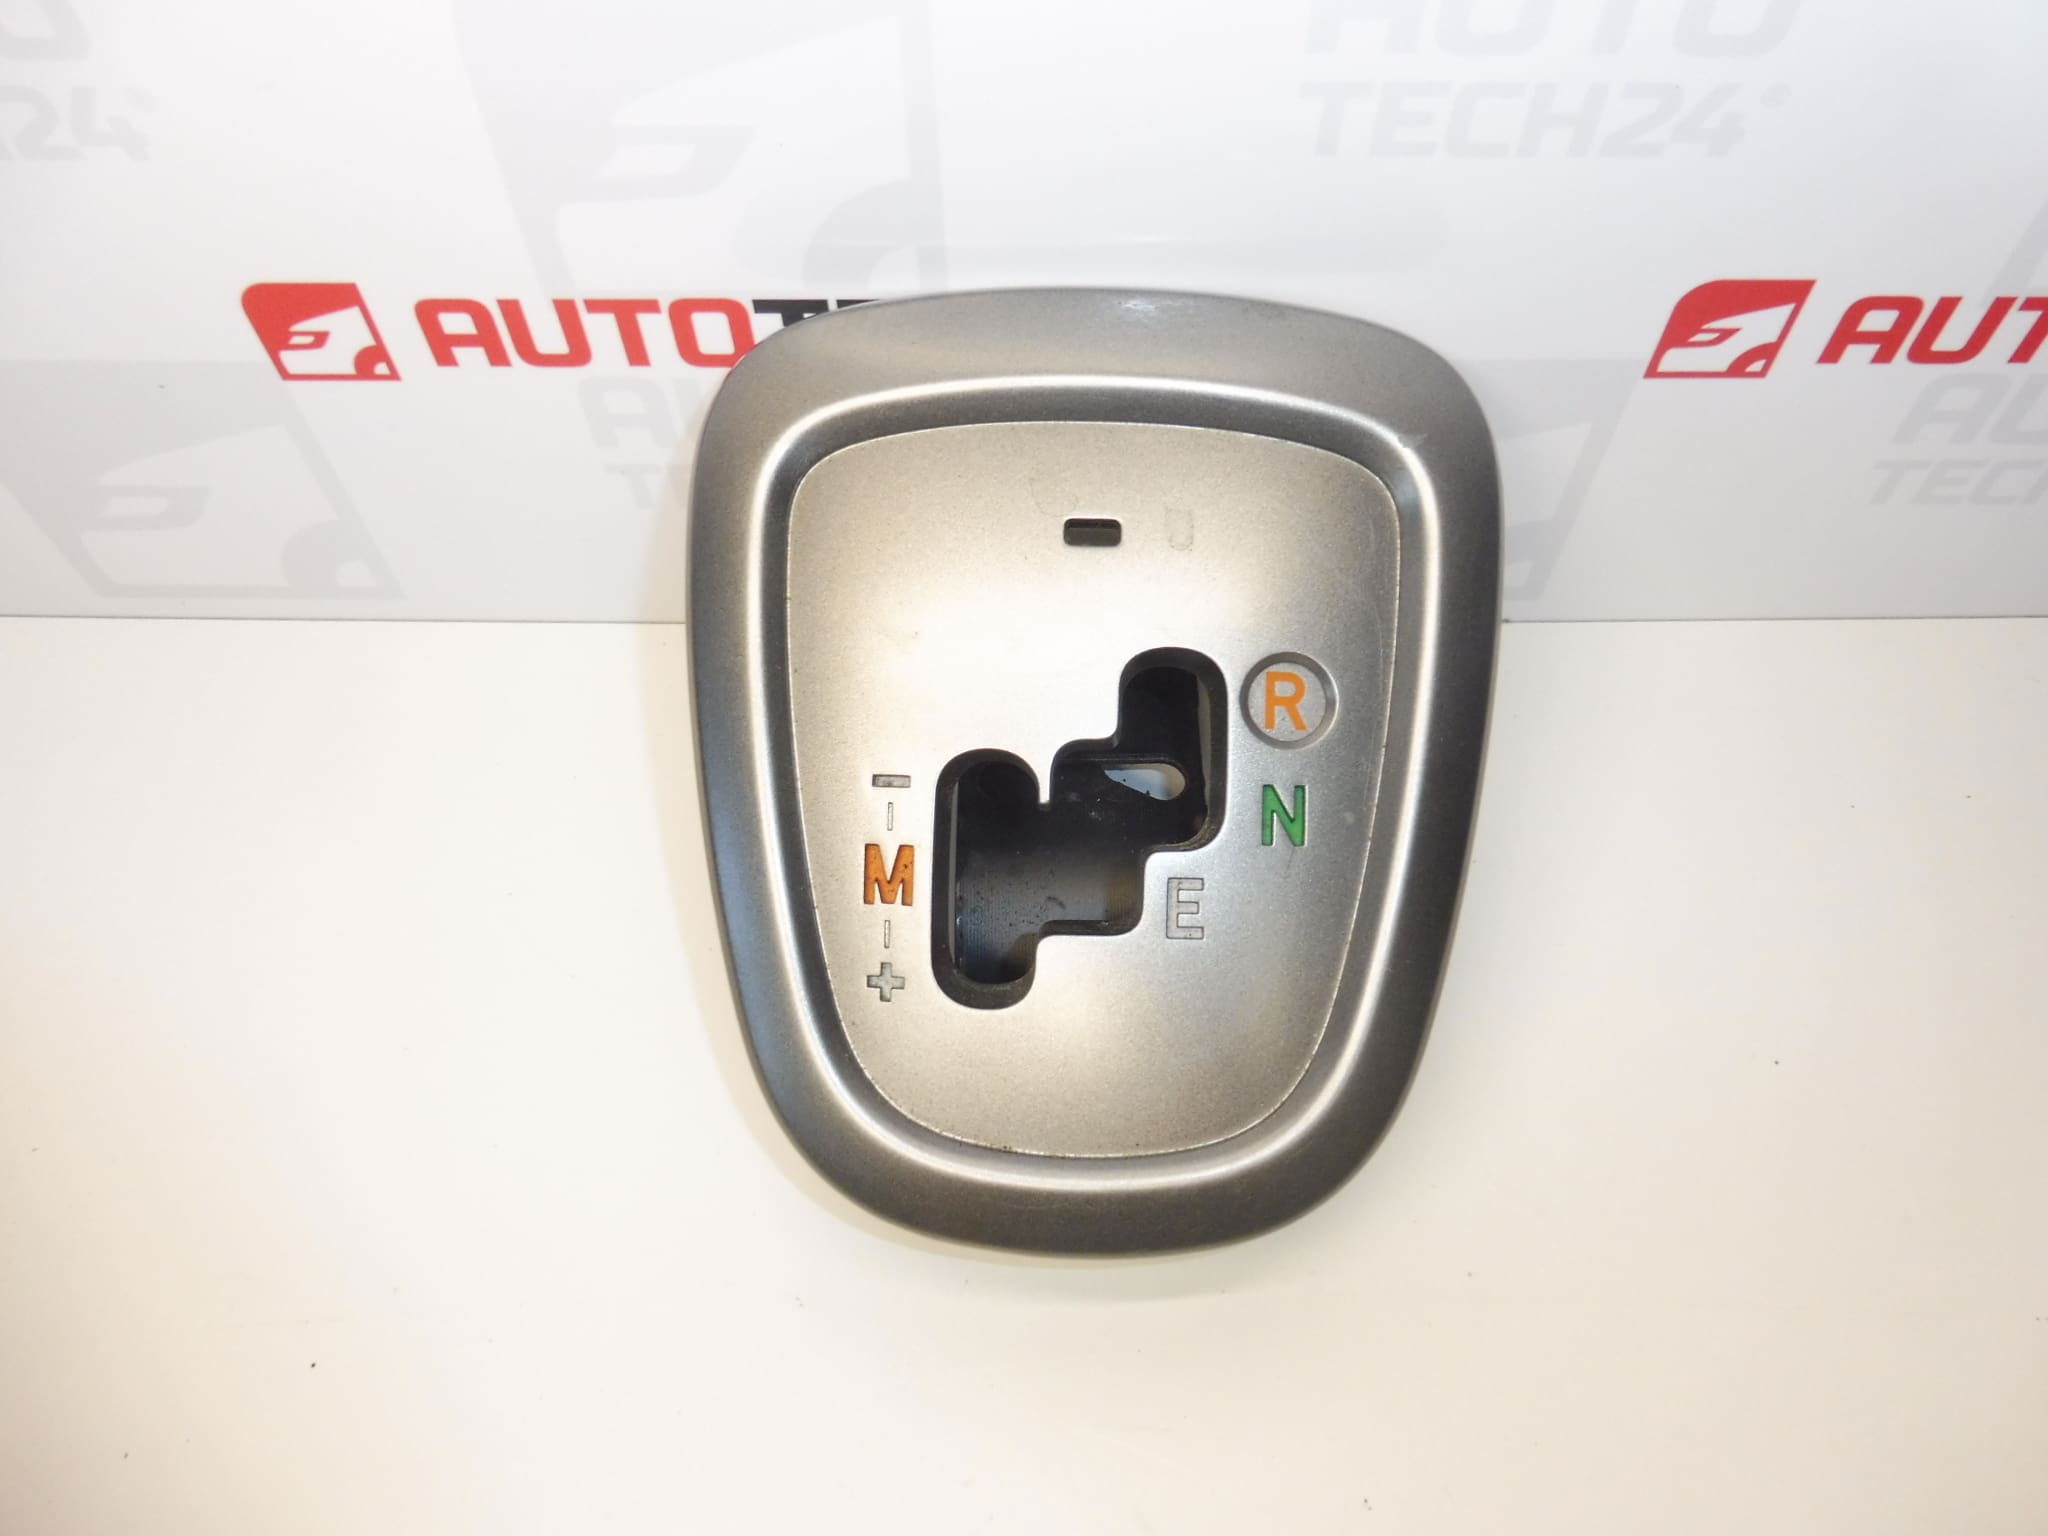
Gear position indicator for the automated manual transmission of Citroën C1, Peugeot 107 and TOYOTA Aygo vehicles
Gear selector surround housing and gear lever aperture cover
Up to model year 2013
Part description
The used gear position indicator with gear selector surround housing and gear lever aperture cover is a replacement for damaged gear markings or gear selector surround trim. It is designed for Citroën C1, Peugeot 107 and TOYOTA Aygo vehicles with an automated manual transmission from the specified production period.
The part provides clear gear position markings and covers the opening around the lever. Replacing a damaged part can improve the appearance of the area around the gear selector and restore the correct fit of the trim. This is not a complete gear shift mechanism or transmission.
When looking for a replacement, the key identifiers are product numbers 246329, 2461E6 and 240781. In addition to the numbers, compare the shape, the gear lever position markings and the mounting design with the original part.
Technical information
- Manufacturer: not specified; the documentation includes the designation Stellantis CITROEN PEUGEOT.
- Model: Citroën C1, Peugeot 107, TOYOTA Aygo.
- Part type: gear position indicator, gear selector surround housing and gear lever aperture cover.
- Transmission type: automated manual.
- Production period: up to model year 2013.
- Condition: used auto part.
- Other numbers: not specified.
- Other designation: NFP.
Product codes
- Product codes: 246329, 2461E6, 240781.
The numbers listed make it easier to identify the part. When selecting one, compare them alongside the design of the original gear selector surround, cover and mounting points.
Installation recommendations
The following procedure is a general guide to replacing the gear position indicator and gear selector surround trim. The exact steps, mounting method and any electrical connection depend on the specific model and vehicle configuration. Installation details for this part are not provided in the documentation.
1) Before installation
- Compare the product numbers, dimensions, outline, lever opening, gear markings and mounting points with the old part.
- Inspect the used part: check for cracks, deformation, and the condition of the clips, mounting points and cover.
- Check that there are no loose parts that could interfere with the movement of the lever.
- If the repair is due to difficulty shifting gears, first identify the cause. Replacing the trim alone will not fix a fault in the controls or transmission.
2) Tools and materials required
- Plastic trim removal tools for interior trim.
- Standard hand tools suitable for the fasteners actually fitted.
- A flashlight, a container for removed fasteners and a protective mat.
- A soft cloth and a cleaning product suitable for interior plastics.
3) Step-by-step installation procedure
- Park the vehicle on level ground and secure it against movement. Select the lever position required for removal according to the vehicle’s service procedure, and switch off the ignition before disassembly.
- Protect the surrounding trim from scratches. Take a photo of how the part is originally fitted and how the covers align to use as a reference during reassembly.
- If an electrical connection needs to be disconnected, disconnect the battery according to the vehicle manufacturer’s instructions and follow the specified procedure.
- Locate the fasteners for the surrounding trim. Release any necessary covers gradually, without forcing or bending them.
- If the gear lever knob or another component prevents removal of the part, remove it only using the method specified for the particular vehicle configuration.
- Release the mounting points for the original indicator and gear selector surround housing. Hold the part in place so that it does not damage surrounding components when released.
- If a connector is present, release its locking tab first and disconnect it by holding the connector body, not by pulling on the wires. Carefully remove the original part.
- Remove dirt and any fragments from accessible mating surfaces. Prevent them from falling into the gear shift mechanism.
- Compare the two parts side by side and test-fit the replacement. Check its orientation, the position of the cover and alignment of the mounting points.
- Reconnect any electrical connection and secure the part without deforming it. If it does not seat naturally, identify the cause; do not force it into place with the screws.
- Reinstall the removed trim components and, if applicable, reconnect the battery according to the manufacturer’s procedure. Check the fit and operation before using the vehicle.
4) Post-installation checks and test drive / function verification
- Check that the part is securely mounted, the covers align, the cover is correctly positioned and the gear markings are legible.
- With the vehicle safely secured and under the conditions specified by the manufacturer, check that the lever does not catch on the trim when selecting each position.
- If an electrical connection was disconnected, verify that the relevant component works.
- Take a short test drive only after the stationary checks have been completed successfully. If the lever encounters unusual resistance or the mode cannot be selected correctly, do not use the vehicle until the cause has been resolved.
5) Common installation mistakes and how to avoid them
- Choosing the wrong version: compare the product numbers, position markings and mounting points, not just the overall appearance.
- Breaking the clips: first identify how they are secured and use a suitable removal tool without applying excessive force.
- Pinched or misaligned cover: check that it is seated correctly and that the lever moves freely before final fastening.
- Pinching any wiring: before closing the trim, check that the wires are routed clear of mating surfaces and moving parts.
- Deformation during fastening: the part must seat correctly before tightening. Do not overcome resistance by applying more force.
Reasons why the part gets damaged
The following are common potential causes of damage to this type of gear position indicator and gear selector surround trim:
- Mechanical stress and impacts during use or when handling objects around the gear lever.
- Aging of plastic components due to temperature changes and sunlight, which can make them more brittle.
- Careless removal, which can damage clips, edges or mounting points.
- Dirt and spilled drinks, which can soil the cover and cause moving parts to stick.
- Unsuitable cleaning products and abrasive cleaning, which can damage the surface or make the markings harder to read.
- Incorrectly fitted trim, which can cause rubbing, deformation and repeated stress as the lever moves.