Description
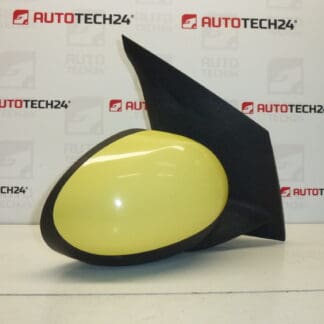
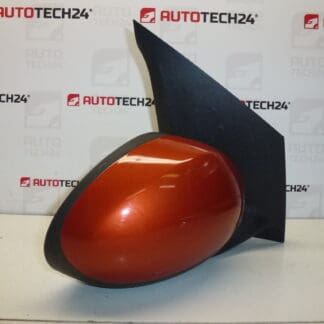
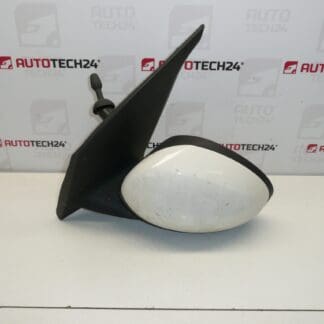
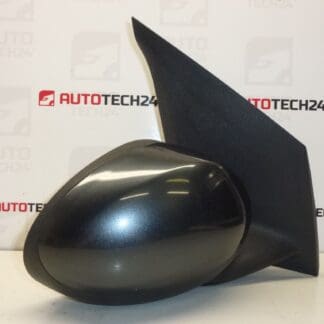
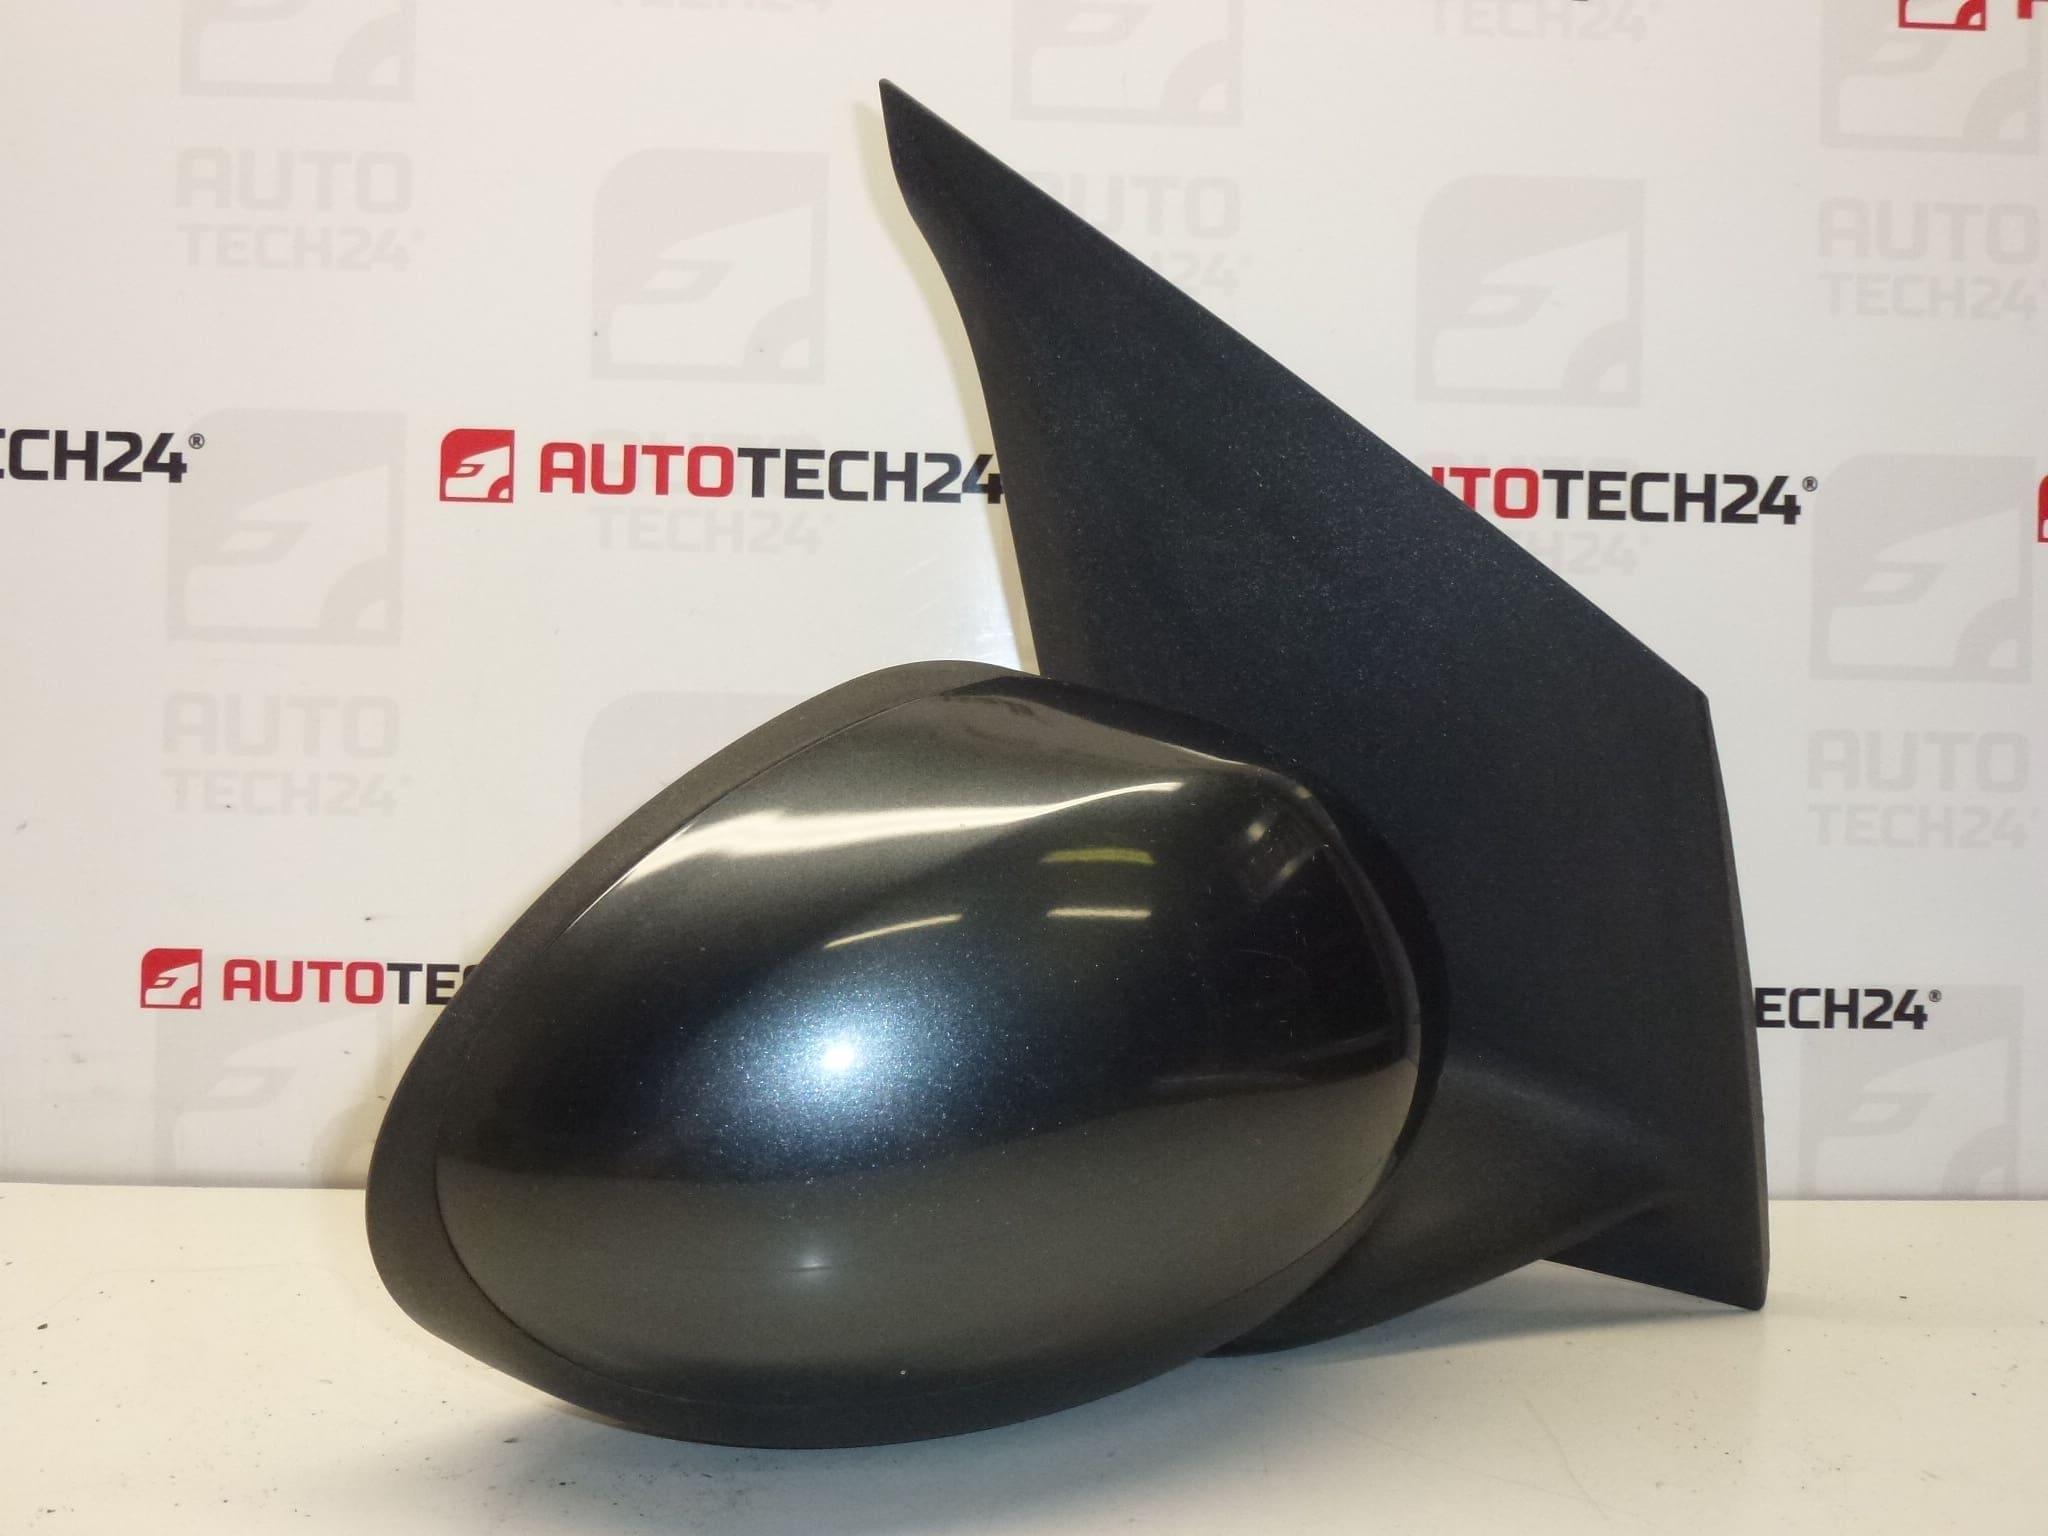
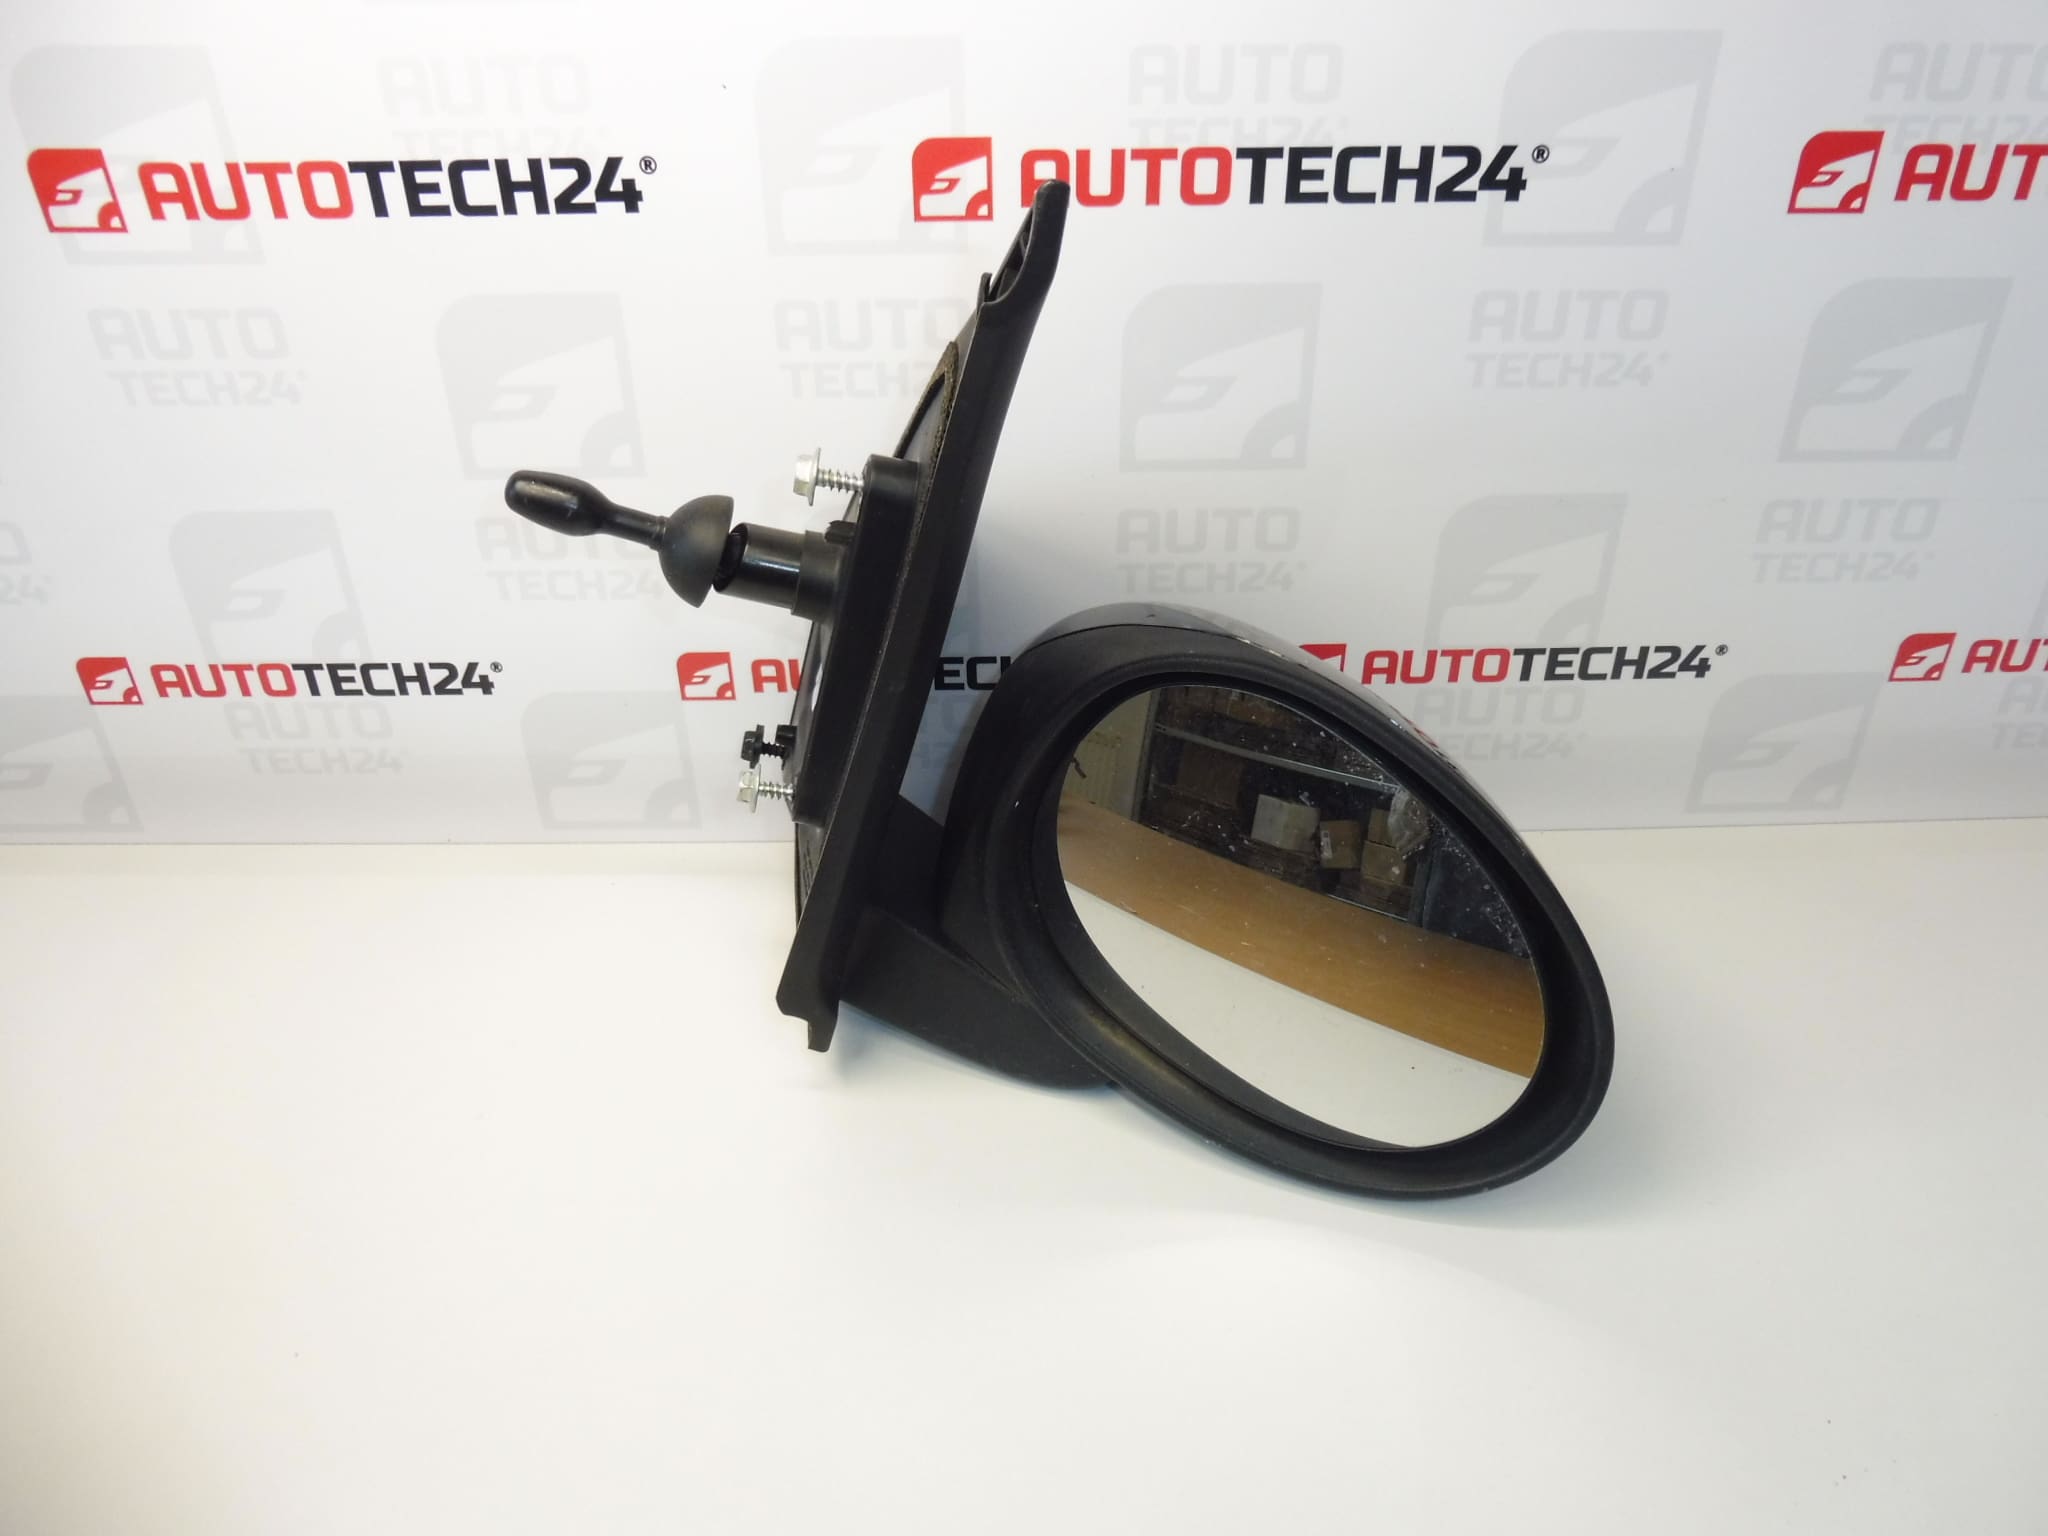
Right wing mirror for CITROEN C1 and PEUGEOT 107
KTA color – GRAY CARLINITE LACQUER
Passenger side
Part description
The used right rearview mirror for Citroën C1 and Peugeot 107 is a suitable choice when replacing a damaged mirror on the passenger side. It helps restore an overview of the traffic next to and behind the vehicle. The numbers 87910-0H010 and 87910-0H011 are particularly important for locating the part.
Designed in the color KTA – Carlinite gray makes it easier to choose a mirror to match the car paint. The shade of the used lacquered part may vary slightly due to age and exposure to the sun. The method of operation and possible electrical equipment are not listed in the documents, so before replacing, compare the design with the original mirror.
Technical information
- Manufacturer: not specified
- Model: Citroën C1, Peugeot 107
- Type of part: outside rear view mirror
- Location: right side, passenger side
- Color: KTA – GRAY CARLINITE LACQUER
- Condition: used part
- Control method and electrical equipment: not specified
- Other numbers: 8153YS, 815289, 8151HW
Product codes
- Product codes: 87910-0H010, 87910-0H011, 8153YS, 815289, 8151HW
- Color code: KTA
- Models: Citroën C1, Peugeot 107
When choosing, compare the designation of the original part, the shape of the base, the fastening and the method of operation. The same color match does not mean the same technical design.
Installation recommendations
The following procedure is general for the replacement of the exterior rearview mirror. The exact access to the attachment, removal of the covers and possible disconnection of the control depends on the specific model and design of the car.
1) Before assembly
- Compare the right side, product numbers, seat shape, attachment points and controls with the old piece.
- For a used mirror, inspect the glass, cover, base and mounts. Check for cracks or looseness.
- Check the condition of the gasket, if it is part of the assembly, and any connectors or mechanical controls.
- Also check the mounting area on the vehicle. After impact, it can be deformed and prevent proper seating.
2) Necessary tools and materials
- Common hand tool set based on real fasteners.
- Plastic pry bar for interior covers, if necessary to remove them.
- A soft pad, a cleaning cloth and a product that is gentle on paintwork and seals.
- Protective gloves, especially when handling broken glass.
3) Step-by-step assembly procedure
- Stop the vehicle safely, turn off the ignition and ensure enough space to work.
- If the mirror has an electrical connection, follow the vehicle manufacturer’s service instructions to disconnect the power supply.
- Protect the surrounding paintwork and carefully release the covers needed to access the fasteners. Do not force the plastic clips.
- Document the routing of any wiring or mechanical controls so that the original arrangement can be restored.
- If relevant, disconnect the connector behind its body after releasing the fuse, or disconnect the mechanical control according to the design. Do not pull on wires or cables.
- Support the mirror from the outside and gradually loosen the fasteners. Prevent it from falling on the door.
- Remove the original mirror and clean the mounting surface. Check the condition of the substrate and the seal.
- Attach the spare mirror, seat the seal correctly and route any wires or controls so that they are not pinched.
- Put the fasteners on by hand first. After checking for a straight fit, tighten them according to the manufacturer’s service instructions, without overloading the base.
- Reconnect any controls or electrical connector and restore power according to manufacturer’s procedure if disconnected.
- Check that the mirror is attached and adjusted, then replace the covers and check that the clips are properly engaged.
-
4) Post-assembly checks and function verification
- Check the even fit of the base and gasket. The mirror must not be loose in its mounting.
- From the driver’s seat, adjust the glass so that it provides the required view. Try the available functions according to the actual equipment.
- Only take a short test drive after verifying the secure fastening. Watch for excessive image shake and unusual aerodynamic noise.
5) The most common assembly mistakes and how to avoid them
- Conversion of designs: before disassembly, compare the fastening, controls and any connectors, not just the appearance of the cover.
- Pinched gaskets or wiring: check their position and loose wiring before tightening.
- Damage to clips: loosen the covers with a suitable tool and without violence.
- Mounting on a deformed surface: repair the damage to the mounting area before fitting the replacement mirror.
- Impact when parking or passing an obstacle, which can damage the cover, glass and fixings.
- Forcible handling of the mirror or adjustment mechanism.
- Frost and icing, especially when trying to move a frozen mechanism by force.
- Aging of plastics and seals due to sun, humidity and changing temperatures.
- Vibrations and loose fixings which stress the base in the long term and worsen image stability.
- Moisture penetration which, in electrically equipped variants, can damage contacts or controls.
Reasons why the part is damaged
For external rear-view mirrors, the following causes are generally the most common; it is not a description of the condition of the offered piece: