Description
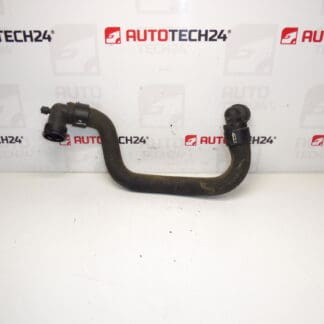
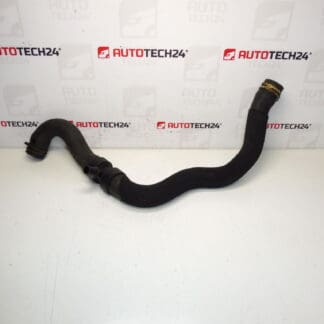
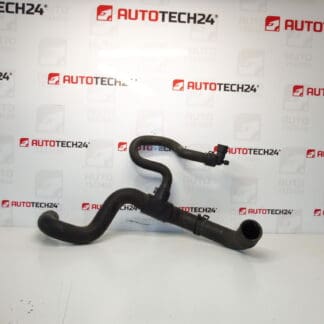
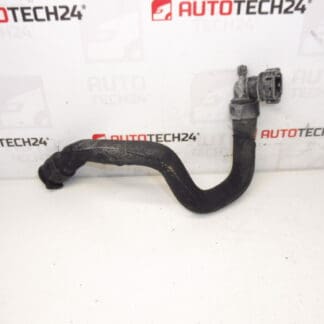
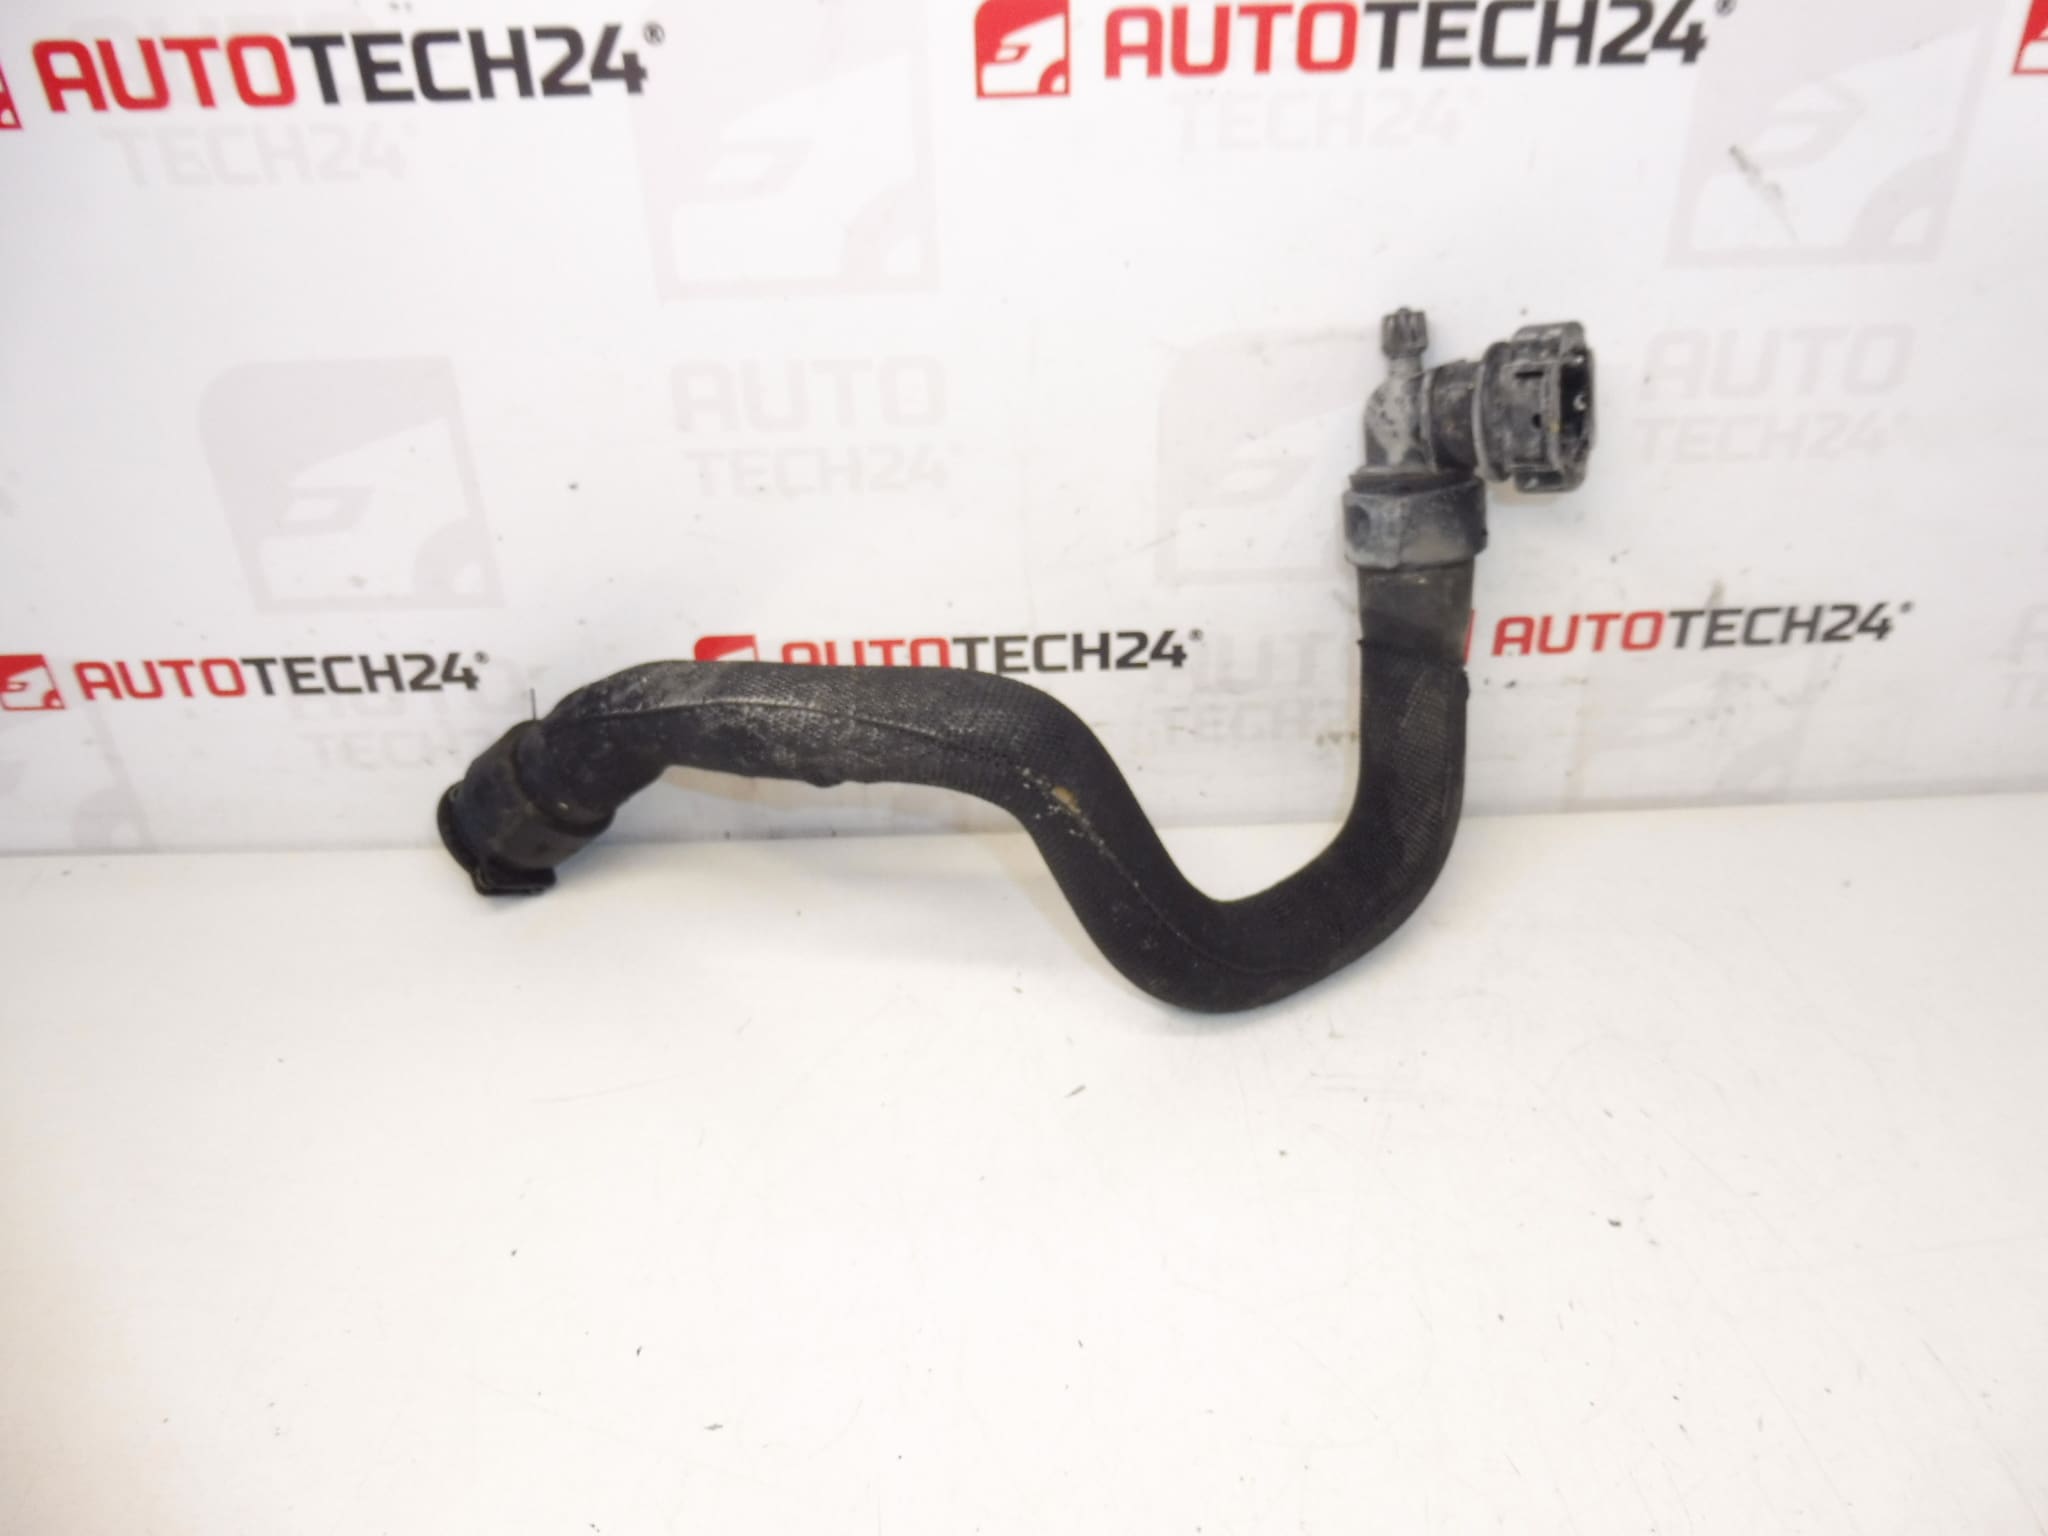
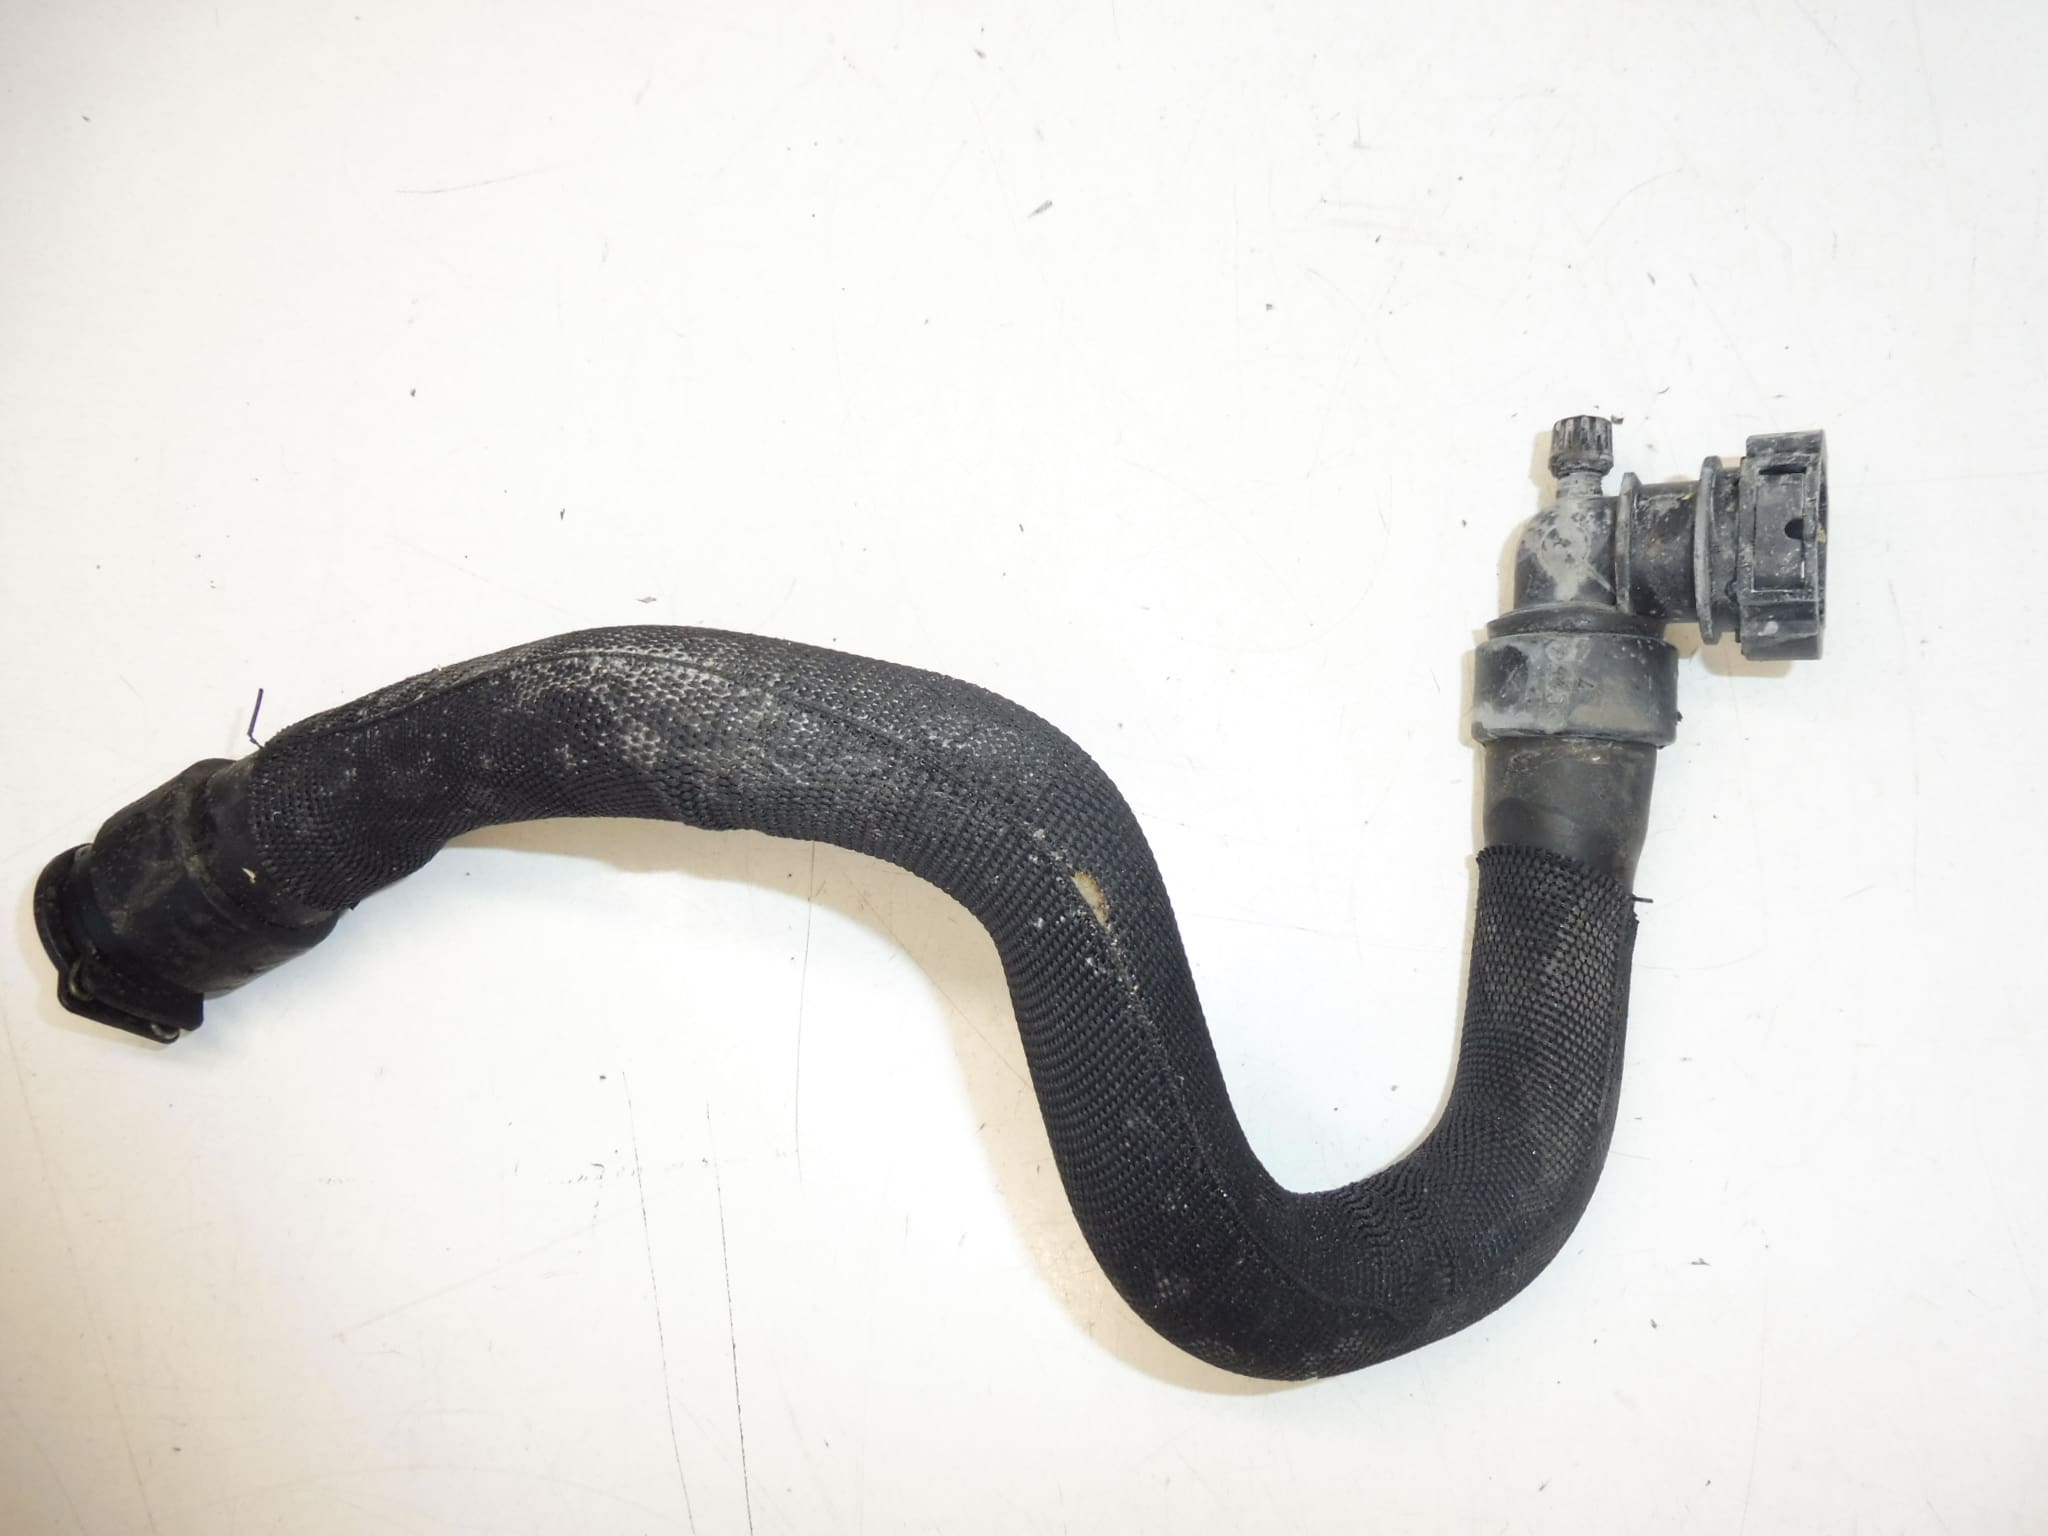
Coolant pipe to the heater exchanger for Citroën and Peugeot vehicles with 2.0 HDI RH02 engine.
Product Overview
This coolant pipe (part code 6466VE) connects the engine cooling circuit to the heater core, enabling warm coolant to flow into the cabin heating exchanger. It is designed for vehicles equipped with the 2.0 HDI RH02 engine and is a direct-fit replacement for worn or damaged original hoses. Ideal for professional workshops and experienced DIY mechanics looking for a reliable repair part.
Fitment And Compatible Models
Commonly fitted to the following models with 2.0 HDI RH02 engine:
- Citroën C4 II
- Citroën C4 Picasso II
- Citroën C5 X7
- DS4
- DS5
- Peugeot 3008 I
- Peugeot 308
- Peugeot 5008 I
Function
The pipe routes hot coolant from the engine to the heater exchanger (heater core). When the heater valve opens, coolant passes through the core and transfers heat to the air blown into the passenger compartment. A sound, leak-free hose is essential for cabin heating performance and for maintaining correct engine operating temperature.
Installation
Replacement is straightforward for a trained mechanic or competent DIYer. Typical procedure:
- Allow The Engine To Cool Completely And Work On A Cold System.
- Place A Drain Pan Under The Vehicle And Drain Coolant To The Appropriate Level To Prevent Spillage.
- Loosen Hose Clamps Or Remove Fasteners Securing The Pipe To The Heater Exchanger And Engine Connections.
- Carefully Remove The Old Pipe, Inspecting Connectors, Heater Core Pipes And Adjacent Hoses For Corrosion Or Damage.
- Fit The New Pipe In Correct Orientation, Replace Any Worn Clamps With New Quality Clamps, And Secure All Connections.
- Refill The Cooling System With Manufacturer-Recommended Coolant, Bleed Air From The System According To The Vehicle Procedure, And Check For Leaks With The Engine At Operating Temperature.
Installation Recommendations
- Use New Hose Clamps To Ensure Reliable Sealing; Reusing Old Clamps Can Lead To Leaks.
- Inspect The Heater Core Pipes And Nearby Hoses For Corrosion Or Wear; Replace Adjacent Components If Needed.
- Always Refill With The Manufacturer-Approved Coolant Specification And Perform Proper Air Bleeding To Avoid Overheating Or Cold Spots In The Heater.
- Dispose Of Used Coolant According To Local Regulations.
Most Common Failure Reasons
Hoses and pipes to the heater exchanger typically fail due to age-related rubber degradation, repeated heat cycling, mechanical abrasion from engine movement, chemical damage from incorrect or contaminated coolant, and poor clamping or installation. Small leaks can lead to loss of heating function, engine overheating, or coolant smell in the cabin, so early replacement at the first sign of cracks, swelling, stiffness, or seepage is recommended.
Technical Information
- Manufacturer: Stellantis / Citroën / Peugeot
- Model: Vehicles With 2.0 HDI RH02 Engine (See Fitment List)
- Product Codes: 6466VE
- Additional Numbers: Engine Code RH02
Why Choose This Part
This coolant pipe is a practical, cost-effective repair for restoring heater function and coolant circuit integrity on compatible Citroën and Peugeot models. It suits professional workshops that require dependable direct-fit parts and DIY mechanics who demand clear fitment and straightforward installation steps.