Description
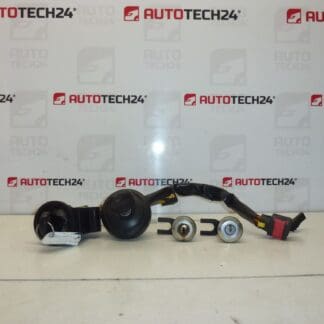
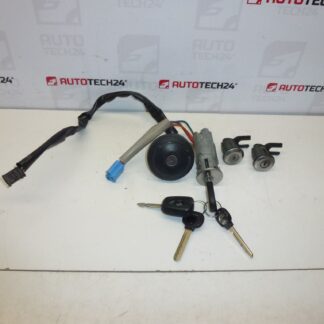
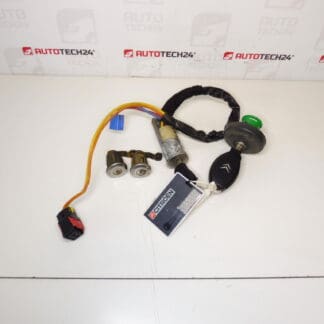
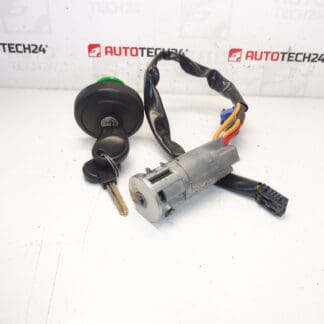
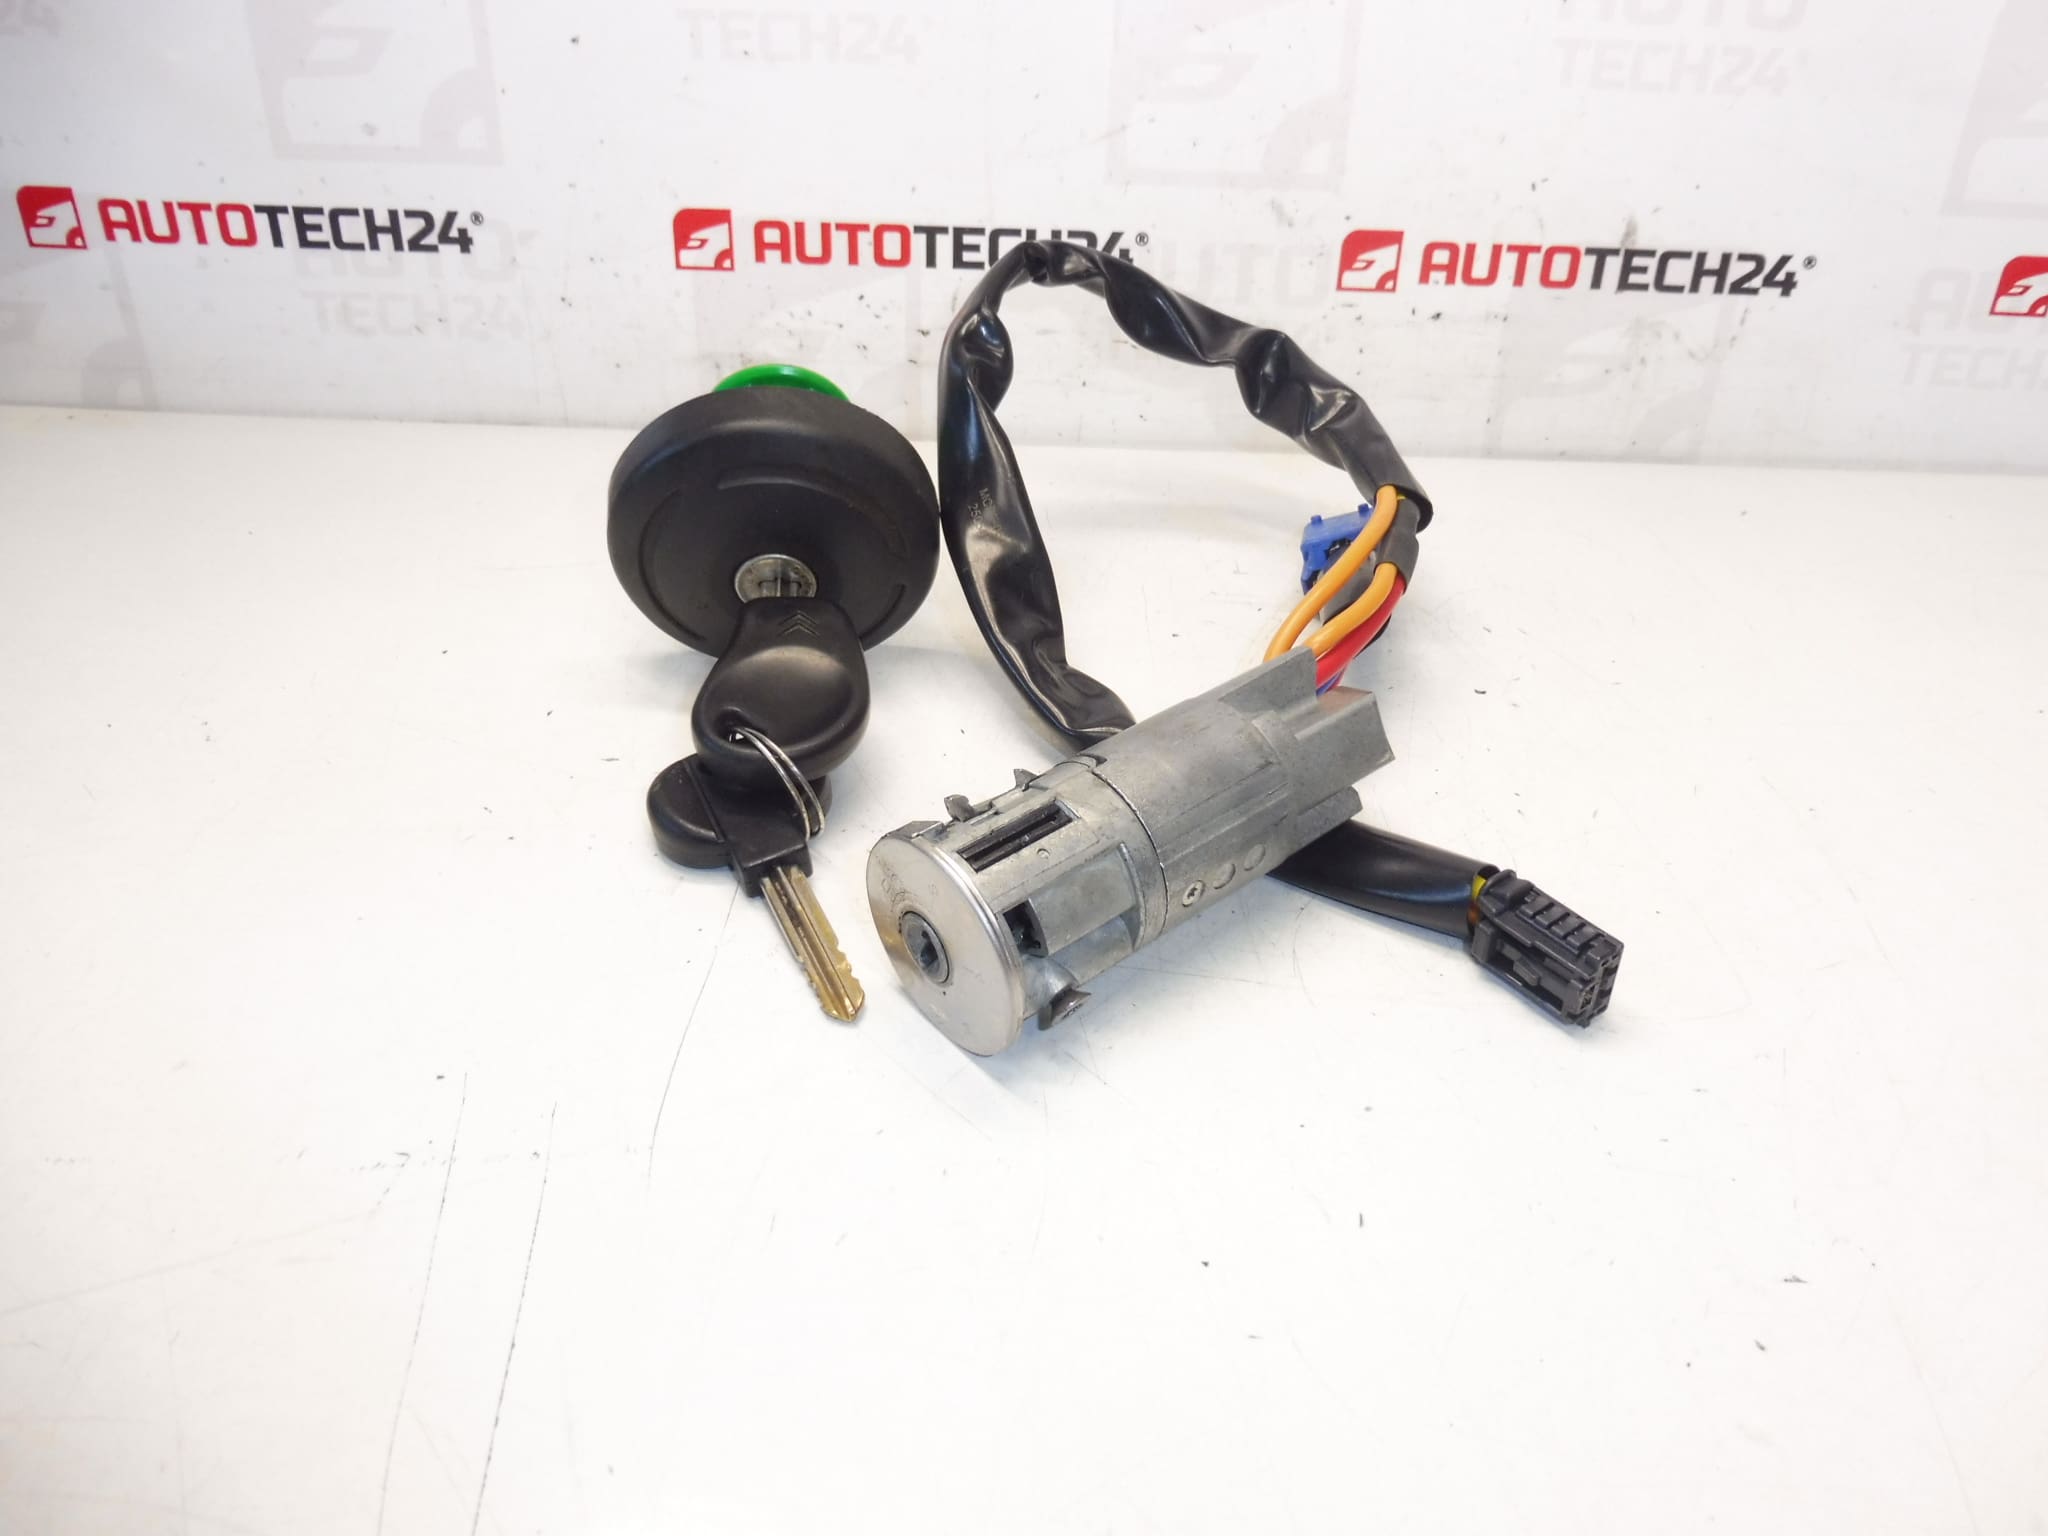
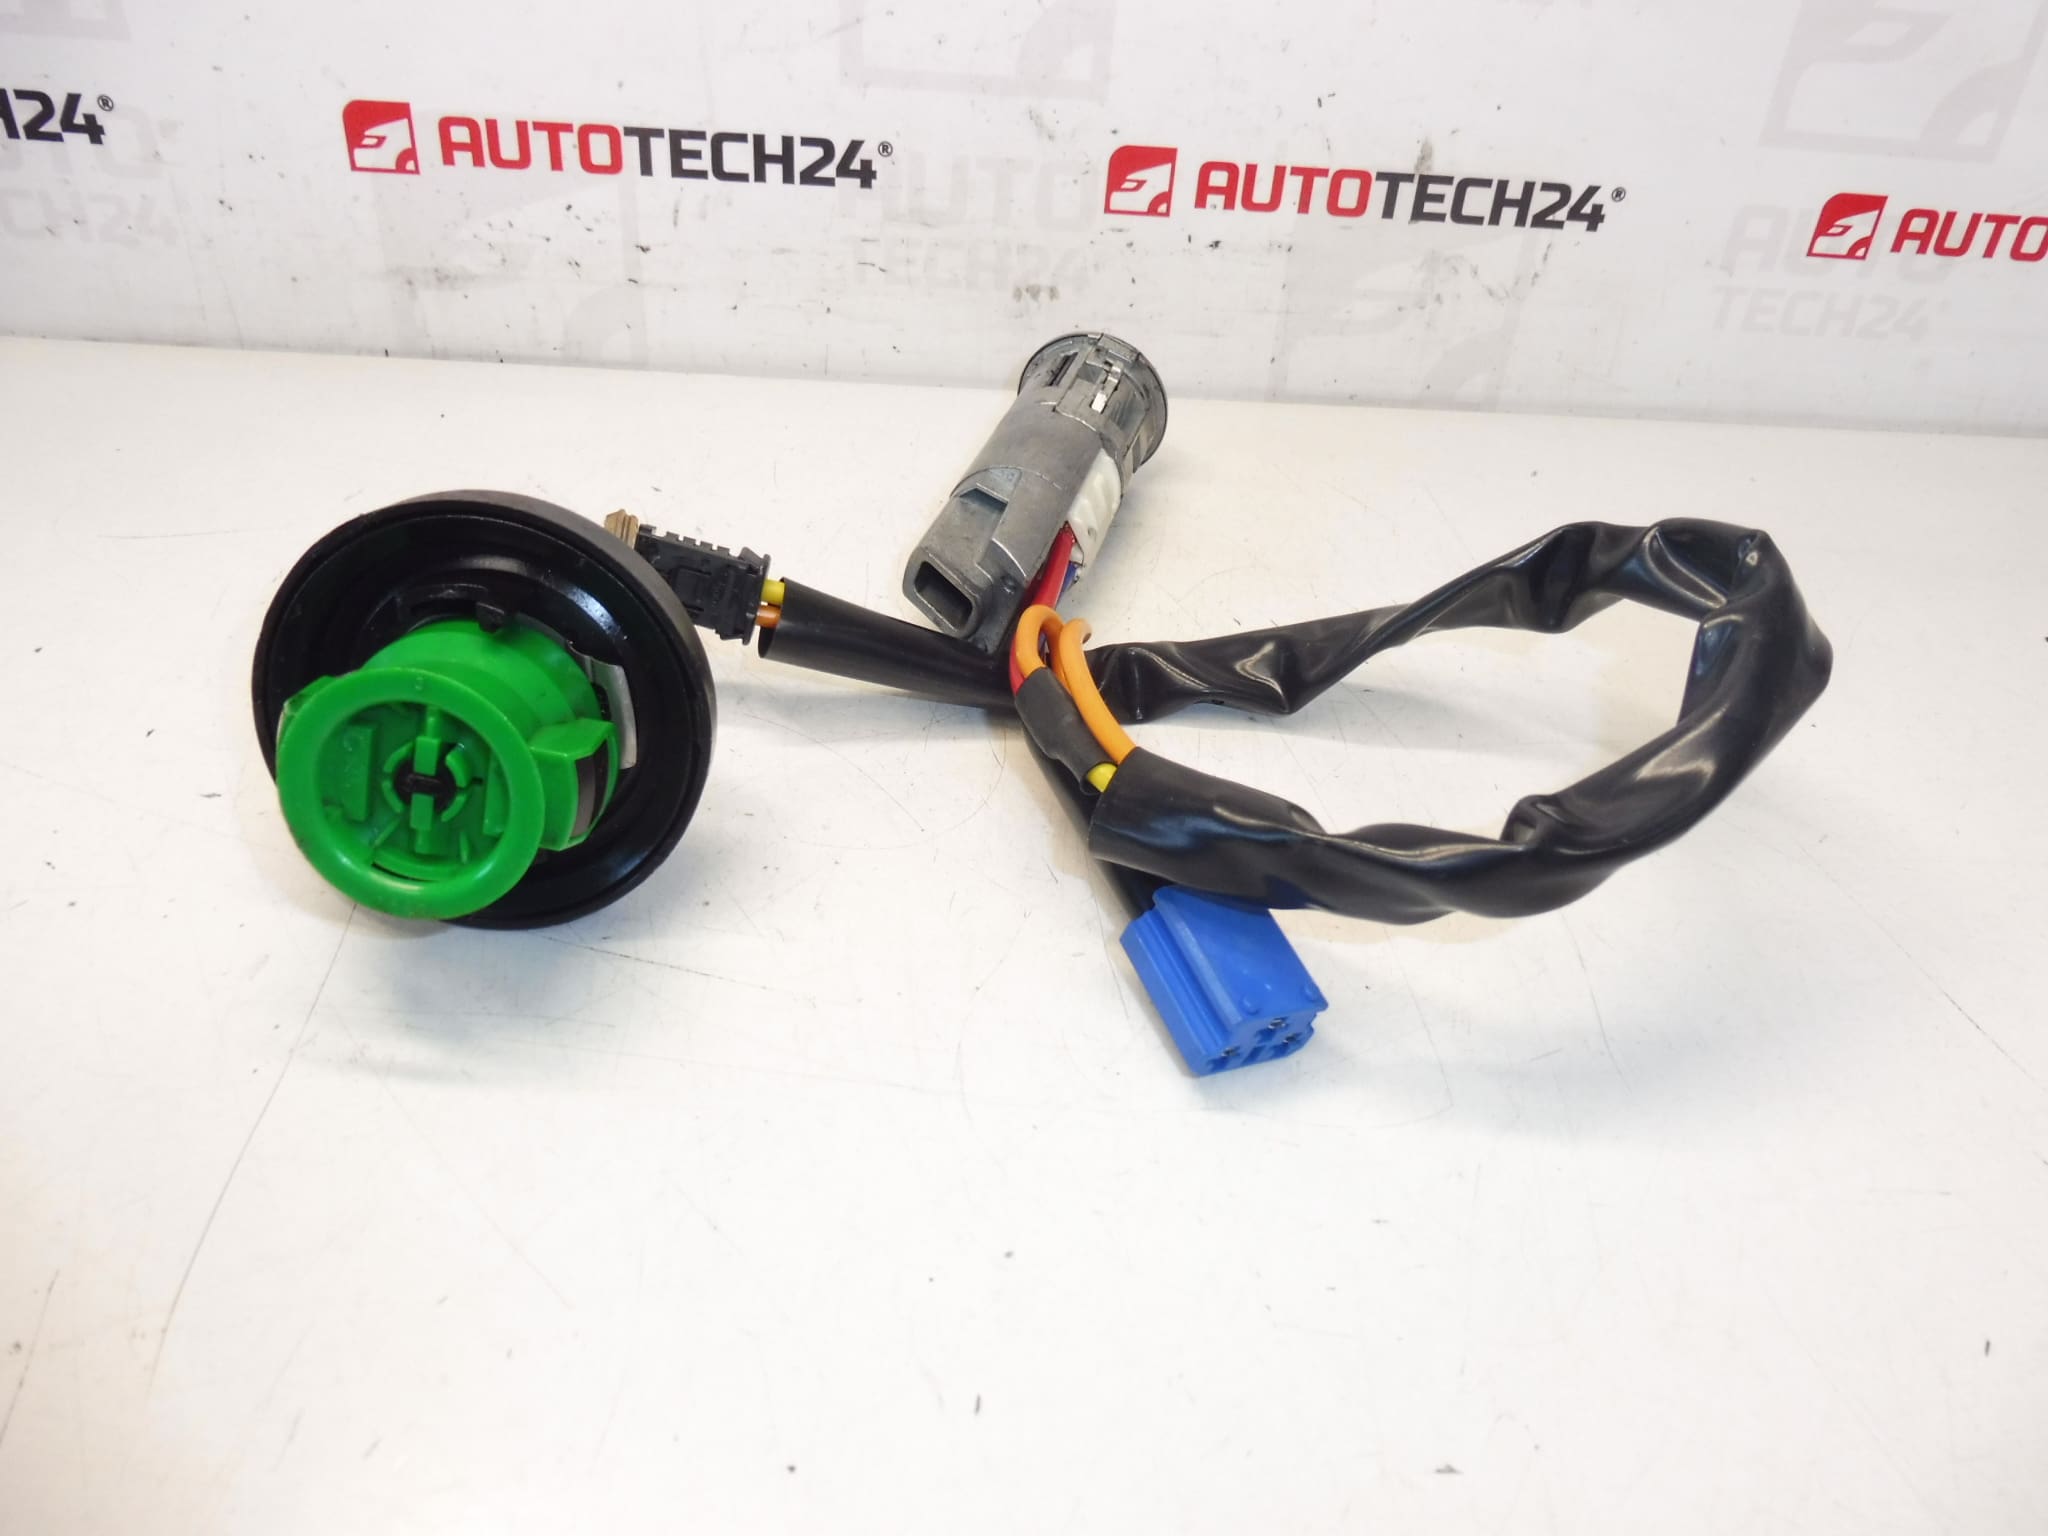
Ignition barrel with fuel filler cap lock for Citroën Xsara Picasso vehicles
This ignition barrel assembly includes the integrated lock for the fuel filler cap and is designed for Citroën Xsara Picasso. Ideal for professional workshops and experienced DIY enthusiasts, the unit replaces worn or damaged ignition barrels that no longer operate the steering lock, ignition positions or the fuel flap release reliably. Many customers search by OE codes, so check the product codes in the Technical Information section to confirm fitment.
Key Benefits
– Direct fit for Citroën Xsara Picasso when matching the listed product codes.
– Restores reliable mechanical operation of ignition, steering lock and fuel flap locking.
– Robust construction to withstand everyday use and exposure to the vehicle environment.
– Saves time for workshops: part-number searchable for fast identification.
Technical Information
- Manufacturer: Stellantis
- Model: Citroën Xsara Picasso
- Product Codes: 4162HK, 4162FF, 4162CK
- Additional Numbers: 4162CK, 4162FF, 4162HK
Installation Recommendations
Recommended for experienced mechanics or competent DIYers. Typical replacement steps:
- Disconnect the vehicle battery before starting to avoid short circuits and to protect vehicle electronics.
- Remove steering column trim panels to access the ignition barrel—keep screws and clips organised for reassembly.
- Release any retaining screws or clips securing the barrel and carefully withdraw the old unit from the housing.
- Install the new barrel in the correct position, ensuring the key turns smoothly through all positions (lock, accessory, run, start).
- Verify the fuel flap lock mechanism operates correctly when the barrel is turned to the unlock position.
- Reassemble the steering column covers, reconnect the battery and perform a final functional test of locking, ignition and fuel flap release.
Always follow the vehicle manufacturer’s instructions and use appropriate tools. If the key set includes immobiliser electronics or unusual key types, additional key programming steps may be required according to the vehicle’s service procedures.
Why This Part Fails Most Often
Ignition barrels and integrated fuel flap locks typically fail due to wear of internal tumblers and mechanical components from prolonged use, intrusion of dirt or moisture leading to corrosion, or damage from forced entry or broken keys. Symptoms include stiffness when turning the key, intermittent ignition contact, difficulty removing or inserting the key, or failure of the fuel flap to unlock.
Notes For Buyers
Check the product codes listed in the Technical Information section before ordering. The part is commonly searched and identified by OE codes 4162HK, 4162FF and 4162CK. Suitable for mechanics and competent DIY installers who can perform mechanical replacement and basic verification.