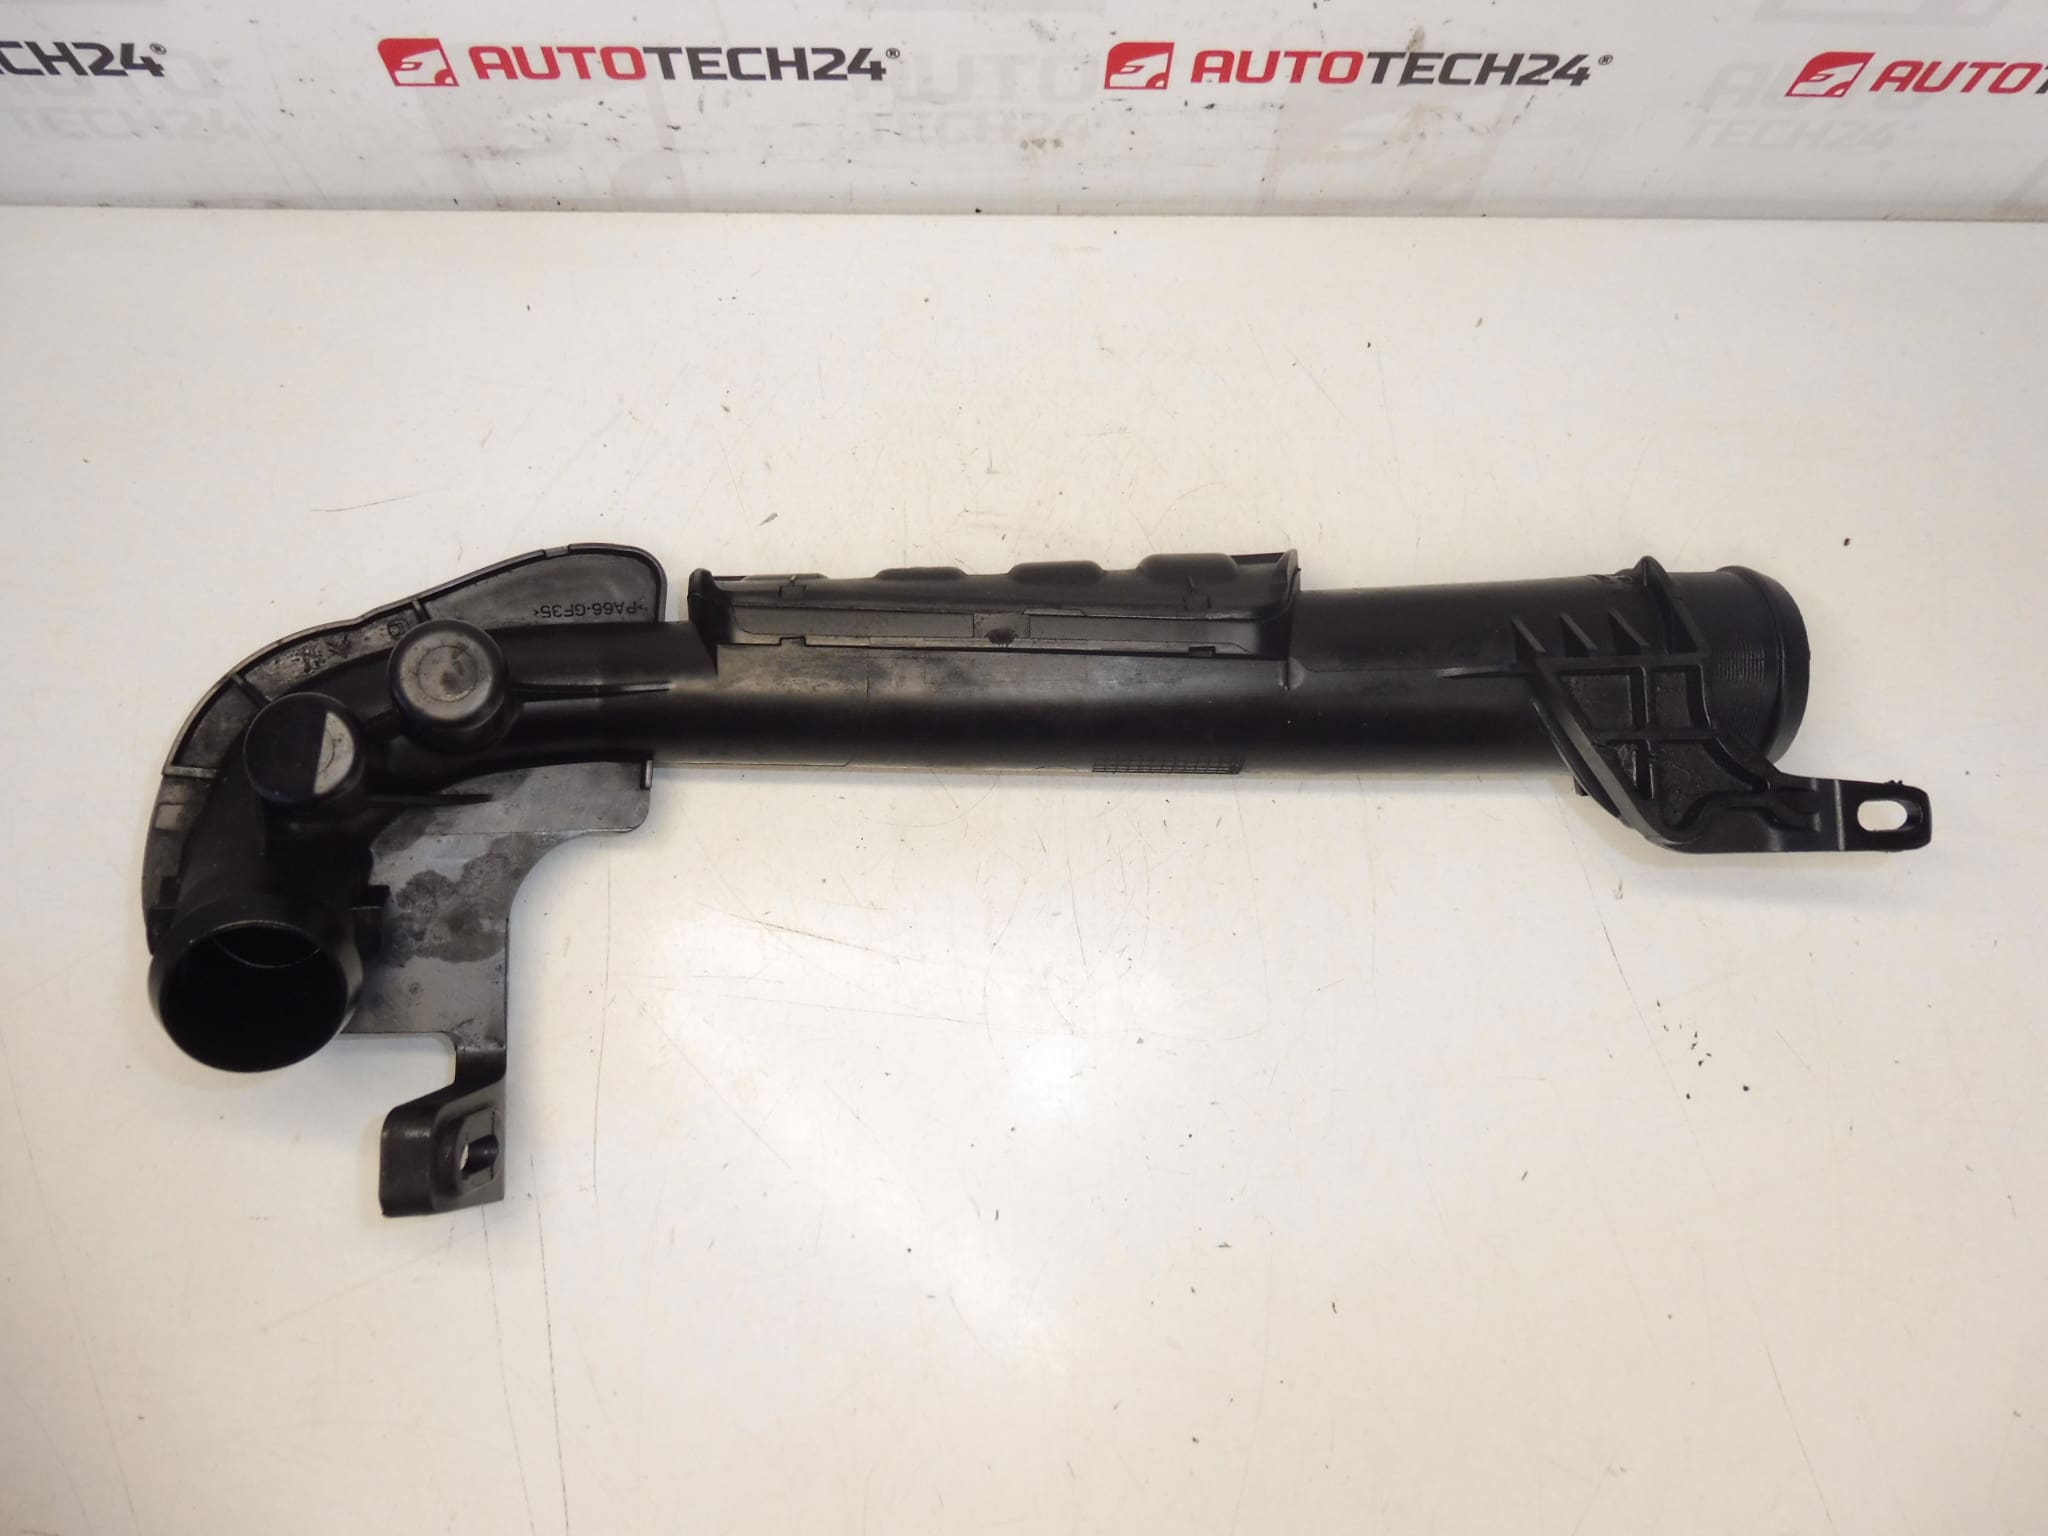
Description
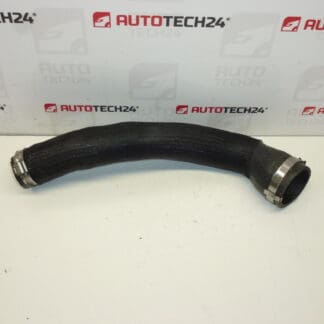
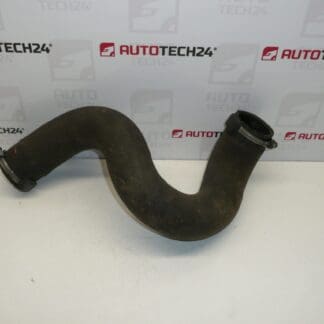
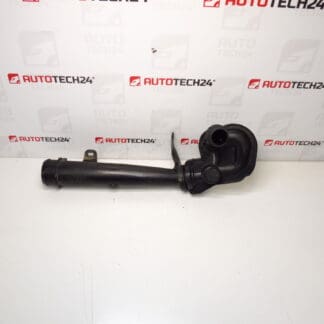
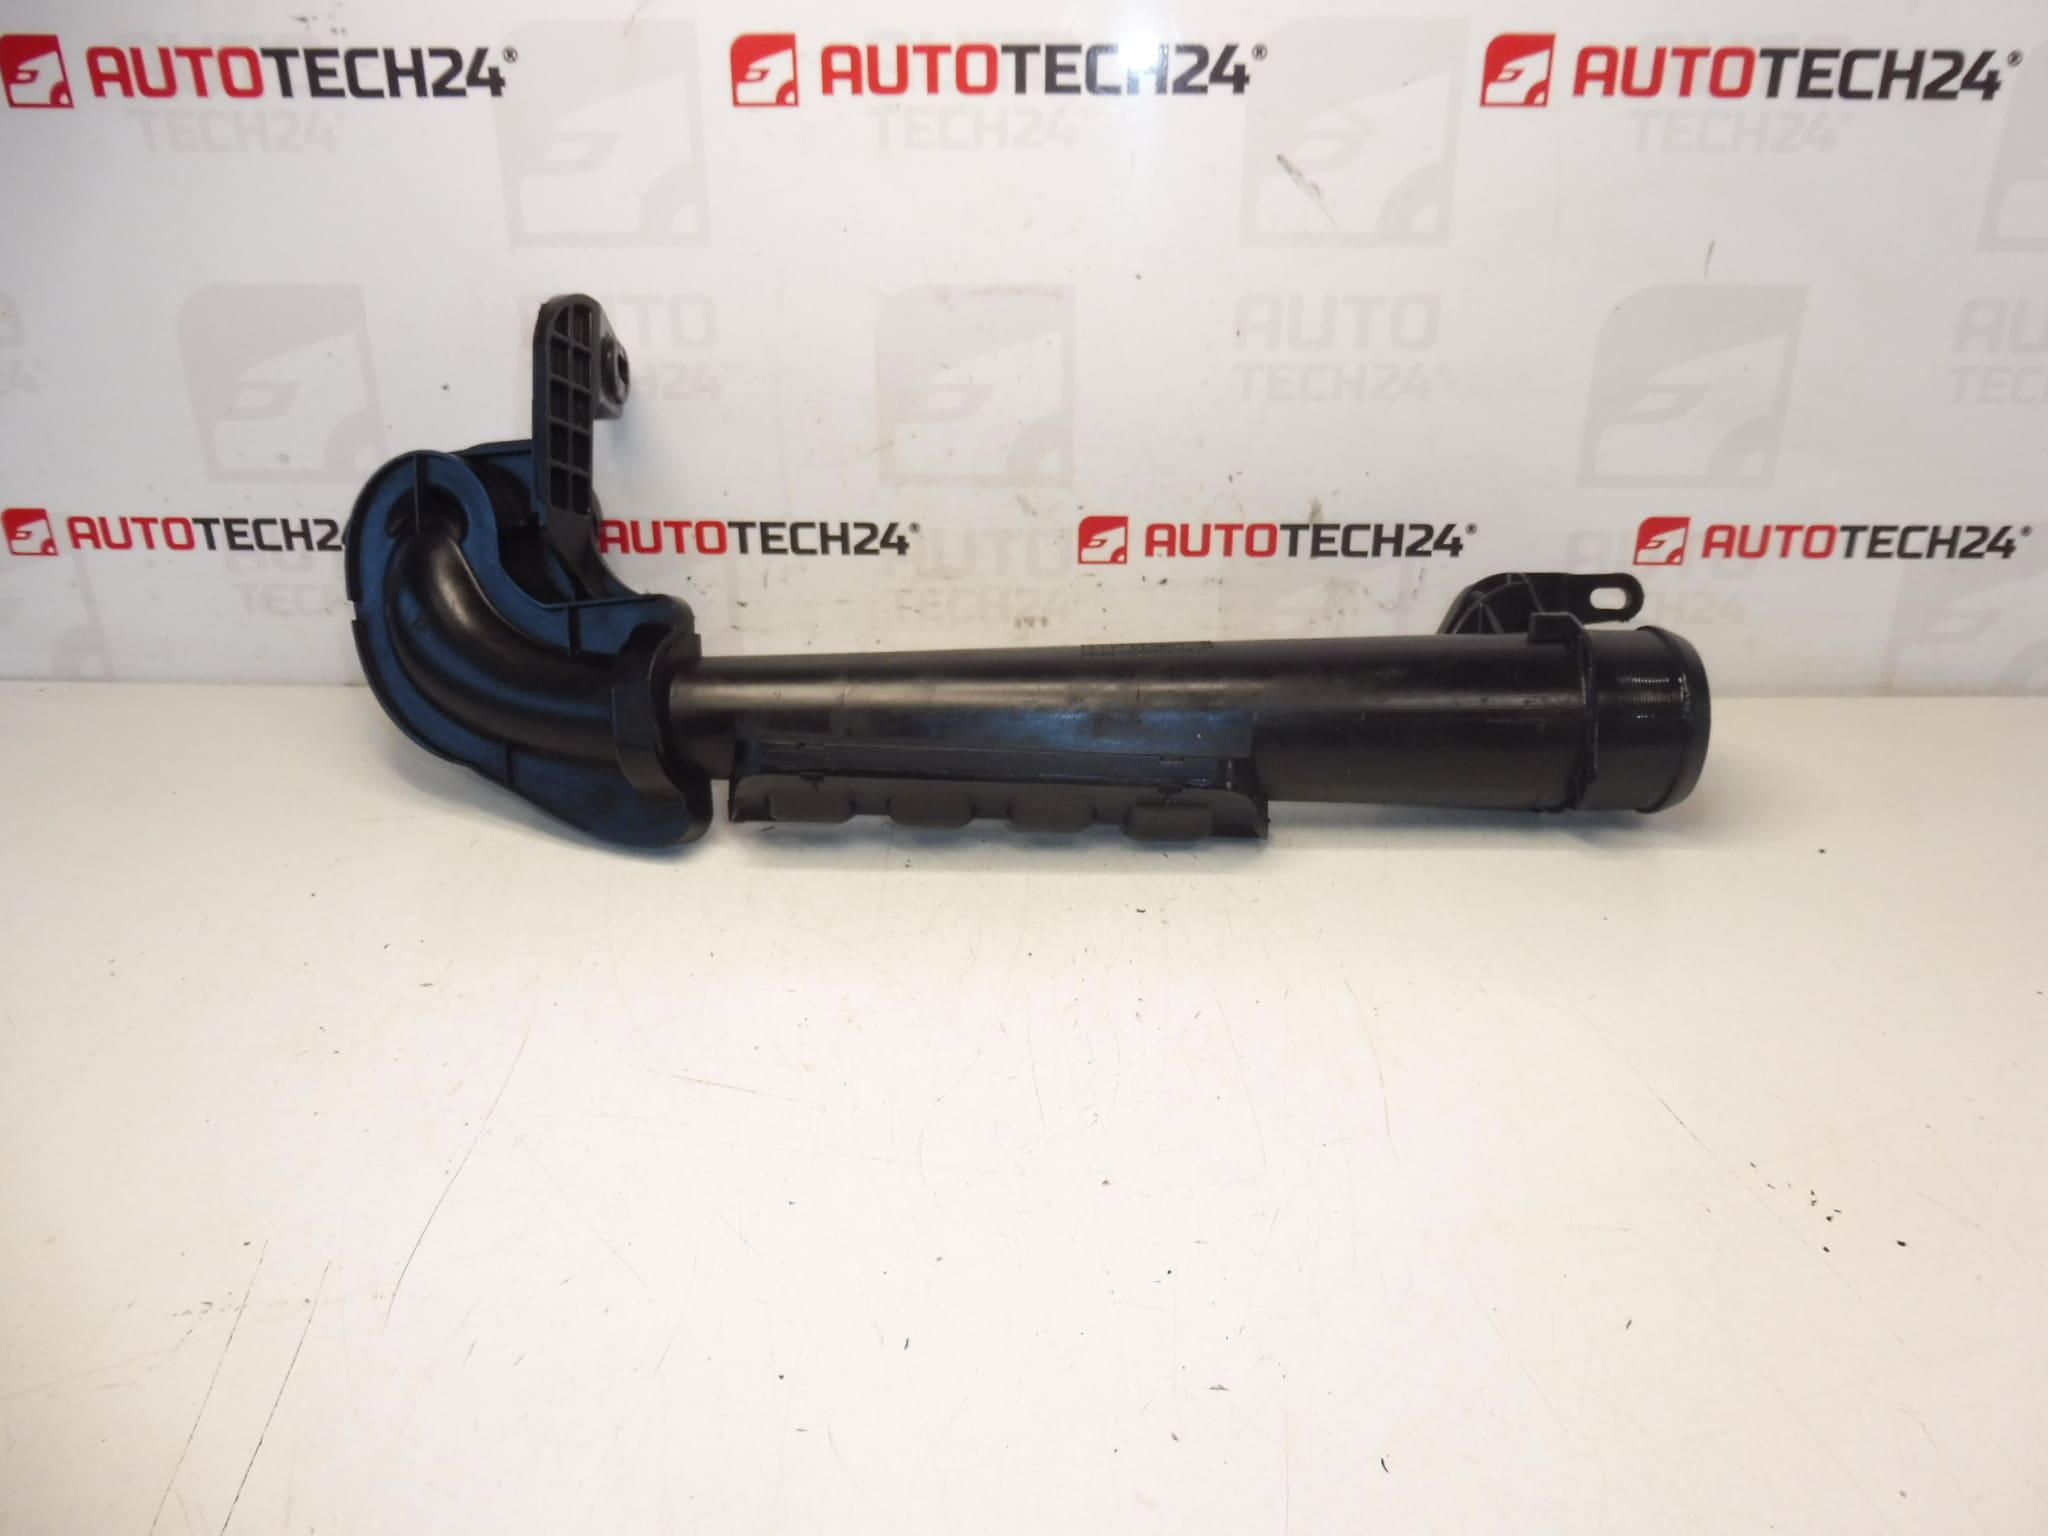
Air connection at the turbocharger for 2.0 HDI RH02 engines of Citroën and Peugeot vehicles.
This intake pipe connects the turbocharger to the engine intake on 2.0 HDI RH02 turbodiesel units. Designed for direct replacement on compatible Citroën and Peugeot models, the component restores correct air routing and helps maintain boost pressure and engine response. Ideal for professional workshops and experienced DIY mechanics, this part is frequently searched by its product numbers, making identification and ordering straightforward. Built to cope with elevated temperatures and pressure pulses typical for turbocharging systems, a properly fitted pipe prevents boost leaks, reduces turbo lag and improves drivability.
Technical Information
- Manufacturer: Stellantis
- Model: Citroën C4 Picasso; Citroen C5 X7; Citroën C8; Peugeot 3008 I; Peugeot 5008 I; Peugeot 807
- Engine: 2.0 HDI RH02
- Product Codes: 9674900880
- Additional Numbers: 0382RN
Installation Recommendations
Allow The Engine To Cool Before Starting Work. Loosen The Hose Clamps At Both Ends Of The Pipe, Remove Any Brackets Or Clips, And Carefully Withdraw The Old Pipe From The Turbocharger Inlet And Intake Assembly. Inspect The Turbo Inlet And Intake Flanges For Oil Build-Up, Cracks Or Debris. Fit The New Pipe Ensuring Sealing Surfaces Are Clean, Replace Clamps And Any Worn Seals Or Mounting Clips, And Tighten Clamps Evenly To Manufacturer Torque Where Available. Start The Engine And Check For Boost Leaks Under Load. Use New Stainless Or High-Quality Clamps For Long-Term Reliability.
Most Common Failure Reasons
Intake Pipes On Turbocharged Diesel Engines Typically Fail Due To Ageing And Heat-Induced Material Fatigue, Oil Contamination From PCV Or Turbo Oil Leaks, Loose Or Broken Clamps, And Mechanical Damage From Underbonnet Impact Or Vibration. Symptoms Include Loss Of Boost Pressure, Hissing Or Whistling Sounds, Reduced Acceleration, And Diagnostic Trouble Codes Related To Turbocharger Efficiency Or Air Leak Detection. Regular Inspection During Service Intervals Helps Detect Cracks Or Softening Early.
Why Choose This Part
This replacement pipe matches the OE fitment for the specified 2.0 HDI RH02 applications and carries the commonly used reference numbers 9674900880 and 0382RN for fast lookup. Replacing a damaged intake pipe is a cost-effective repair that immediately improves turbo response and engine performance when boost leaks are the root cause of drivability issues.