Description
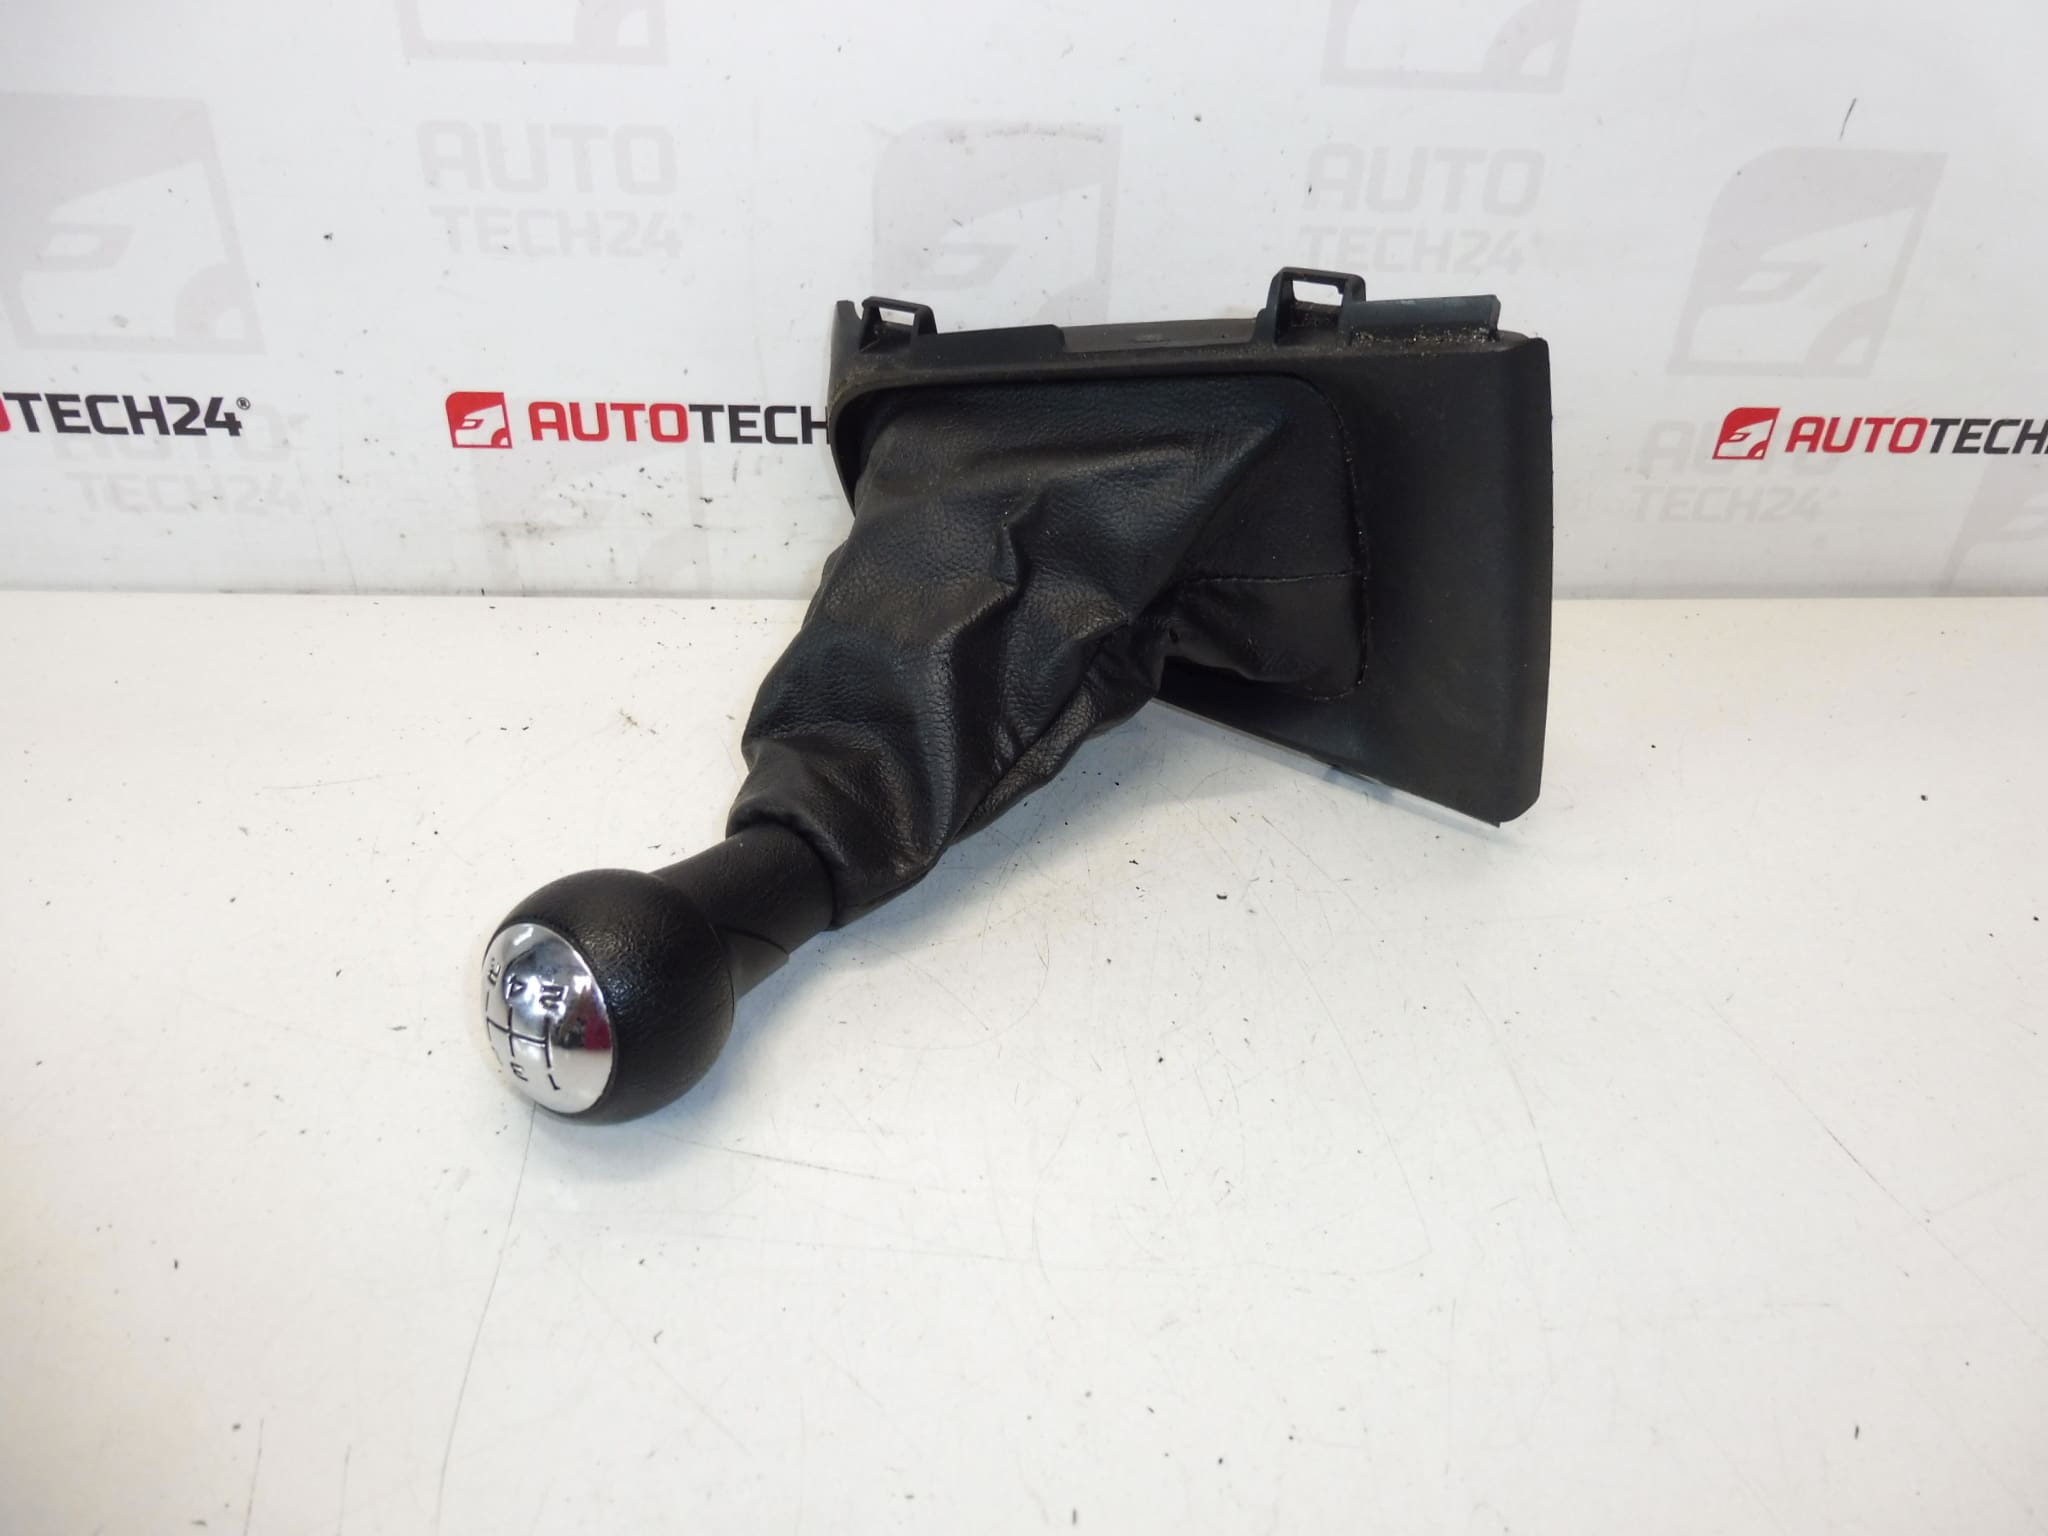
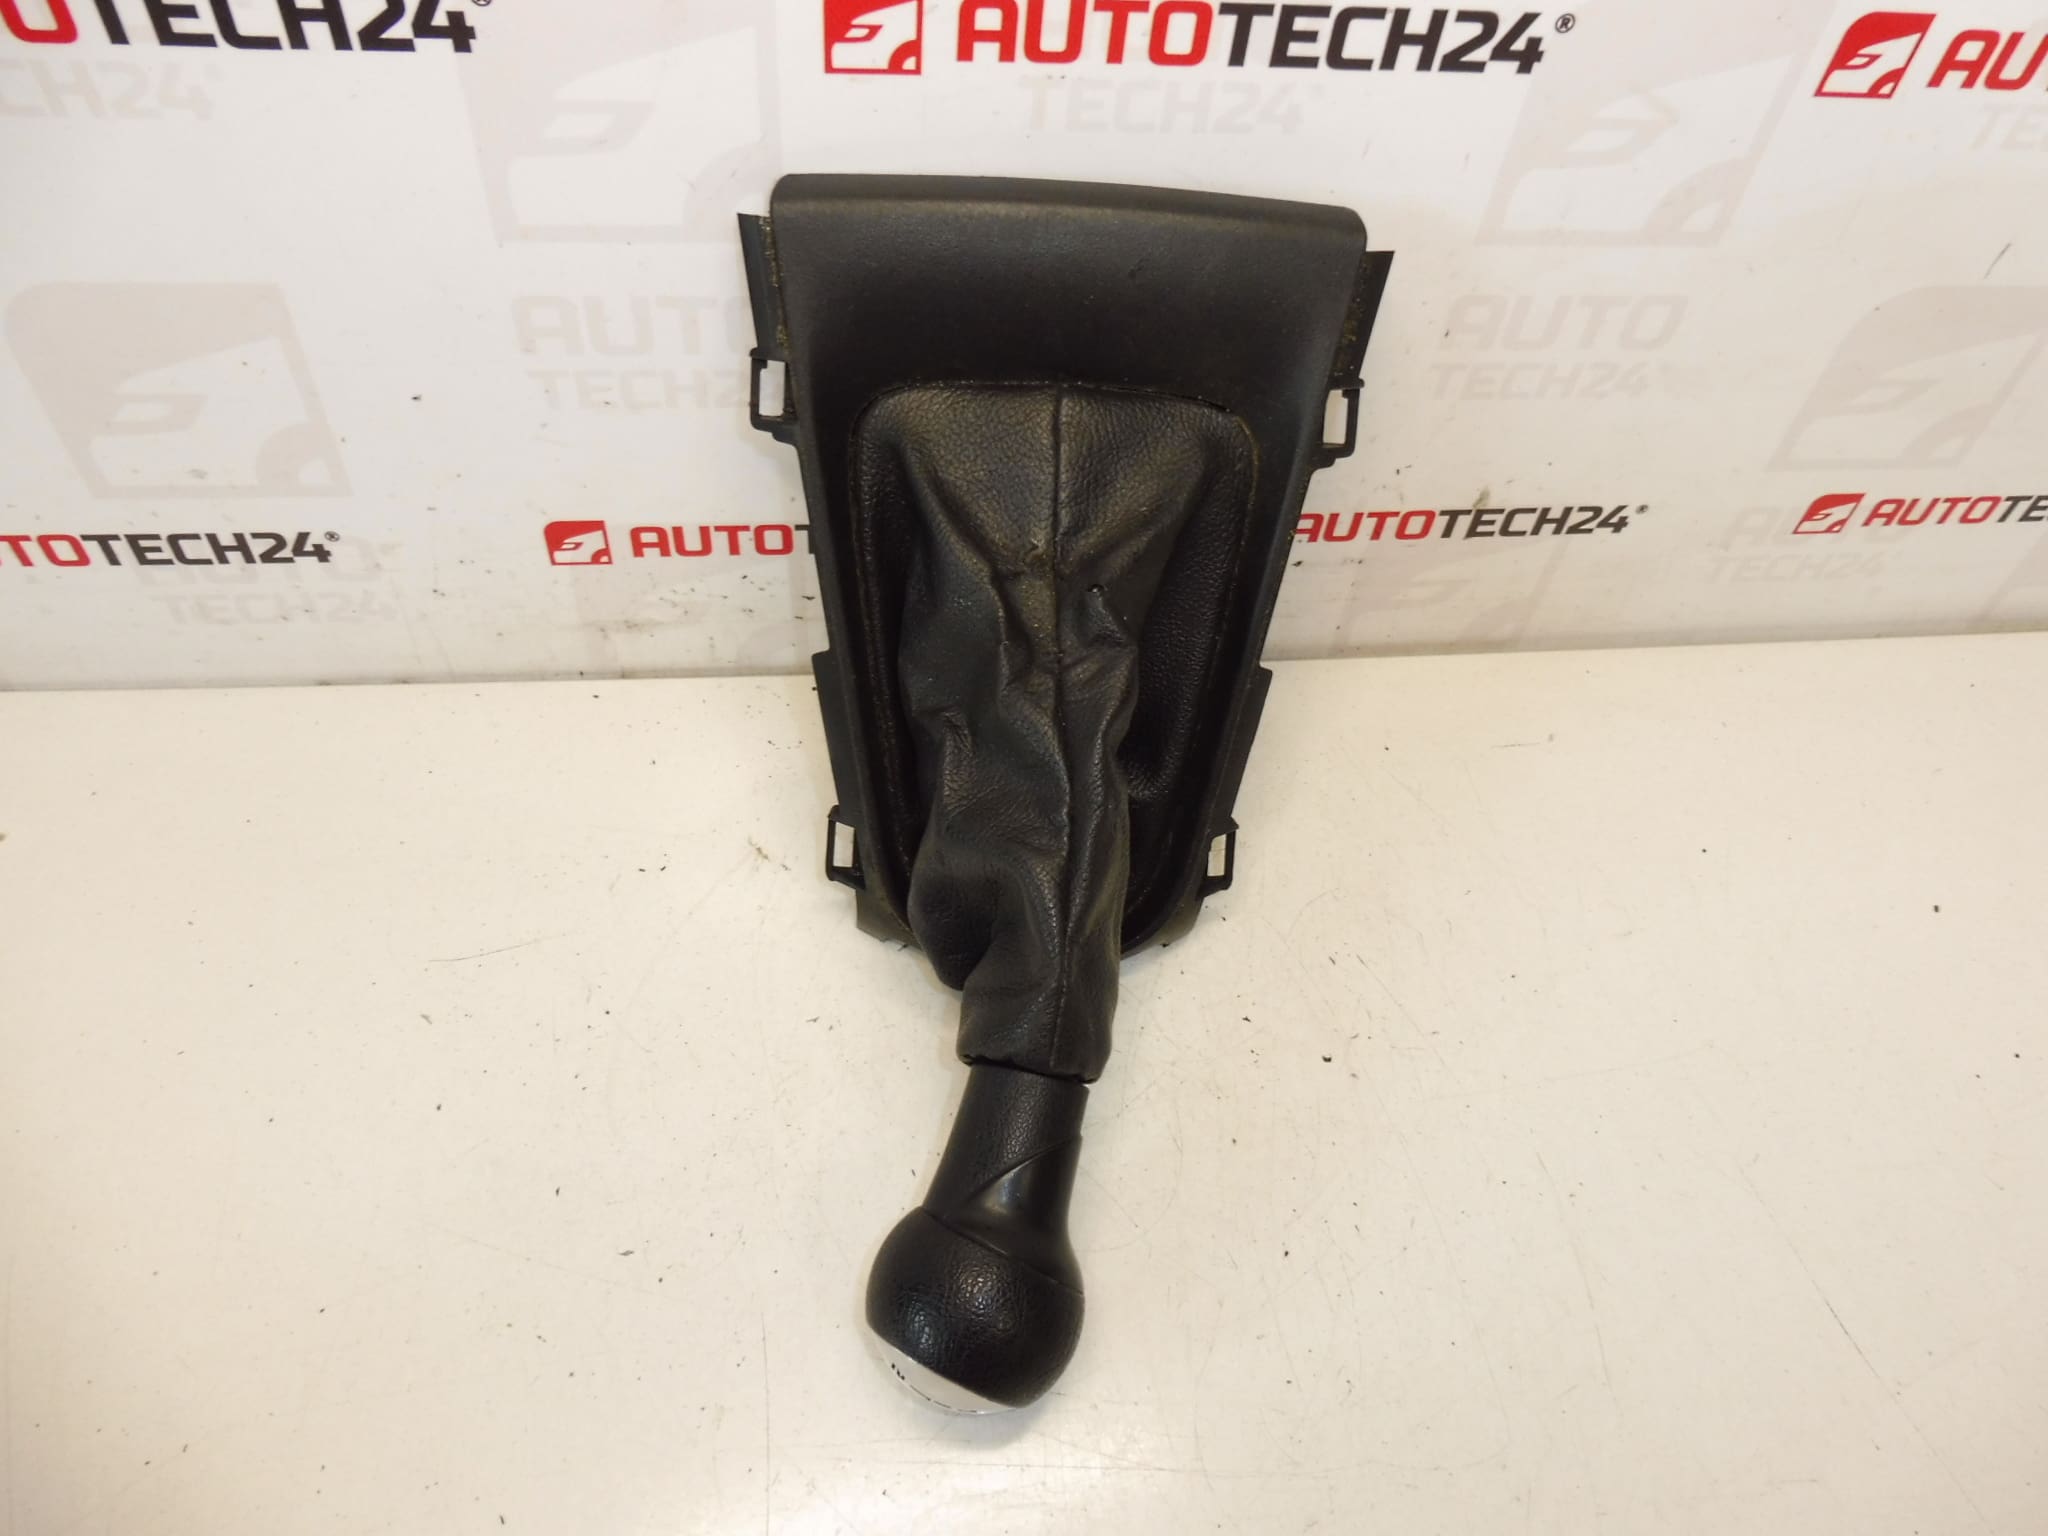
Gear Shift Knob with Gaiter for Citroën C3 II (A51) and DS3. CARLA Version – V210 HZD – Black Mistral. Gaiter Intact.
Product Overview
High-quality gear shift knob with attached gaiter designed for Citroën C3 II (A51) and DS3 models. Finished in Black Mistral and marked as CARLA (V210 HZD), this knob combines factory-style appearance with a direct-fit replacement for vehicles using the same original equipment specifications. Commonly searched under part numbers 2403CL and 7591CC, the unit is a practical choice for mechanics and DIY enthusiasts looking to restore interior look and tactile feel.
Fitment and Compatibility
Fits: Citroën C3 II (A51) and DS3 models that use the CARLA-style shift knob. Verify part numbers 2403CL or 7591CC against your vehicle’s existing knob marking when possible. The knob is intended for manual gear levers where the original CARLA/V210 HZD trim was fitted.
Technical Information
- Manufacturer: Stellantis (Citroën / Peugeot)
- Model: Citroën C3 II (A51); DS3
- Product Codes: 2403CL, 7591CC
- Other Numbers: Not Specified
Installation Recommendations
Installation is straightforward for experienced mechanics and competent DIYers. Typical procedure:
- Inspect surrounding trim and ensure the vehicle is parked with the handbrake on.
- Carefully detach the gaiter from the console retaining ring (use plastic trim tools to avoid damage).
- Depending on the original fixing, the knob may be threaded, held by a retaining clip, or secured with a grub screw under the gaiter—remove the securing element before extracting the old knob.
- Position the new gaiter and knob assembly onto the gear lever, align correctly, and refit the original fastener or clip. Ensure the gaiter is seated into the console retaining ring to prevent movement or rattling.
- Check gear lever operation through the full range of gears to confirm there is no interference.
Use protective gloves and trim tools to prevent scratches to surrounding surfaces. Tighten any fastening points to the manufacturer’s torque specs if applicable.
Common Failure Reasons
Shift knobs and gaiters typically fail or degrade for the following reasons:
- Wear From Use: Constant handling causes surface wear, gloss loss, and eventual cracking of plastic or leather components.
- Gaiter Deterioration: Gaiters can tear, stiffen, or shrink due to age, UV exposure, and temperature cycles.
- Mechanical Damage: Excessive force, impact, or improper removal/installation can break internal clips or threaded inserts.
- Contaminants: Oils, grease, and cleaning chemicals can accelerate material degradation and discoloration.
- Loose Fixings: Worn internal inserts or broken retaining clips lead to knob play or rotation.
Signs You Should Replace The Knob
- Visible cracks, gouges, or worn finish on the knob surface.
- Torn, split, or detached gaiter exposing the gear lever boot area.
- Excessive lateral play or rotation of the knob during gearchanges.
- Unpleasant odors or degraded material consistency in the gaiter.
Why Choose This Part
This CARLA V210 HZD Black Mistral knob offers a factory-matching appearance and fit, restoring interior aesthetics and driver feel without the need for trim modification. Including the intact gaiter saves time during installation and avoids extra purchases.
Additional Notes
Part numbers 2403CL and 7591CC are commonly used in searches; include them when looking up compatibility or comparing replacements. Always follow safe workshop practices and use appropriate tools when removing interior trim and components.
