Description
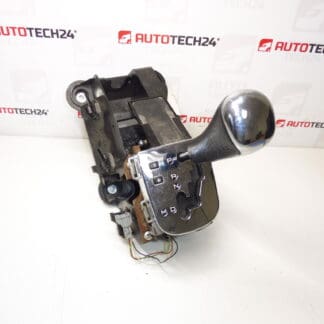
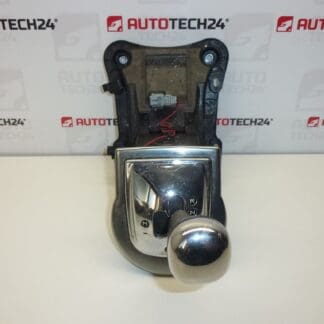
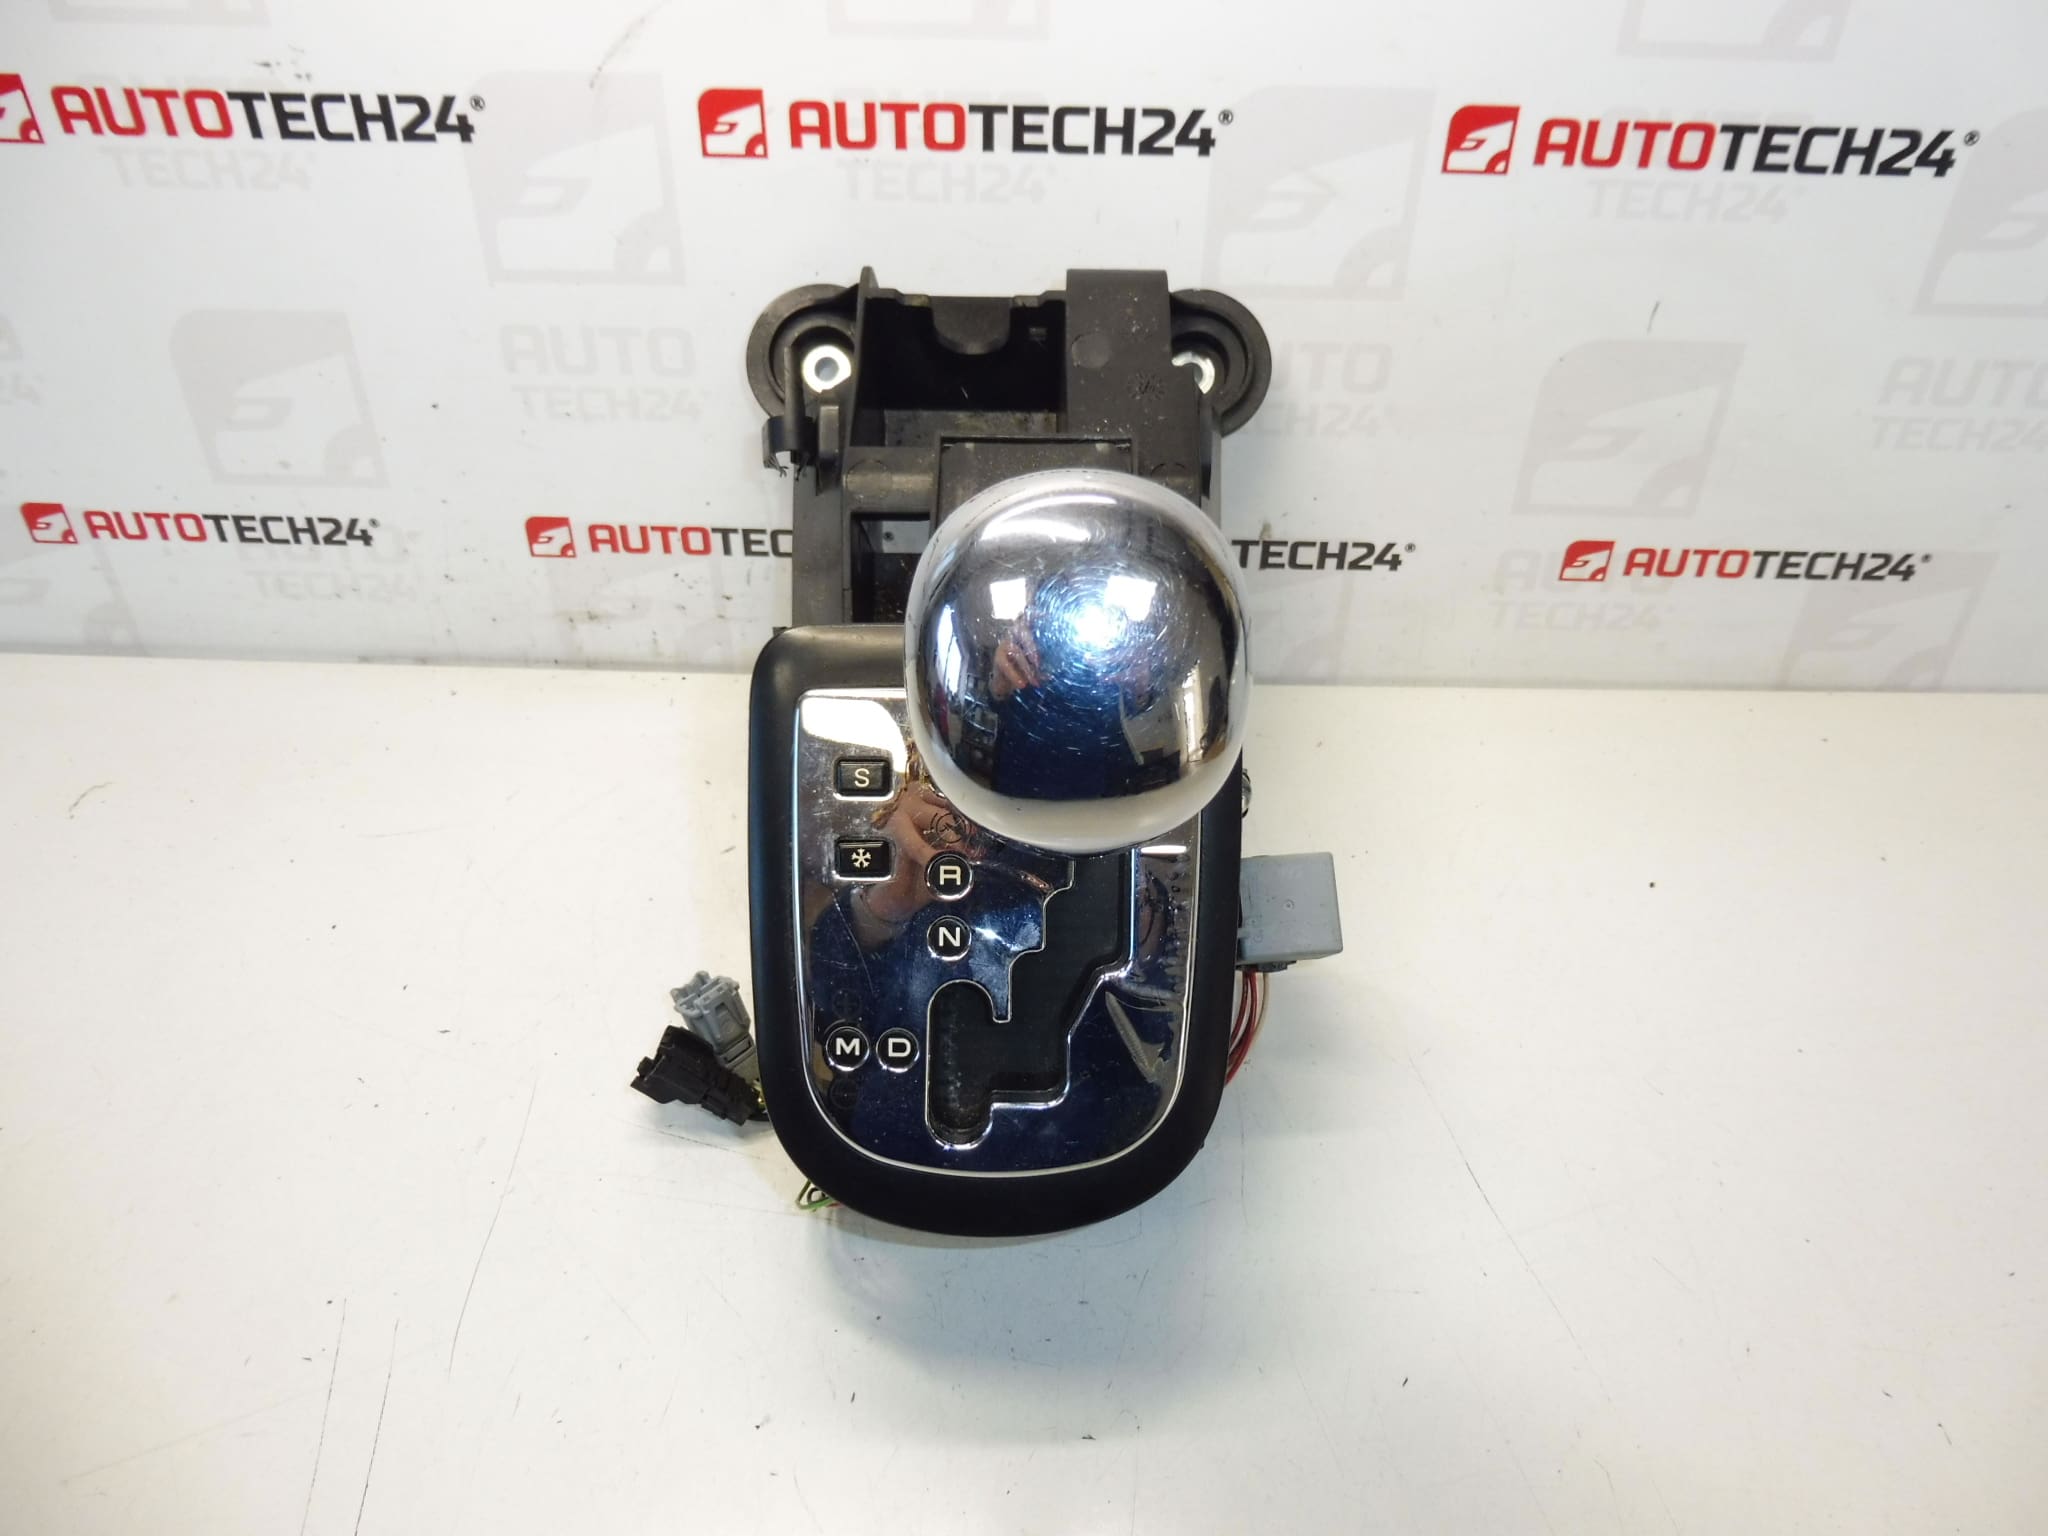
Shift gate for PEUGEOT 307 and Citroën C4. The chrome part 2461C0 is slightly damaged. For automatic transmission. Tested and fully functional.
Product Overview
This shift gate (gear selector trim and mechanism) is a direct-fit used part for Peugeot 307 and Citroën C4 models with automatic transmission. It includes the selector housing and trim that guides the gear lever and interfaces with the transmission shift cables/rod. Supplied with the visible chrome trim (part reference 2461C0), which shows minor damage as noted.
Technical Information
- Manufacturer: Stellantis (Citroën/Peugeot)
- Model: Peugeot 307, Citroën C4
- Product Codes: 9680843280, 2400EJ, 2461C0
- Other Numbers: NFP (reference from source listing)
Fitment
Fits vehicles equipped with the corresponding automatic transmission linkage used on Peugeot 307 and Citroën C4 where the above part numbers apply. Ideal for mechanics and DIY enthusiasts searching by part number (9680843280 / 2400EJ / 2461C0).
Function
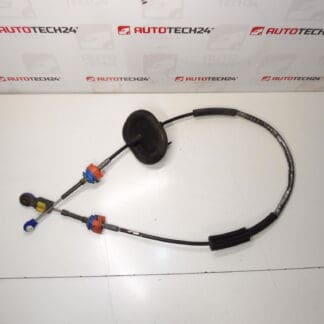
The shift gate guides the gear lever and secures the selector mechanism, ensuring precise engagement of Park, Reverse, Neutral and Drive positions. It transmits driver input via shift cables or rods to the transmission selector and provides mechanical indexing and detents for safe gear selection.
Common Faults And Causes
Typical failure modes include worn or broken plastic detents, cracked or damaged trim, loose or seized linkage bushings, and corrosion where metal components contact. Damage to the chrome trim is cosmetic but can indicate previous impact or wear. Mechanical wear accumulates over many years and heavy use, particularly if exposed to spilled liquids, dirt ingress or aggressive handling.
Replacement Guide
- Safety First: Disconnect the vehicle battery before starting to avoid electrical shorting and to prevent damage to electronic components.
- Remove Center Console Trim: Carefully pry up surrounding trim panels to access mounting fasteners. Keep clips and screws organized.
- Disconnect Linkage: Detach shift cables or rod from the selector arm (note orientation). Some linkages use securing clips or pins that must be removed.
- Unbolt Selector Unit: Remove the mounting bolts holding the selector housing and lift the unit clear of the console.
- Install Replacement: Position the new/used unit, bolt into place, reconnect linkage, and ensure correct routing without kinks.
- Adjust And Test: Adjust cable freeplay/stop per manufacturer procedure, reconnect the battery, and confirm smooth selection through all gears. Perform a road test to verify correct engagement.
Installation Recommendations
- Always Follow Manufacturer Procedure: Use a workshop manual for model-specific steps and torque values.
- Use Proper Tools: Trim tools to avoid breaking plastic clips; suitable pliers for linkage pins.
- Inspect Related Components: Check shift cables, bushings, console mounting points and electrical connectors for wear or corrosion; replace worn items to avoid repeat failures.
- Lubrication: Lightly lubricate moving linkage pivots with appropriate grease where specified by the manufacturer—avoid contaminating trim surfaces.
- Final Check: Verify gear selection with engine running and parking brake applied; ensure Park locks correctly before driving.
Why The Part Usually Fails
Failure is most often due to mechanical wear of plastic detents and bushings, impact damage to the visible trim, or deterioration of linkage components from age, dirt ingress and fluid contamination. Repeated forceful shifting, lack of maintenance and accidental knocks to the center console accelerate wear.
Who Should Buy This Part
Recommended for professional auto mechanics and competent DIYers restoring or repairing the gear selector on Peugeot 307 and Citroën C4 automatic models. Searching by the part numbers 9680843280, 2400EJ or 2461C0 will help confirm compatibility for many repair jobs.