Description
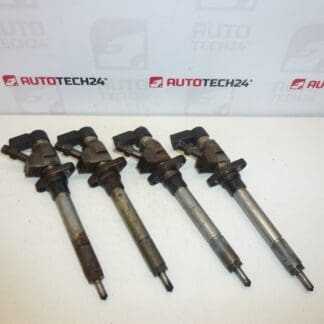
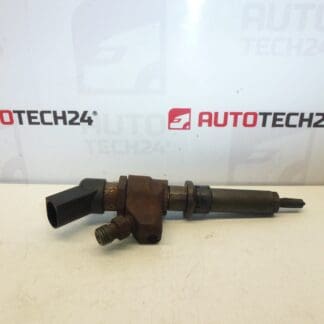
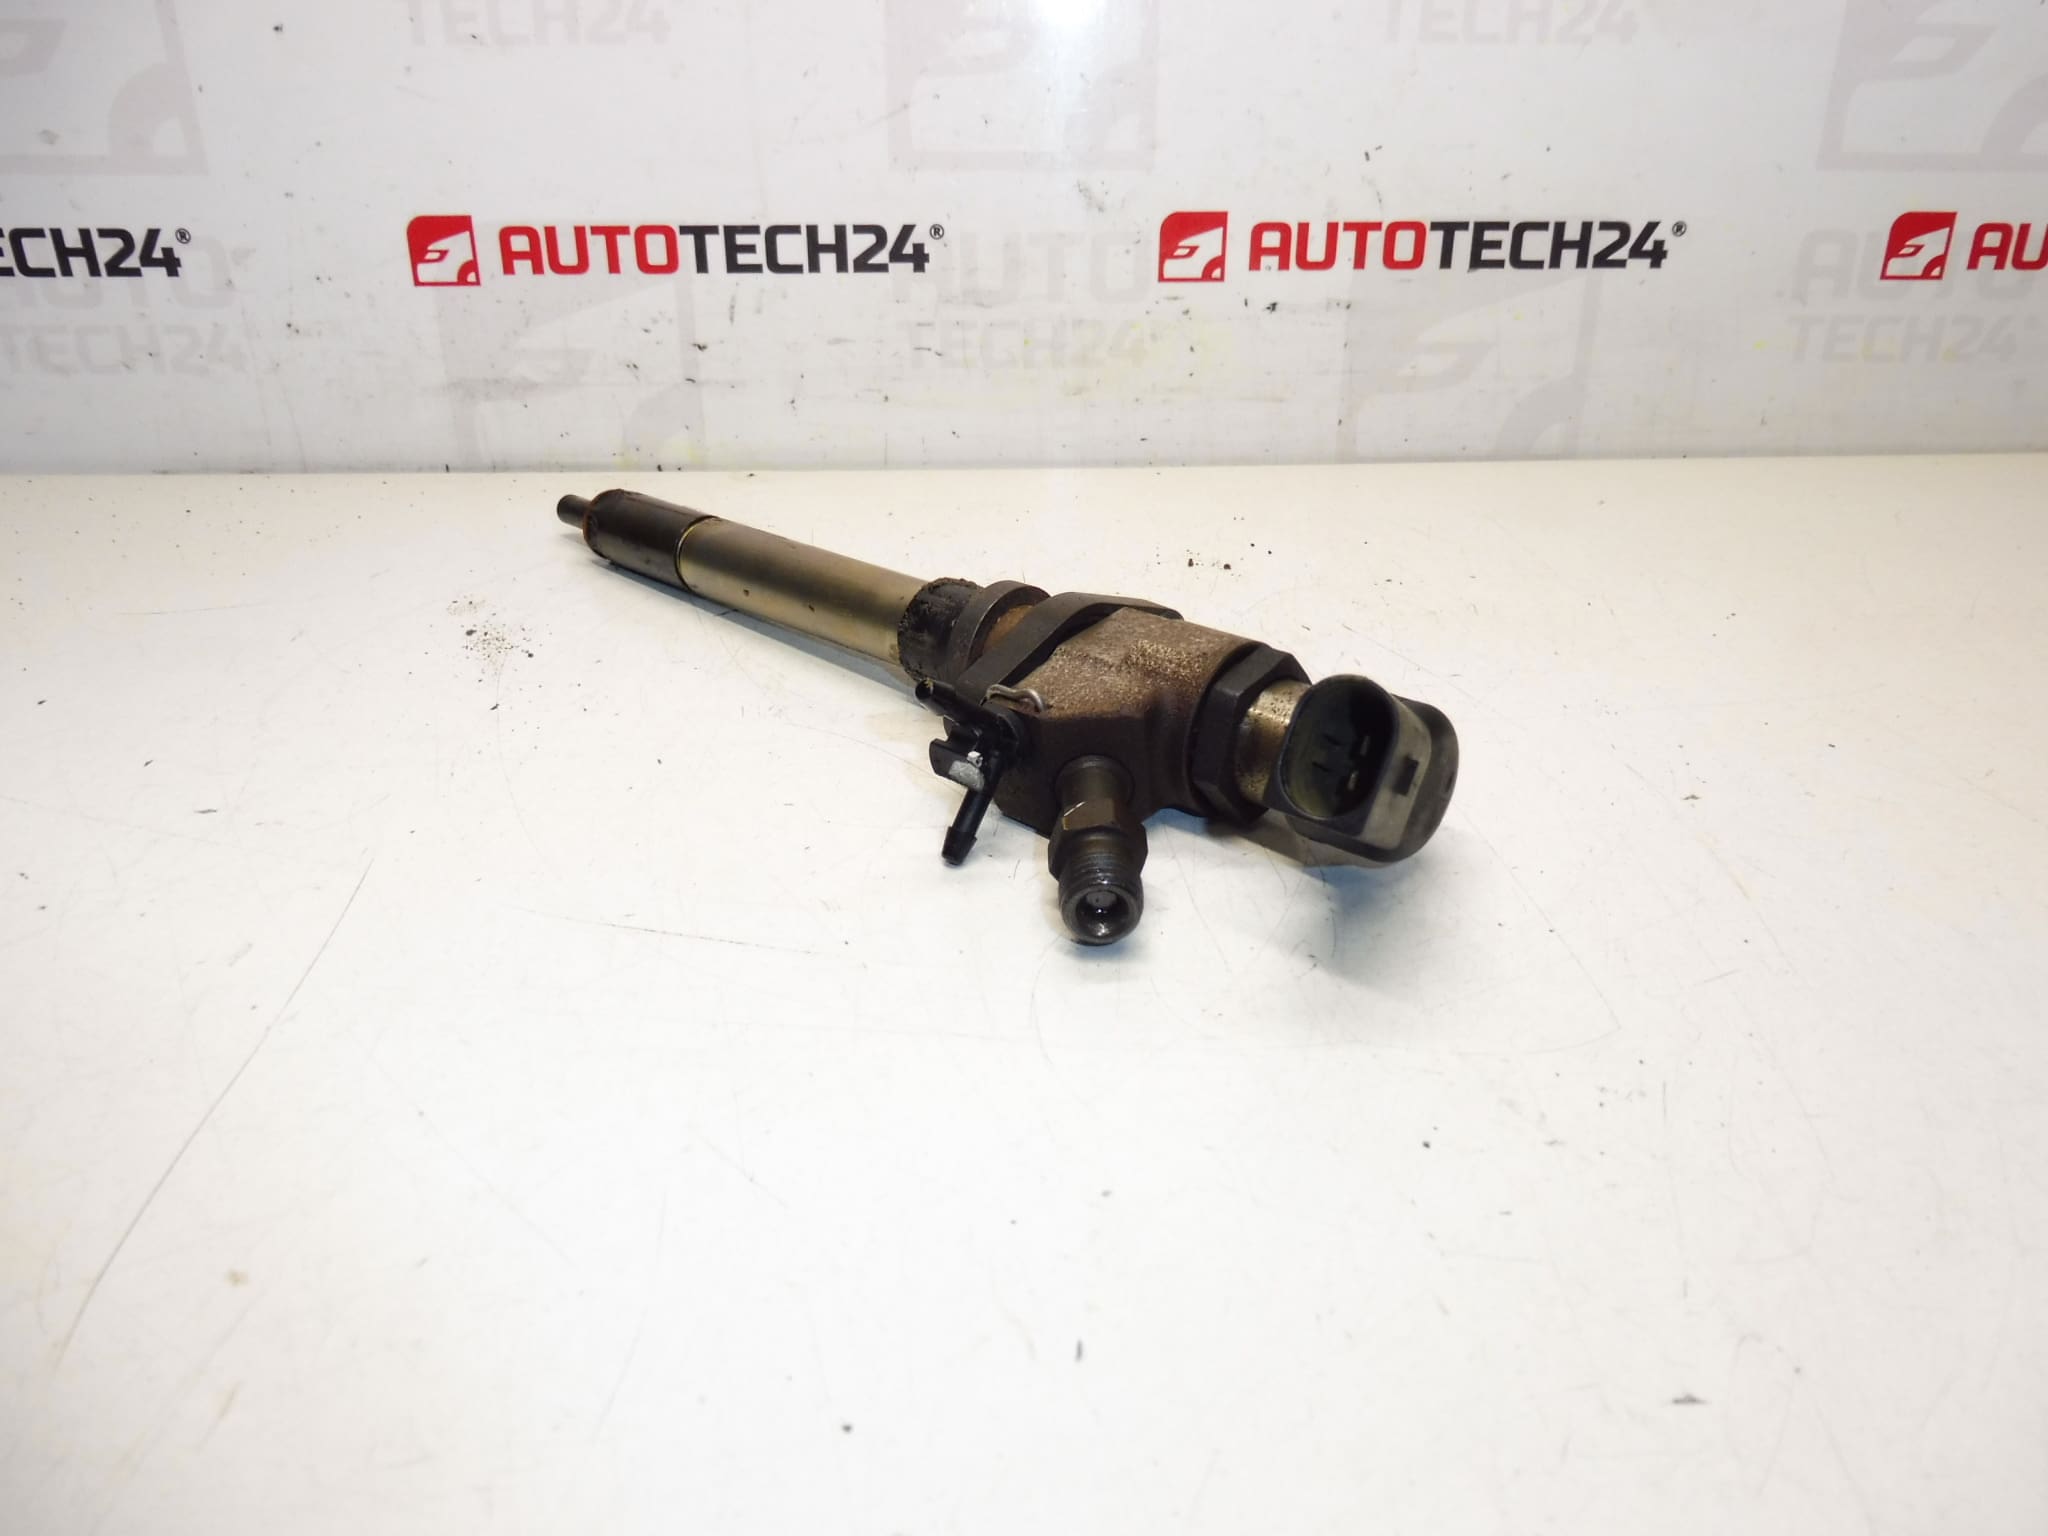
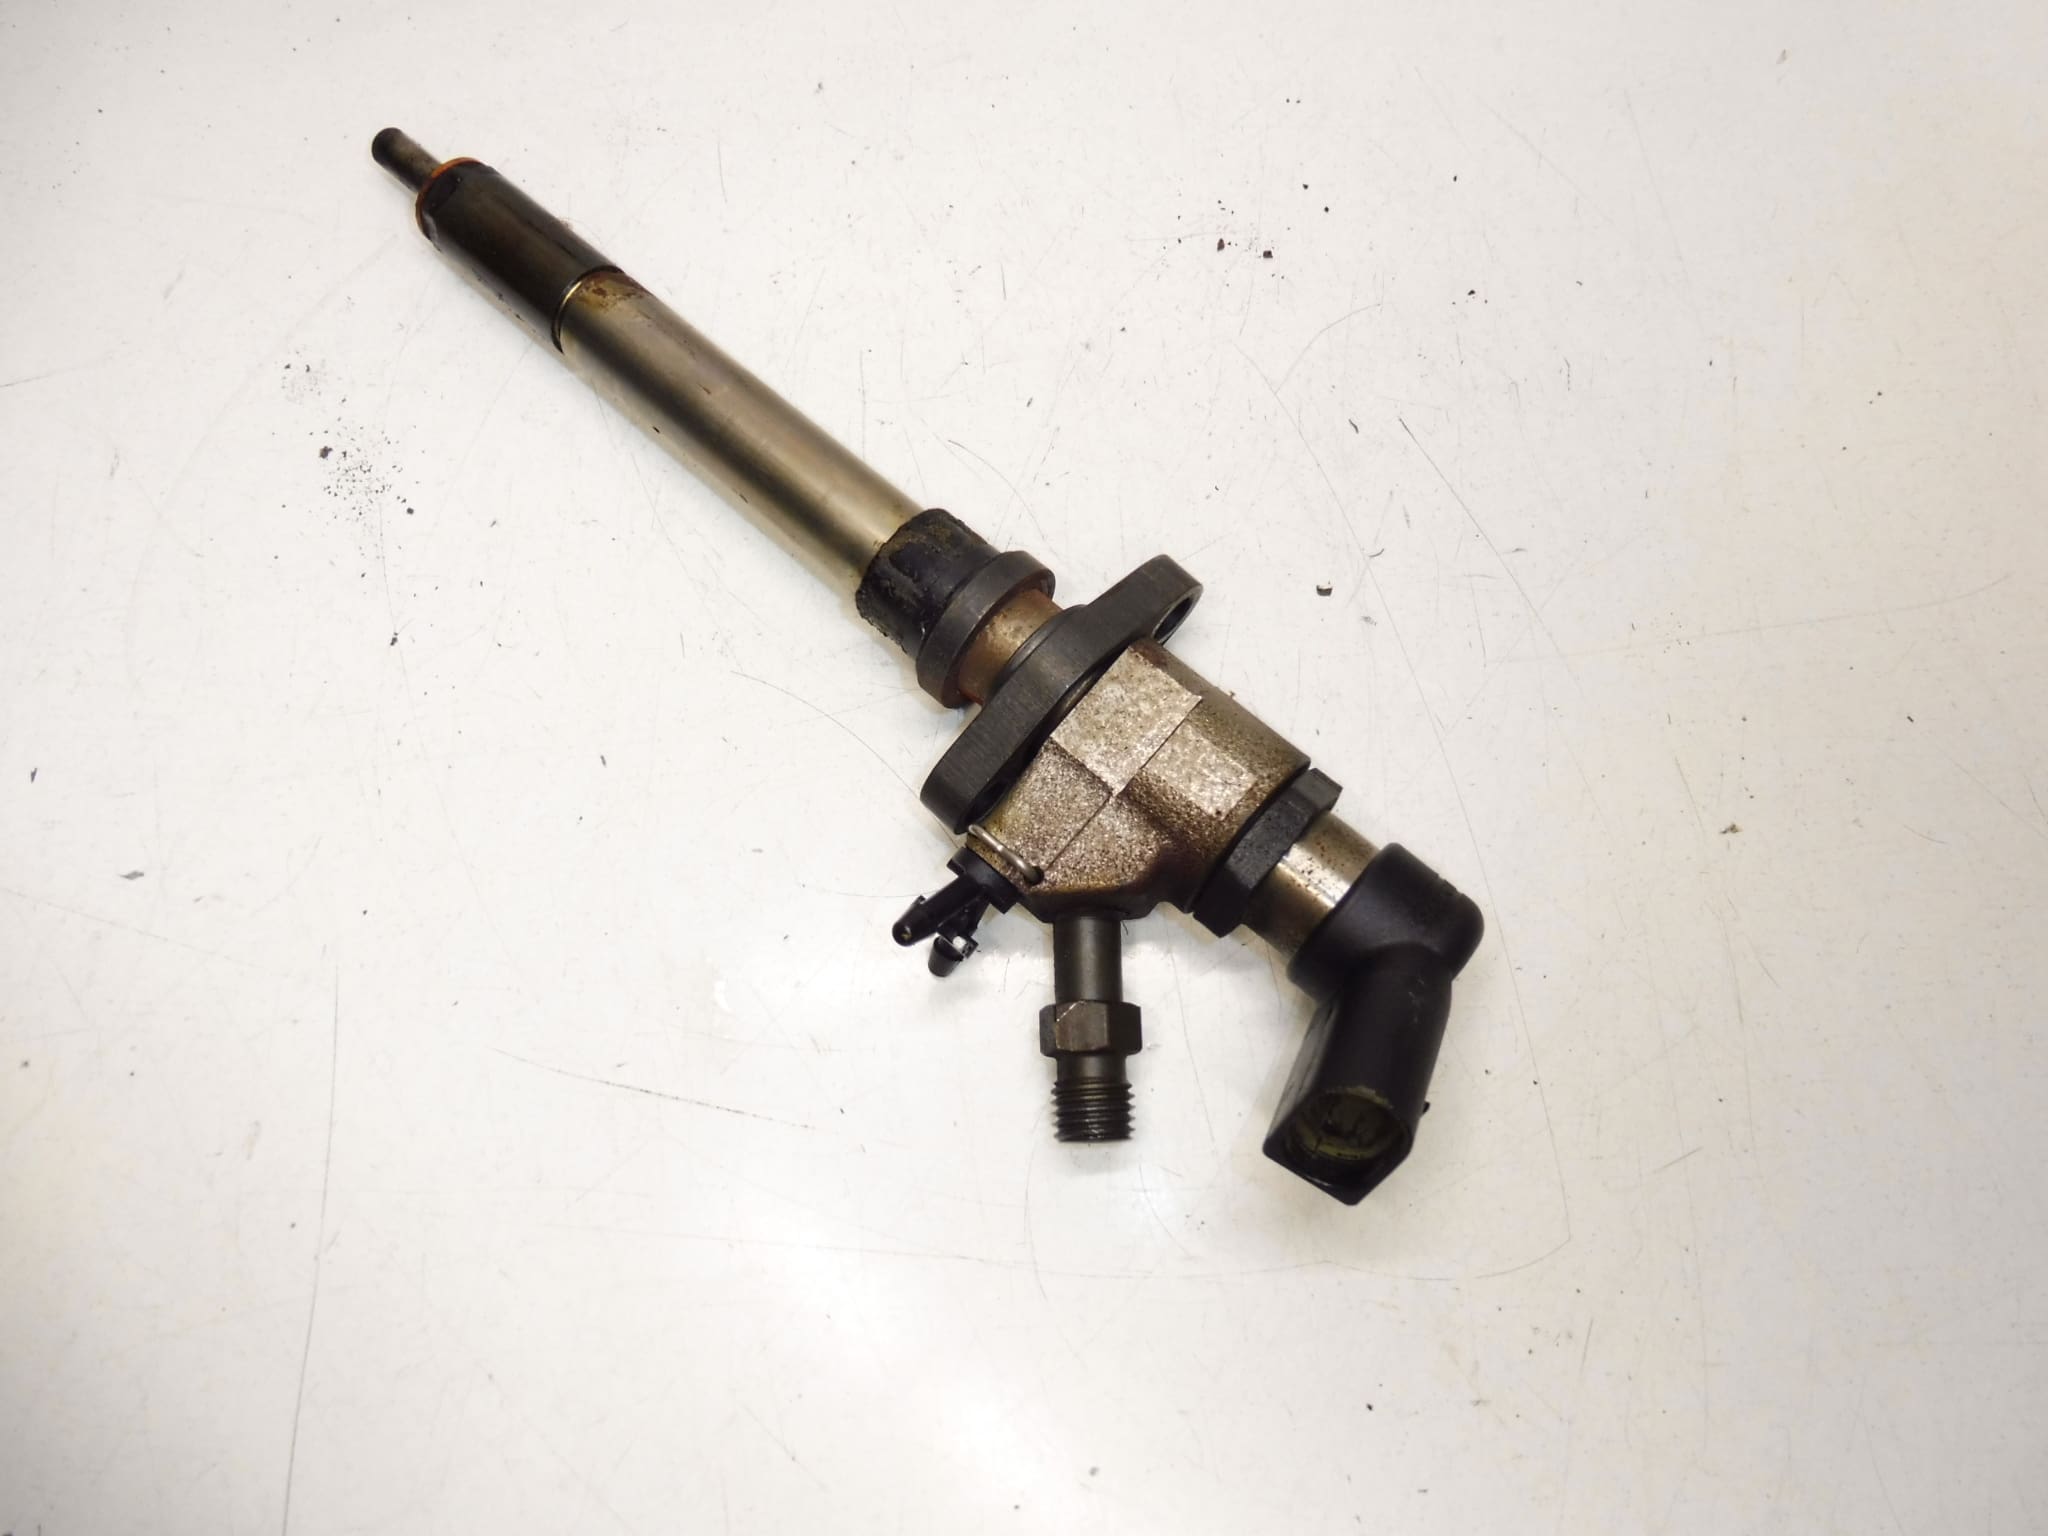
Siemens Injector 2.0 HDI 9657144580 9647247280 CL5
Fits Vehicles Citroën, Fiat, Ford, Peugeot, Volvo
From A Vehicle With 185000 Km. The Car Ran Perfectly.
Injectors With Mileage Over 100,000 Km May Not Pass A 100% Functional Test.
High-quality Siemens diesel injector designed for PSA 2.0 HDi engines, offered with key OEM reference numbers commonly searched by mechanics and DIY enthusiasts. This injector is a direct-fit option for many Citroën and Peugeot applications and also matches selected Fiat, Ford and Volvo models. Ideal for workshops and independent repairers who look up parts by product code, the listing includes the most relevant part numbers to simplify identification.
Technical Information
- Manufacturer: Siemens
- Model: 2.0 HDI
- Product Codes: 9657144580, 9647247280
- Additional Numbers: 1980J5, 1980Z0
- Compatible Vehicles: Citroën C4, Citroën C4 Picasso, Citroën C5, Citroën C5 X7, Citroën C8, Peugeot 307, Peugeot 407, Peugeot 807 and selected Fiat, Ford and Volvo models
Fitment And Function
This injector is a common-rail unit for 2.0 HDi diesel engines. It controls high-pressure fuel delivery to the combustion chamber with precise timing and metering, contributing to efficient combustion, smooth idling and responsive throttle behaviour. Correct fitment to the fuel rail and electrical connector is essential for reliable operation.
Installation Recommendations
- Relieve Fuel Pressure And Disconnect Battery Before Starting Work.
- Work In A Clean Area To Prevent Contamination Of The Injector Bore And Fuel System.
- Always Fit New Sealing Washers And O-Rings. Damaged Or Hardened Seals Are A Common Source Of Leaks.
- Carefully Remove The High-Pressure Rail Clamp, Unplug Electrical Connector And Extract Injector Straight Out To Avoid Bore Damage.
- Clean Injector Seats And Check For Carbon Build-Up. Light Honing Or Cleaning May Be Required If Deposits Are Present.
- After Installation, Prime And Bleed The Fuel System According To Manufacturer Procedure To Avoid Air In The Rail.
- Use A Diagnostic Tool To Perform Injector Coding Or Adaptation If Required By The Vehicle Electronic Control Unit.
- Test For Leaks And Verify Engine Operation Under Different Loads After Replacement.
Reason Why The Part Most Often Fails
- High Mileage Wear: Mechanical wear of internal components and nozzle erosion increases with kilometres—injectors over 100,000 km can show degraded performance.
- Fuel Contamination: Dirty fuel, water or particulates cause nozzle blockage, scoring and accelerated wear.
- Deposits And Coking: Poor combustion or low-quality fuel leads to carbon buildup that affects spray pattern and atomization.
- Sealing Failure: Hardened or damaged washers and O-rings cause external or internal leaks and pressure loss.
- Electrical Problems: Corroded connectors, damaged wiring or solenoid faults lead to misfires or non-functioning injectors.
Typical Service Life Depends On Maintenance And Fuel Quality; Many Injectors Last Well Beyond 100,000 Km With Proper Care, While others May Require Replacement Earlier. When Replacing One Injector, Check All Units And The Fuel System To Prevent Repeat Failures.