
Description
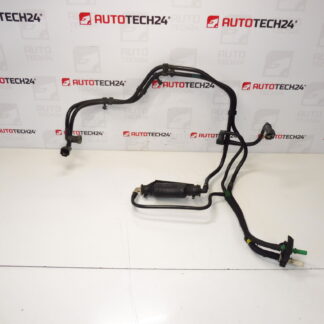
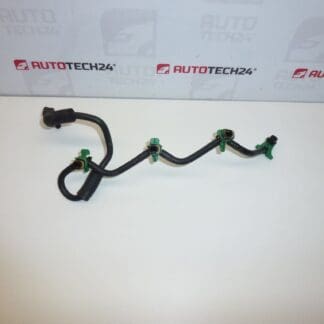
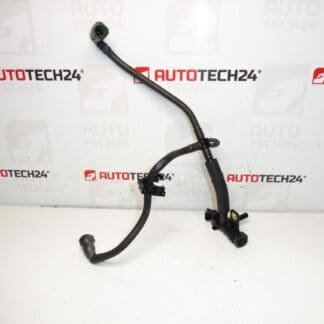
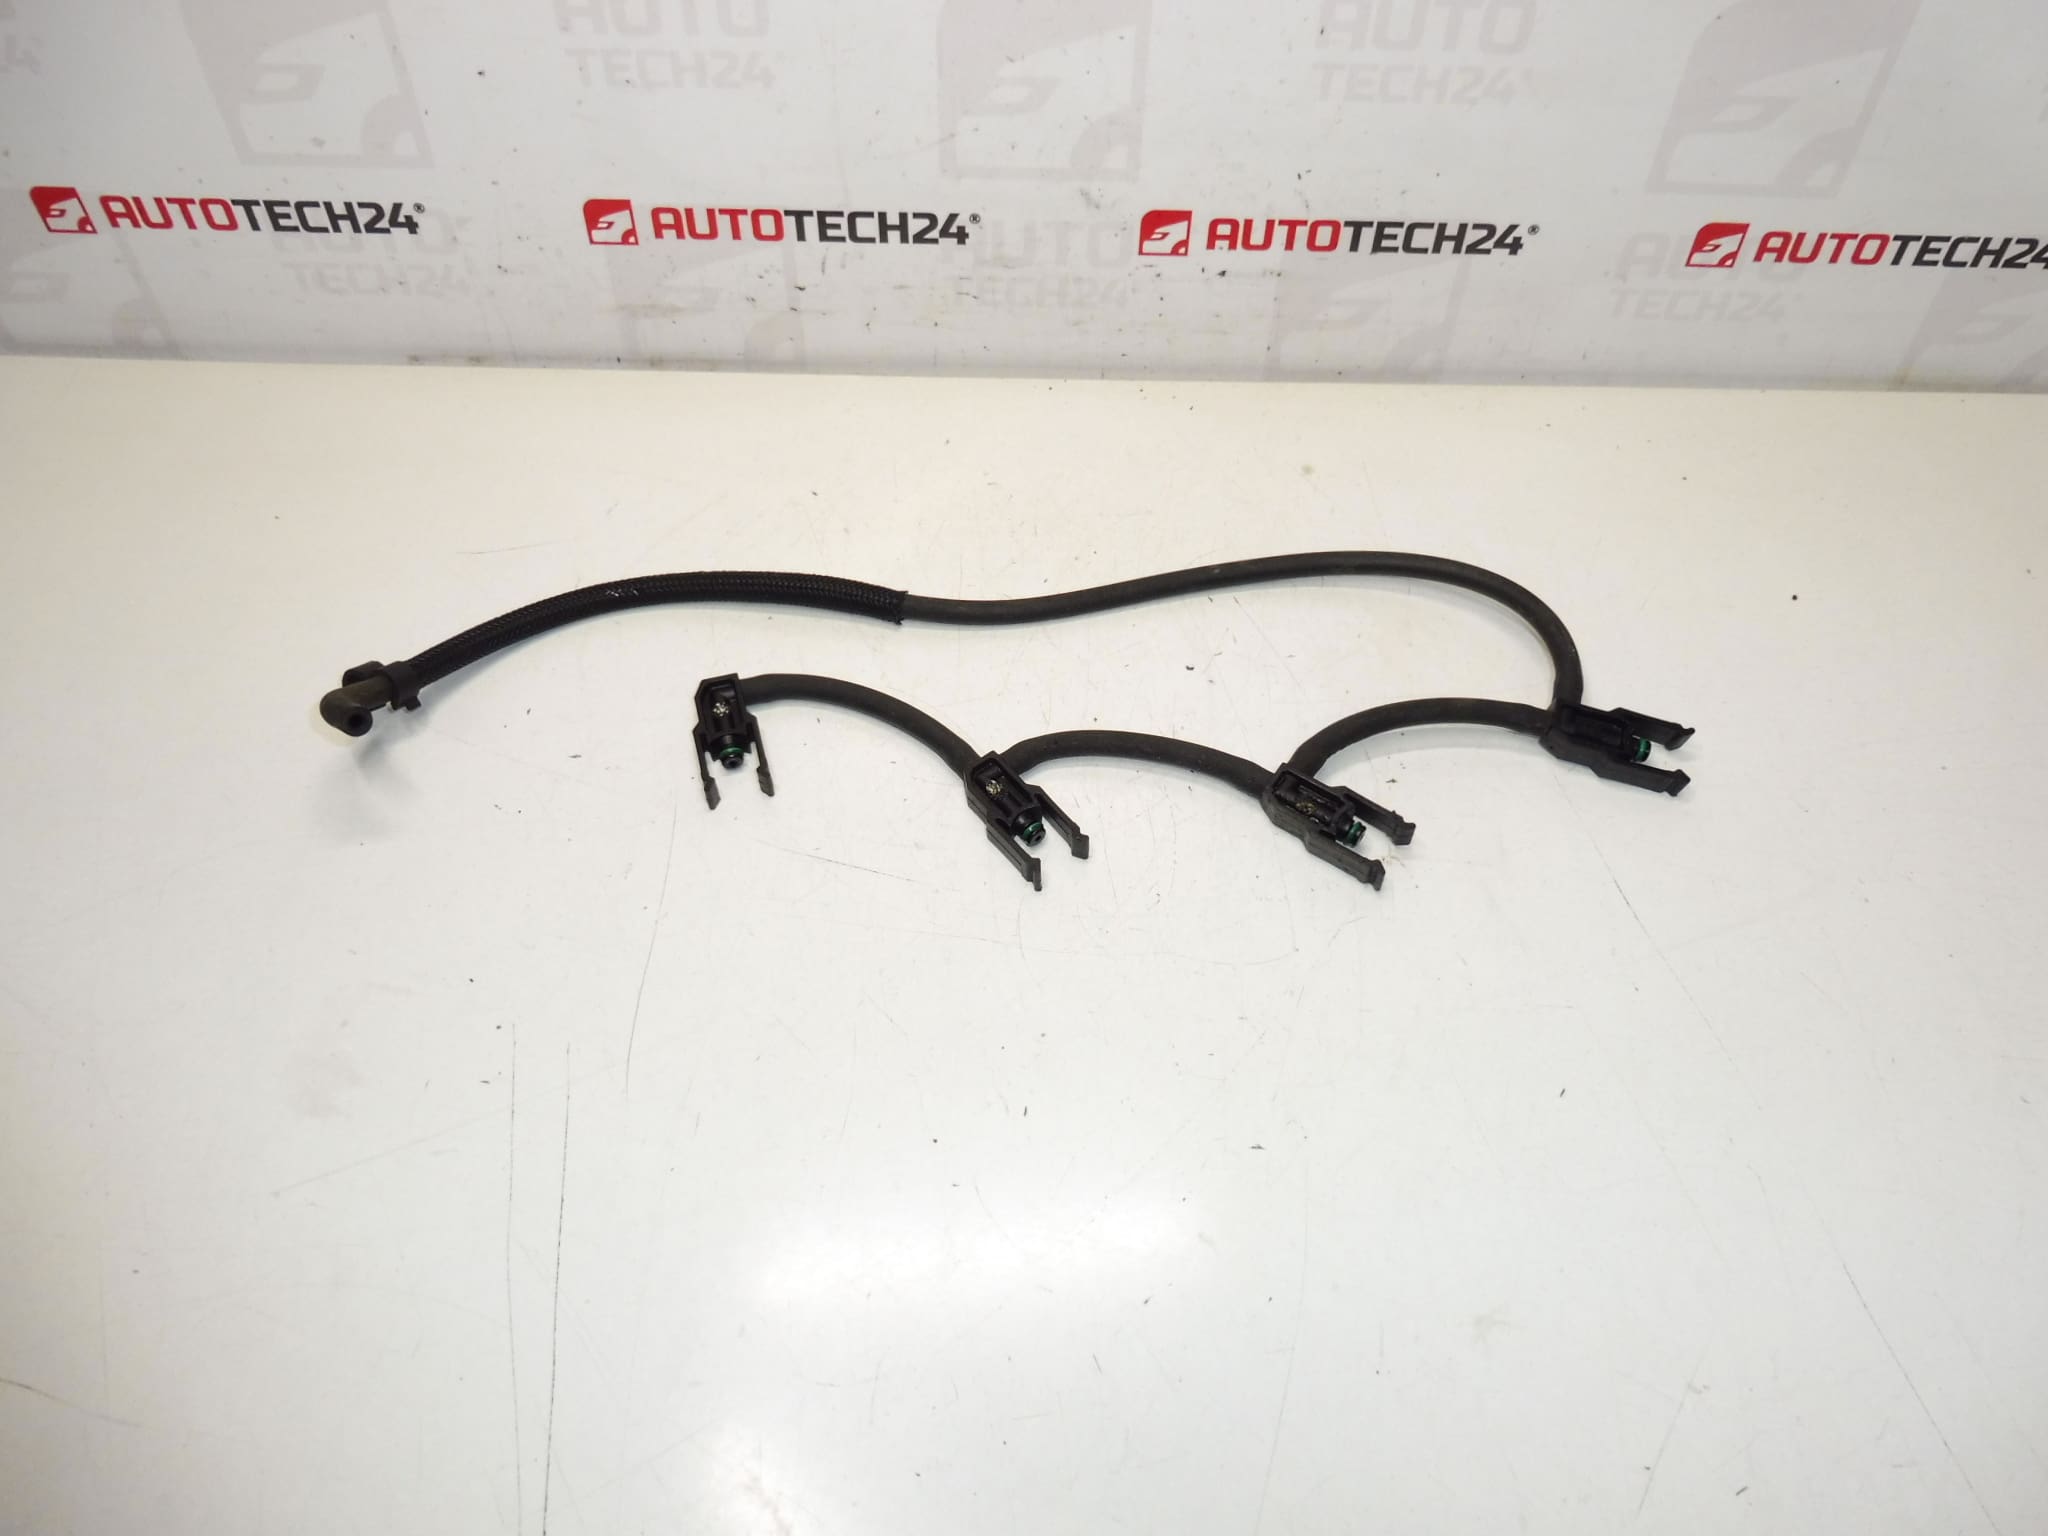
Overflow Hoses For Engines With DELPHI Injection 1.4 HDI 16V
High-quality overflow hoses designed for Citroën and Peugeot 1.4 HDI 16V engines fitted with DELPHI fuel injection systems. These hoses (part code 1579GJ) serve as reliable fuel/return lines or overflow connectors around the injection system, providing a secure route for excess fuel and pressure relief. Ideal For Professional Garages And Competent Do-It-Yourself Mechanics Searching By Part Number.
Product Description And Benefits
These replacement overflow hoses are manufactured to match the routing and connection points of original equipment on compatible vehicles. They Resist Typical Diesel Fuel Effects And Mechanical Loads, Help Maintain Correct Fuel Pressure Management And Reduce The Risk Of Leaks Around The Injection Rail. The Compact Design Simplifies Installation Without Major Disassembly Of Surrounding Components.
Technical Information
- Manufacturer: Stellantis (Citroën/Peugeot)
- Model: Citroën C3; Peugeot 1007; Engines With 1.4 HDI 16V Delphi Injection
- Product Codes: 1579GJ
- Additional Numbers: No Additional Numbers Provided
Installation Recommendations
- Work In A Well-Ventilated Area And Relieve Fuel System Pressure Before Beginning.
- Disconnect The Battery To Minimize Risk Of Sparks During Work On The Fuel System.
- Carefully Remove Any Engine Covers Or Components Blocking Access To The Affected Hoses.
- Loosen Hose Clamps Or Quick-Connect Fittings, Then Remove Old Hoses. Note Routing And Connector Orientation For Correct Replacement.
- Inspect Connectors, Clips And Sealing Surfaces; Clean Or Replace Any Damaged Mounting Hardware.
- Fit The New Hose In The Same Orientation, Secure Clamps Or Connectors Firmly, But Avoid Over-Tightening That Could Damage Fittings.
- Reconnect Battery, Prime The Fuel System If Required, Start The Engine And Check For Leaks Under Various Loads.
Typical Service Life And When To Replace
Service Life Depends On Operating Conditions But Hoses Commonly Last Several Years. Replace Immediately If You Observe Cracks, Hardened Sections, Fuel Odor, Visible Leaks Or Loose Connections. Routine Inspections During Scheduled Maintenance Help Detect Wear Early.
Why This Part Fails Most Often
- Aging And Material Degradation: Heat Cycling And Chemical Exposure Cause Rubber And Elastomers To Harden, Crack Or Swell Over Time.
- Fuel Contamination: Dirt Or Water In The Fuel Can Accelerate Wear And Lead To Internal Blockages Or Swelling.
- Mechanical Stress And Vibration: Improper Routing, Rubbing Against Other Parts Or Excessive Engine Movement Can Cause Abrasion And Leaks.
- Poor Clamps Or Connections: Broken Or Loose Clamps Allow Pressure Loss And Promote Leak Development At Fitting Points.
Search Engine Friendly Keywords: Overflow Hose, 1579GJ, 1.4 HDI 16V, Delphi Injection, Citroën C3, Peugeot 1007, Fuel Return Hose.