Description
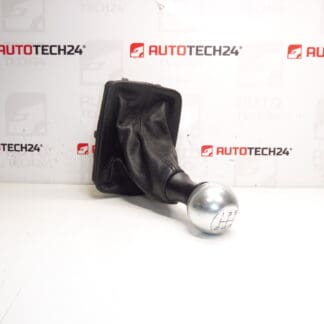
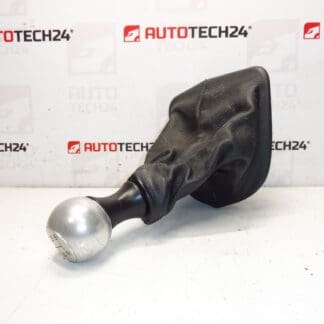
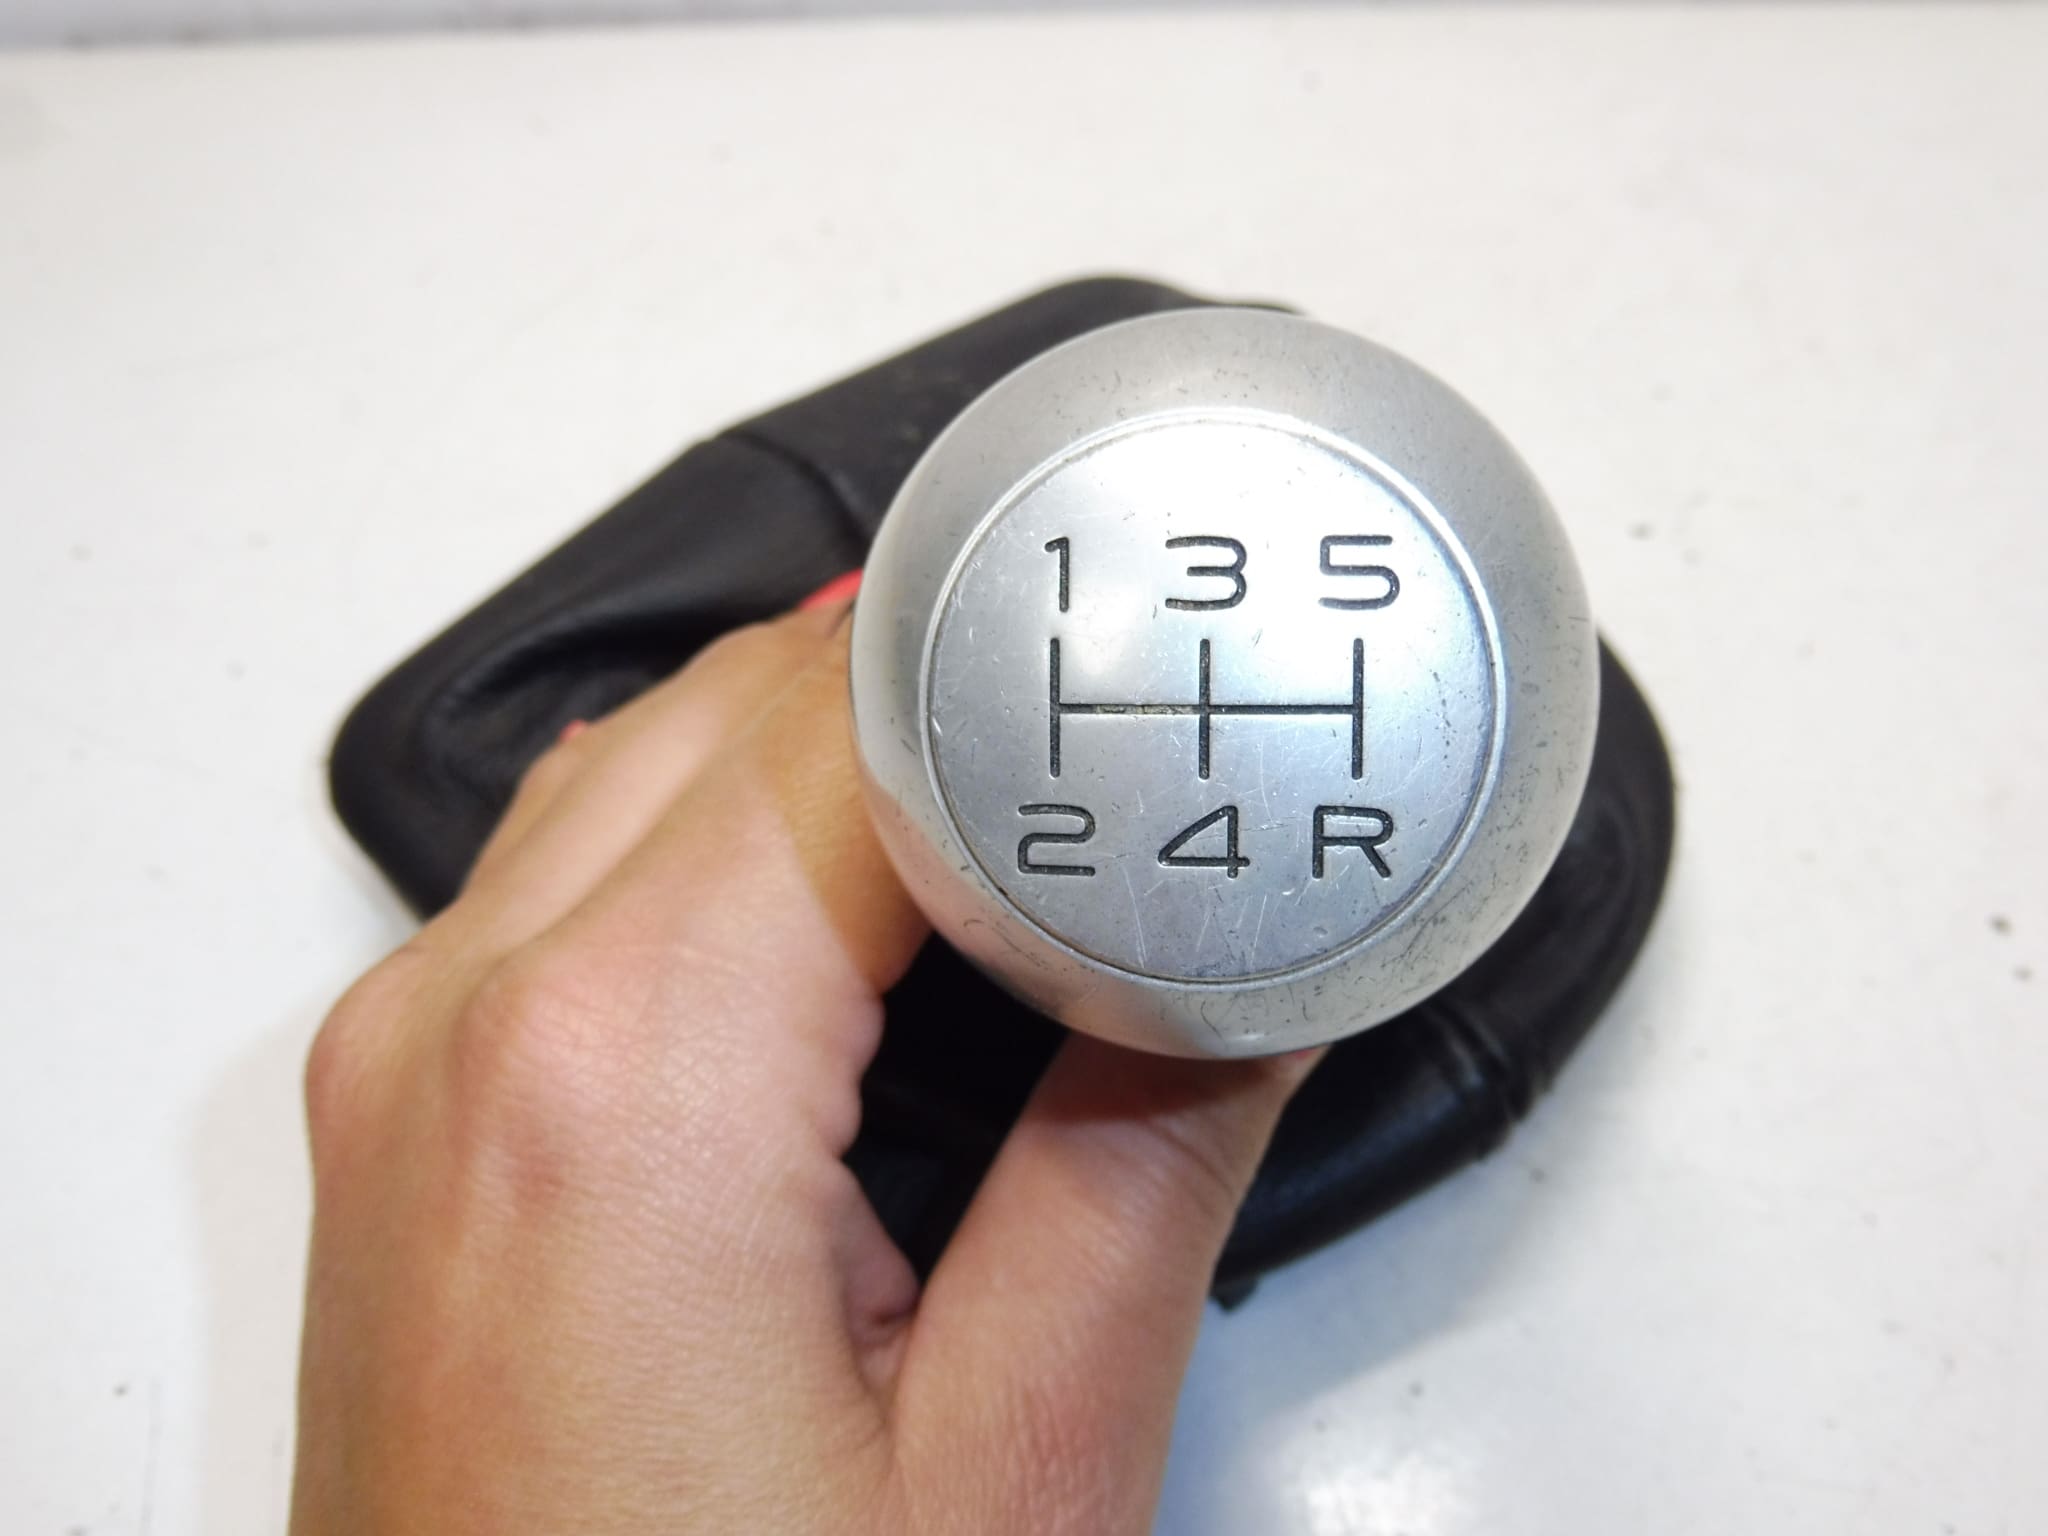
Gear shift knob for various Citroën and Peugeot models 206, 307. With gear lever gaiter for PEUGEOT 307 7588VR. Finish HZR – Grey Astrakhan. Parts are used, may show signs of wear, gaiter is not torn.
This replacement gear shift knob is a practical and affordable option for mechanics and DIY enthusiasts working on Citroën and Peugeot vehicles. Designed to match the original ergonomics and appearance, it restores comfortable gear changes and maintains the interior look of Peugeot 206 and 307 models (and compatible Citroën variants). The included gaiter makes the unit ready for direct installation on Peugeot 307 applications using code 7588VR.
Technical Information
Manufacturer: Stellantis Citroën Peugeot
Model: Peugeot 206; Peugeot 307; Various Citroën Models
Product Codes: 2403CY, 7588VR, NFP
Other Numbers: 2403CY, 7588VR
Compatibility And Application Notes
The part is commonly fitted to Peugeot 206 and Peugeot 307 interiors and may also fit several Citroën models that share the same shift mechanism. Always confirm physical match of the mounting interface and gaiter attachment points before installation. The gaiter supplied corresponds to the Peugeot 307 7588VR specification.
Installation Recommendations
Replacement is straightforward for experienced technicians and competent DIYers. Typical installation steps:
- Place vehicle in neutral and engage the handbrake.
- Carefully remove the existing knob: some knobs unscrew, others are retained by clips—use a trim tool to avoid damaging surrounding trim.
- Release the gaiter from its retaining groove or clips and slide it down the lever.
- Fit the new gaiter and align it with the mounting points, then secure it into the trim recess.
- Push or screw the new knob onto the lever until it engages firmly; ensure correct orientation so gear pattern (if present) is readable.
- Test gear selection through the gate and check for any excessive play or rubbing against surrounding trim.
If the vehicle requires removal of center console trim or fasteners, proceed carefully and retain all clips and screws. Some variants may require access from below the console; follow the vehicle-specific repair manual for torque values and trim removal order.
Why This Part Fails Most Often
Shift knobs and gaiters are subject to constant mechanical stress and cosmetic wear. Common failure causes include:
- Surface Wear And Gloss Loss: Continuous handling causes finish abrasion and loss of texture or color.
- Clip Or Mounting Fatigue: Retaining clips or internal threads can wear or break, producing looseness or a wobble in the knob.
- Gaiter Degradation: Rubber or synthetic gaiters deteriorate over time from UV exposure, heat and contact with oils or chemicals, leading to stiffness or splitting (in this case the gaiter is not torn).
- Impact Damage: Hard knocks or accidental impacts can crack the knob or deform attachment points.
Used parts may show cosmetic marks from normal use but are fully serviceable when mounting points and gaiter condition are intact. Regular inspection and gentle cleaning extend service life and maintain interior appearance.