Description
Product Description
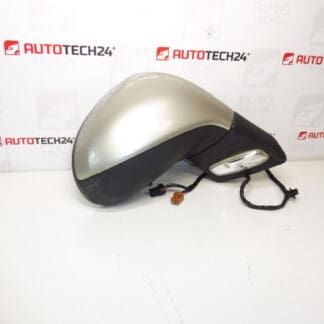
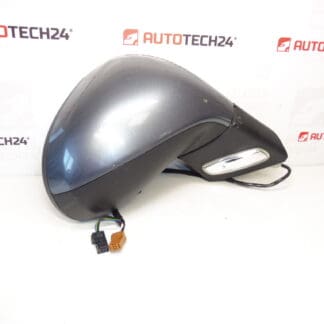
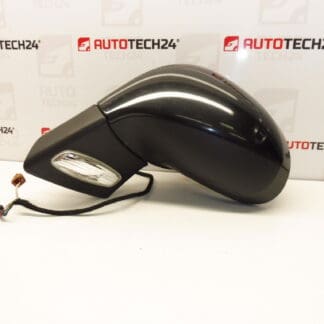
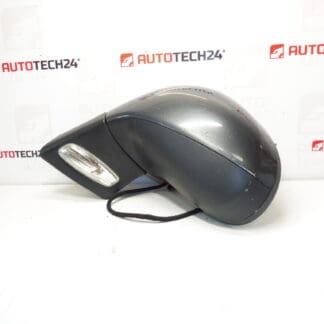
This left side mirror is designed specifically for the Peugeot 207, offering electric adjustment and built-in heating to ensure clear visibility in cold or foggy conditions. The mirror features an elegant Shark Gray finish (color code KTP), complementing your vehicle’s exterior. While the surface may have minor scratches, this does not affect its full functionality.
Ideal for mechanics and DIY enthusiasts, this replacement mirror restores both appearance and function without the expense of a new part. Its compatibility with Peugeot 207 models guarantees straightforward installation, whether done professionally or independently.
Technical Information
- Manufacturer: Original PSA Citroën Peugeot
- Model: Peugeot 207
- Product Codes: 96806498XT, 8149ZG
- Additional Codes: KTP (Color Code)
Left side mirrors on the Peugeot 207 are known for their reliability and longevity. Over time, factors such as weather exposure and minor impacts can cause wear or damage, making replacement necessary. This part ensures restored functionality with features like electric control for mirror positioning and heating elements that prevent fogging and ice formation. Installation is relatively simple, requiring removal of the original mirror assembly and fitting of this replacement unit, making it a great option for cost-conscious customers.
Whether you are a professional mechanic or a car enthusiast performing repairs yourself, this left side mirror is a dependable choice to maintain safety, style, and comfort in your Peugeot 207.