Description
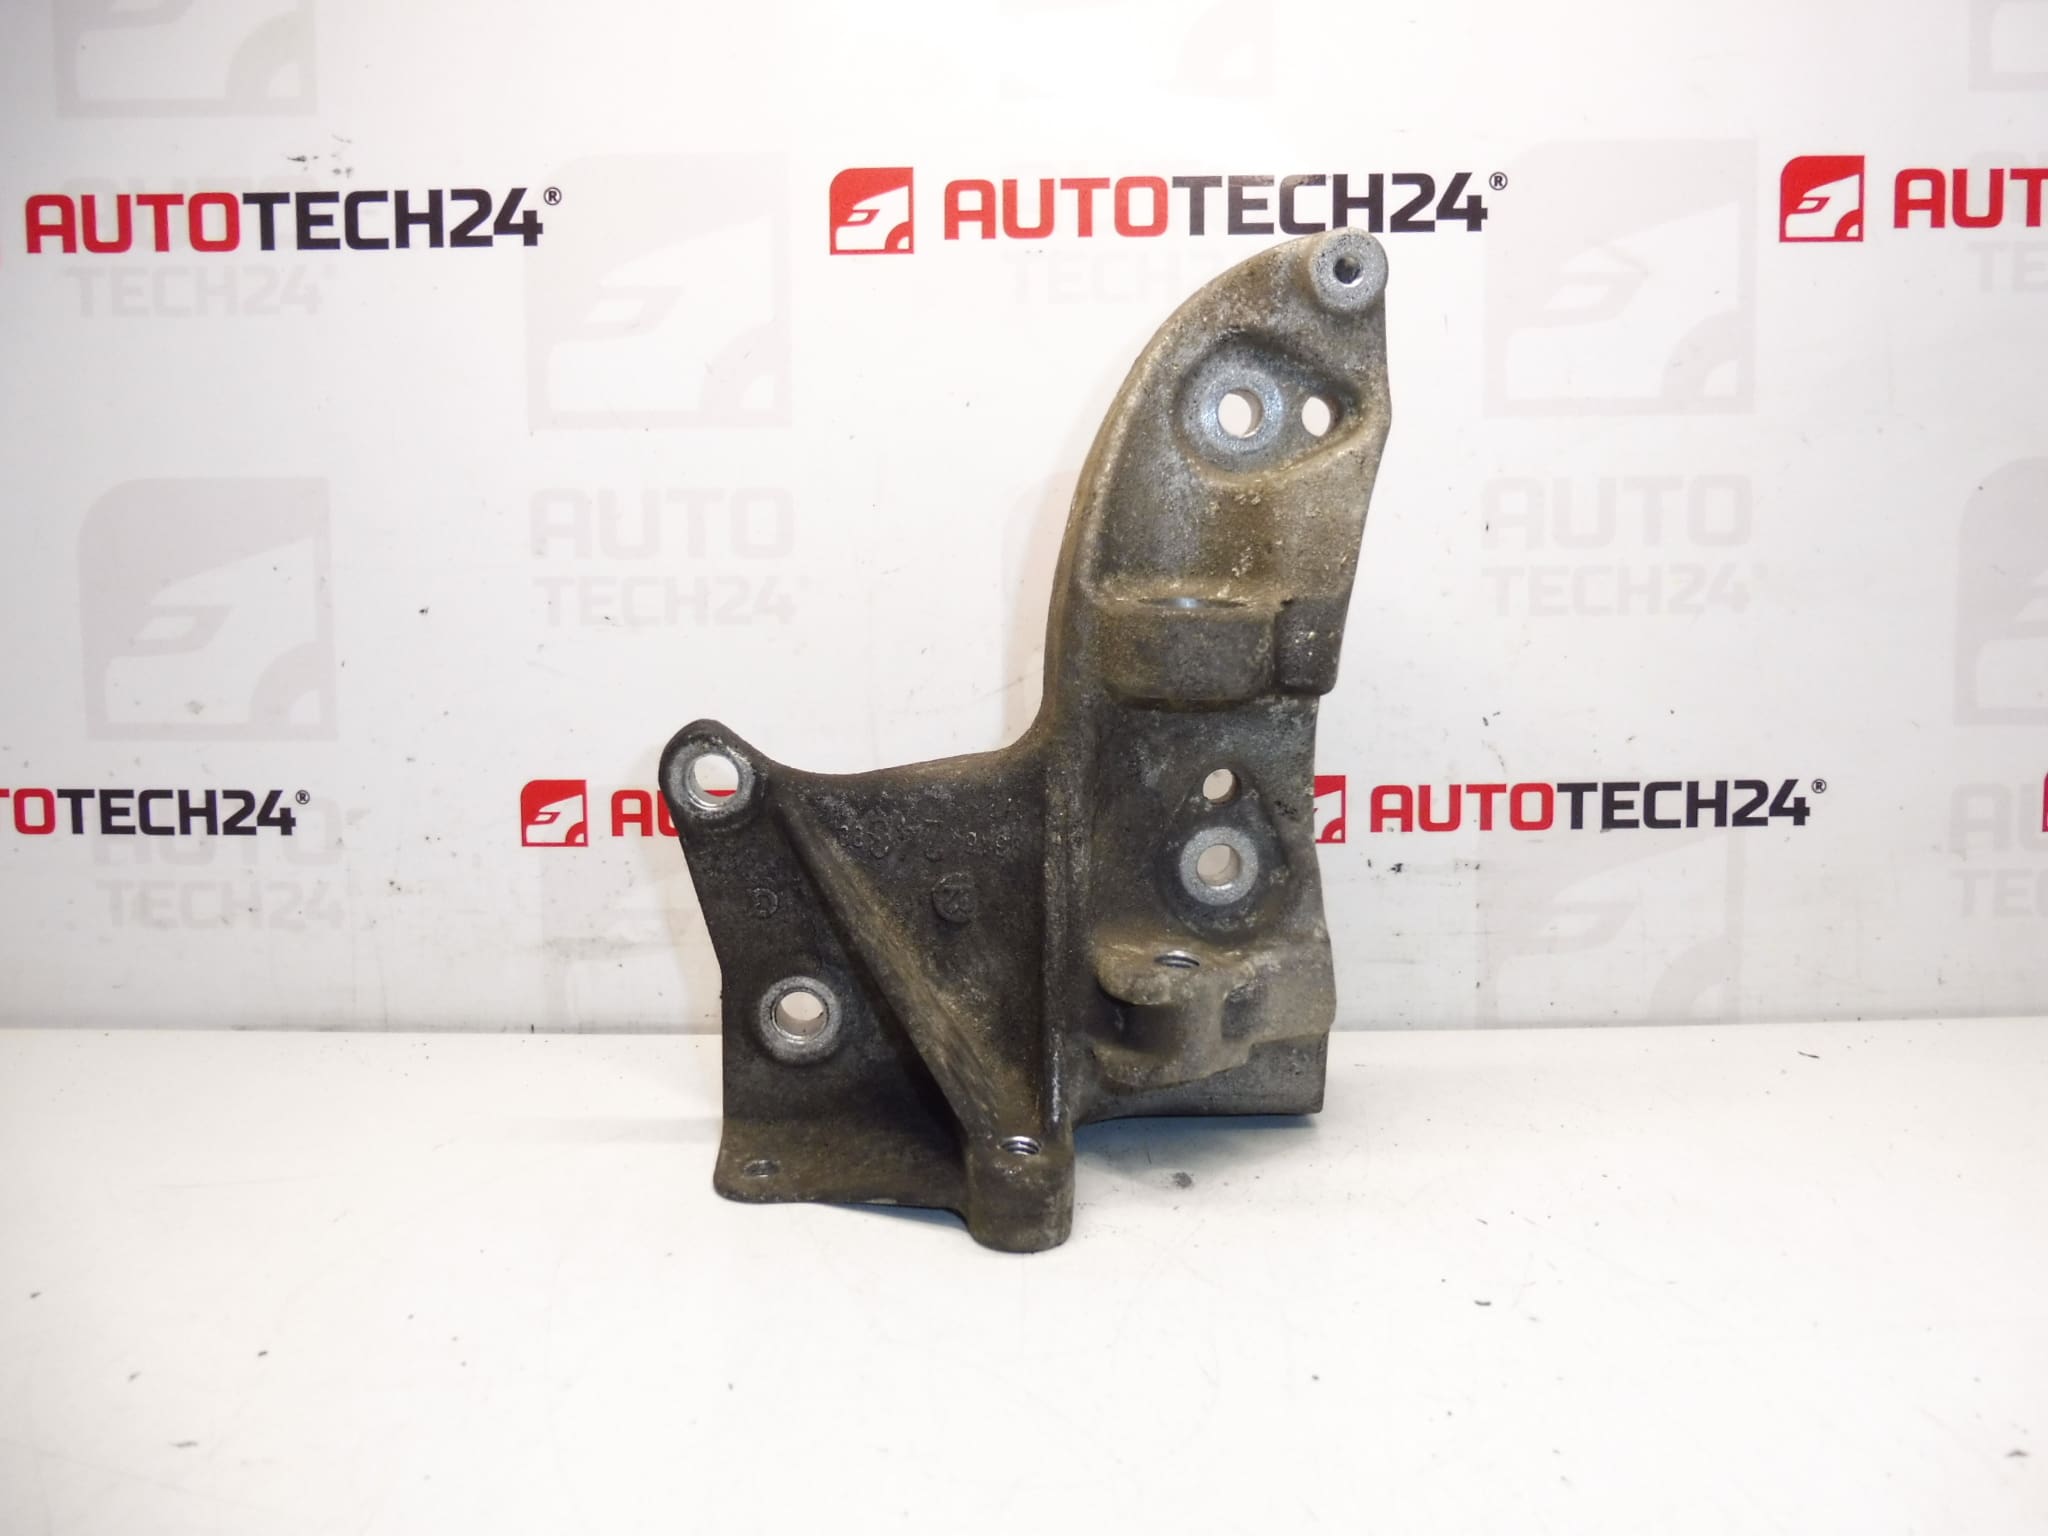
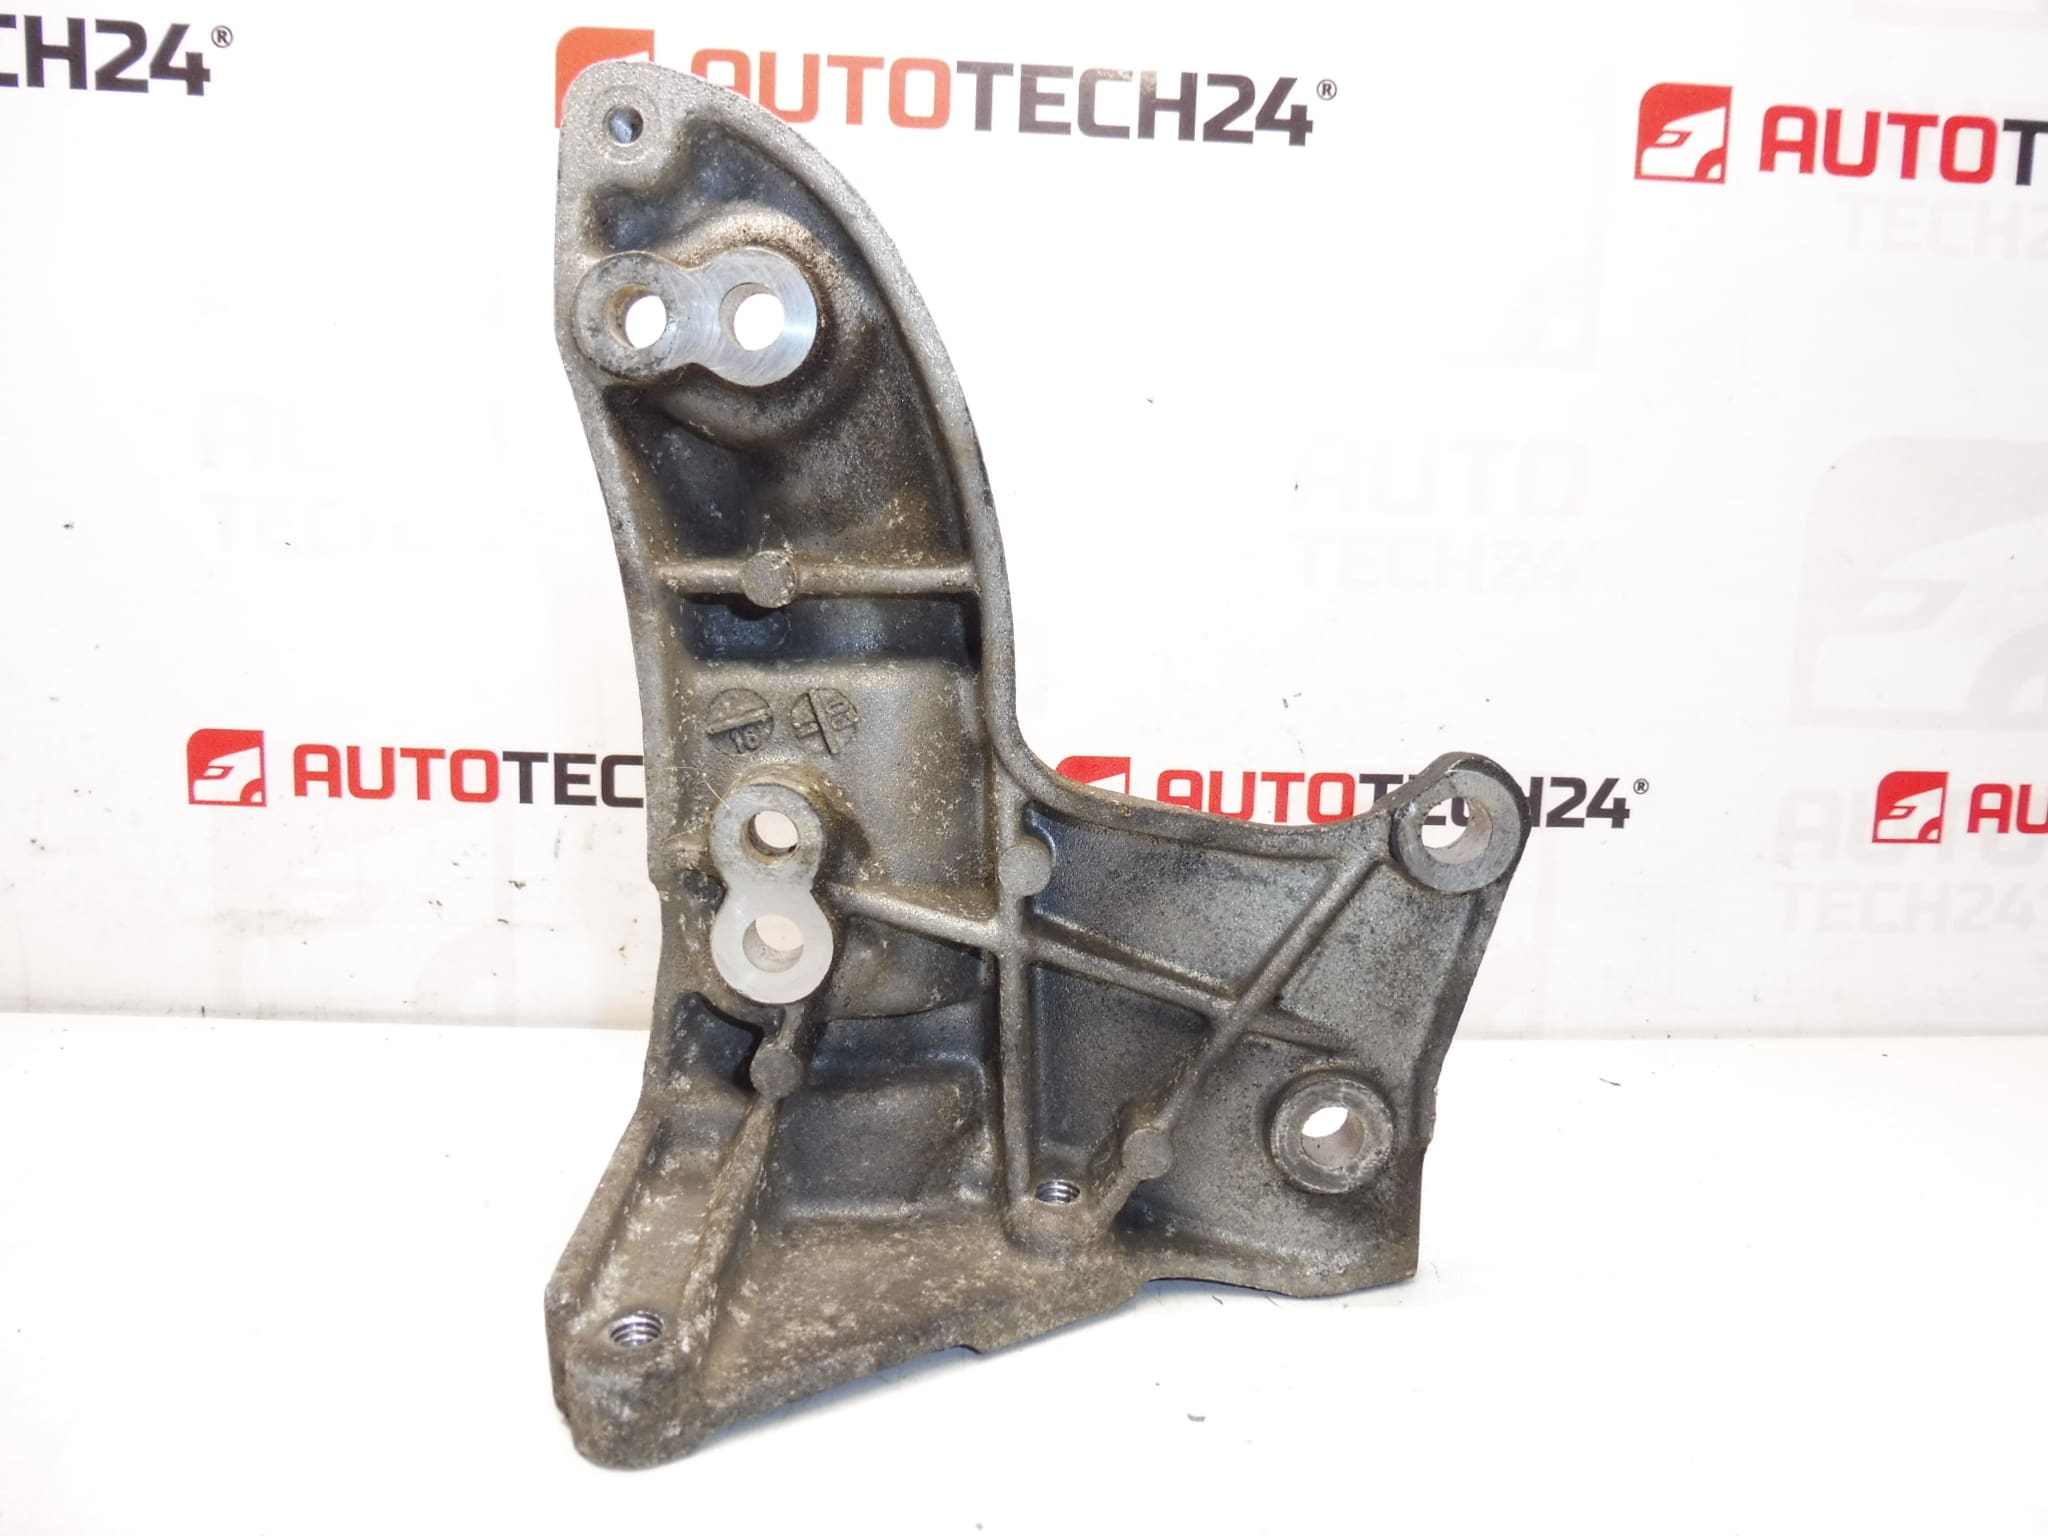
Alternator Bracket 1.4 HDi 16V For Citroën Peugeot
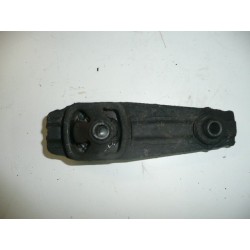
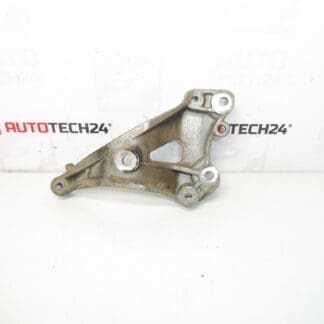
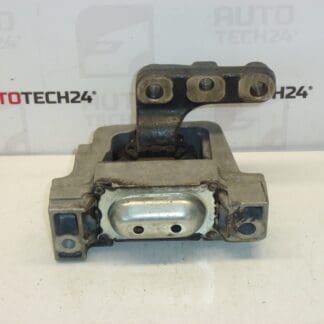
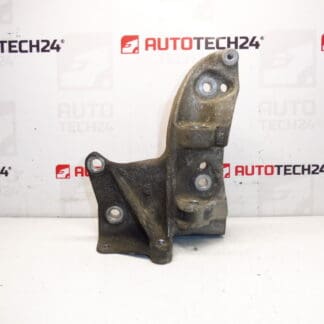
This direct-fit alternator bracket is made for 1.4 HDi 16V engines in Citroën and Peugeot vehicles. It secures the alternator in the correct position, ensures proper belt alignment and tension, and helps maintain stable charging performance. The part is often searched by product numbers 9646424380 and 5706G3, making it easy to find when ordering or replacing the component.
Application
Fits vehicles equipped with 1.4 HDi 16V engines, including but not limited to:
Technical Information
- Manufacturer: Stellantis / Citroën / Peugeot
- Model: Citroën C3, Peugeot 1007 (1.4 HDi 16V)
- Product Codes: 9646424380, 5706G3
- Other Numbers: Alternative references may include the same OE codes in different notation (9646424380 / 5706G3)
Installation Recommendation
Replacement of the alternator bracket is a straightforward job for a professional mechanic or an experienced DIYer with basic tools. General steps:
- Disconnect the negative battery terminal to avoid short circuits.
- Relieve the drive belt tension and remove the serpentine/drive belt from the alternator pulley.
- Support the alternator (jack or strap) to prevent it from dropping when the bracket is removed.
- Loosen and remove the mounting bolts that secure the bracket to the engine block and the alternator.
- Fit the new bracket, align the alternator, and start bolts by hand to ensure correct thread engagement.
- Tighten all fasteners to the manufacturer’s specified torque values and reinstall the drive belt with correct tension.
- Reconnect the battery and verify charging system operation and belt alignment.
Use anti-seize on studs if appropriate and replace any damaged or excessively corroded bolts. Always follow the vehicle manufacturer’s torque specifications and safety procedures.
Why It Fails Most Often
- Corrosion from road salt and moisture can weaken the bracket and mounting points.
- Metal fatigue or cracking due to engine vibration, especially if the rubber silentblock or nearby mounts have deteriorated.
- Mechanical impact or improper previous installation that bent or stressed the bracket.
- Seized or overloaded fasteners that create abnormal stress concentrations.
Replace the bracket if you observe cracks, bent mounting points, misalignment of the alternator, or unusual belt wear. A new, correctly fitted bracket restores alignment and reduces the risk of charging faults and belt failure.