Description
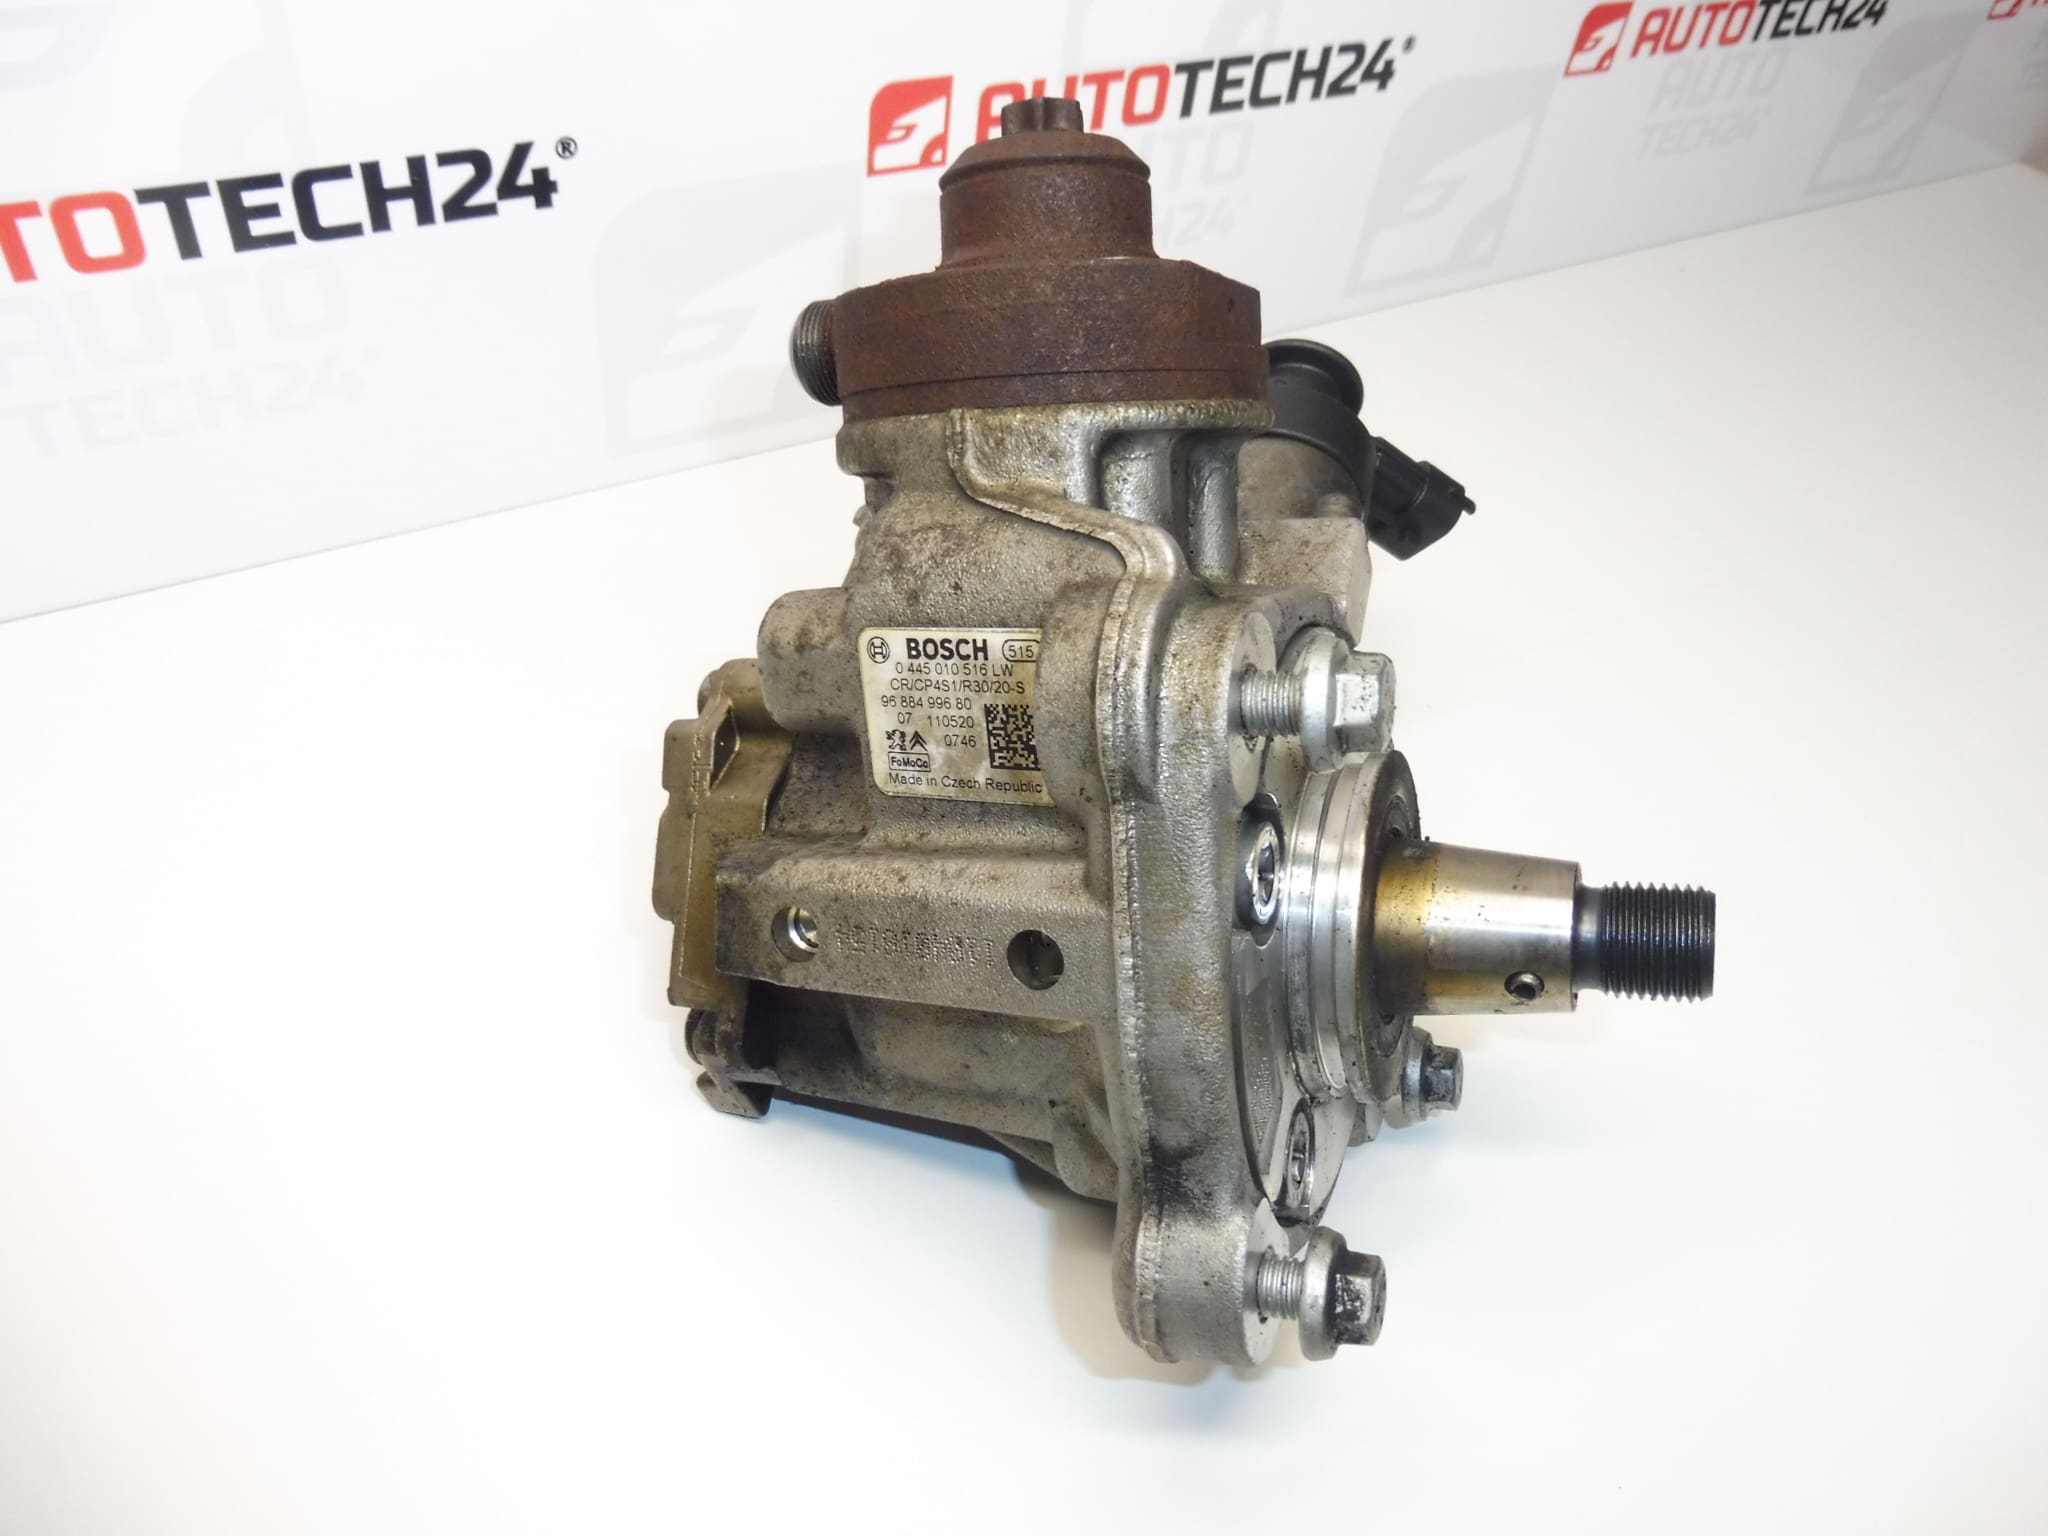
Injection pump for engines 1.6 eHDI BOSCH system for CITROEN, PEUGEOT, Ford, Mazda, Volvo cars
From a wrecked car, fully functional
With fuel pressure regulator
Part description
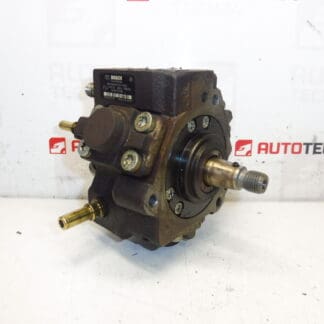
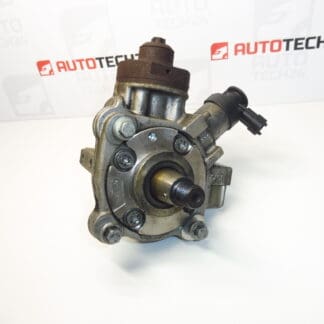
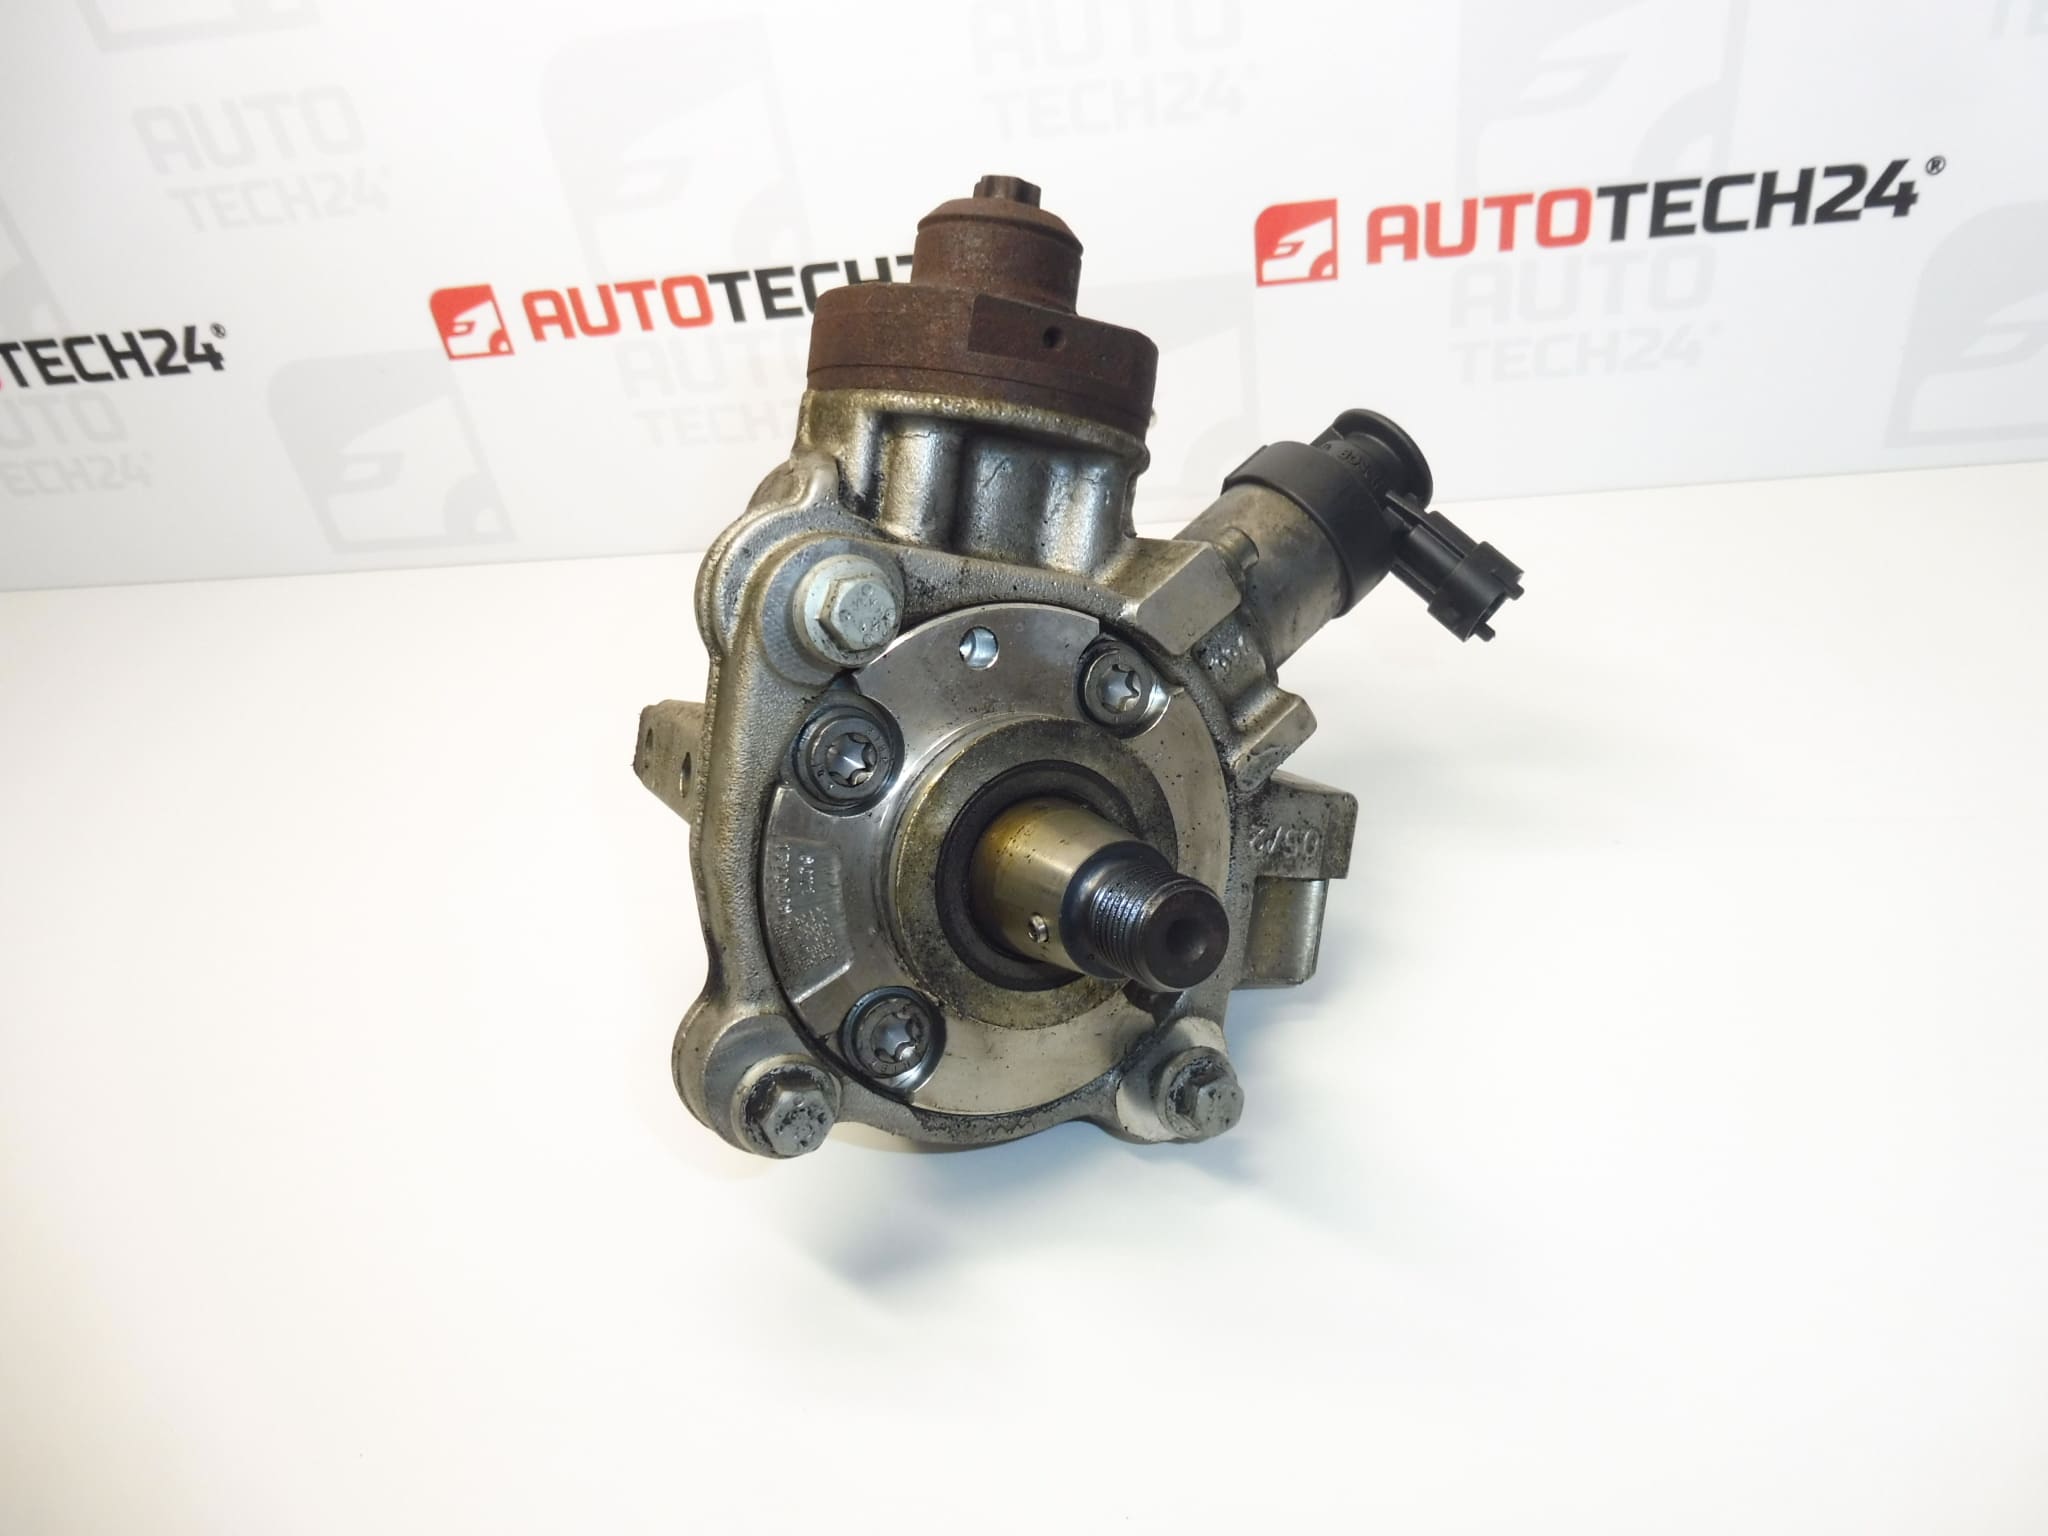
Used Bosch high pressure injection pump 0445010516 for 1.6 eHDI engines with BOSCH injection system. The pump creates the fuel pressure required for the operation of the injection system. Its correct function is important for reliable starting and smooth running of the engine.
According to the supplied description, the part is fully functional and comes from a crashed car. It represents the possibility of replacing a defective pump with a used one. When choosing, compare especially the markings 0445010516, 9688499680, 1920RF and 1921J9 with the original part; the model name or engine designation alone is not sufficient to determine the correct design.
Technical information
- Manufacturer: Bosch
- Model: Citroën Berlingo B9, Citroen C4 II, Citroën C4 PICASSO, Peugeot 308, Peugeot Partner Tepee
- Part Type: High Pressure Injection Pump
- Engine: 1.6 eHDI
- Injection system: BOSCH
- Bosch number: 0445010516
- Other numbers: 9688499680, 1920RF, 1921J9
- Condition: used part, fully functional according to the supplied description
- Origin: from a crashed car
The models listed are based on the product labels. The original description also mentions Ford, Mazda and Volvo cars, but their specific models are not listed. Years and exact engine variants are not specified.
Product codes
- Product codes: 0445010516, 9688499680, 1920RF, 1921J9
When looking for a replacement injection pump, compare the entire designation, including the leading zero, to the Bosch number. At the same time, compare the design of the connections, attachment and possible electrical connection with the dismantled pump.
Installation recommendations
The following procedure is general for high-pressure injection pumps. Exact disassembly, drive method, possible timing assurance and fuel system filling procedure depend on the specific model and design of the car. Exchange requires consistent cleanliness and appropriate experience; if in doubt, entrust it to a professional service.
1) Before assembly
- Compare the numbers of both pumps, their attachment, fuel connections, drive and any connectors.
- Inspect the body of the used pump, threads, seating surfaces and connections. Check for cracks, deformation or impact damage.
- Find out the cause of the failure of the original part. If metal particles, water or other impurities appear in the fuel system, first solve the contamination of the entire affected system according to the service procedure.
- Check the condition of the fuel filter and fuel supply. Merely replacing the pump will not eliminate a fault caused by insufficient supply or contamination.
2) Necessary tools and materials
- Common service tools corresponding to the joints used and a torque wrench.
- Possible preparations for securing the drive according to the vehicle’s service documentation.
- Clean fuel line caps, lint-free cloths and means suitable for external cleaning around the connections.
- Fuel container, protective gloves and safety goggles.
- Sealing and connecting elements prescribed by the manufacturer for replacement during disassembly; appropriate diagnostics as needed.
3) Step-by-step assembly procedure
- Stop the vehicle safely, switch off the engine and secure the workplace against fire. Follow the service documentation for the specific car.
- Allow the engine to cool and ensure a safe pressure drop in the fuel system according to the manufacturer’s instructions. Never loosen the high-pressure connections while the engine is running or for improvised depressurization.
- According to the prescribed procedure, disconnect the battery and remove only the parts necessary to access the pump.
- Before opening the system, carefully clean the surroundings of the pump and all connections so that dirt does not get inside.
- Record the routing of hoses, pipes and any cables. Disconnect electrical connectors by the body of the connector after releasing the fuse, not by pulling on the wires.
- Disconnect the fuel lines as specified by the manufacturer and immediately plug the open ends with clean plugs. Do not bend the lead by force.
- If the design requires it, secure the drive and timing with prescribed fixtures. Then loosen the pump drive and fastening according to the service procedure.
- Remove the original pump and check the attachment, seating surfaces and associated components. Compare the replacement piece with the old one again.
- Install the replacement pump without forcing it into place. Assemble and tighten the mounting and drive according to the vehicle manufacturer’s specifications.
- Connect the fuel lines and any connectors. Use new gaskets or disposable fasteners where required by service documentation.
- Return the removed parts, connect the battery and fill or bleed the fuel system as prescribed. Avoid running the pump dry and do not vent by loosening the high pressure connections while the engine is running.
- Perform the first start-up according to the manufacturer’s instructions, monitor the engine and check for leaks from a safe distance. If there is a fuel leak or unusual noise, turn off the engine.
-
4) Post-assembly checks and test drive / function verification
- Check starting, engine running stability and possible fault messages. If necessary, verify the function of the fuel system by diagnostics according to the service data.
- Never look for a high-pressure fuel leak with your hand. The jet of fuel can cause serious injury.
- Perform a short test drive only after verifying the tightness and trouble-free operation. Observe the engine response under normal load.
- After driving, recheck the wiring for tightness and fastening with the engine off and under safe conditions.
5) The most common assembly mistakes + how to avoid them
- Introduction of dirt into the system: work in a clean environment and plug any open connection immediately.
- Replacement without removing the original cause: before installation, check the fuel supply, filtration and possible contamination of the system.
- Starting without filling with fuel: observe the prescribed filling and venting, do not try to solve the problem by repeated long starts.
- Damage to cables and connections: do not force the connections, observe their correct position and prescribed tightening.
- Incorrect actuator assembly: if disassembly interferes with timing, use appropriate tools and manufacturer’s procedure.
Reasons why the part is damaged
Common causes of damage to high-pressure injection pumps generally include:
- Contaminated fuel or water in the fuel which can cause corrosion and wear to precision internal components.
- Insufficient fuel supply for example in the case of limited flow through the filter or failure of the supply part of the system.
- Running dry and aeration, especially after incorrect intervention in the fuel system.
- Natural operating wear of internal mechanisms and sealing elements.
- Errors during assembly, ingress of dirt, stress on the connections or improper assembly of the drive.
- Mechanical damage during an accident or manipulation which may affect the body, mounting or connections.
These causes are general and do not represent a description of defects in the offered piece. For the long-term reliable operation of the replacement pump, a clean fuel system and elimination of the cause of failure of the original part are essential.