Description
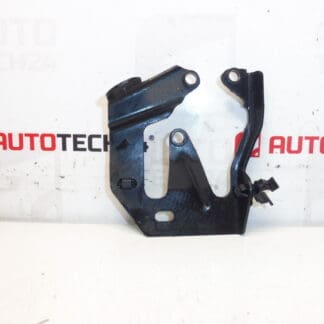
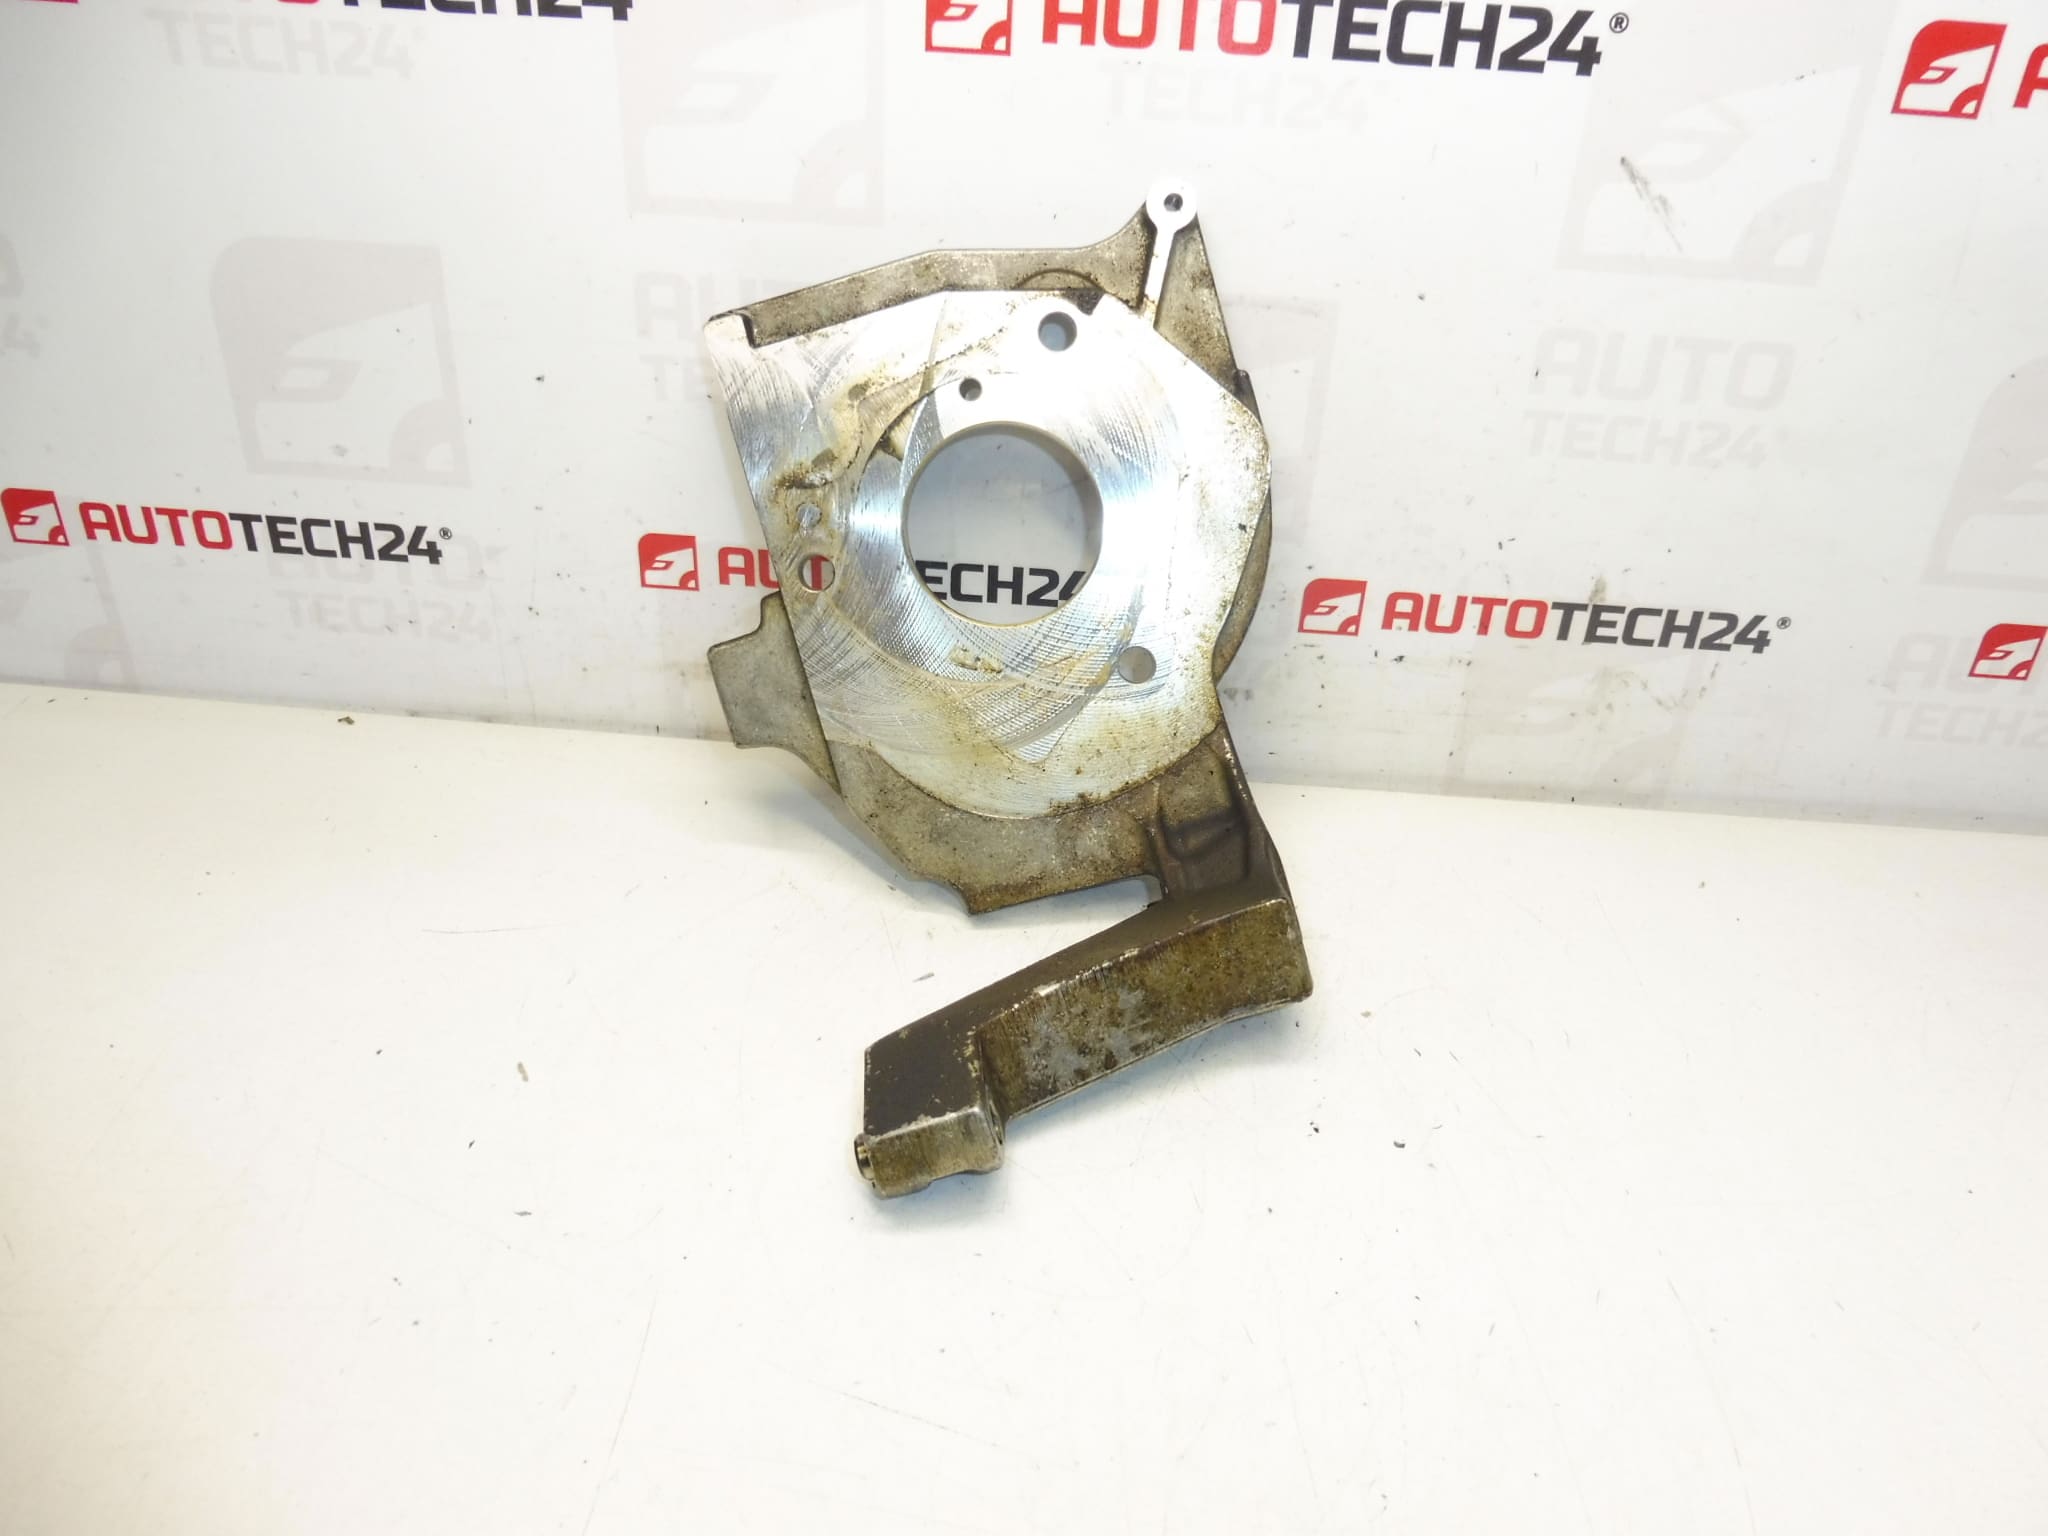
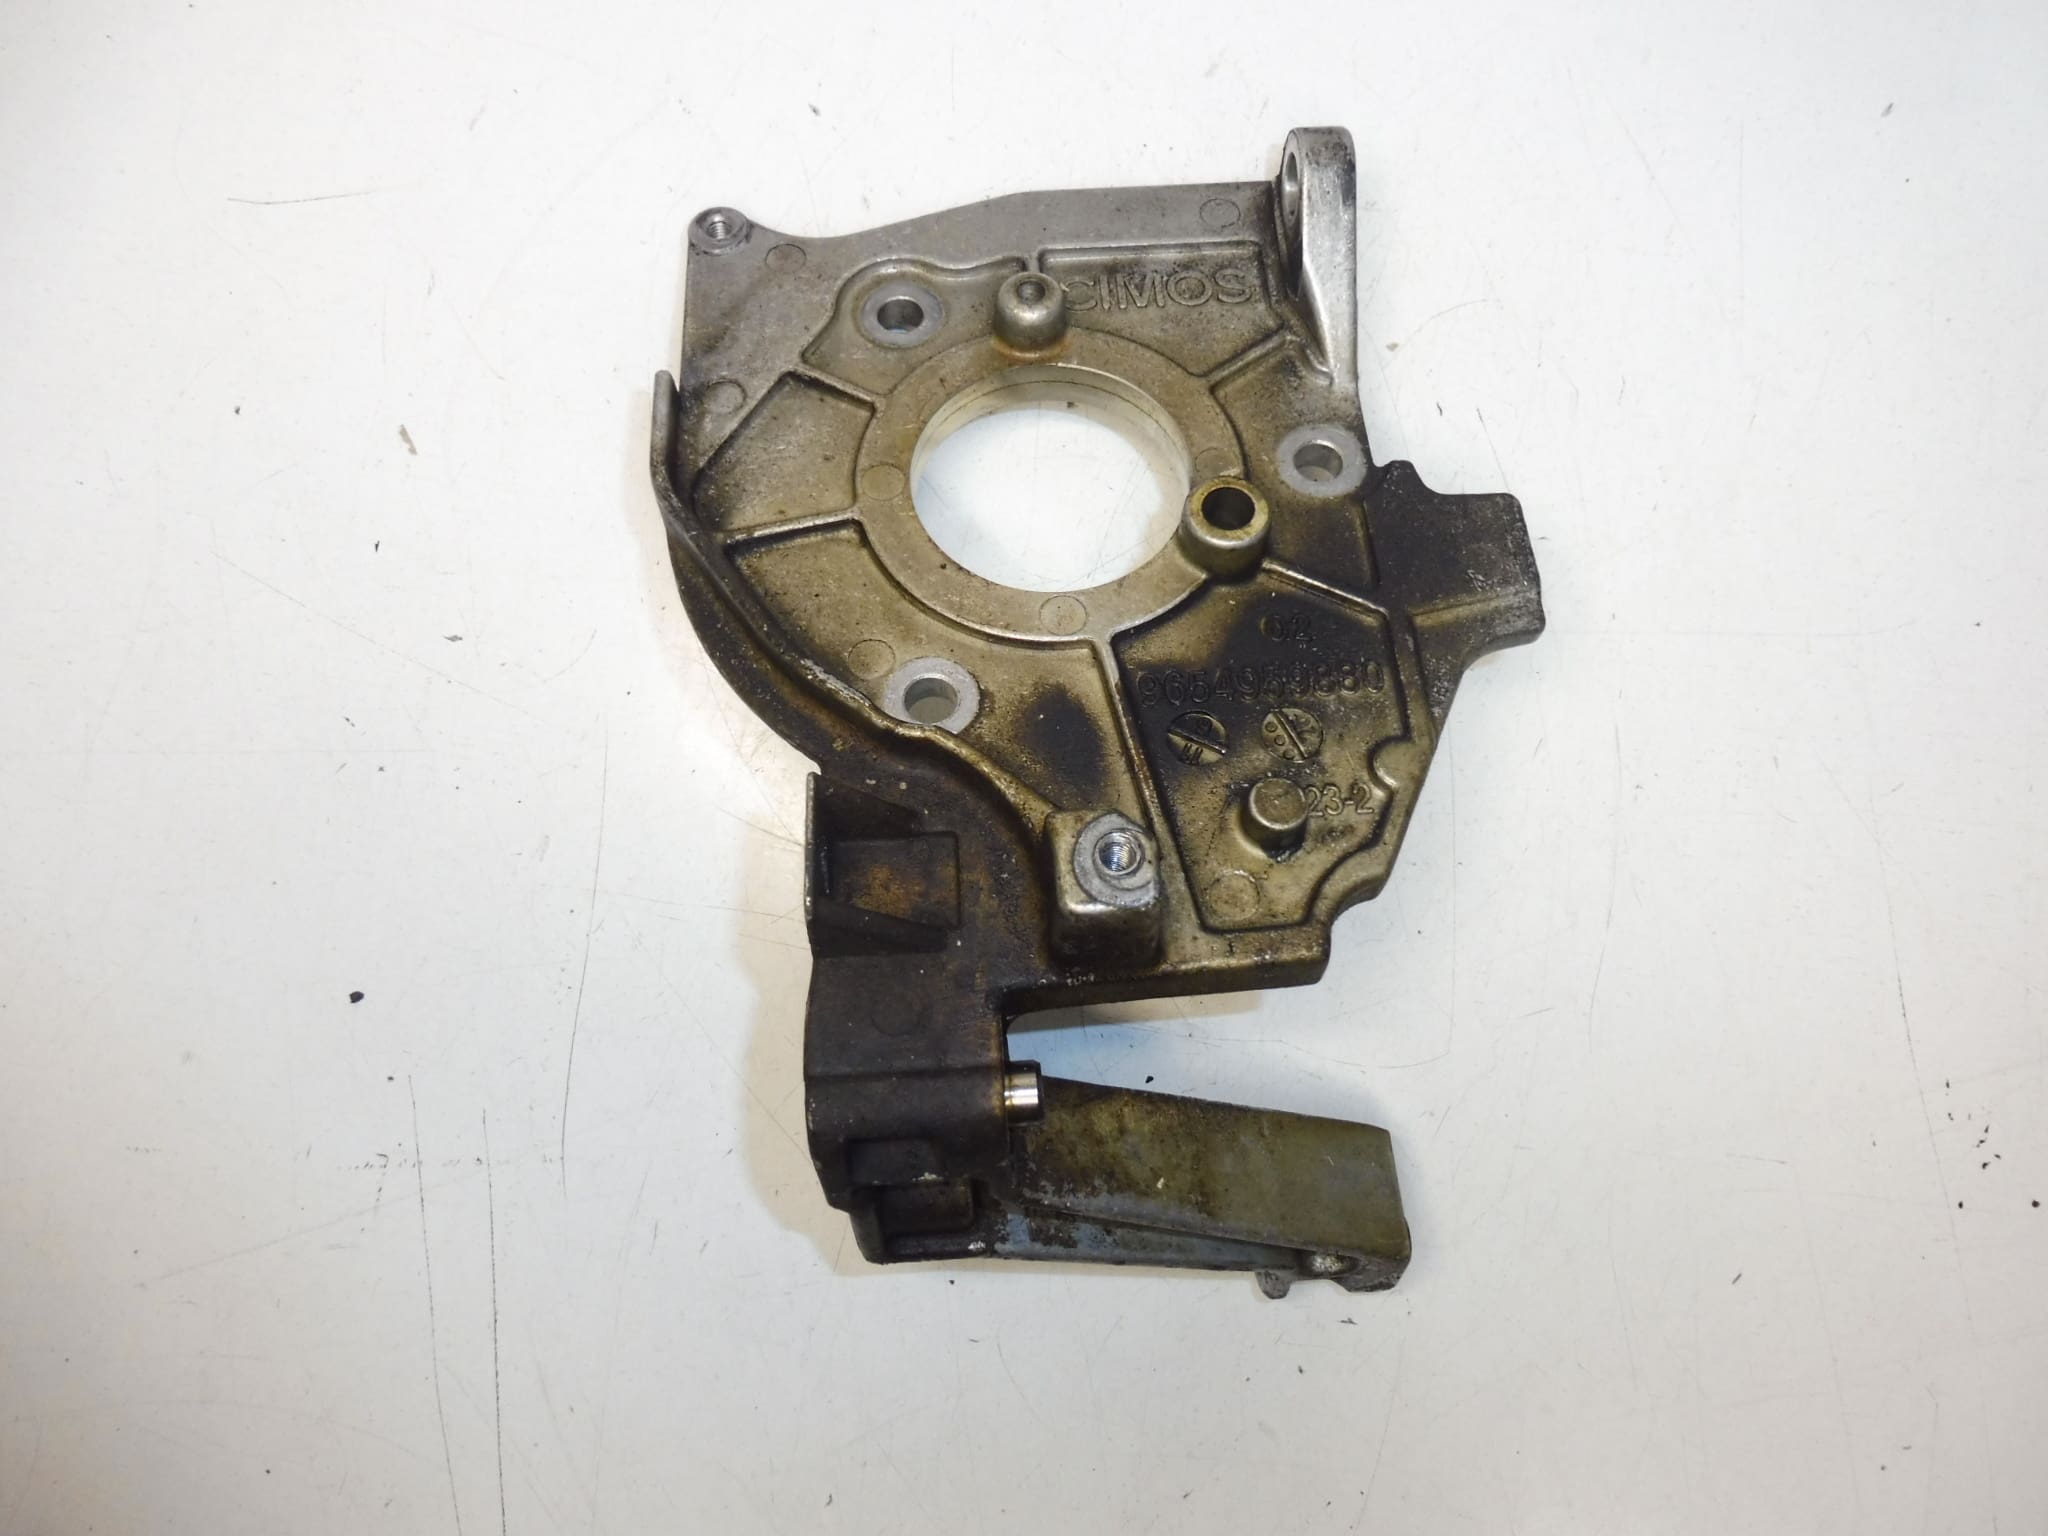
Injection Pump Mount For 1.4 HDi And 1.6 HDi Engines
Overview
This injection pump mount is designed for 1.4 HDi and 1.6 HDi diesel engines used in a range of Citroën and Peugeot models. The bracket secures the high-pressure injection pump to the engine block, maintaining correct alignment and damping vibration to ensure reliable fuel delivery. Commonly searched under OEM codes 9654959880 and 192665, this is the replacement part used by professional workshops and DIY mechanics when the original mount shows wear or damage.
Key Benefits
- Direct fit for many Citroën and Peugeot HDi engines — simplifies repair and reduces downtime.
- Restores correct pump alignment to prevent premature wear of pump drive and fuel lines.
- Robust construction to withstand engine vibration and thermal stress in diesel applications.
- Easy to find by product codes 9654959880 and 192665 — ideal for fast ordering in parts catalogs.
Technical Information
- Manufacturer: Stellantis (Citroën / Peugeot)
- Model: Citroën Berlingo; Citroën C3; Citroën C3 Picasso; Citroën C4; Citroën C4 Picasso; Citroën C5; Citroën C5 X7; Citroën Xsara; Citroën Xsara Picasso; Peugeot 307; Peugeot Partner
- Product Codes: 9654959880; 192665
- Additional Numbers: NFP
Function
The mount fixes the injection pump to the cylinder head or engine block, keeping the pump properly aligned with the drive mechanism and absorbing mechanical vibrations. A secure mount prevents movement that can cause fuel line stress, leaks or accelerated wear of the pump drive components.
Common Failure Causes
Mounts typically fail due to long-term vibration fatigue, corrosion in salty or humid environments, impact damage from engine removal or road debris, and loosened or damaged fasteners. When the bracket cracks or bushings wear out, you may notice increased vibration, fuel line strain, unusual noises from the pump area, or fuel delivery problems.
Installation Recommendations
Replacement is straightforward for experienced mechanics: safely lift and support the vehicle, gain access to the injection pump area, support the pump before removing the mount, loosen and remove the mounting bolts, install the new bracket ensuring correct orientation, and torque fasteners to the manufacturerÕs specification. After installation, inspect adjacent fuel lines, clamps and fasteners for wear. Use proper tools and, if raising the engine or removing ancillary parts is required, follow safe lifting procedures.
Why Choose This Part
Buying the correct injection pump mount by OEM codes 9654959880 or 192665 ensures a proper fit and restores original pump positioning. This reduces the risk of fuel system failures and supports long-term reliability of the HDi injection system. Ideal for professional workshops and competent DIYers who work on Citroën and Peugeot HDi engines.
Ordering Tips
Search by Part Number: Use 9654959880 or 192665 when looking up the part in catalogs to quickly confirm fitment. Verify model and engine type before ordering to ensure compatibility with 1.4 HDi or 1.6 HDi applications.