Description
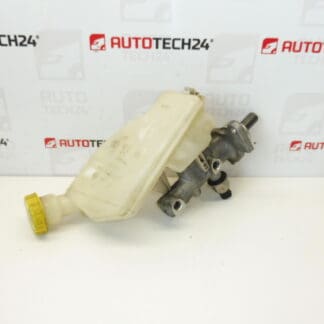
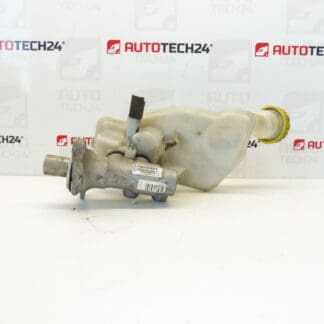
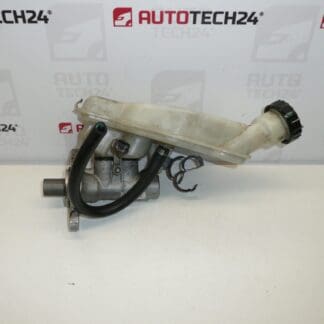
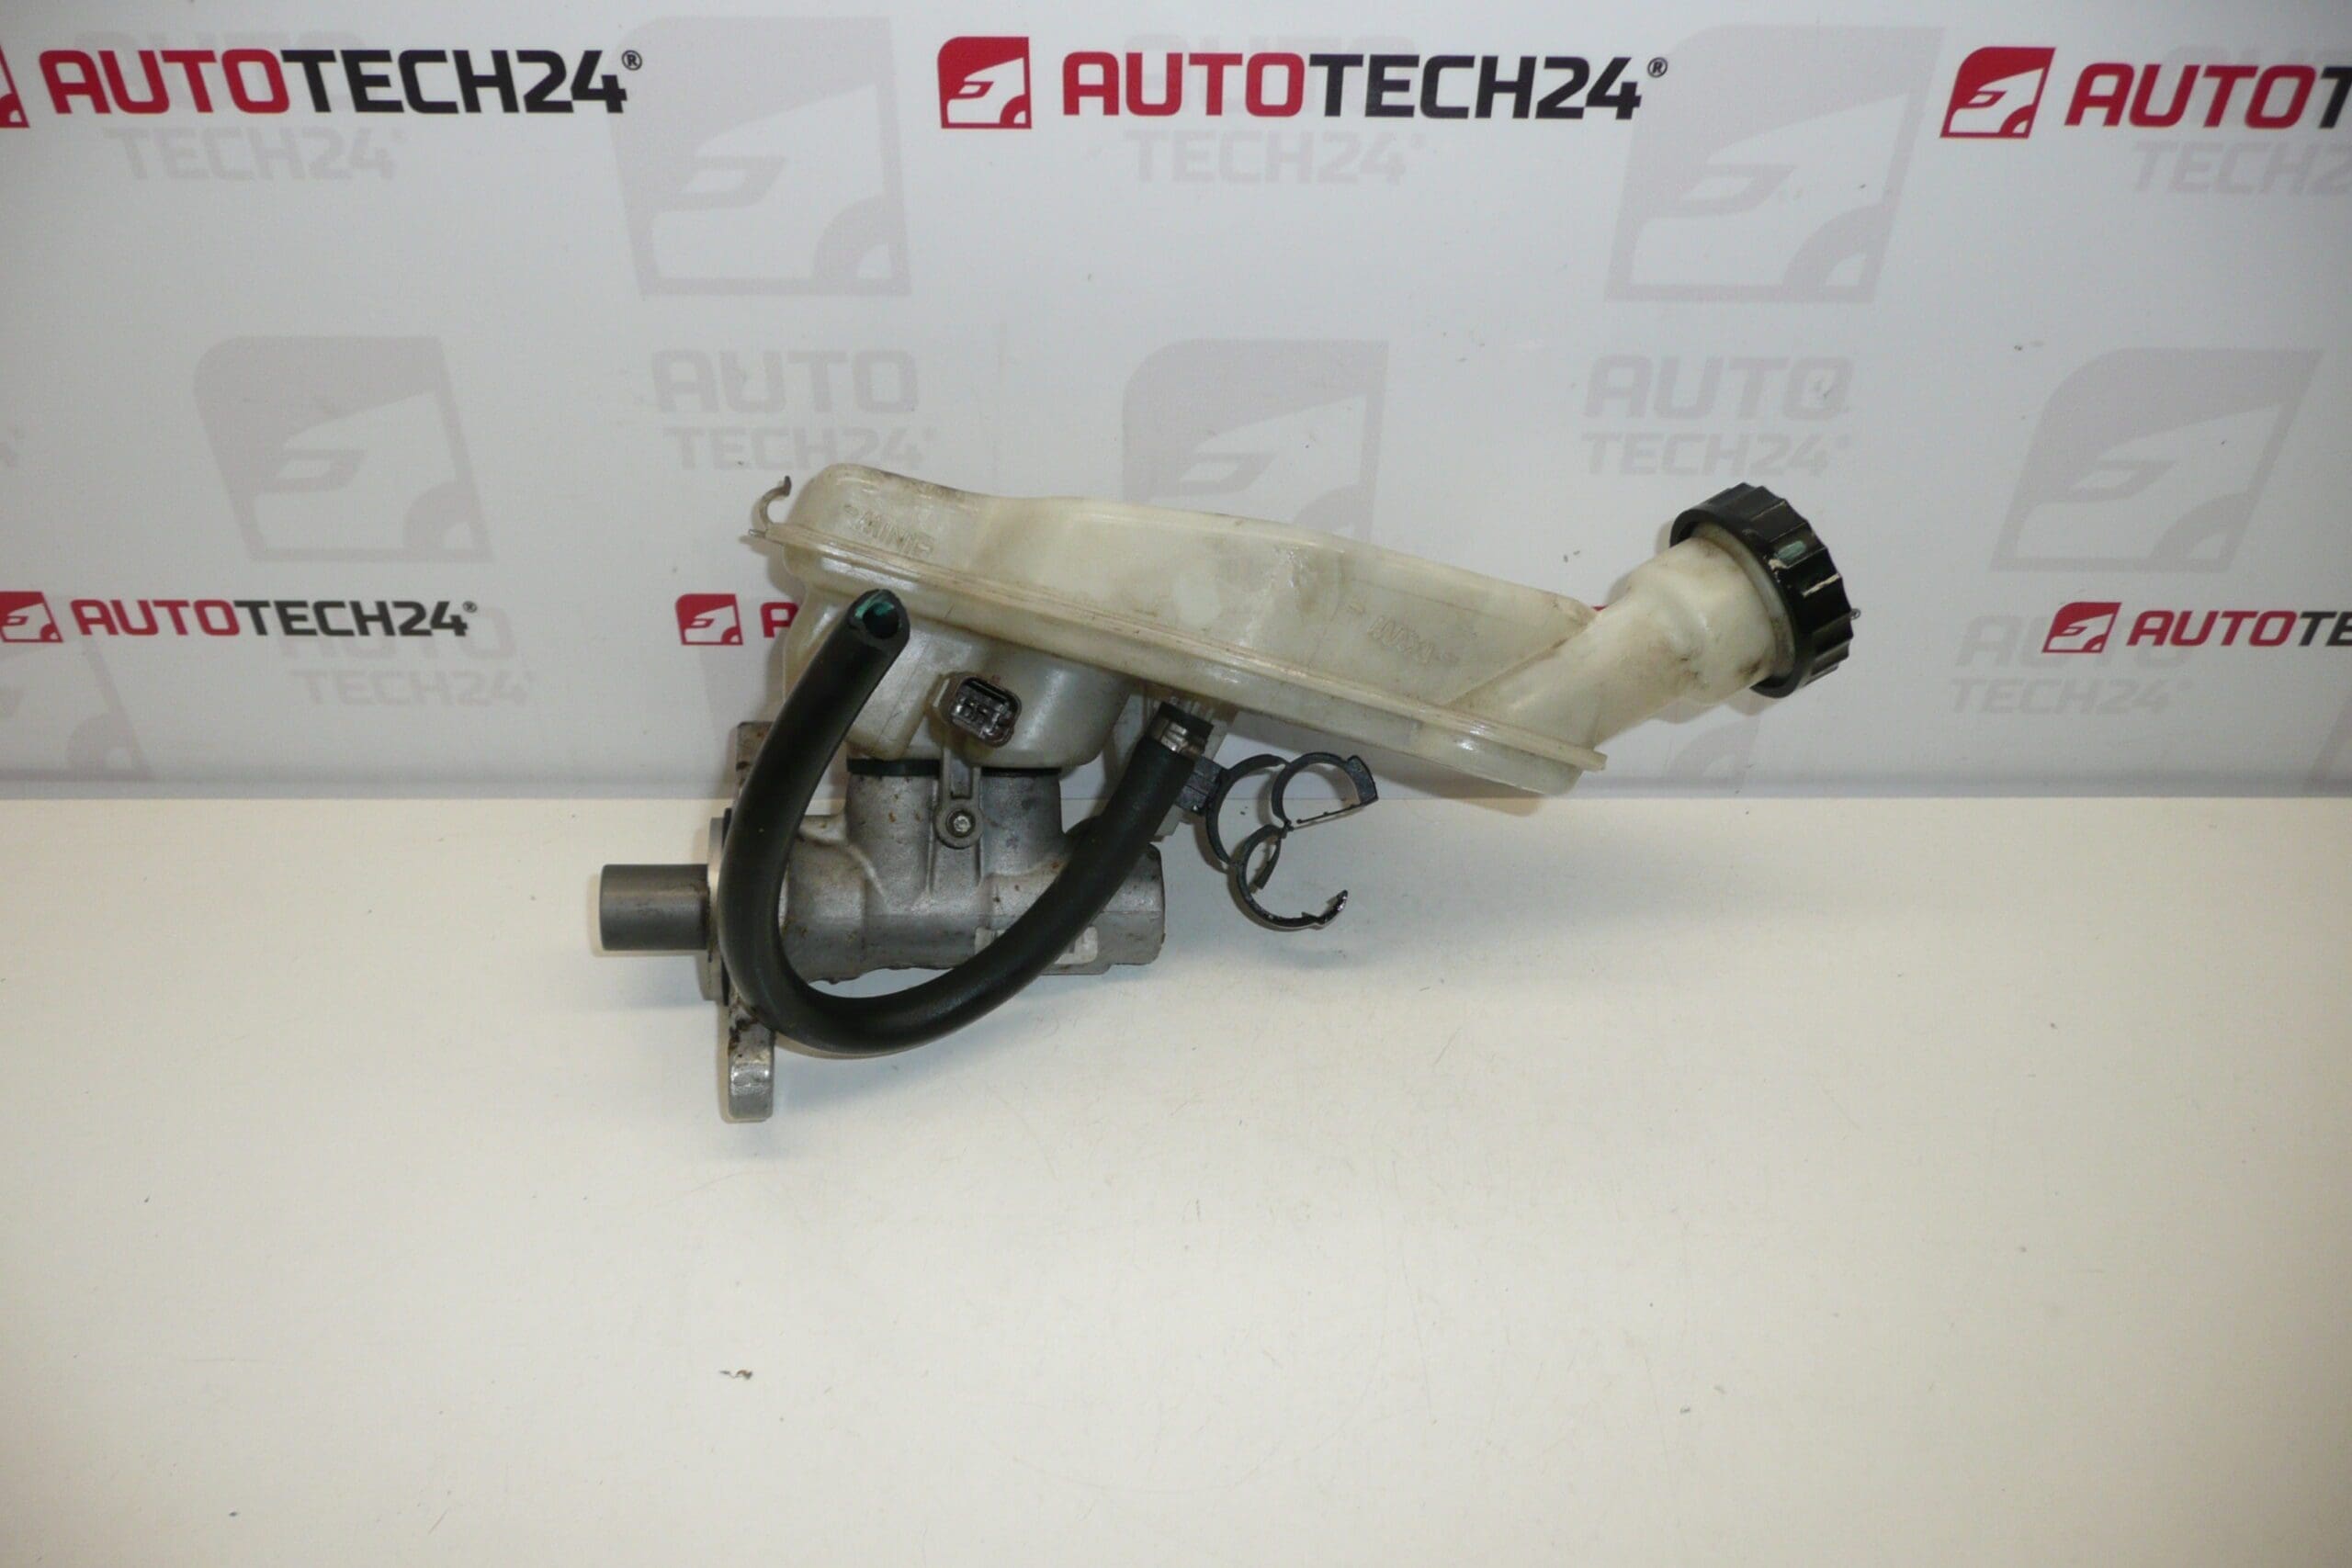
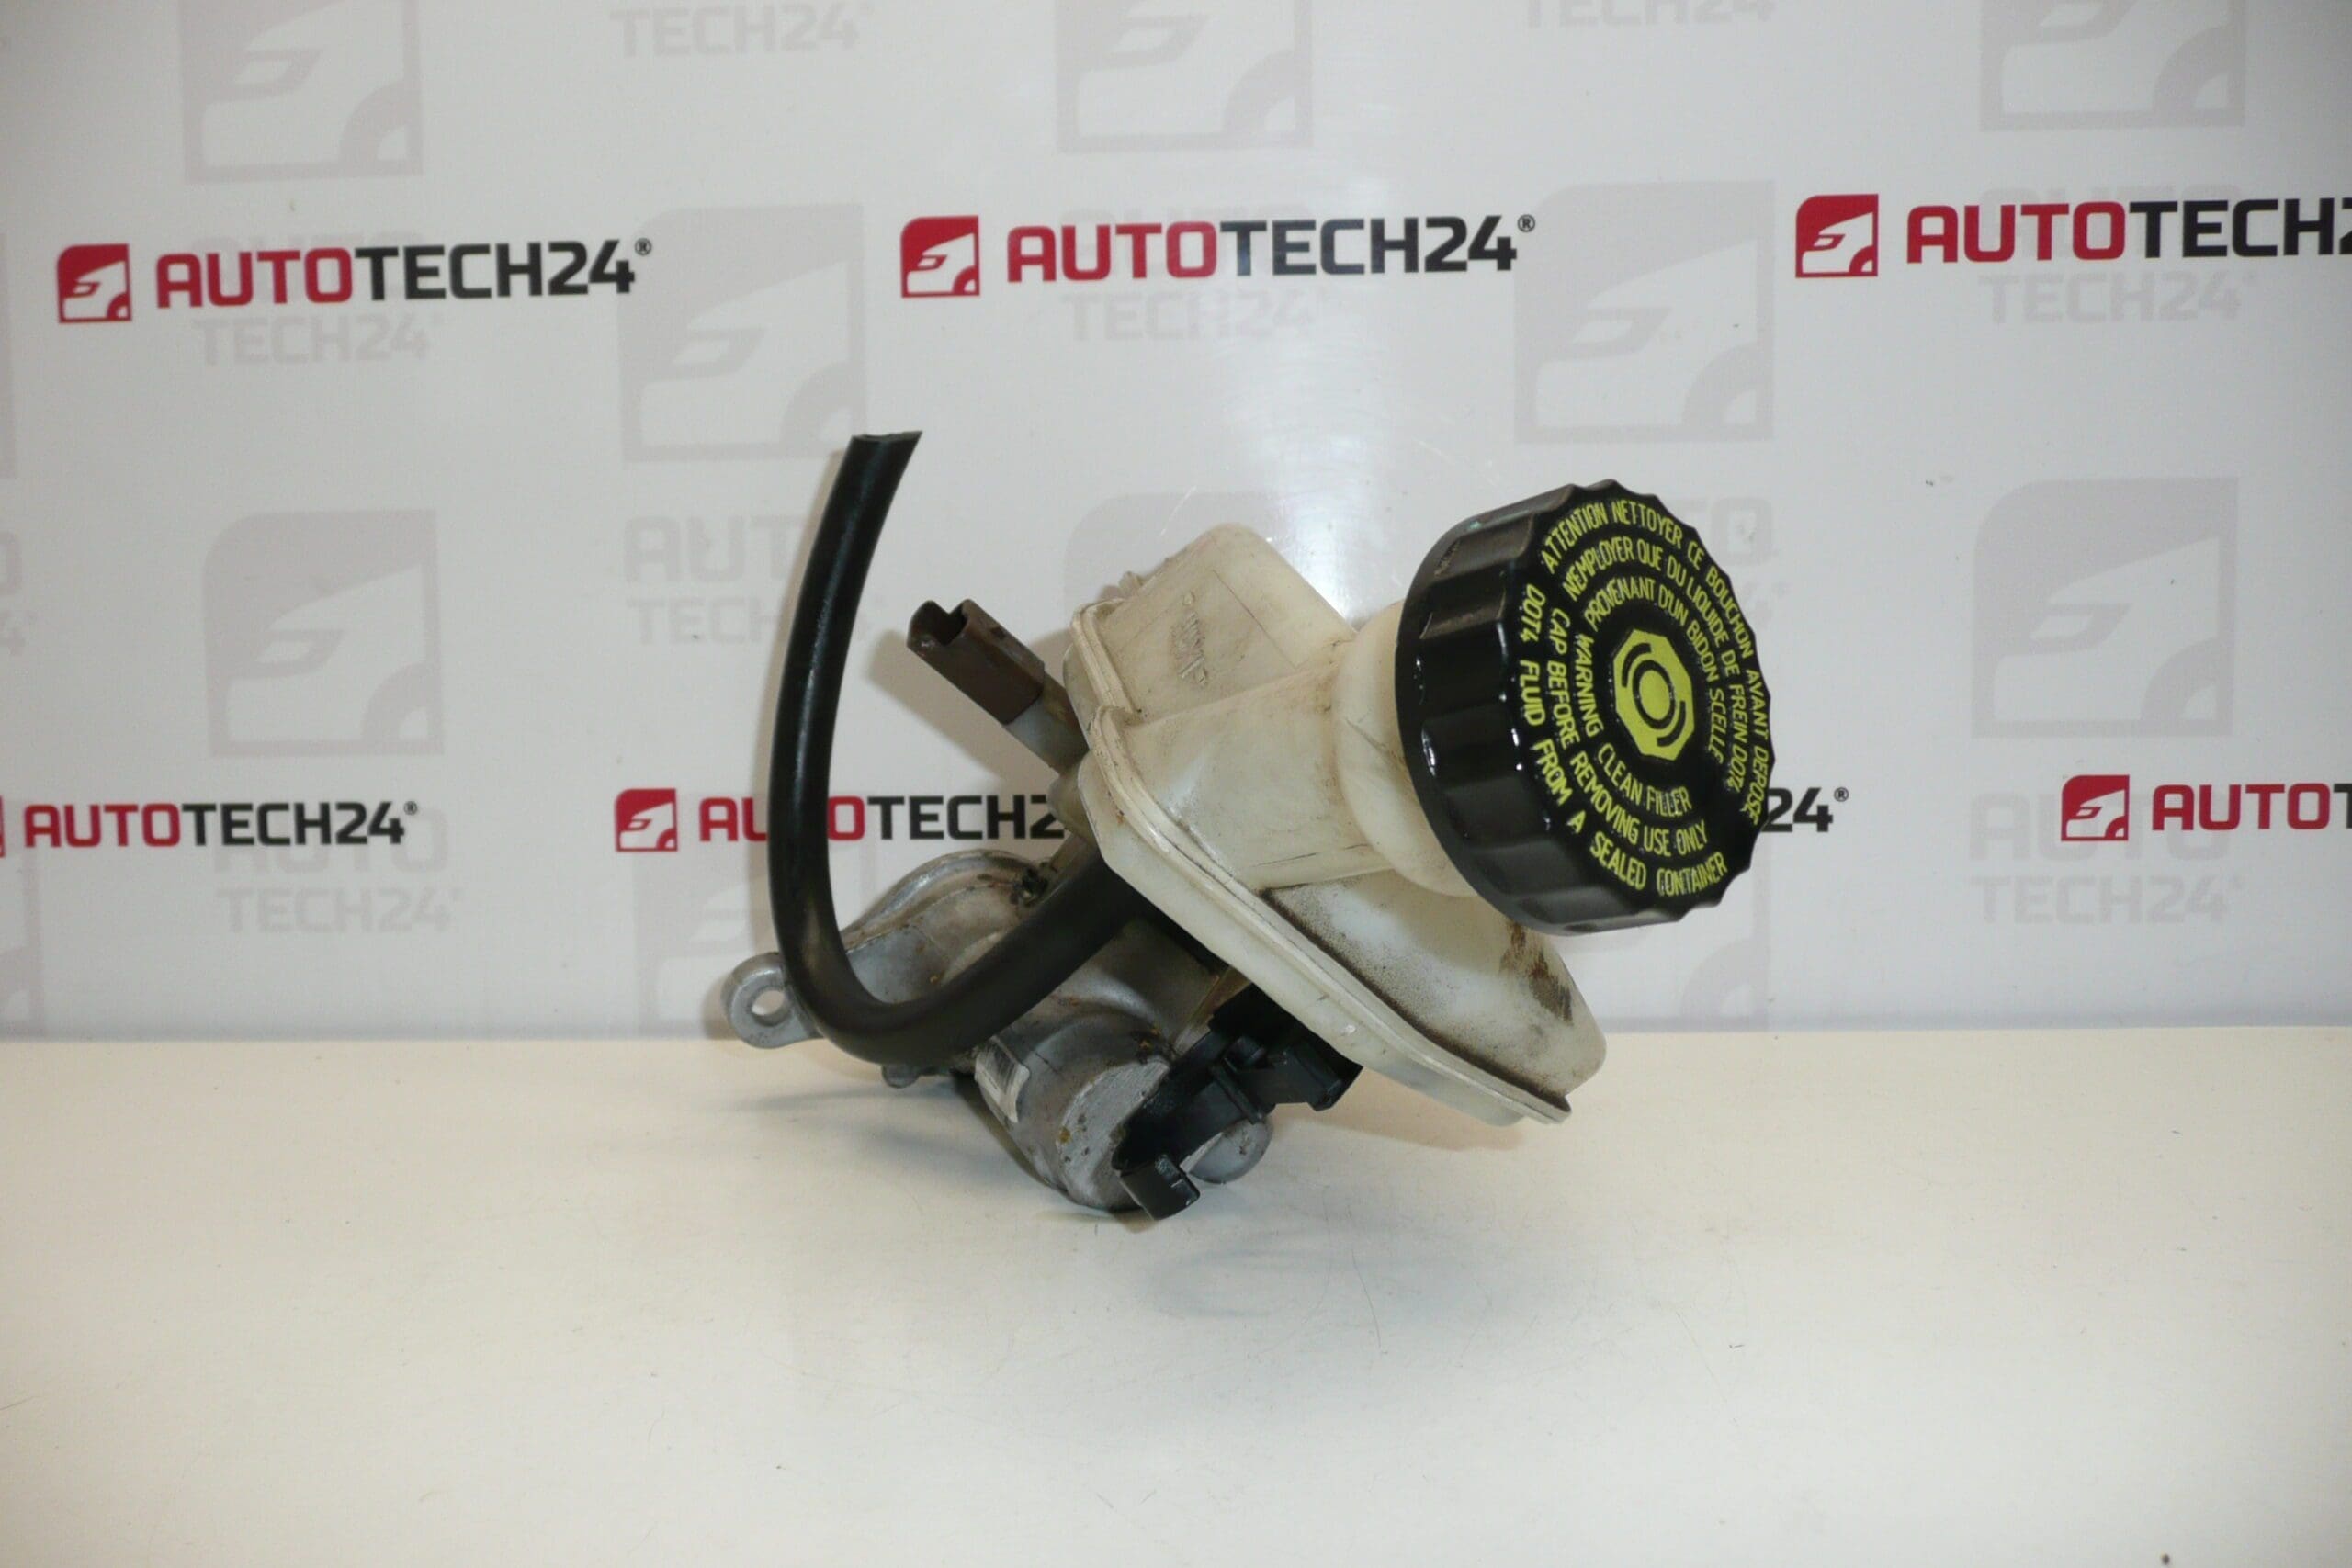
ATE brake master cylinder with reservoir 463592 for Citroen PEUGEOT cars
The reservoir is replaceable, it does not have to fit every model where the brake cylinder fits, or the original reservoir will be used
Part description
This ATE brake master cylinder (PSA Citroën/Peugeot) is a key element of the brake system – it ensures the generation of brake pressure when the pedal is depressed. The delivered piece includes the tank 463592, while according to the information provided, the tank is replaceable and may not fit every model – in practice, it may be necessary to use the original tank from your car.
The part is often searched by the numbers 010847 and 4601R6, which makes it easier to find the right variant when ordering and when comparing with the old part.
Technical information
- Manufacturer: ATE
- Model: Citroën / Peugeot (specific models according to labels and product category)
- Other numbers: 463592
Product codes
- Product codes: 010847, 4601R6, 463592
Installation recommendations
Generally/typically, replacing the brake master cylinder requires cleanliness of work and subsequent proper bleeding of the brakes. The exact procedure may vary depending on the specific model and make of the car.
1) Before assembly
- Compare with the old part: codes (010847 / 4601R6 / 463592), body shape, number and orientation of terminals, attachment and connection to booster.
- Particularly check the brake reservoir – according to the documents, it is replaceable and may not fit every model; be prepared to use the original tank.
- Visually check the condition: cracks, damaged threads, damaged bearing surfaces, broken collars and the condition of the sealing points.
2) Necessary tools and materials
- A common set of keys and sockets
- Wrench for brake pipes (to minimize screwing off)
- Container and absorbent material to capture liquid, protective gloves
- Detergents for degreasing and cleaning the surroundings (typically around the main cylinder)
- Suitable means for bleeding the brakes (according to workshop practices)
3) Step-by-step assembly procedure
- Secure the vehicle against movement and prepare the work area so that brake fluid does not get on the painted parts.
- Clean the area around the master brake cylinder thoroughly to prevent dirt from entering the system during disassembly.
- As needed, siphon/capture brake fluid from the reservoir to minimize leakage when disconnecting the lines.
- Disconnect the connectors/sensors, if they are present on the tank or cylinder (depending on the specific design).
- Loosen and disconnect the brake pipes from the old master cylinder (work with feel, ideally with a pipe wrench).
- Remove the brake master cylinder from the mount.
- If the tank from the supplied part does not match your design, move the original tank (depending on the materials it may be necessary); pay attention to the correct seating and tightness of the connection.
- Install the brake master cylinder into the mount and seat it without tension.
- Connect the brake pipes – screw them in by hand first to avoid cross-threading, then tighten.
- Reconnect any connectors/sensors.
- Top up the brake fluid and perform bleeding of the brake system (to the extent corresponding to intervention in the system).
- Check that there are no fluid leaks anywhere and that the pedal feel is stable.
-
4) Post-assembly checks and test drive/function verification
- Check the tightness of all connections and around the master cylinder when pressing the pedal repeatedly.
- Check the fluid level after bleeding and after a short test drive.
- Verify brake function at low speed and gradually increase load until correct function is confirmed.
5) The most common assembly mistakes + how to avoid them
- Replacement/incorrect positioning of the reservoir: compare the design and in case of incompatibility, use the original reservoir.
- Removal of brake pipe fittings: use the correct pipe wrench and start the thread manually.
- Impurities in the system: clean everything before disconnecting, work in cleanliness.
- Insufficient venting: devote sufficient time to venting and continuously monitor the liquid level.
- Leaks: after assembly, repeatedly check connections under pressure (pedal depressed) and after a test drive.
Reasons why the part is damaged
- Aging of seals and internal parts over time (leaks, reduced pressure).
- Contaminated or improperly maintained brake fluid which accelerates wear and corrosion.
- Corrosion of internal surfaces during long-term operation or due to moisture in the liquid.
- Leaks in the system leading to excessive stress and deterioration of function.
- Mechanical damage during unprofessional disassembly/assembly (threads, outlets, bearing surfaces).