Description
Sun visor for CITROËN and PEUGEOT vehicles
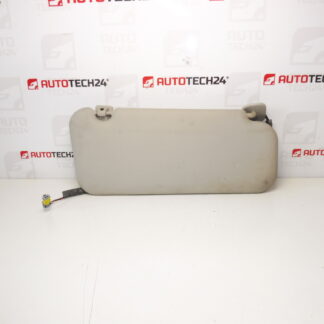
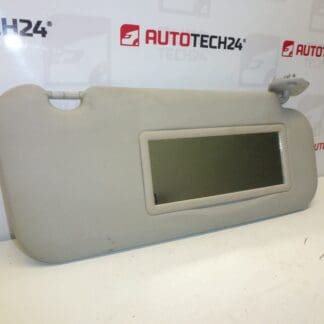
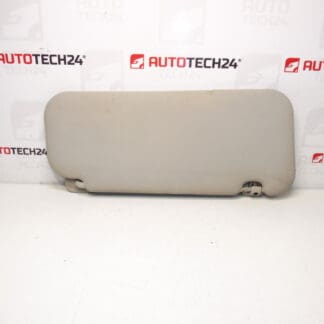
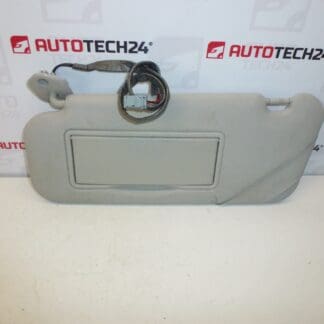
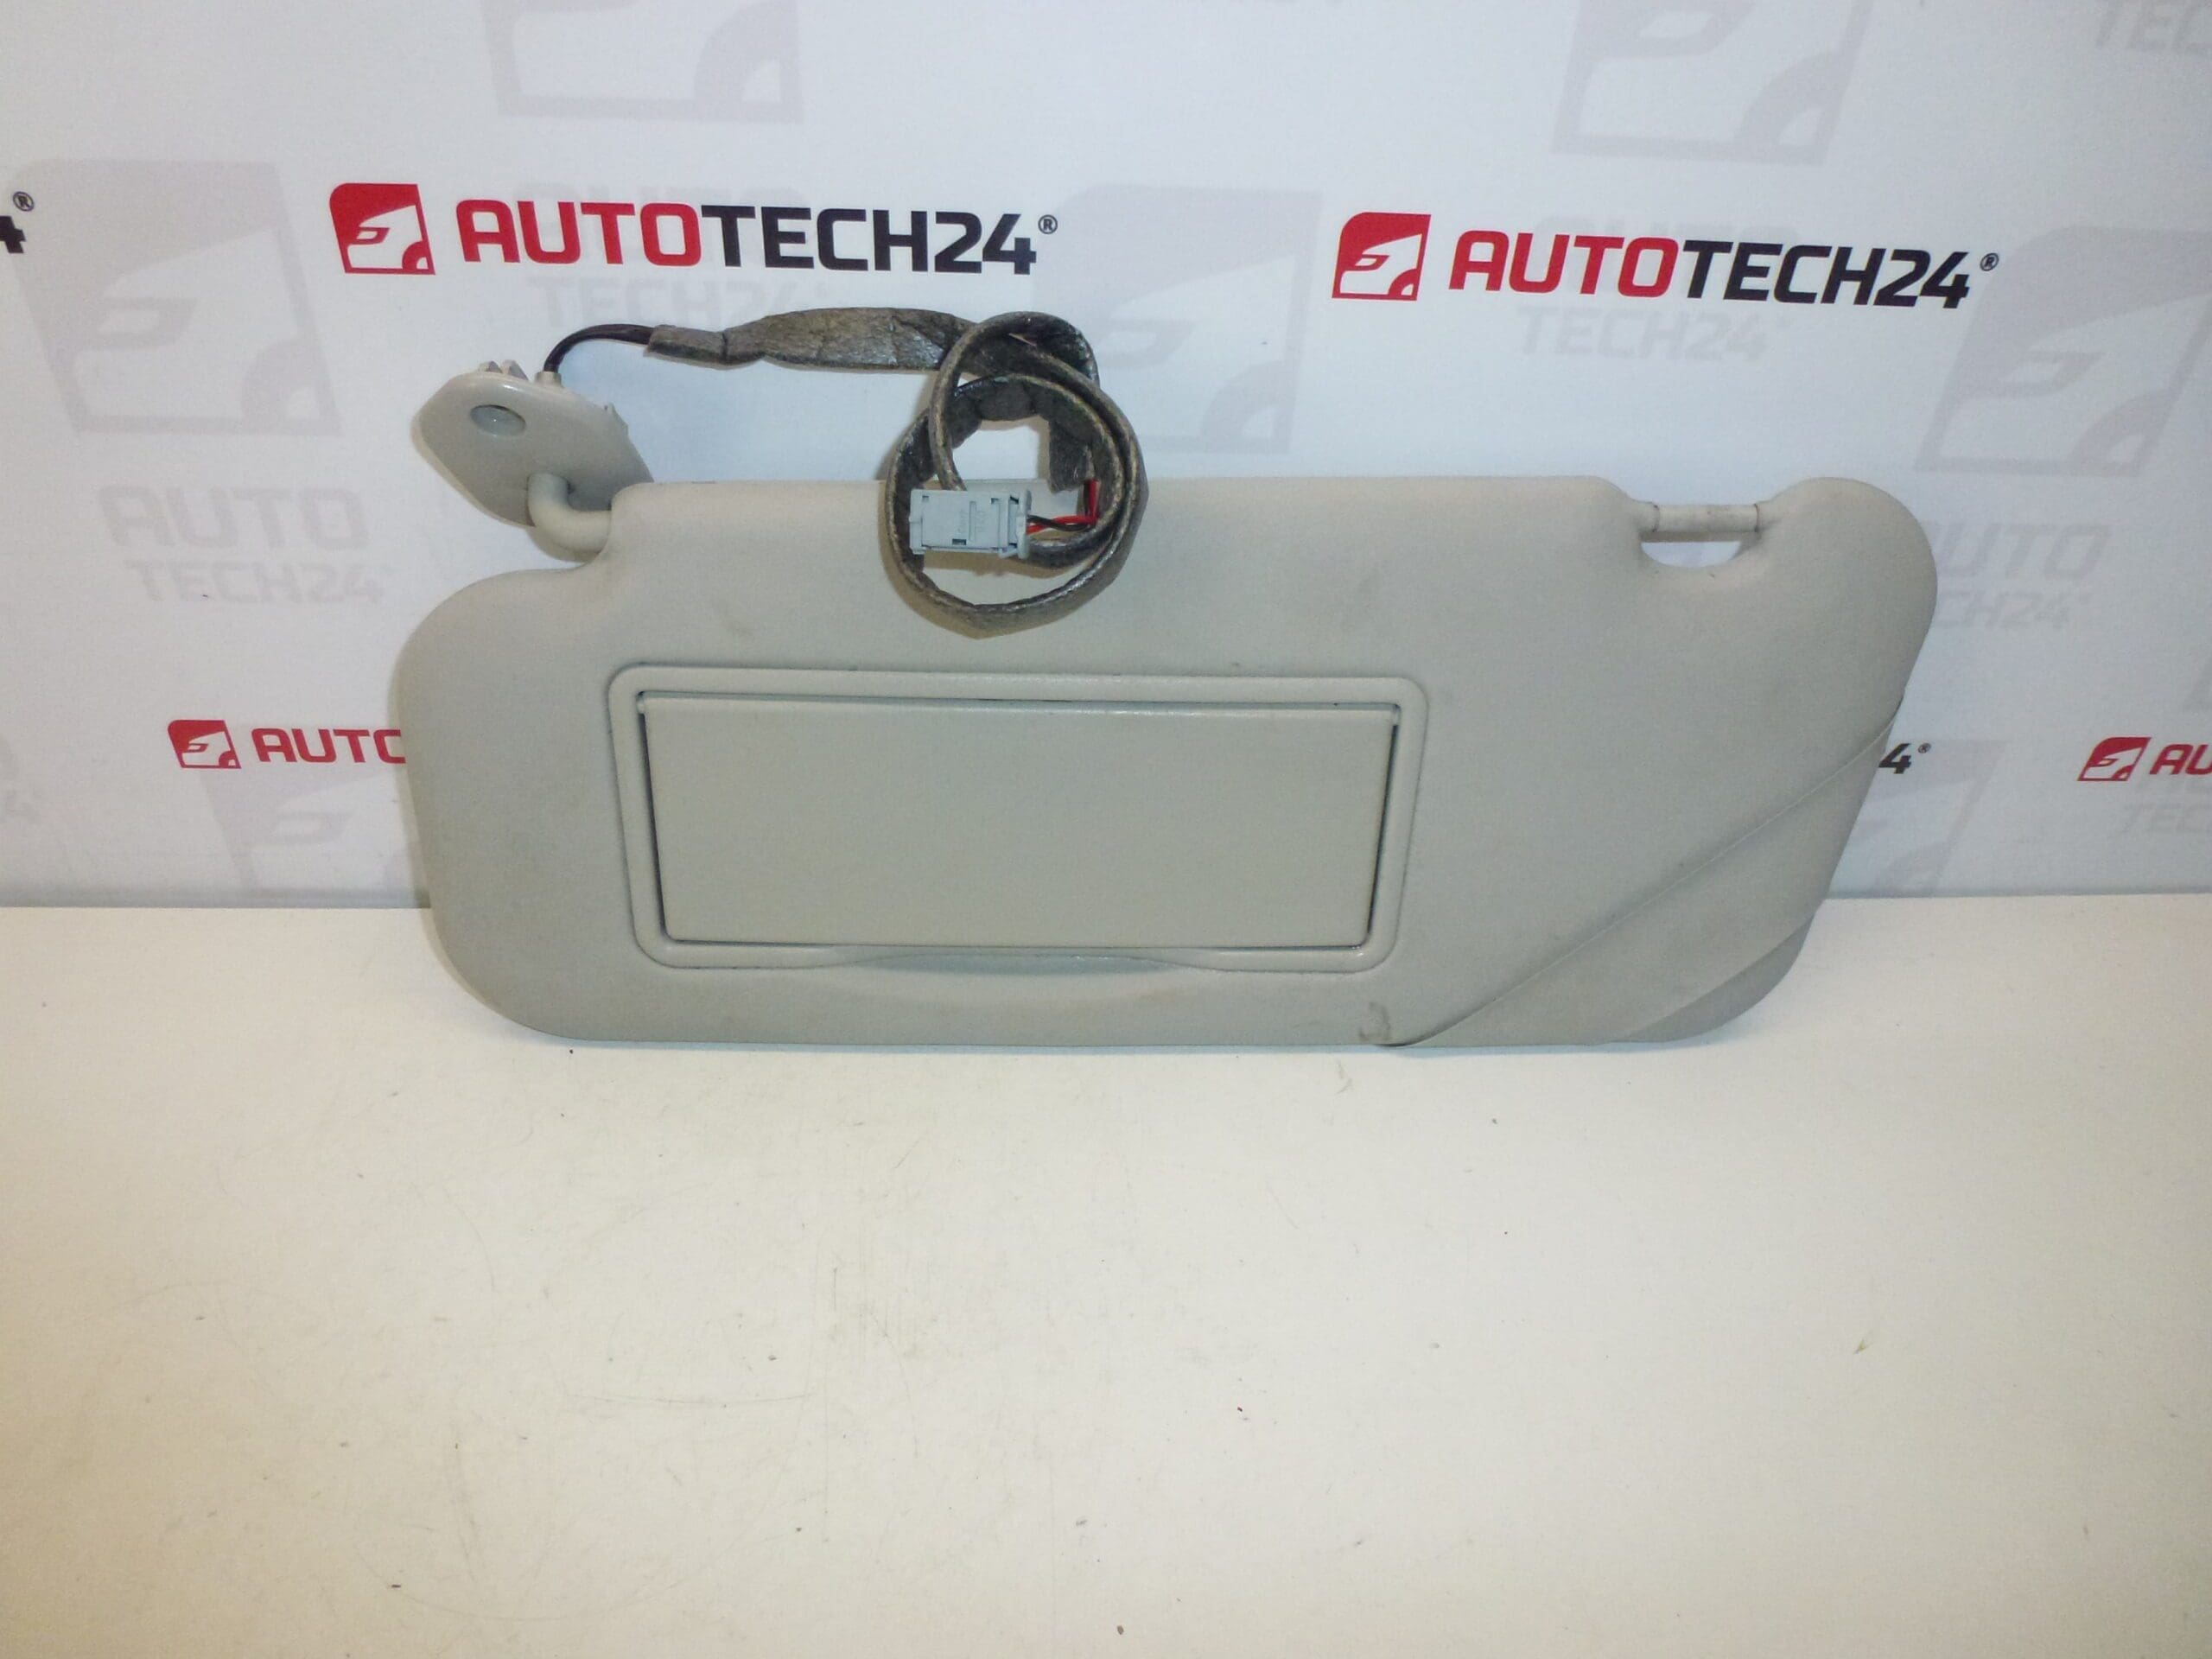
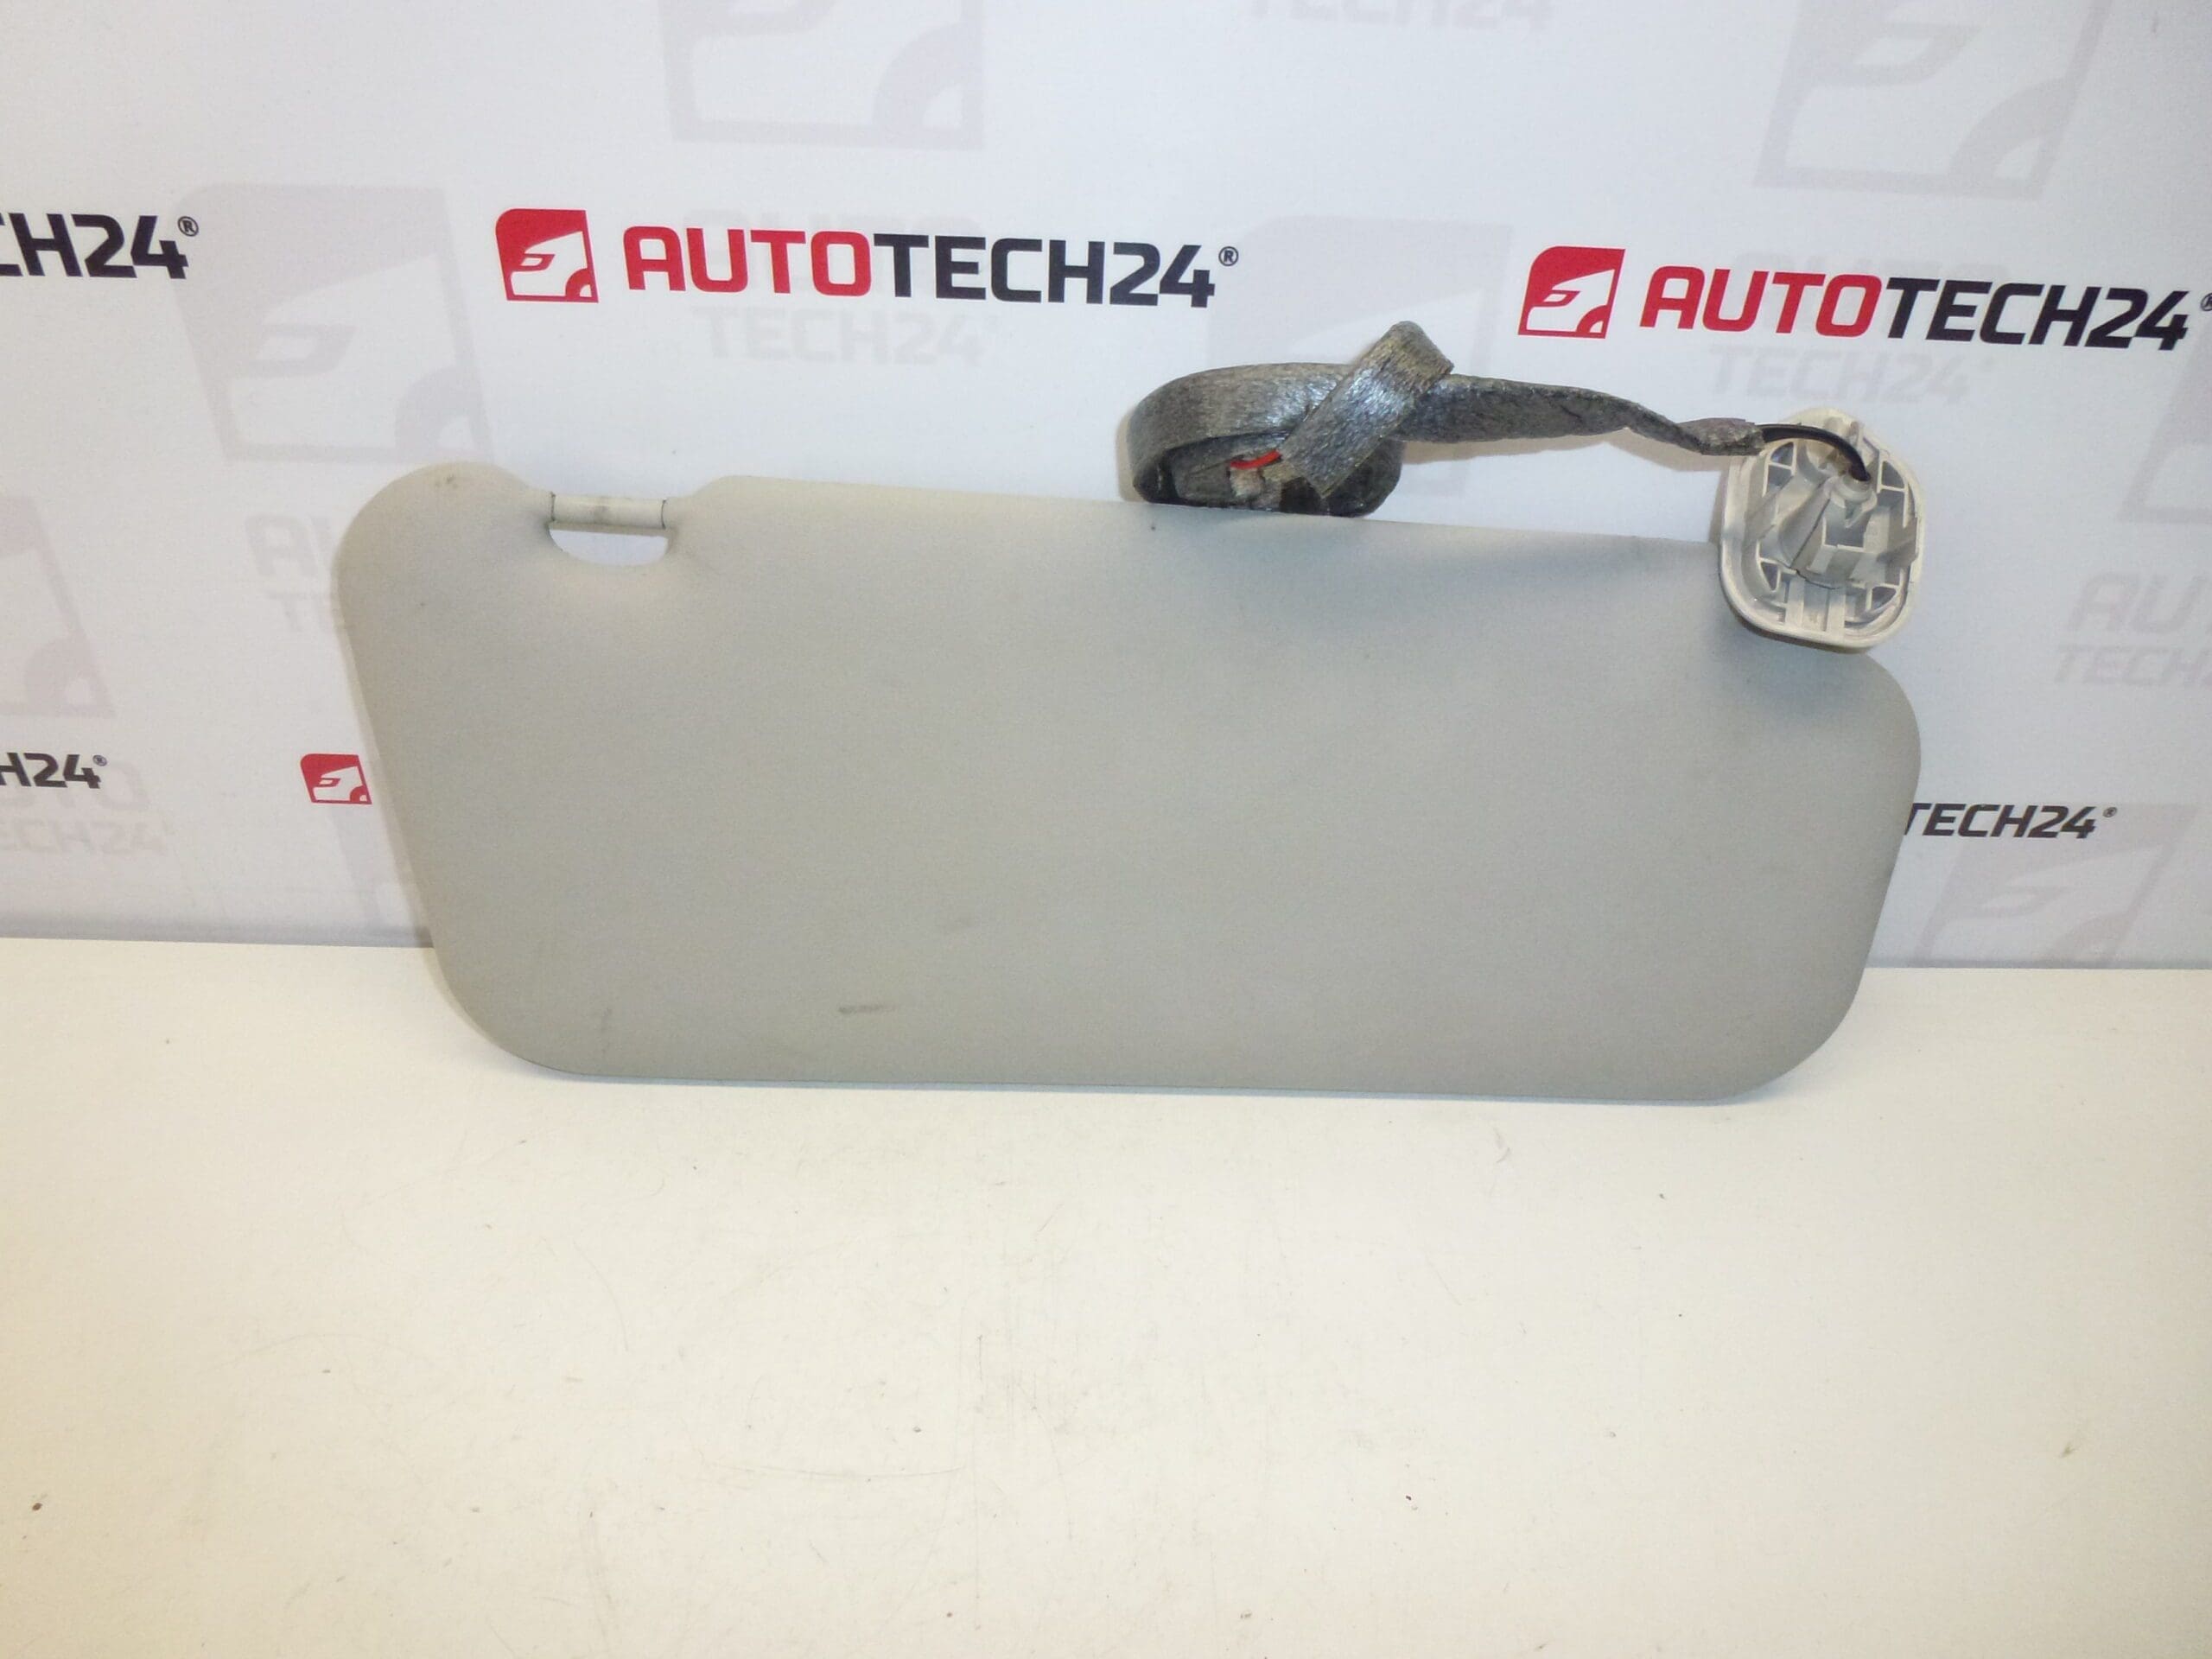
Driver’s left side, with mirror and lighting
Part description
The driver’s left sun visor is an important part of the interior that helps improve comfort when driving in sunlight and also makes the vehicle more practical thanks to its integrated mirror and lighting. This used auto part is designed for Citroën and Peugeot vehicles and may be a suitable choice when replacing an original visor that is damaged, loose, or not working.
The part is also searched for by its product numbers, especially 8143GC and 8143HS, making it easier to identify when looking for the right replacement part. For mechanics and DIY enthusiasts alike, it is a practical interior component that can be efficiently replaced by carefully comparing it with the old part.
Technical information
- Manufacturer: Stellantis Citroën Peugeot
- Model: Citroën Xsara Picasso, Peugeot 307
- Other numbers: 8143HS, 8143GC
Product codes
- Product codes: 8143GC, 8143HS
- Model names: Citroën Xsara Picasso, Peugeot 307
Installation recommendations
In general, replacing a sun visor in a vehicle interior typically follows a procedure that may vary depending on the specific model and version. If the visor is equipped with lighting, take care when handling the electrical connection as well.
1) Before installation
- Check that the new part matches the old one in shape, mounting points, installation side, and mirror design.
- Compare the lighting connector if the visor is equipped with illumination.
- Check the condition of the mounting points, hinge, and covers for cracks or excessive wear.
- Make sure the visor folds down freely and stays in its working position.
2) Tools and materials required
- standard set of screwdrivers or bits
- plastic trim removal tool
- clean cloth
- work gloves, if needed
3) Step-by-step installation procedure
- Park the vehicle in a safe place and switch off the ignition.
- If the visor is equipped with lighting, it is generally advisable to disconnect the vehicle’s power supply before starting work, in accordance with standard service practice.
- Carefully remove the original sun visor, including the mounting covers, to avoid damaging the surrounding upholstery.
- For a visor with lighting, carefully disconnect the electrical connector.
- Compare the removed part with the replacement, paying particular attention to its orientation, bracket, mounting points, and wiring configuration.
- If there is an electrical connection, connect the connector to the new visor.
- Position the visor for installation and align the mounting points.
- Reattach the visor using the original fastening method.
- Check that the visor is securely attached, does not come loose anywhere, and that there is no strain on the plastic parts.
- Test the visor’s folding and rotation, and check that it seats properly in its holder.
- For the version with a mirror and lighting, check that the lighting works during normal use.
4) Post-installation checks and function testing
- Check that the mounting is stable when the visor is open and closed.
- Make sure the visor does not creak, fall down, or interfere with normal use of the interior.
- Test the mirror and, if applicable, the lighting.
- During a short drive, check that the visor stays securely in position and does not come loose on its own.
5) Most common installation mistakes and how to avoid them
- Mixing up the left and right sides – always compare the part’s orientation with the old one before installation.
- Damaging interior plastics – use suitable tools and remove the part without applying excessive force.
- Incorrectly connecting the lighting – check that the connector matches and that the lighting works before finalizing the installation.
- Insufficient fastening – after installation, make sure the visor is secure and has no play.
- Overlooking mechanical damage to the used part – check the hinge, bracket, and surface condition before installation.
Reasons why the part becomes damaged
- normal wear from frequent folding and rotation of the visor
- cracked or worn mounting points due to material aging
- damage to the hinge mechanism caused by rough handling
- wear or failure of the lighting and its connection
- mechanical damage to the interior during removal or a previous improper repair
- dirt, deformation, or damage to the mirror from prolonged use