Description
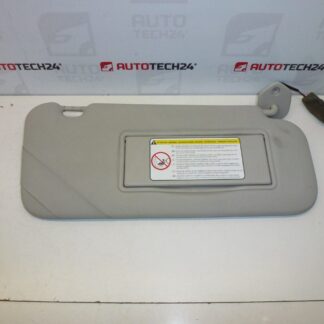
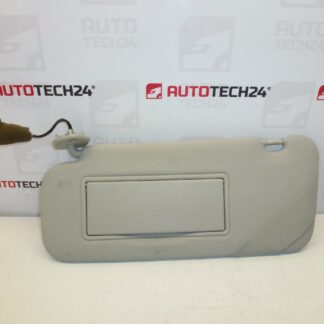
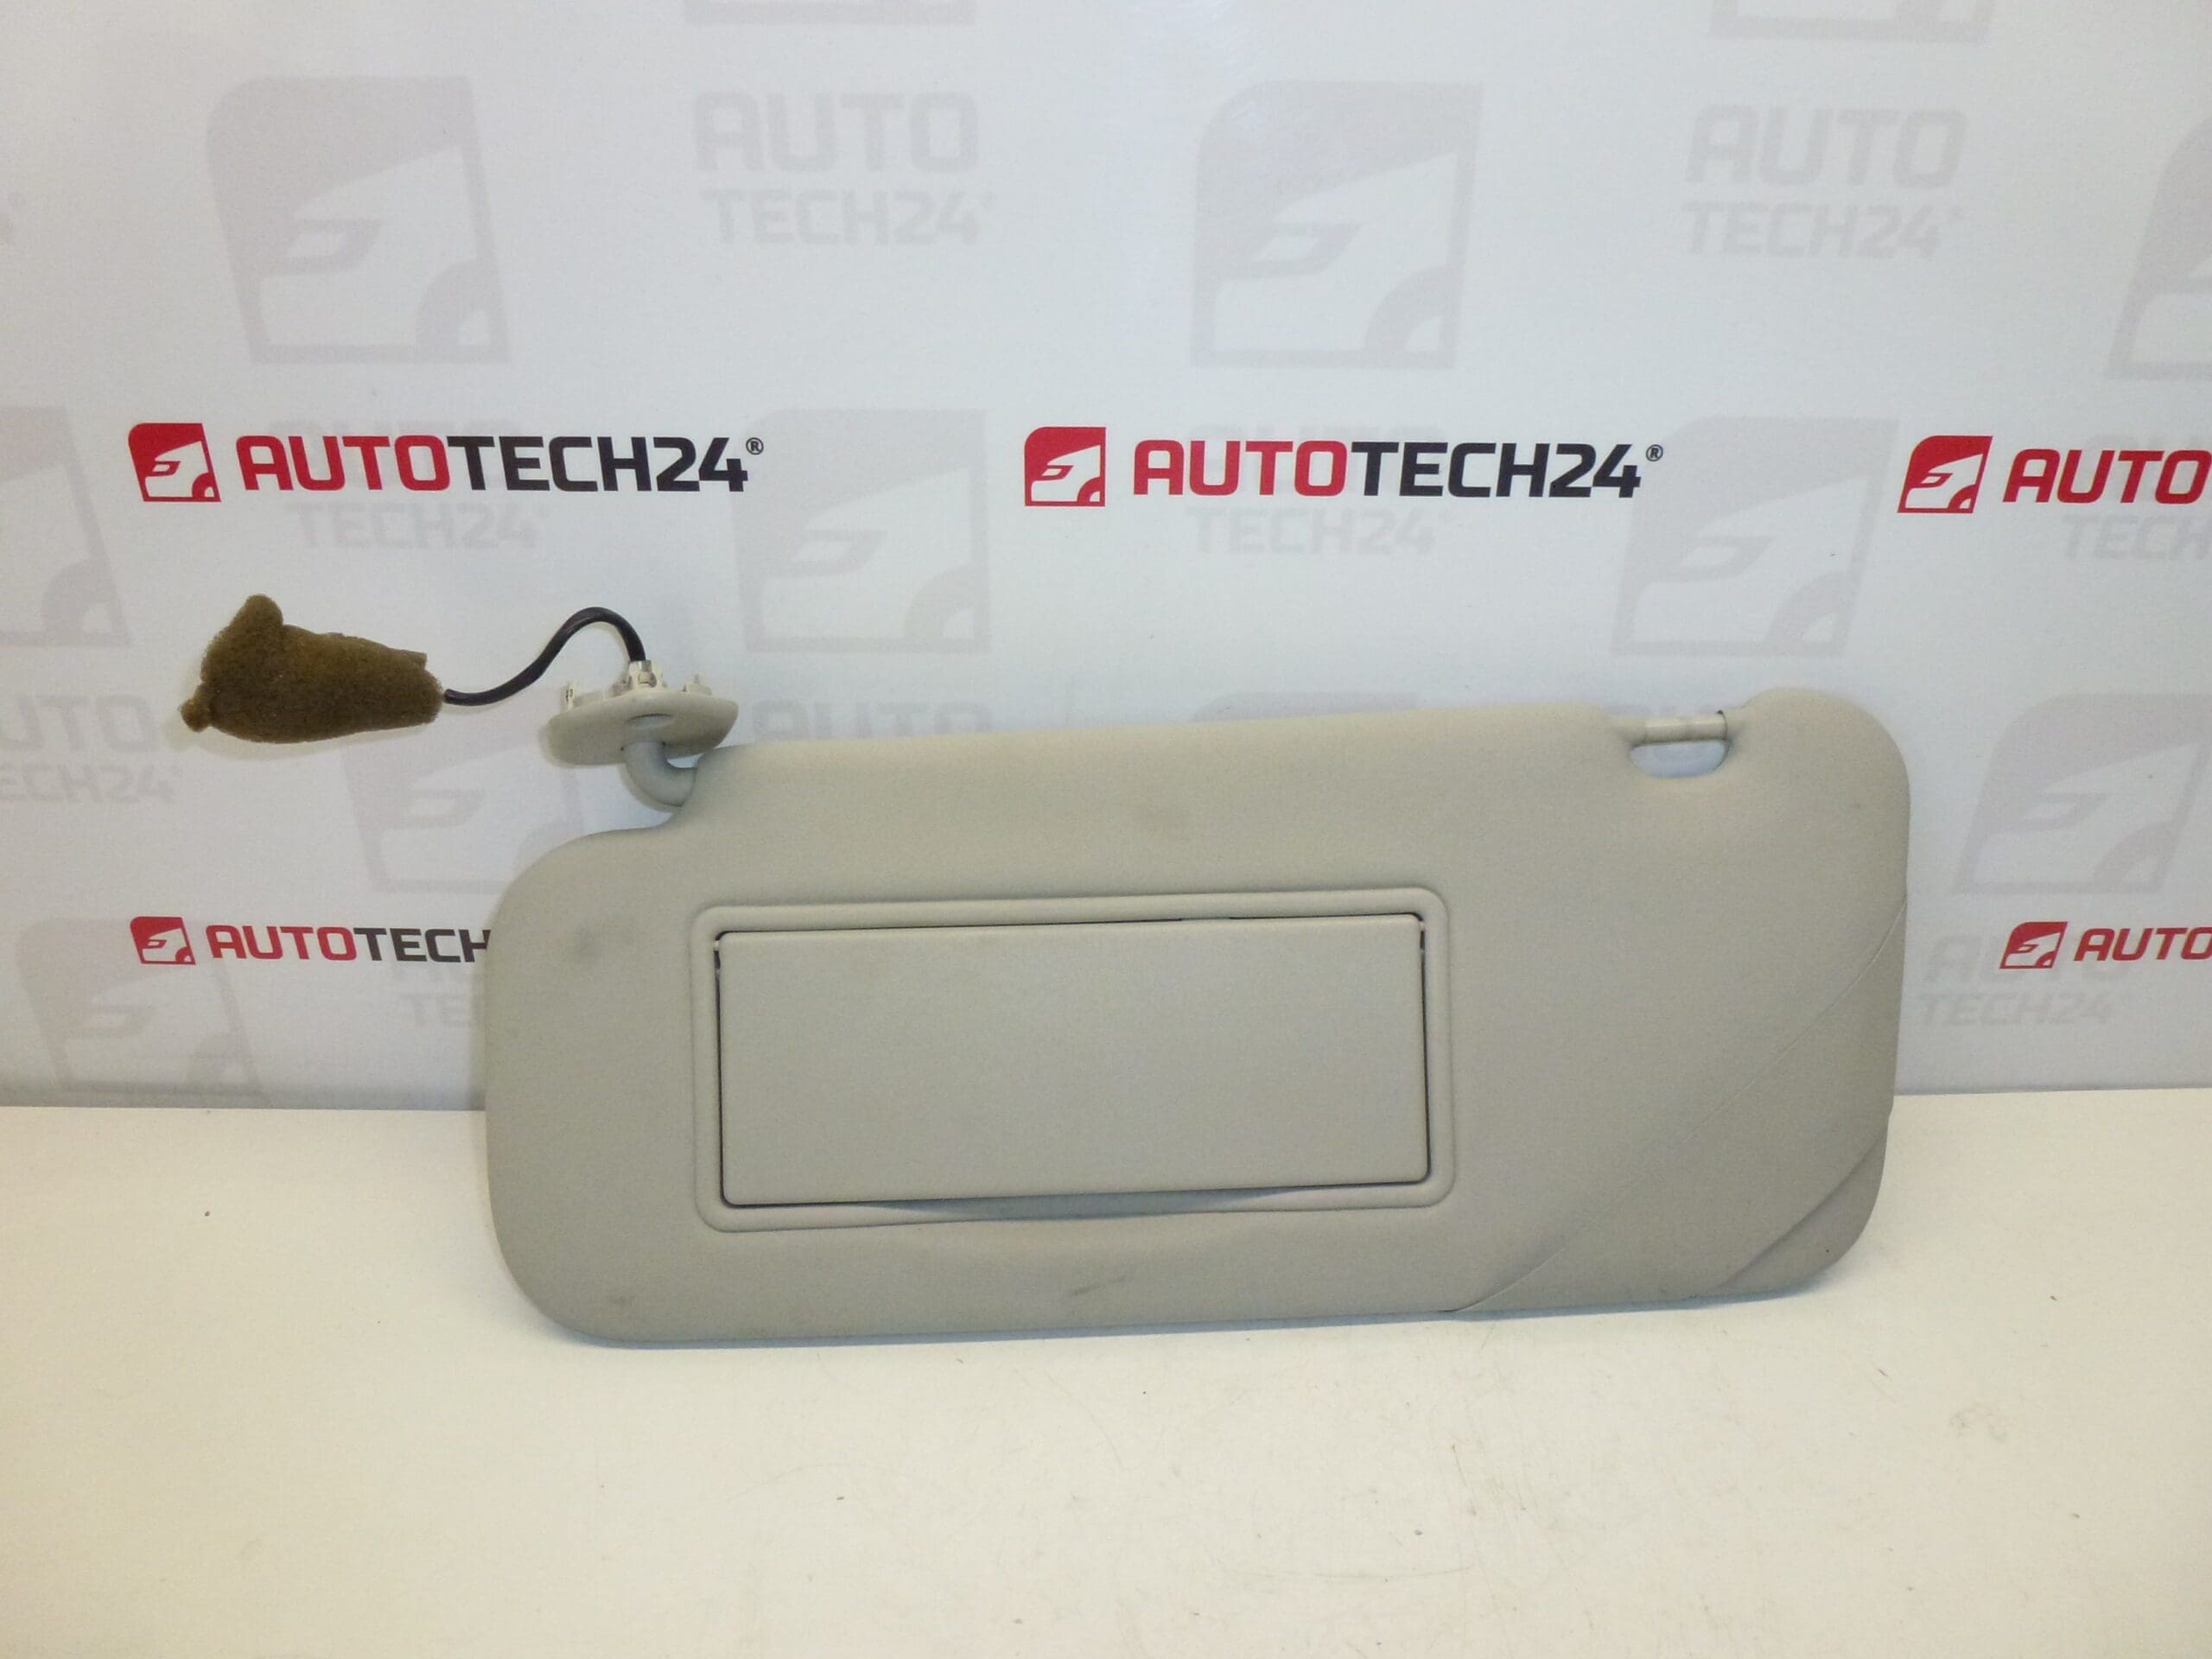
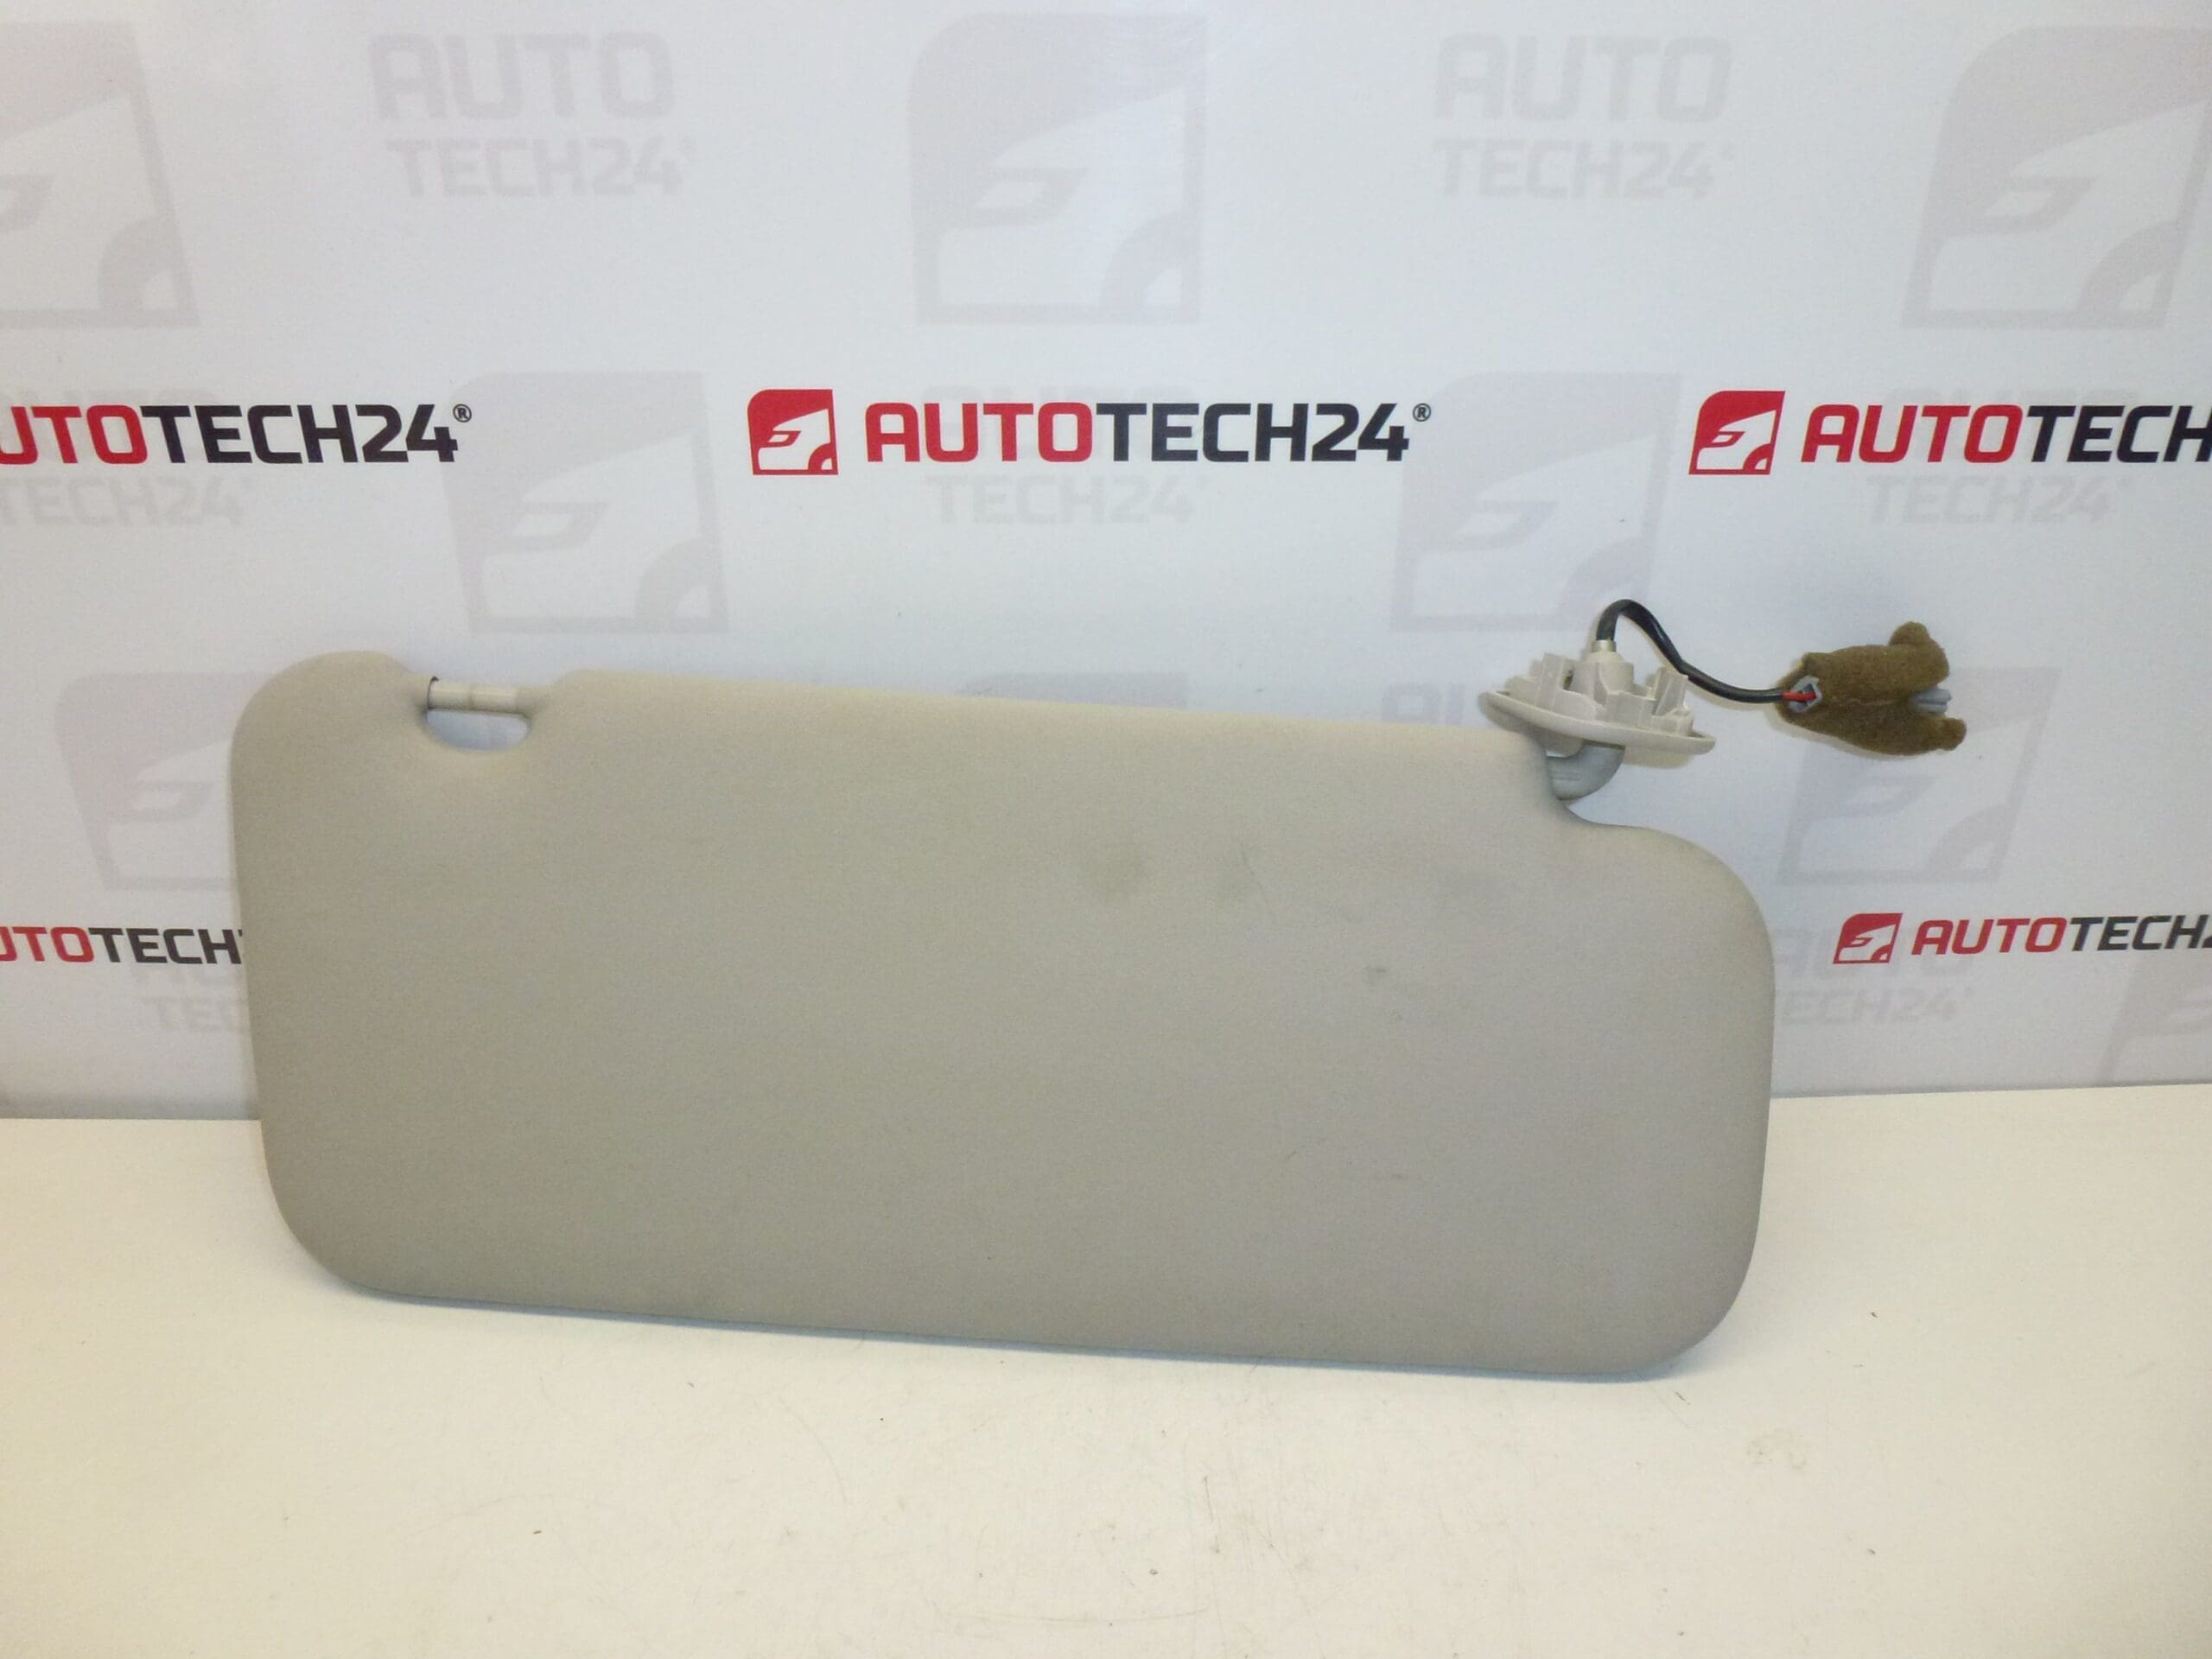
Sun visor with mirror and light for Citroën C5 I and II, left side, driver. This is a used part – slight soiling possible.
High-quality replacement sun visor for the driver side of Citroën C5 (models I and II). Supplied with vanity mirror and integrated illumination, part number 8143NQ. Ideal for workshops and DIY mechanics who need a direct-fit interior component to restore function and appearance. The visor is a practical and cost-effective alternative to a new original part and matches the factory mounting points, electrical connector for the lamp and the clip positions used in these models.
Technical Information
- Manufacturer: Stellantis (Citroën)
- Model: Citroën C5 I (2001–2008), Citroën C5 II (2008–2017)
- Product Codes: 8143NQ
- Other Numbers: NFP (as marked) / Driver Side
Compatibility
Fits Citroën C5 first and second generation vehicles where the original sun visor is the same shape and mounting arrangement. Confirm fit using the part number 8143NQ and physical comparison of mounting points before installation.
Function And Common Faults
The sun visor provides glare protection and includes a vanity mirror with a lamp that illuminates when opened. Common failures on original visors include:
- Broken or worn hinge and pivot causing sagging or loose visor.
- Damaged or detached mounting clips causing rattles or poor retention.
- Failed lamp (burnt bulb or faulty LED) or poor electrical contact in the connector.
- Surface wear, staining or delamination of the covering material after years of use and sun exposure.
Replacement Procedure
Suitable for experienced DIYers and technicians. Typical replacement steps:
- Disconnect the vehicle battery as a safety precaution to prevent short circuits and protect interior electronics.
- Fold the visor to a convenient position and remove any trim covers hiding the mounting screws (use plastic trim tools to avoid damage).
- Unplug the electrical connector for the vanity lamp—note the connector orientation for reassembly.
- Remove mounting screws or release the mounting clip and detach the visor from the roof mounting bracket.
- Install the replacement visor by reversing the removal steps: secure mounting screws/clips, reconnect the lamp connector and verify correct operation of the light and visor movement.
Estimated time: 15–30 minutes depending on interior trim complexity and access.
Installation Recommendations
- Always disconnect the battery before starting work on interior electrics.
- Use trim removal tools to avoid breaking plastic clips or damaging headliner material.
- Inspect the lamp holder and connector for corrosion; clean contacts if necessary before reconnecting.
- If clips are brittle or broken, replace them to ensure a secure fit and to avoid rattles.
- After installation, test the vanity light, visor movement and clip retention to ensure correct function.
Most Common Cause Of Failure
Sun visors most commonly fail due to mechanical fatigue of the plastic hinge and mounting clips caused by repeated use and exposure to temperature cycles and sunlight. Over time the plastic becomes brittle and can snap or lose tension, and the covering material may stain or delaminate. Electrical faults in the vanity lamp are typically due to a blown bulb/LED or poor connector contact.
Condition: Used part with possible light soiling. Clean and test the lamp and hinge after installation. Part number for reference: 8143NQ.