Description
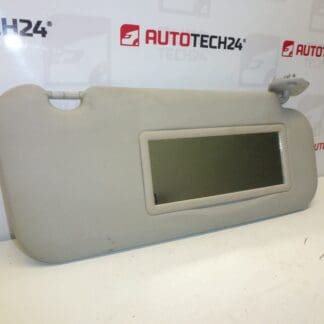
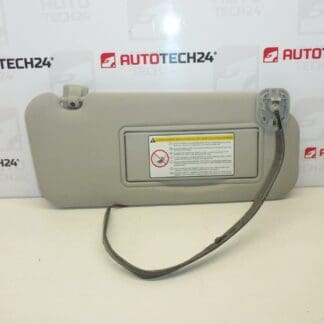
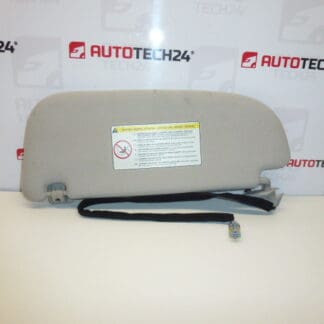
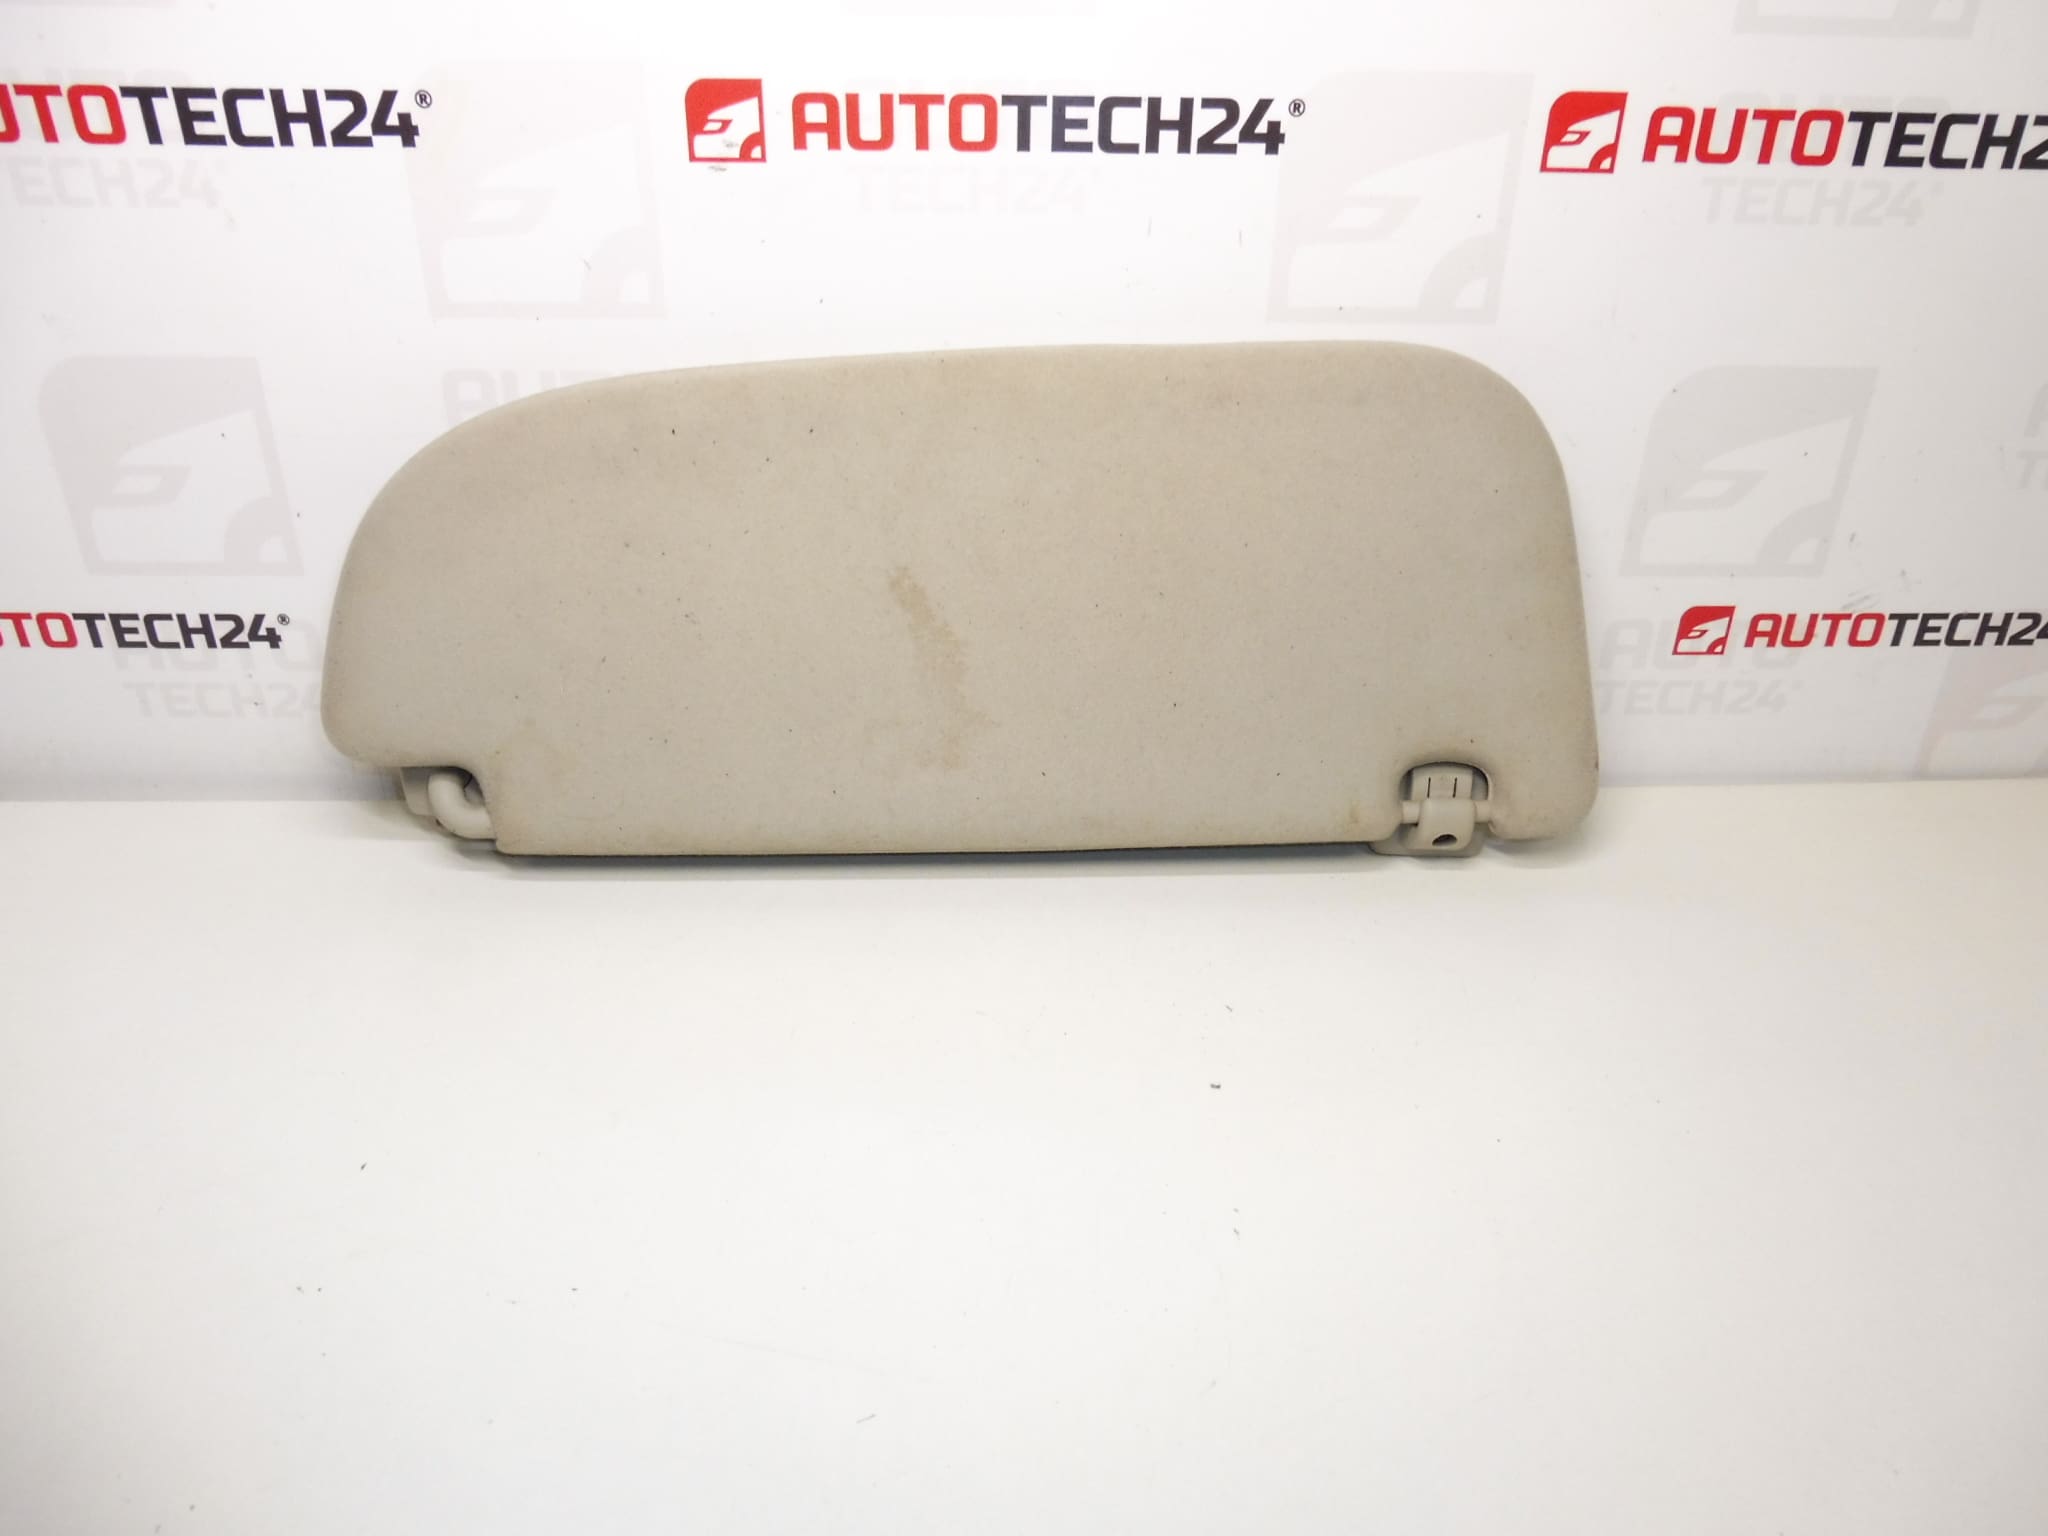
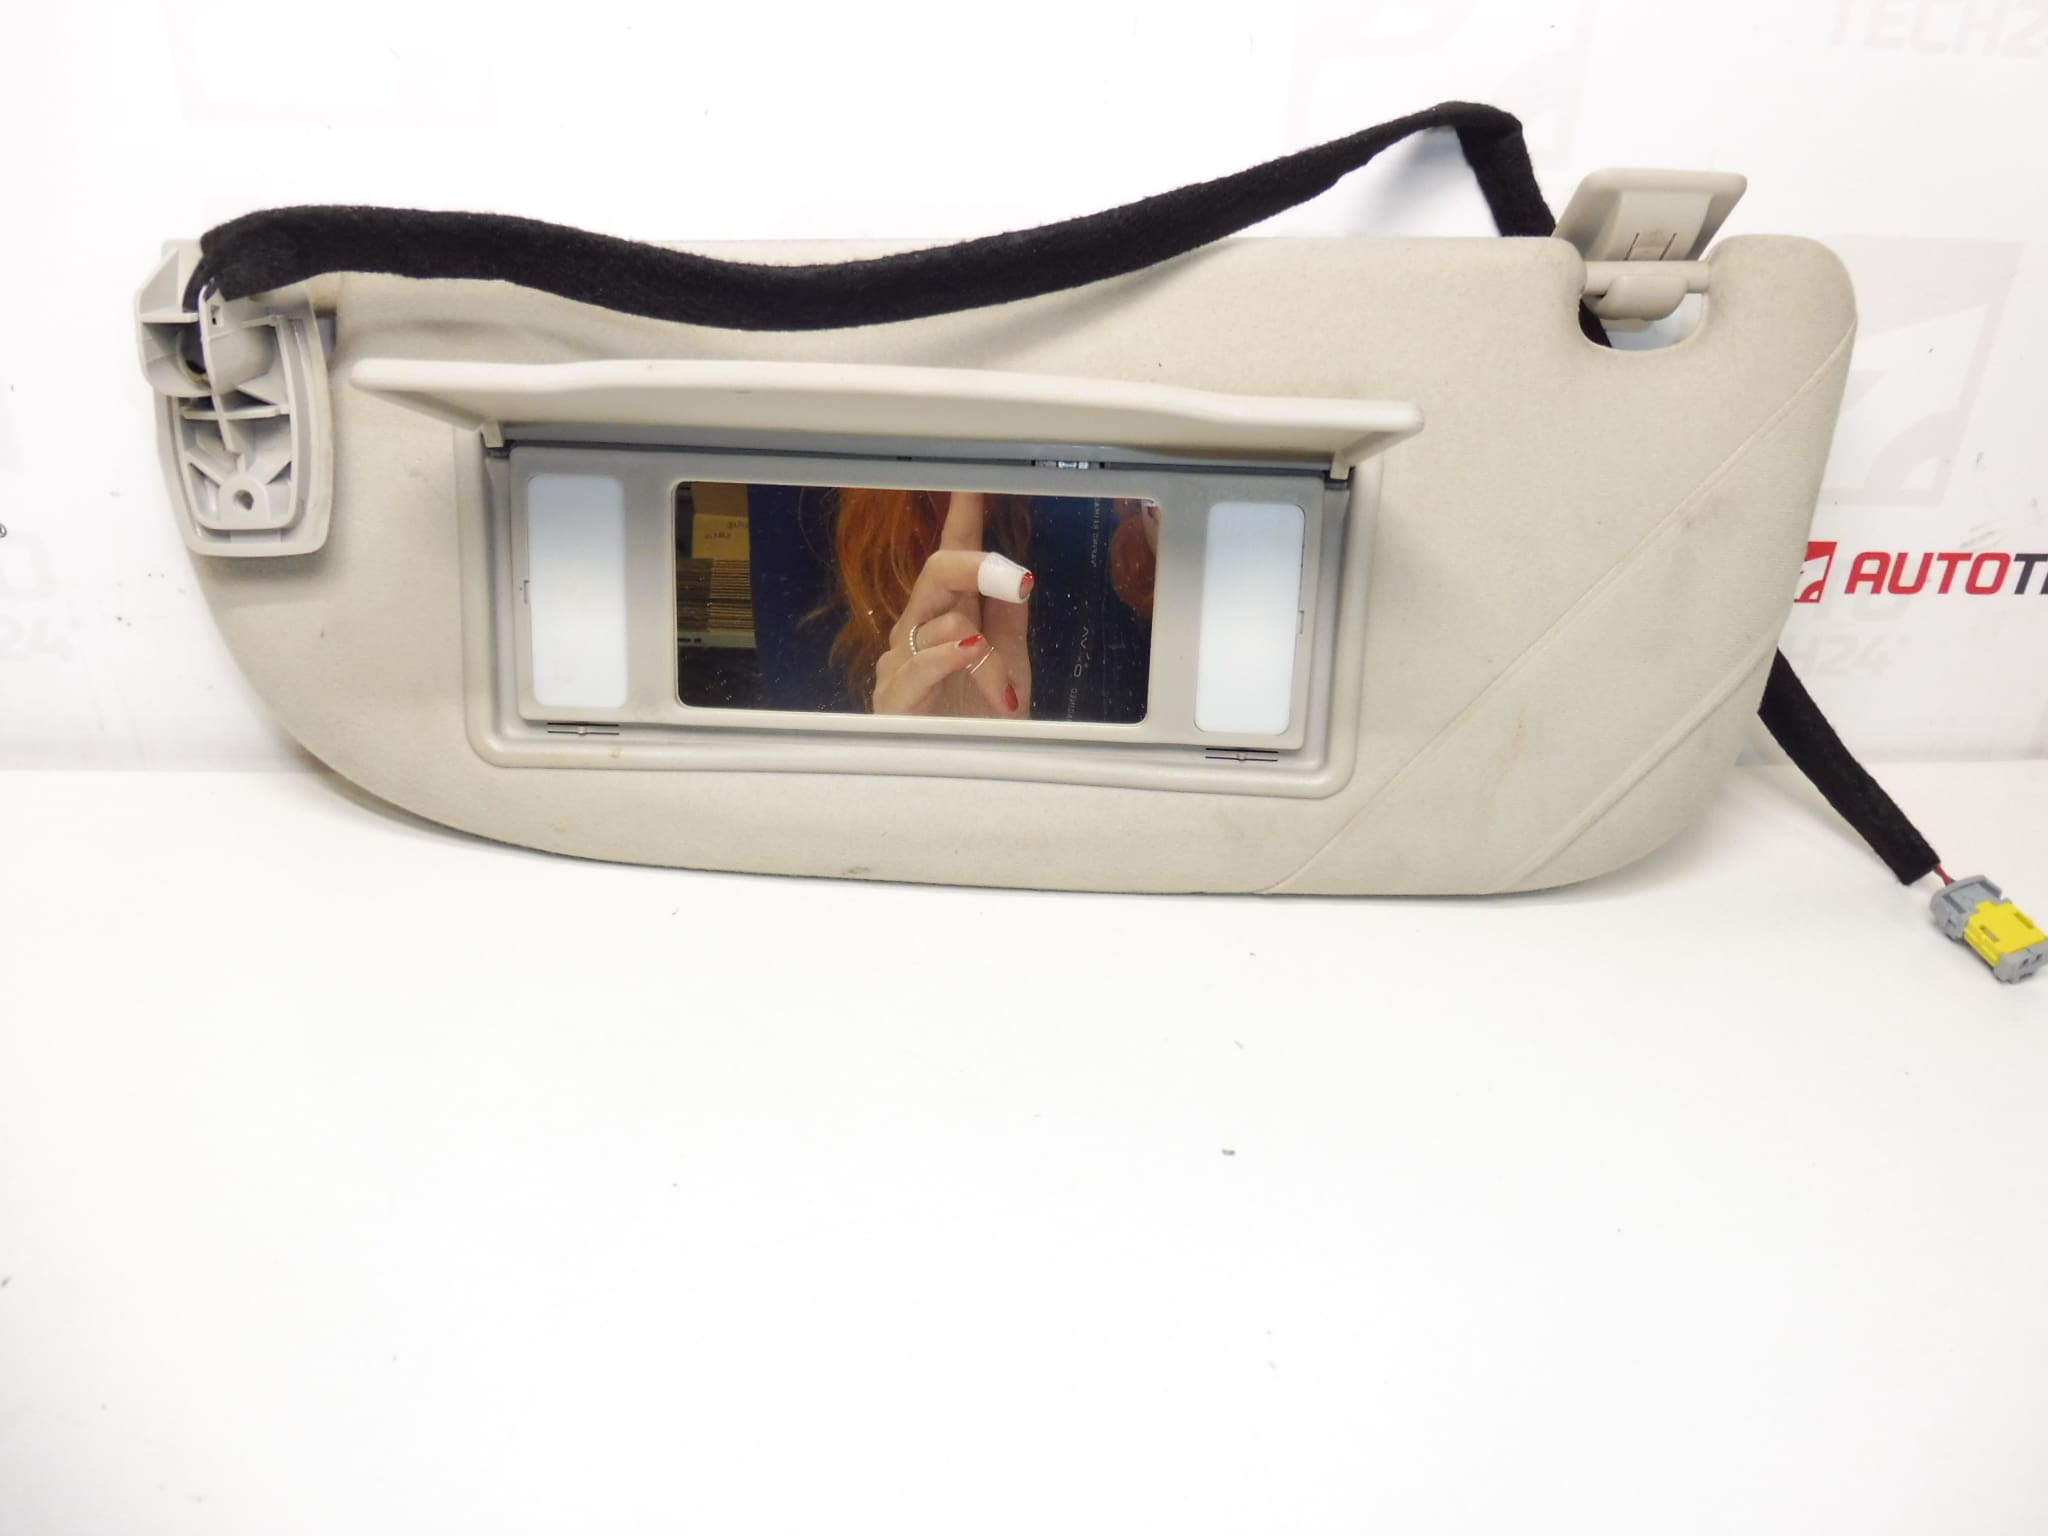
Sun visor with mirror and lighting for PEUGEOT 307 CC
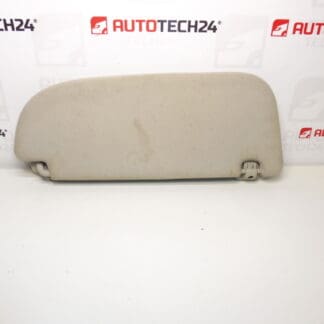
This is a used part – possible slight soiling
Left side – driver
Part description
This left sun visor is intended for the interior of a Peugeot 307 CC and is equipped with a mirror and lighting. It is a practical part that increases comfort and safety when driving against the sun and at the same time helps keep the interior in complete and functional condition.
Since this is a used car part, expect the possibility of minor contamination corresponding to normal use.
Technical information
Product codes
- Product codes: 8143HH
Installation recommendations
Generally/typically for interior sunshades, replacement is mechanically simple, but care must be taken due to plastic parts and possible lighting wiring. The exact procedure may vary depending on the car model.
1) Before assembly
- Compare the new screen with the old one: left side (driver), shape, mounting, mirror design and presence of illumination.
- Check joint/swing mechanism condition (smooth operation, play) and cosmetic condition (dirt).
- If the screen is illuminated, check the connector and wiring at the screen (undamaged pins, no cracks in the insulation).
2) Necessary tools and materials
- Set of screwdrivers / bits (according to the type of screws in the car)
- Plastic pry bar for removing interior covers (to minimize damage)
- Cleaning agent for the interior and cloth (for cleaning the mounted screen and the surroundings)
3) Step-by-step assembly procedure
- Park in a safe place, turn off the ignition and secure the vehicle against movement.
- For working indoors, prepare enough light and protect the surrounding plastic parts from scratches.
- Carefully pry off the hood/sun visor mount cover (if present) using a plastic pry bar.
- Loosen the fixing screws of the diaphragm holder.
- If the screen is illuminated, carefully disconnect the electrical connector (without prying the cables).
- Remove the original sun visor and check the attachment point for loose parts or debris.
- Connect the lighting connector to the new screen (if used) and verify that the connector is secure.
- Place the screen in the holder in its original position and screw the fixing.
- Put back the mounting caps/covers.
- Try out the mechanics: folding, tilting, locking and possibly pulling/rotating according to the design.
-
4) Post-assembly checks and functional test verification
- Check that the curtain holds firmly, does not wobble and does not knock/scratch the ceiling during handling.
- Verify the function of the mirror and lighting (if included) – lights up when used/opened according to design.
5) The most common assembly mistakes + how to avoid them
- Damage to plastic covers: use a plastic pry bar and do not pull with force.
- Thread stripping/bracket breakage: tighten the screws carefully, interior parts are more fragile.
- Lighting cable pulling: disconnect connectors by the connector body, not the wires.
- Swap Sides: Before installation, please verify that it is left (driver) screen.
Reasons why the part is damaged
- Fatigue and wear of the joint – frequent tilting and turning leads to play or cracking of the plastic.
- Mechanical stress – careless handling, leaning on the screen, closing the door in an inappropriate position.
- Damage to the mirror/cover – cracks or breaks due to impact or careless use.
- Lighting problems – loose connector, broken wire in a bend, oxidation of contacts.
- Pollution – normal accumulation of dust and grease in the interior, possibly stains from cosmetics.