Description
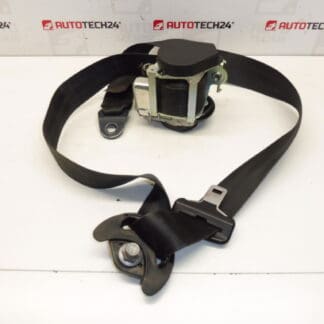
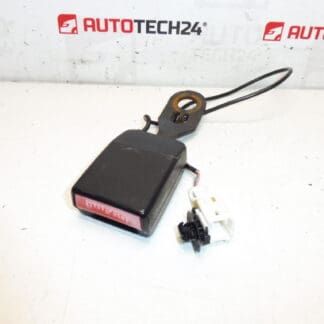
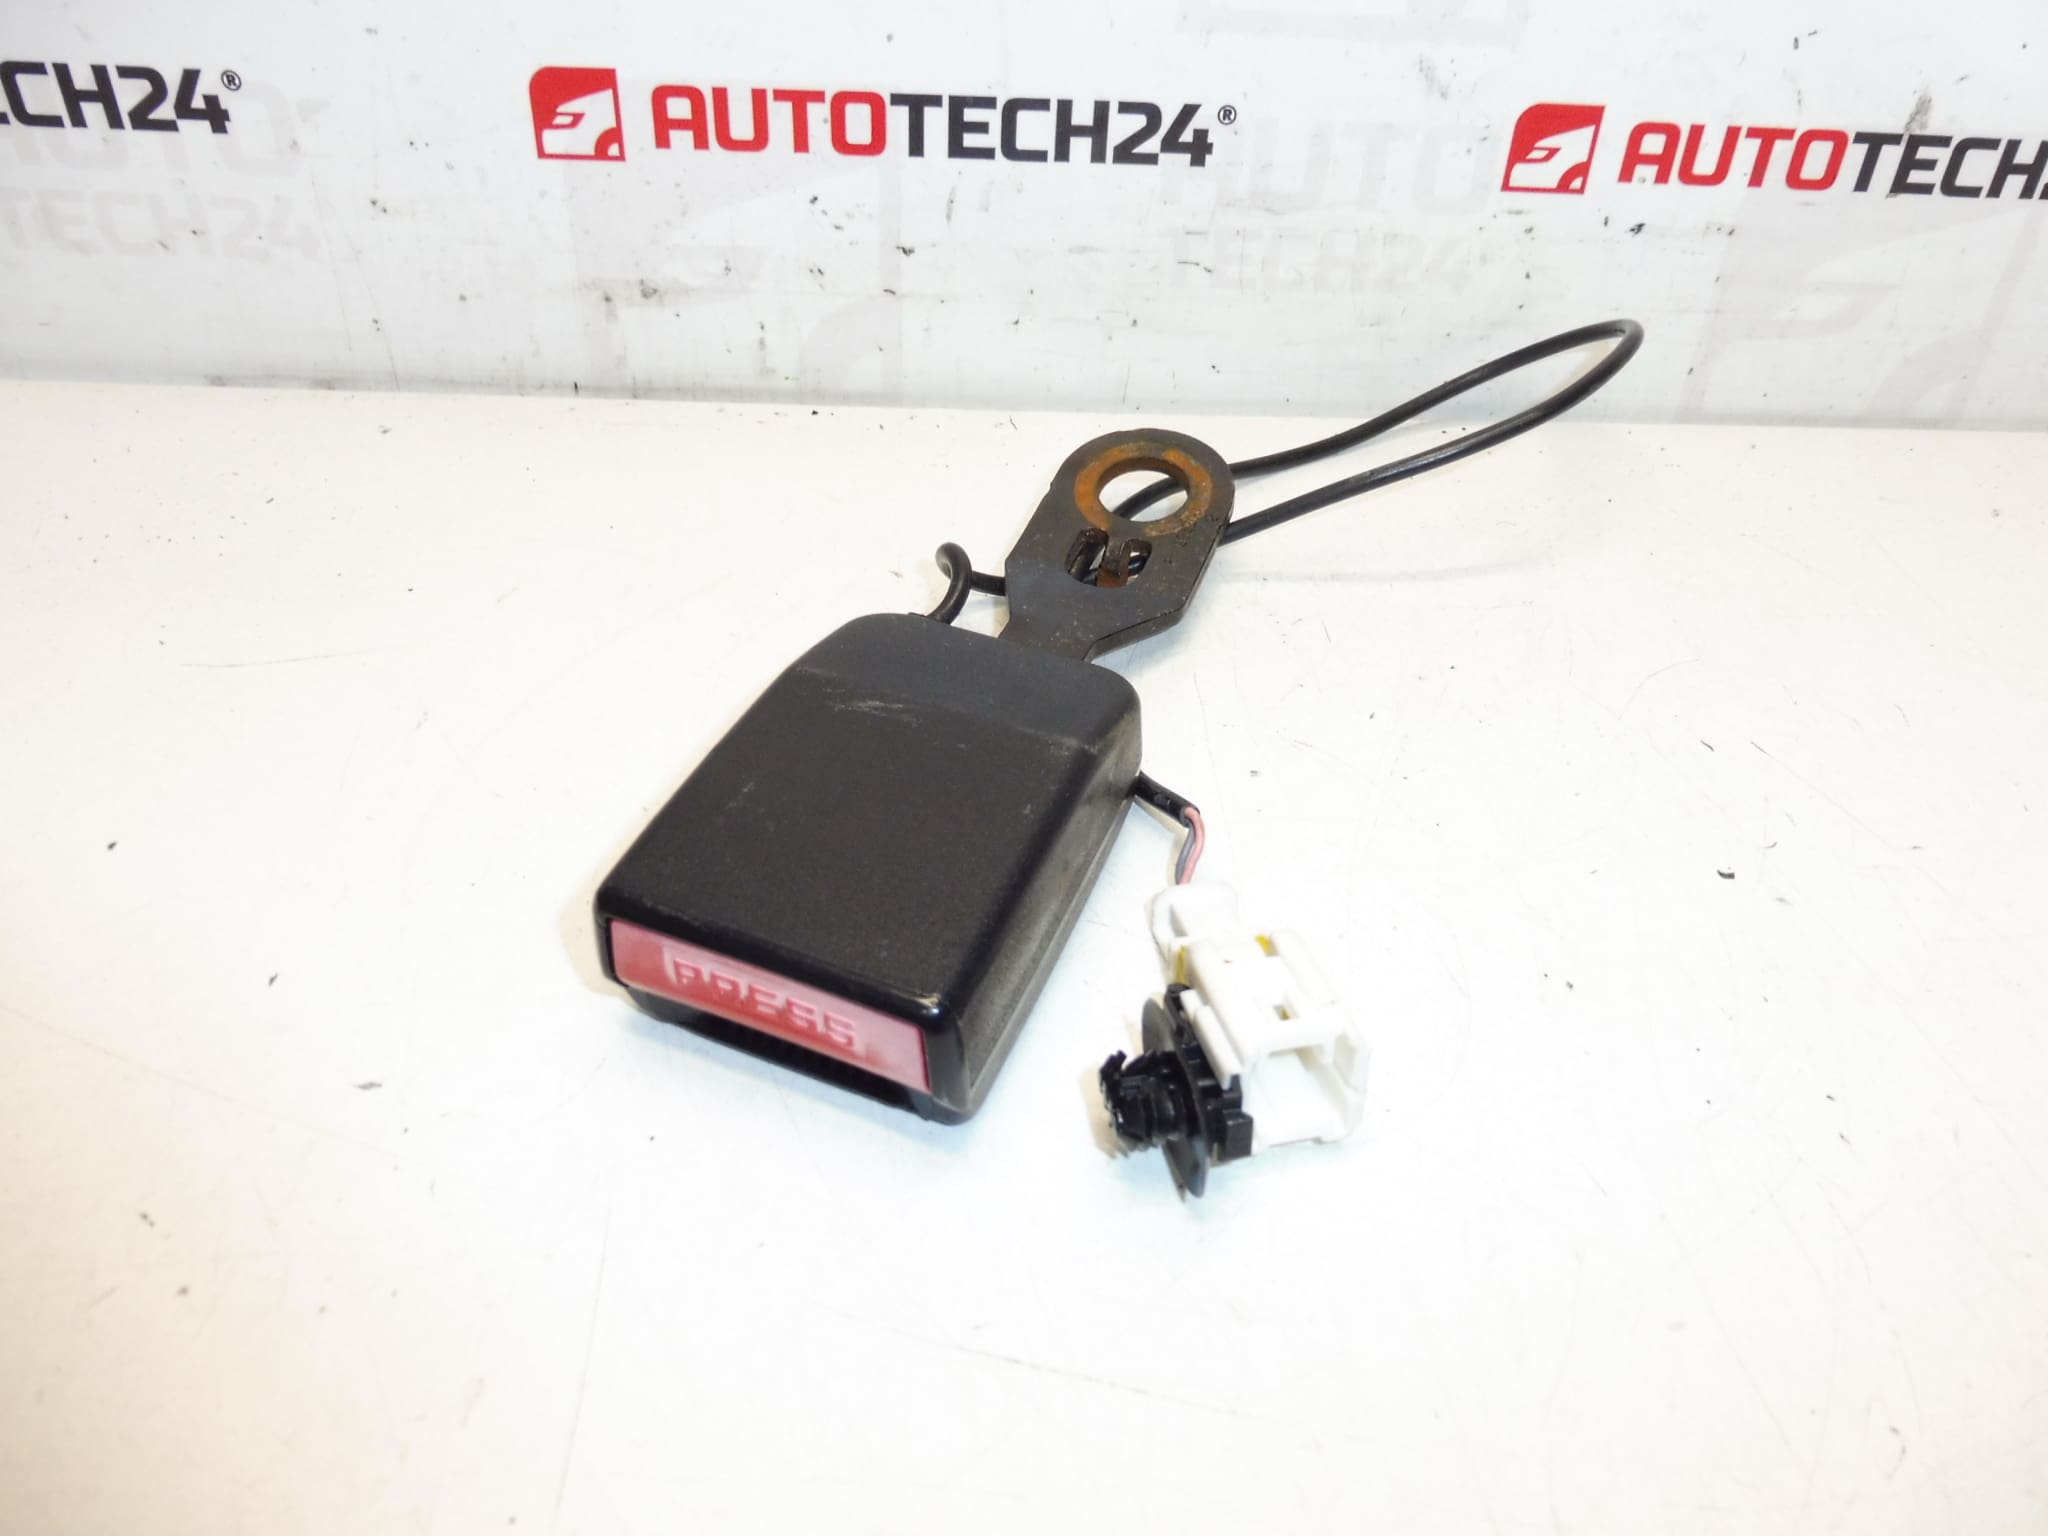
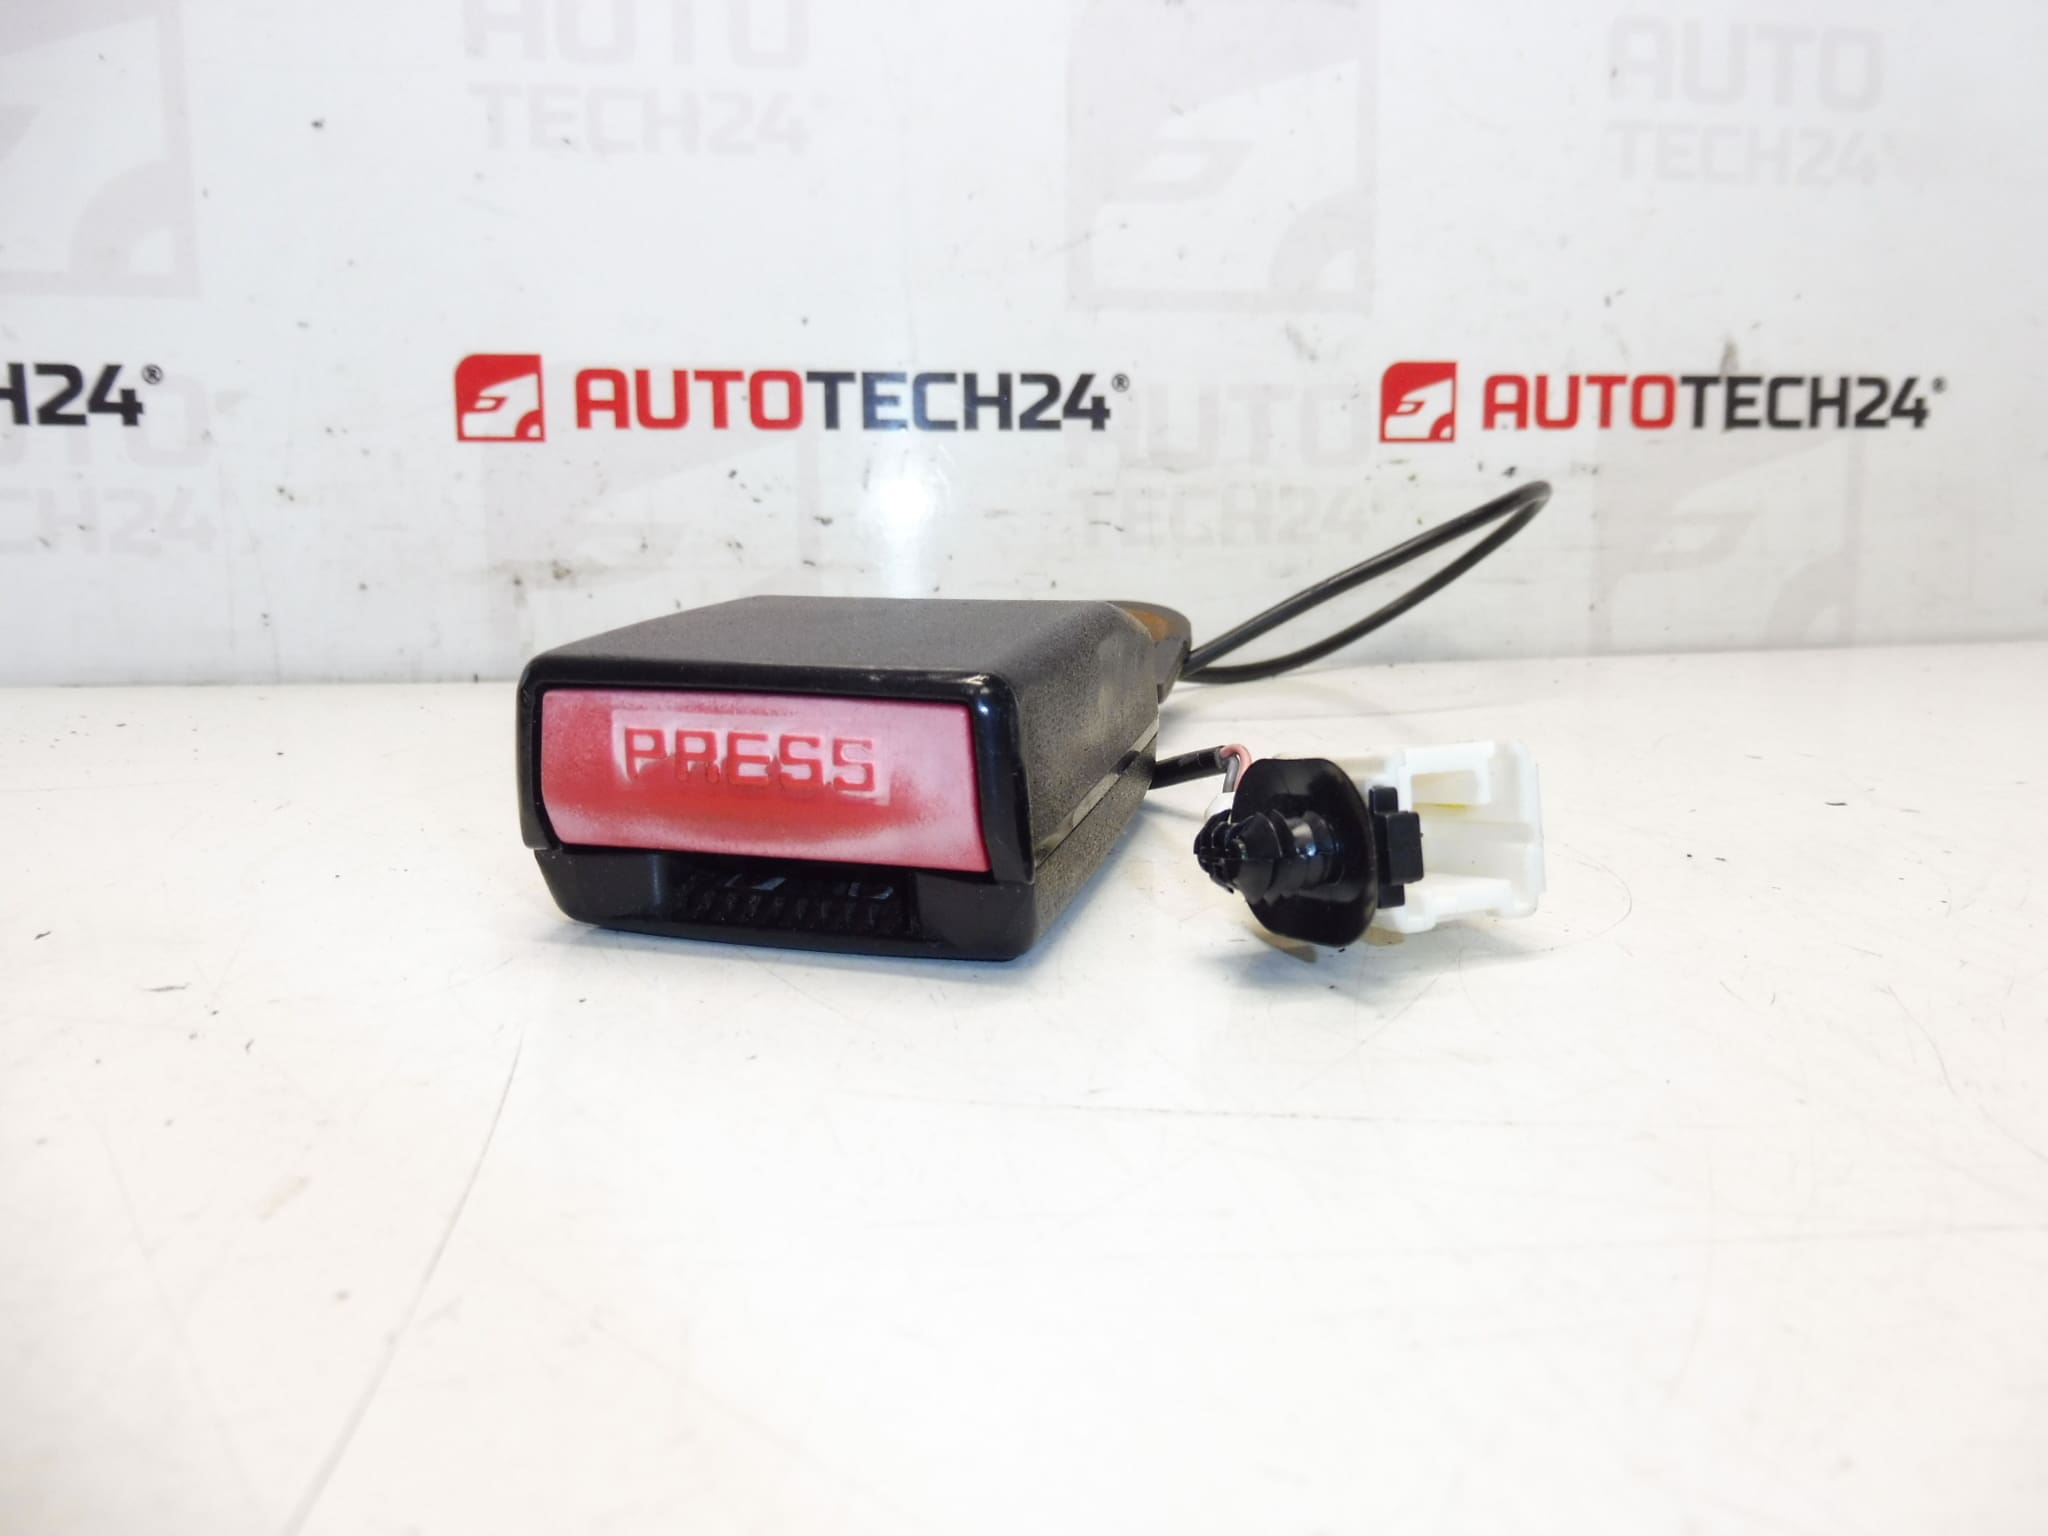
Passenger Seat Belt Buckle Bracket for Citroën C8 and PEUGEOT 807. Color FXX Black. With Alarm.
This replacement passenger-side seat belt buckle bracket (often searched under part numbers 8975AV or 8973QY) is designed for Citroën C8 and Peugeot 807 models. The unit includes the buckle mounting and a latch switch for the seat-belt alarm/occupant-detection circuit. Built to OEM fitment standards, it restores secure latching, reliable buckle sensing and correct alarm/warning lamp behaviour after failure or damage.
Technical Information
- Manufacturer: Stellantis (Citroën/Peugeot)
- Model: Citroën C8, Peugeot 807
- Product Codes: 8975AV, 8973QY
- Other Numbers: Not specified
- Color: FXX Black
- Side: Passenger (Front)
- Feature: Includes alarm/latch sensor
Function and Benefits
The buckle bracket secures the seat-belt latch and houses the microswitch that tells the vehicle whether the belt is fastened. A properly working unit ensures the seat-belt warning alarm and related safety logic operate correctly. Replacing a faulty buckle bracket restores safe restraint operation, prevents false alarm warnings, and ensures the seat-belt is held positively under load.
Installation Recommendations
- Always disconnect the vehicle battery before starting work to avoid short circuits and protect vehicle electronics.
- Remove the appropriate trim panels and seat fixings to gain access to the buckle mounting. Use proper trim tools to avoid damaging interior panels.
- Unbolt the old bracket, carefully disconnect the electrical connector for the buckle switch, and remove the unit.
- Fit the new bracket in the correct position, connect the electrical connector securely, and tighten mounting bolts to the manufacturer’s torque specification.
- Reinstall trim and seat components, reconnect the battery, and verify that the seat-belt buckle latches smoothly and the seat-belt warning/alarm operates as intended.
- Avoid applying lubricants to the sensor contacts. If connectors show corrosion, clean or replace as needed to ensure reliable operation.
- If in doubt about correct torque values or electrical checks, follow manufacturer repair procedures or consult service documentation.
Why This Part Most Commonly Fails
- Mechanical Wear: Repeated latching/unlatching and debris ingress can wear the latch mechanism or switch over time.
- Contamination and Corrosion: Dirt, liquids or corrosion can impair the microswitch or connectors, causing intermittent or permanent faults.
- Impact Damage: Seat-belt mounts and buckles are vulnerable in collisions; visible deformation or bent brackets require replacement.
- Electrical Faults: Broken wiring, damaged connectors or failed microswitches can prevent correct alarm/warning signals.
- Aging: Plastic components, clips and wiring harnesses degrade with age, particularly in high-use or high-humidity environments.
Practical Tips for Mechanics and DIYers
- Search by product codes 8975AV or 8973QY for fast identification and ordering.
- Inspect surrounding seat-belt components (anchor bolts, webbing, retractor) when replacing the buckle bracket to ensure overall system integrity.
- After installation, perform a functional check: buckle/unbuckle several times, confirm alarm/warning light behavior, and visually inspect for secure mounting.
Compatibility
Fits Passenger Side for Citroën C8 and Peugeot 807 models. Commonly referenced by part numbers 8975AV and 8973QY. Verify fitment against vehicle model and mounting pattern before installation.