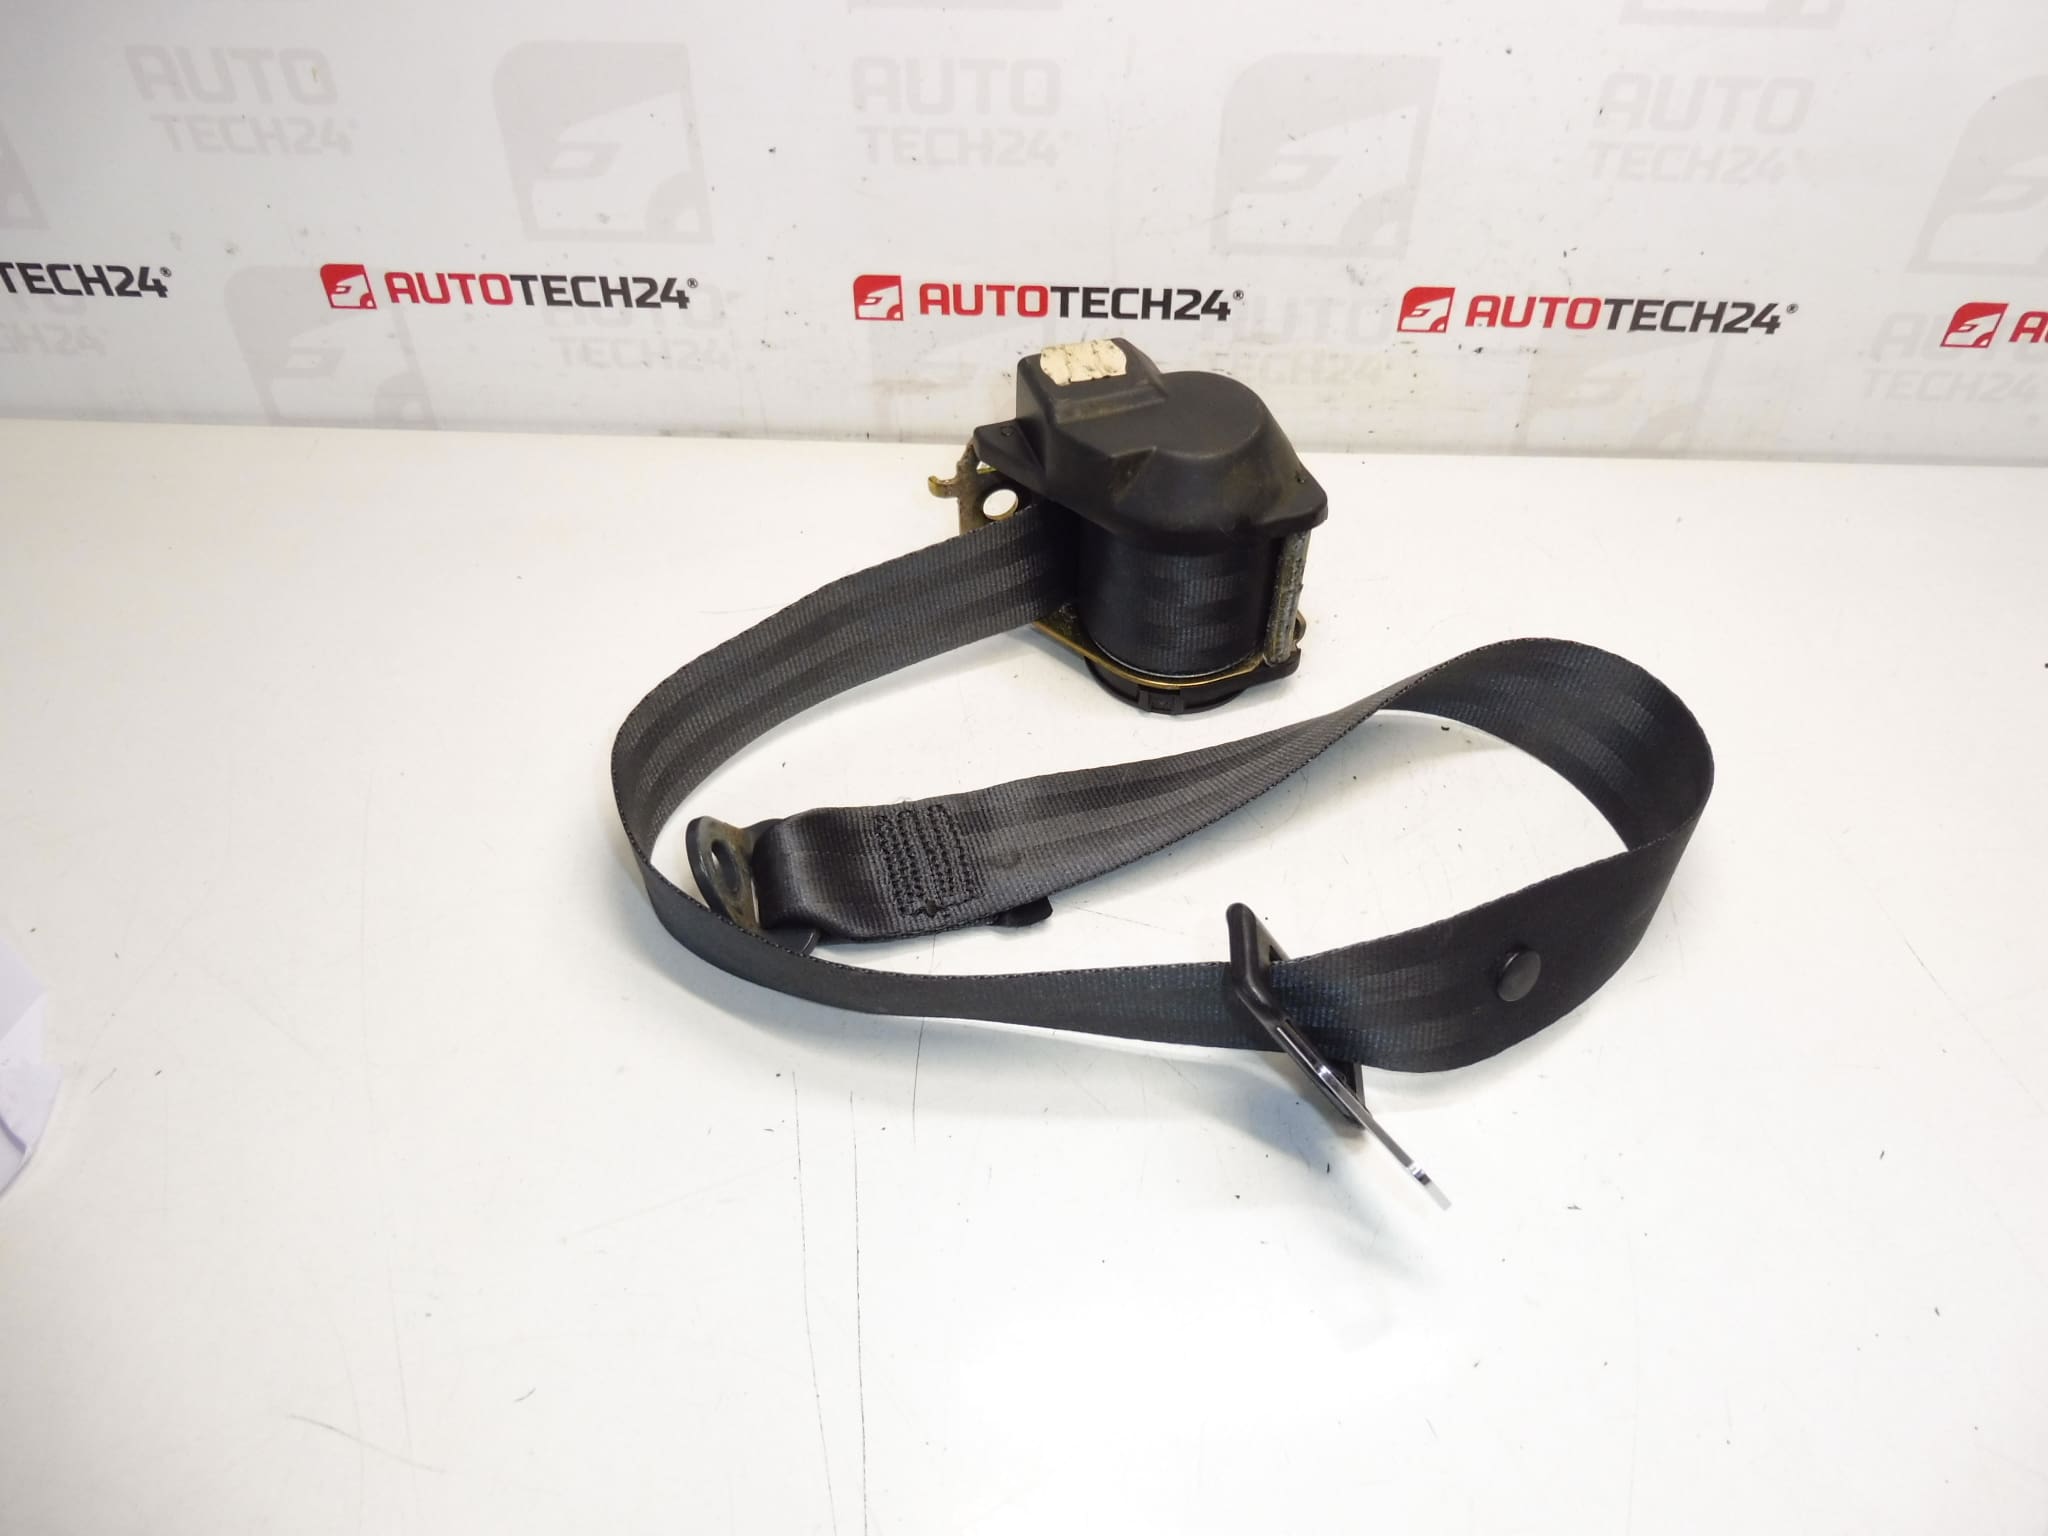
Description
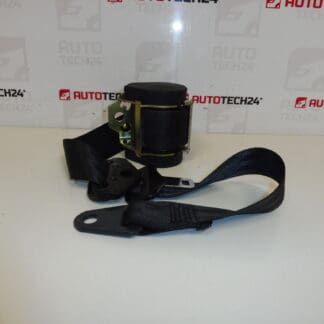
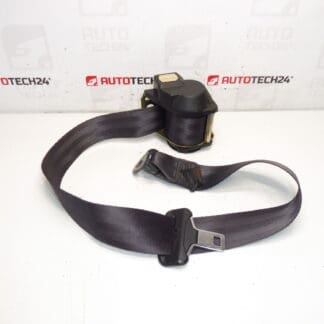
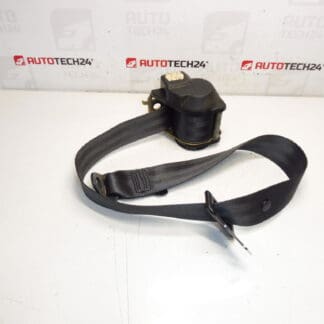
Left rear belt behind the driver for PEUGEOT 406 cars
Color FXX black
Part description
This used left rear seat belt is for a Peugeot 406. It is a part from the interior and safety elements category, which is also searched for under the product designation 8974CZ. For many repairs, not only the correct part number is important, but also the same design, so the color FXX black is an advantage.
The part can be a suitable solution when replacing a damaged, non-functional or blocked belt. A used original car part often makes it possible to preserve the original design of the car’s interior and at the same time offers a reasonable ratio between price and useful value.
Technical information
Product codes
- Product codes: 8974CZ
- Models: Peugeot 406
Installation recommendations
Generally/typically for seat belt replacement, the exact procedure may vary depending on the specific design of the car and the interior. Below is a safe and practical general procedure for this type of part.
1) Before assembly
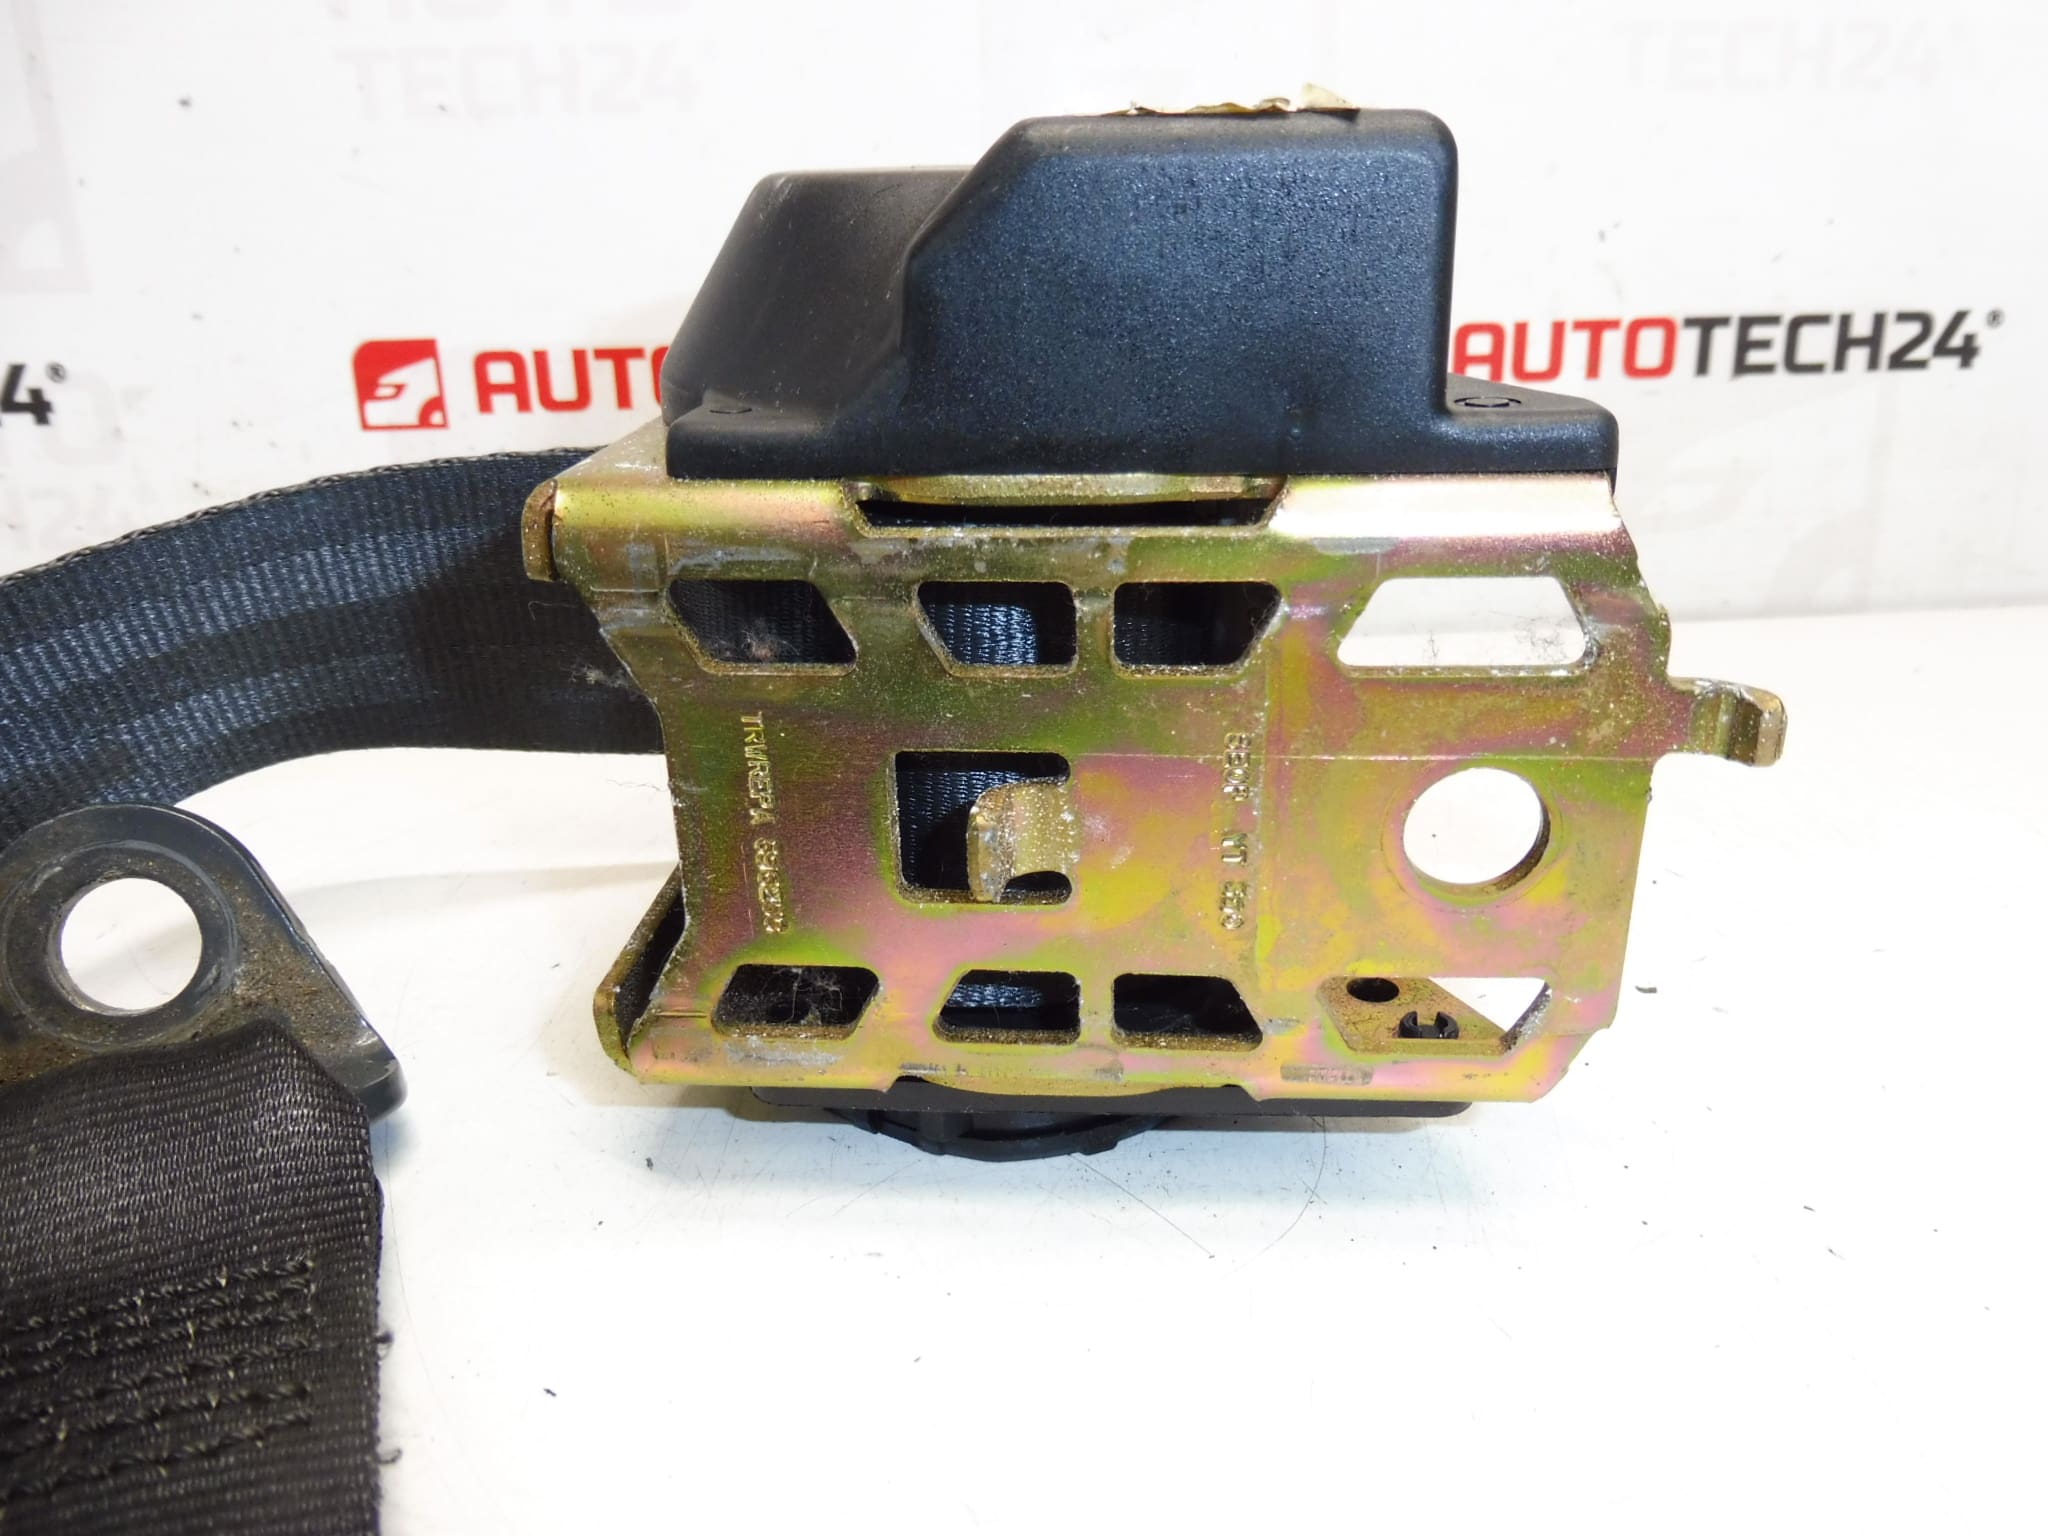
- Check if this is the left rear belt and if the design matches the removed piece.
- Compare part number 8974CZ, bracket shape, fit, belt guide and end type.
- Check the condition of the strap – it should not be frayed, cut, burned or otherwise weakened.
- Verify the retracting and locking function of the belt in different positions, typically with a smooth pull and a more violent jerk.
- Check for damage to mounting points, interior covers or fasteners from the old assembly.
2) Necessary tools and materials
- Set of common hand tools
- Tools for gentle dismantling of plastic linings
- Suitable heads and ratchet
- Cleaning agent for surrounding surfaces and cloth
- Protective gloves and sufficient lighting of the work area
3) Step-by-step assembly procedure
- Park the vehicle on level ground and secure it against movement.
- Access the space around the rear side panel or where the belt is attached.
- Carefully remove the necessary plastic covers so as not to break the handles or damage the upholstery.
- Dismantle the original seat belt, including its attachment points and guide parts, if part of the assembly.
- Compare the old and new part side by side – especially the length of the belt, the orientation of the winder, the position of the brackets and the shape of the clips.
- Clean the mounting area and check for dirt, deformation or signs of previous damage.
- Set the used part in the correct position so that the winder or holder is not forcibly rotated out of its natural mounting orientation.
- Fix the individual mounting points in the same order in which the original part was dismantled, taking care to guide the belt correctly.
- Check that the belt is not twisted and passes freely through all guide points.
- Before covering, pull the belt out and let it wind up several times to verify the smooth operation of the mechanism.
- Reinstall all plastic covers and interior trim.
- Perform a final check on the appearance, fit and function of the belt after the interior is fully assembled.
-
4) Post-assembly checks and test drive/function verification
- Verify smooth pulling and winding of the belt without stuttering.
- Check that the arrester reacts when pulled harder.
- Check that the belt does not rub against plastic trim or metal edges anywhere.
- On a short test drive, observe whether there are any unusual noises coming from the mounting area or the winder.
- After driving, visually check the fastening and correct positioning of the part once more.
5) The most common assembly mistakes + how to avoid them
- Swapping part side – always compare the orientation and original location of the old strip.
- Twisted webbing – check the entire webbing before final tightening.
- Incorrect position of the winder – mount the mechanism only in the appropriate working position.
- Damage to plastic panels during disassembly – use a suitable pry bar for upholstery and proceed carefully.
- Omission of the functional test before assembly – check the winding and locking several times before putting on the covers.
Reasons why the part is damaged
- Normal wear and tear from long-term use
- Contamination of the winding mechanism with dust and dirt
- Damage to the belt by mechanical friction or pinching
- Deformation or blocking after an accident or sudden load
- Reckless disassembly or incorrect previous assembly
- Aging of the material and loss of fluidity of the winding mechanism