Description
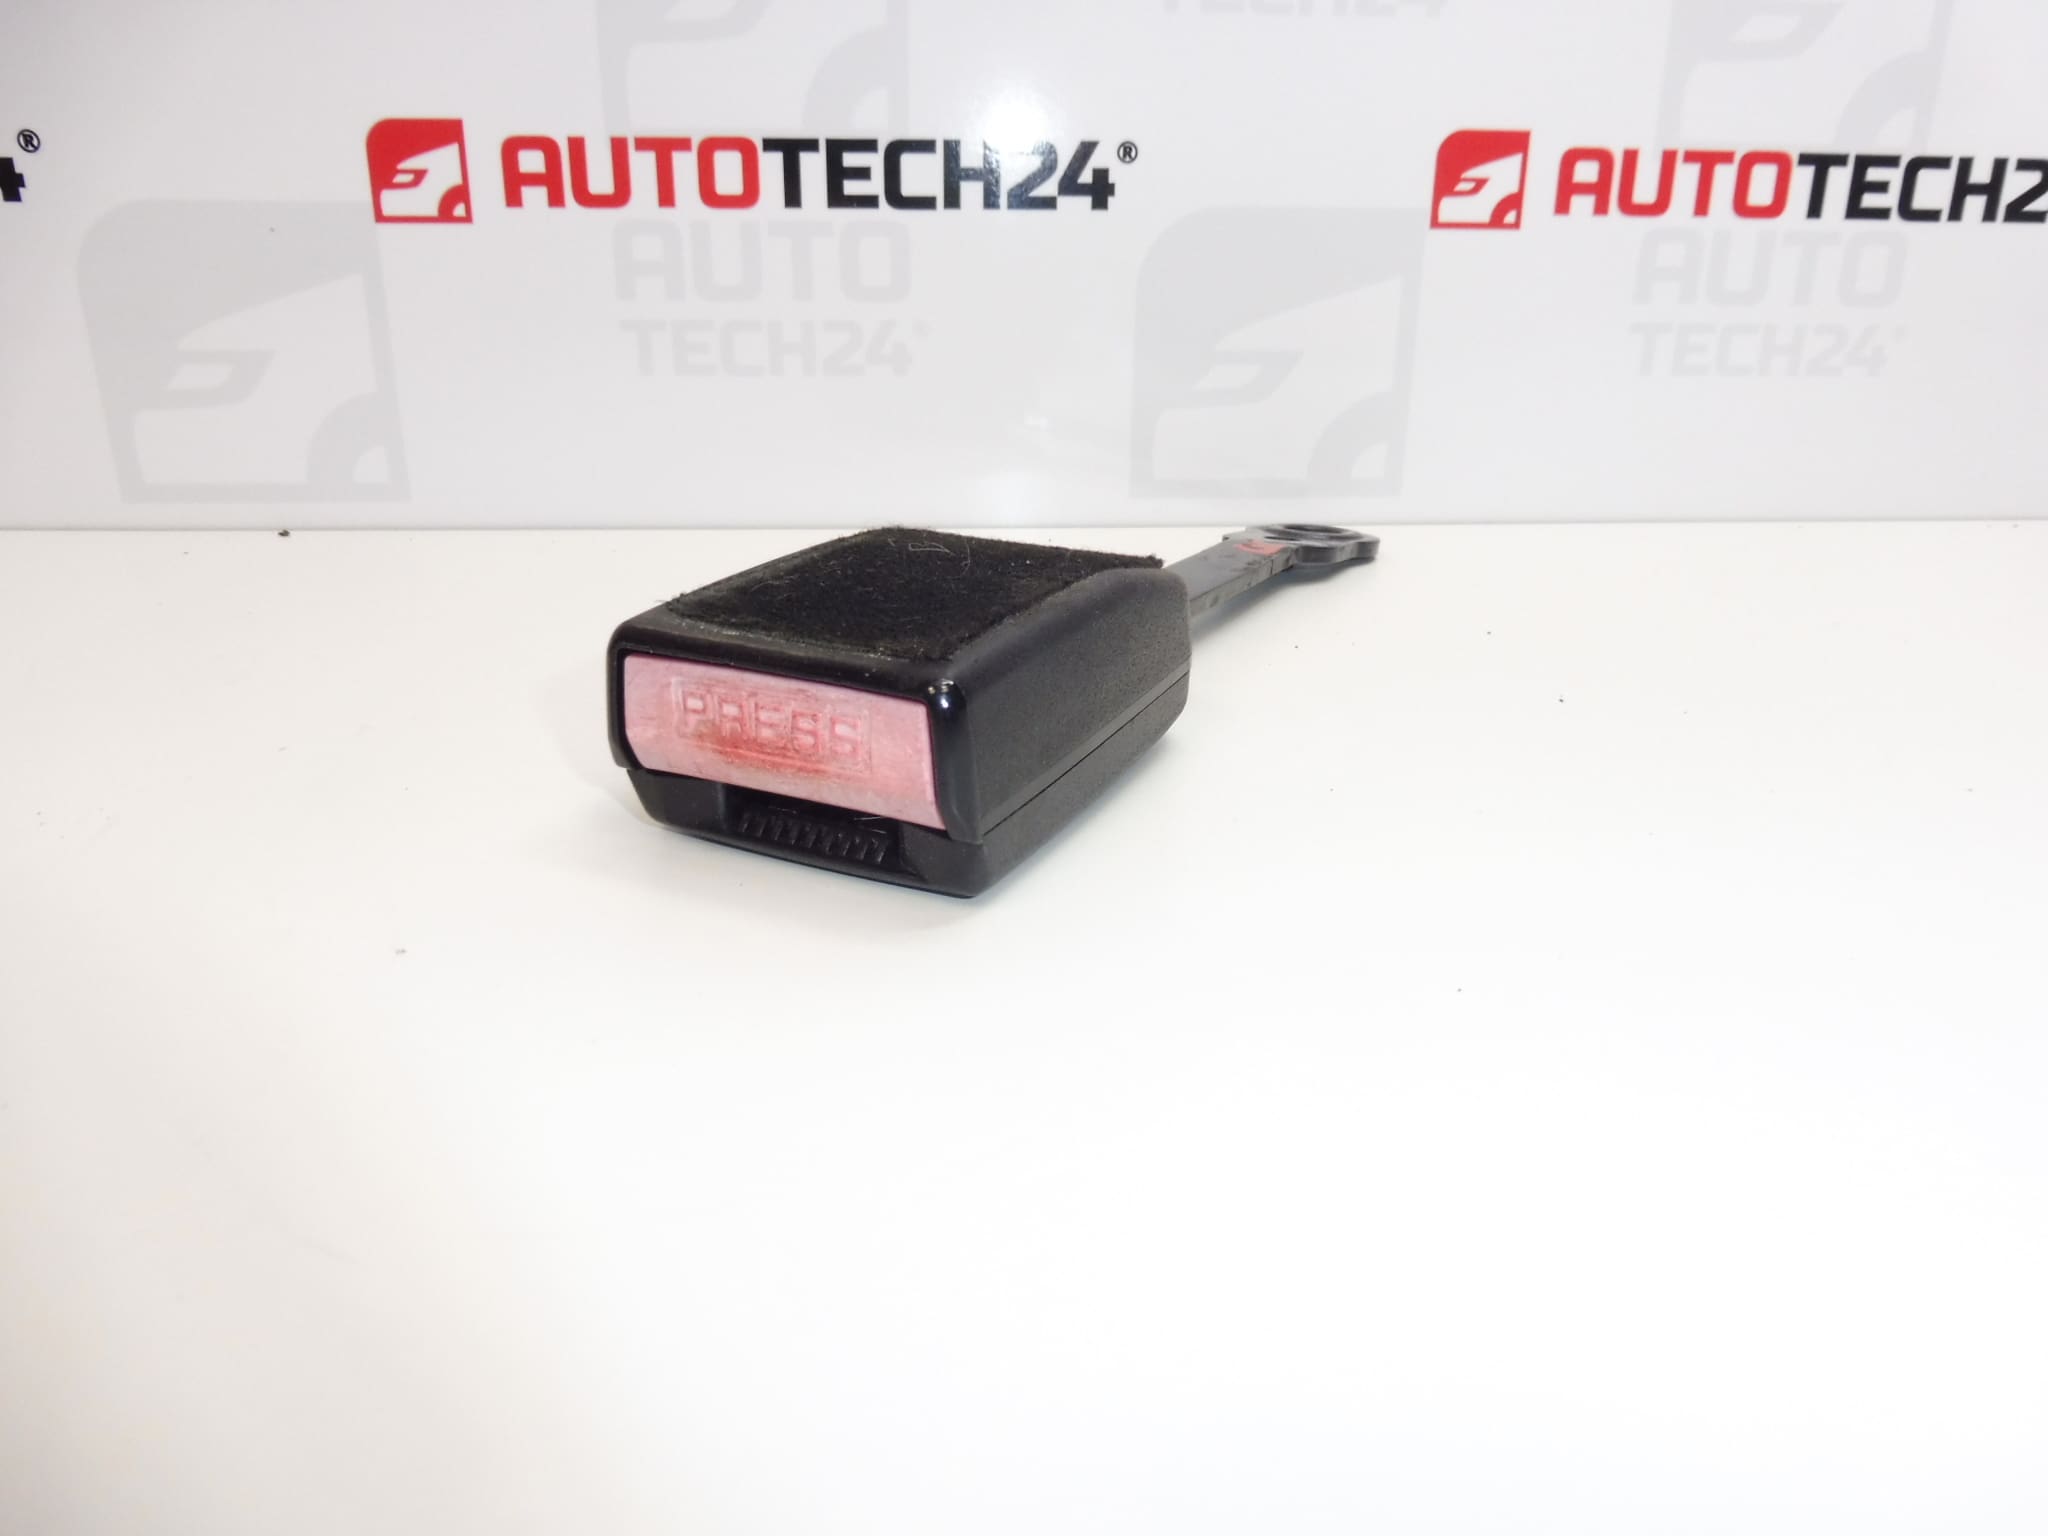
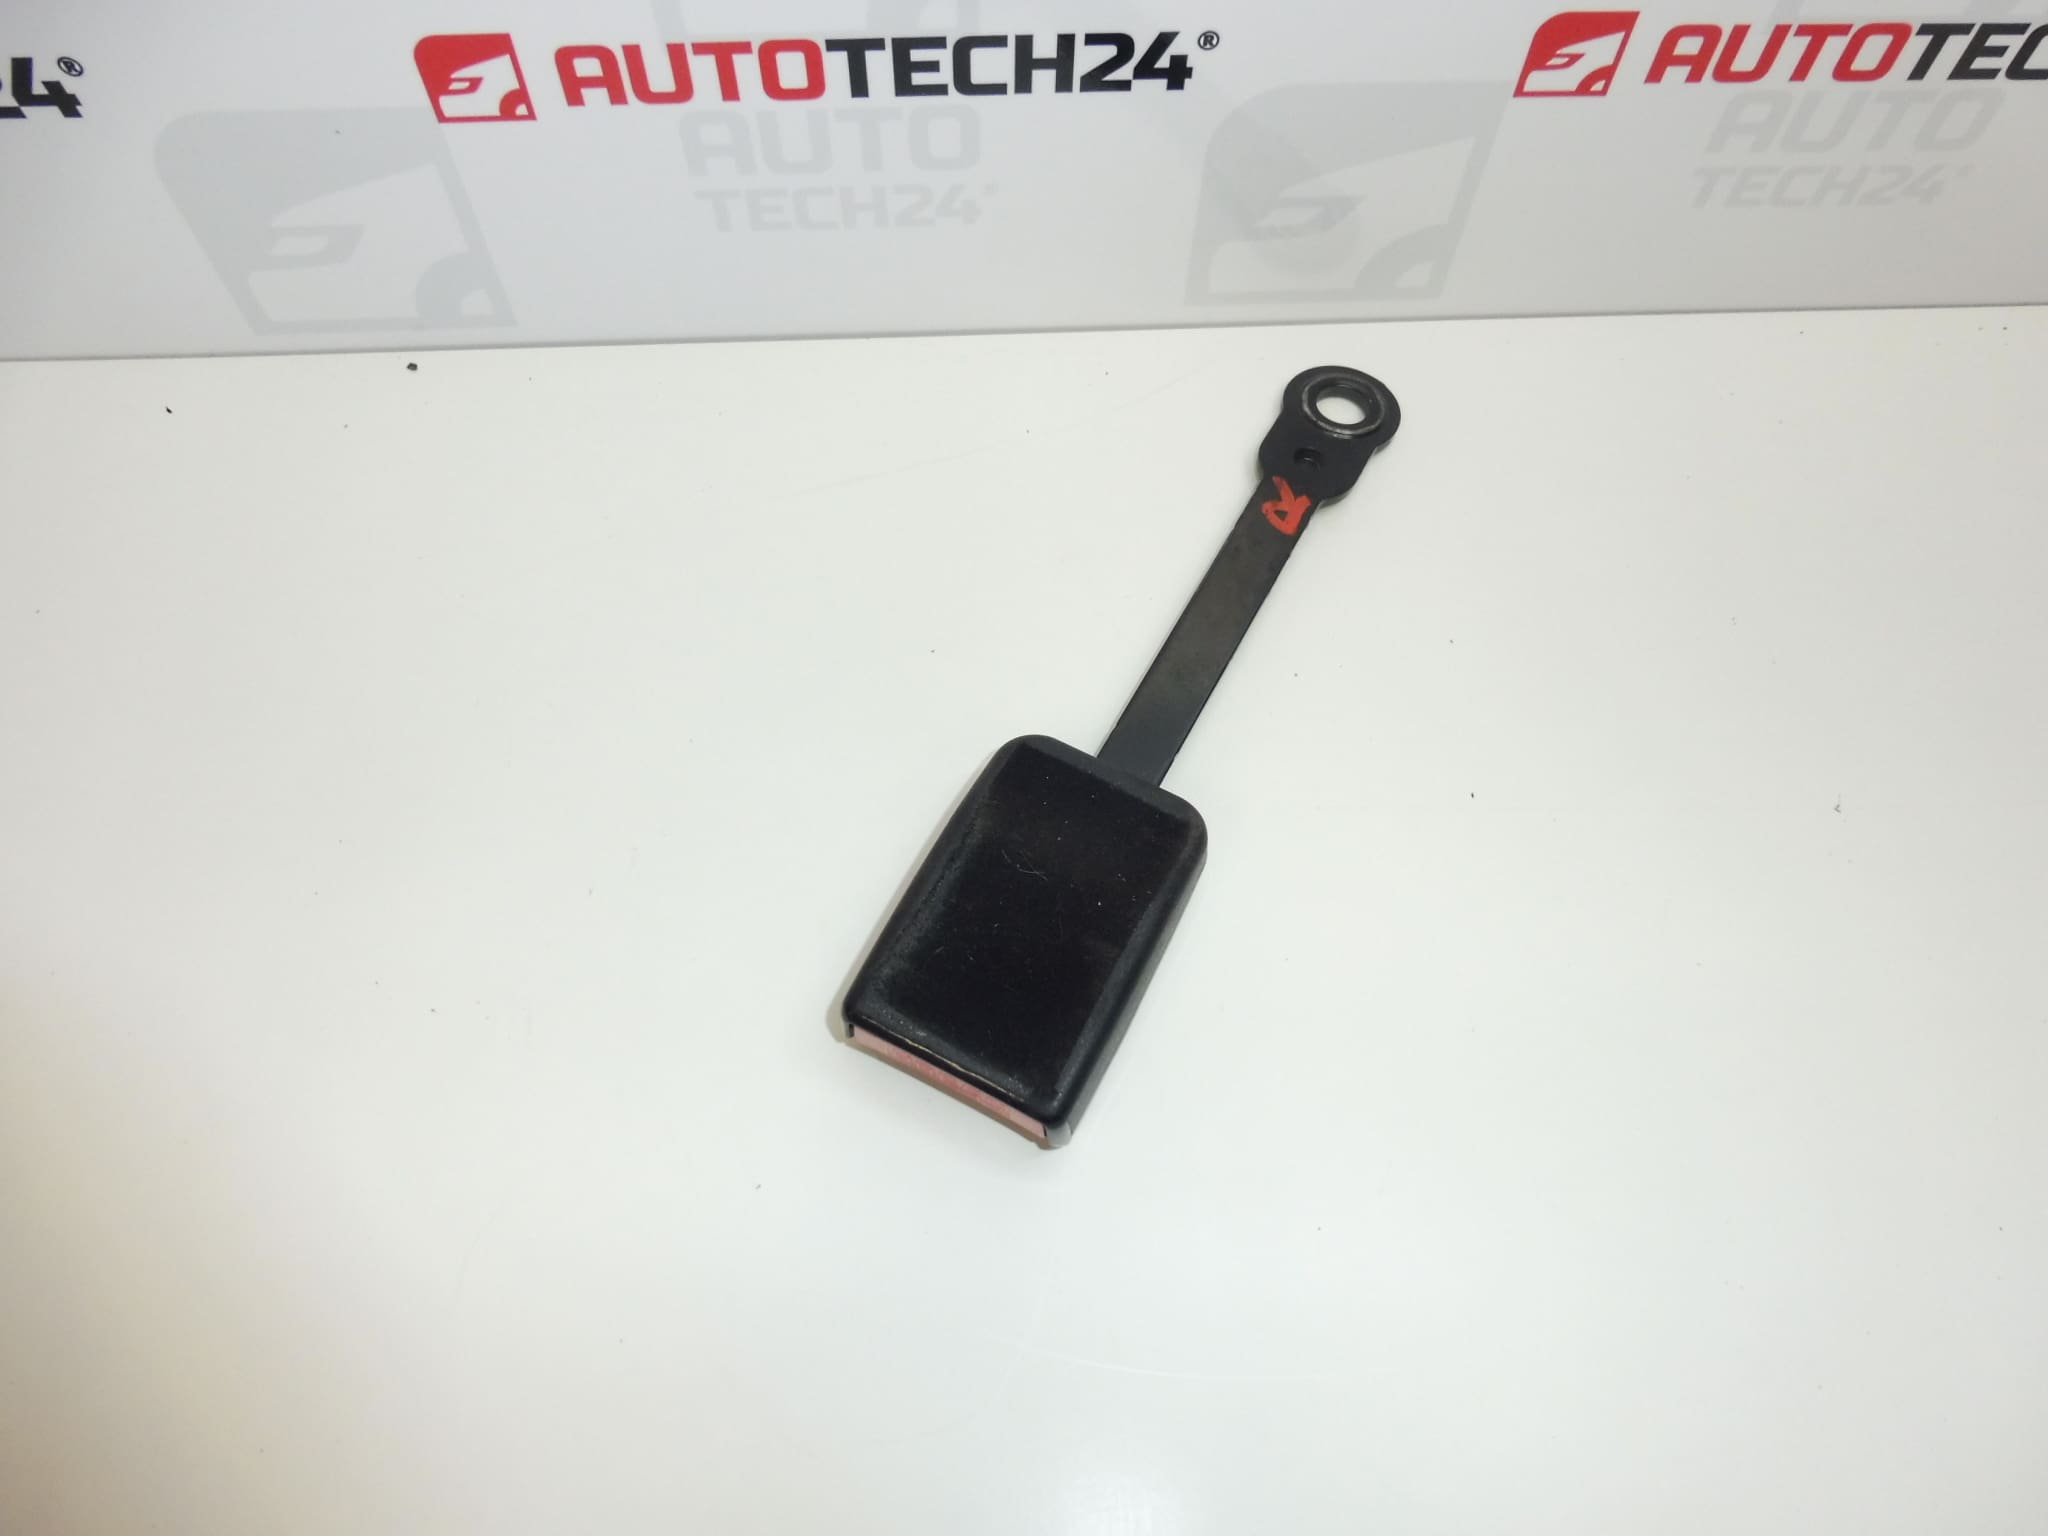
Front passenger seat belt buckle bracket for Peugeot 307 CC – convertible
Part description
Used front passenger seat belt buckle bracket for Peugeot 307 CC, listed under product number 8974Q7. This is a component of the belt buckle mounting assembly, for which the correct shape, undamaged mounting points and appropriate design for the vehicle are important.
When looking for a replacement part, compare primarily the number 8974Q7, the bracket design and its mounting arrangement with the original part. The source documentation identifies the part as a bracket; it does not specify whether the buckle itself or any other accessories are included. As a safety component, its condition must be professionally assessed before use.
Technical information
- Manufacturer: not specified; the source documentation lists the designation Stellantis CITROEN PEUGEOT.
- Model: Peugeot 307; the specific version according to the description is Peugeot 307 CC – convertible.
- Part type: seat belt buckle bracket.
- Intended position: front passenger.
- Condition: used part.
- Other numbers: not specified; additional designation in the source documentation: NFP.
Product codes
- Product codes: 8974Q7.
- Model according to labels: Peugeot 307.
- Additional designation: NFP.
Installation recommendations
The following procedure is general guidance for seat belt buckle brackets. The exact steps depend on the specific vehicle model and version. As this is a component of the restraint system, we recommend installation by a qualified mechanic in accordance with the manufacturer’s service procedure.
1) Before installation
- Compare the product number, shape, dimensions, orientation and mounting holes with the old part.
- Check the bracket for cracks, deformation, corrosion, damaged holes and signs of improper modifications.
- Also check the condition of the associated mounting points and belt buckle. A new bracket will not resolve damage to surrounding components.
- Do not install a part that shows signs of impact loading or whose safety is uncertain. A visual inspection alone cannot rule out all damage. For a vehicle that has been involved in an accident, follow the manufacturer’s instructions for inspecting and replacing restraint components.
2) Required tools and materials
In general, prepare suitable hand tools for the fasteners used, a torque wrench, a flashlight and supplies for gently cleaning the mating surfaces. Determine the required fasteners and the conditions for their reuse from the service documentation, not by guesswork.
3) Step-by-step installation procedure
- Secure the vehicle against movement, switch off the ignition and familiarize yourself with the relevant service procedure.
- If the work involves electrical or pyrotechnic components of the restraint system, disconnect the battery and follow the prescribed safety procedure, including the manufacturer’s specified waiting period.
- Access the bracket mounting points according to the vehicle documentation. Release surrounding parts carefully and without force.
- Record the orientation of the original bracket and the order of the mounting components, for example by taking a photograph.
- Use suitable tools to undo the fasteners and remove the original bracket. Do not apply force to any wiring or adjacent parts of the restraint system.
- Clean and inspect the mating surfaces, threads and anchorage point. If there is deformation or damage, stop work and arrange a professional assessment.
- Position the replacement bracket in the correct orientation. It must fit without prying, bending, drilling or other modifications.
- Install the specified mounting components and tighten the fasteners with a torque wrench according to the vehicle manufacturer’s specifications.
- Refit the surrounding parts that were removed and, if applicable, restore the electrical connections and power supply according to the service procedure. Check that nothing is pinched and that access to the belt buckle remains unobstructed.
4) Post-installation checks and functional verification
With the vehicle stationary, verify that the bracket is securely mounted, the buckle is correctly positioned and the matching belt tongue repeatedly clicks into place and releases. Check that the belt is not twisted and that there is no interference during normal seat adjustment. If work involved the electrical section of the restraint system, perform the prescribed functional checks. A test drive is not a substitute for checking that the mounting is secure. If there is any play, the buckle does not work or a fault is indicated, do not use the passenger seat until the problem has been resolved.
5) Common installation mistakes and how to avoid them
- Confusing similar-looking brackets: compare both the part number and the complete mounting design.
- Incorrect orientation: follow the documentation and the record of the original arrangement.
- Tightening by guesswork: use a torque wrench and the value specified by the manufacturer.
- Straightening or modifying a damaged bracket: do not modify a safety component in this way.
- Overlooking a damaged anchorage point: also inspect the adjoining structure before installation.
Reasons why the part may become damaged
In general, a seat belt buckle bracket can be damaged particularly by the following factors; this is not a description of the condition of the part offered:
- Impact loading during an accident, which can cause deformation or hidden damage.
- Corrosion and prolonged exposure to moisture, particularly around joints and mating surfaces.
- Loose or incorrectly tightened fasteners, which can gradually damage contact surfaces and holes.
- Improper removal and installation, the use of unsuitable fasteners or forcibly adapting the bracket.
- Mechanical stress outside the intended use, such as prying during work on the interior.