Description
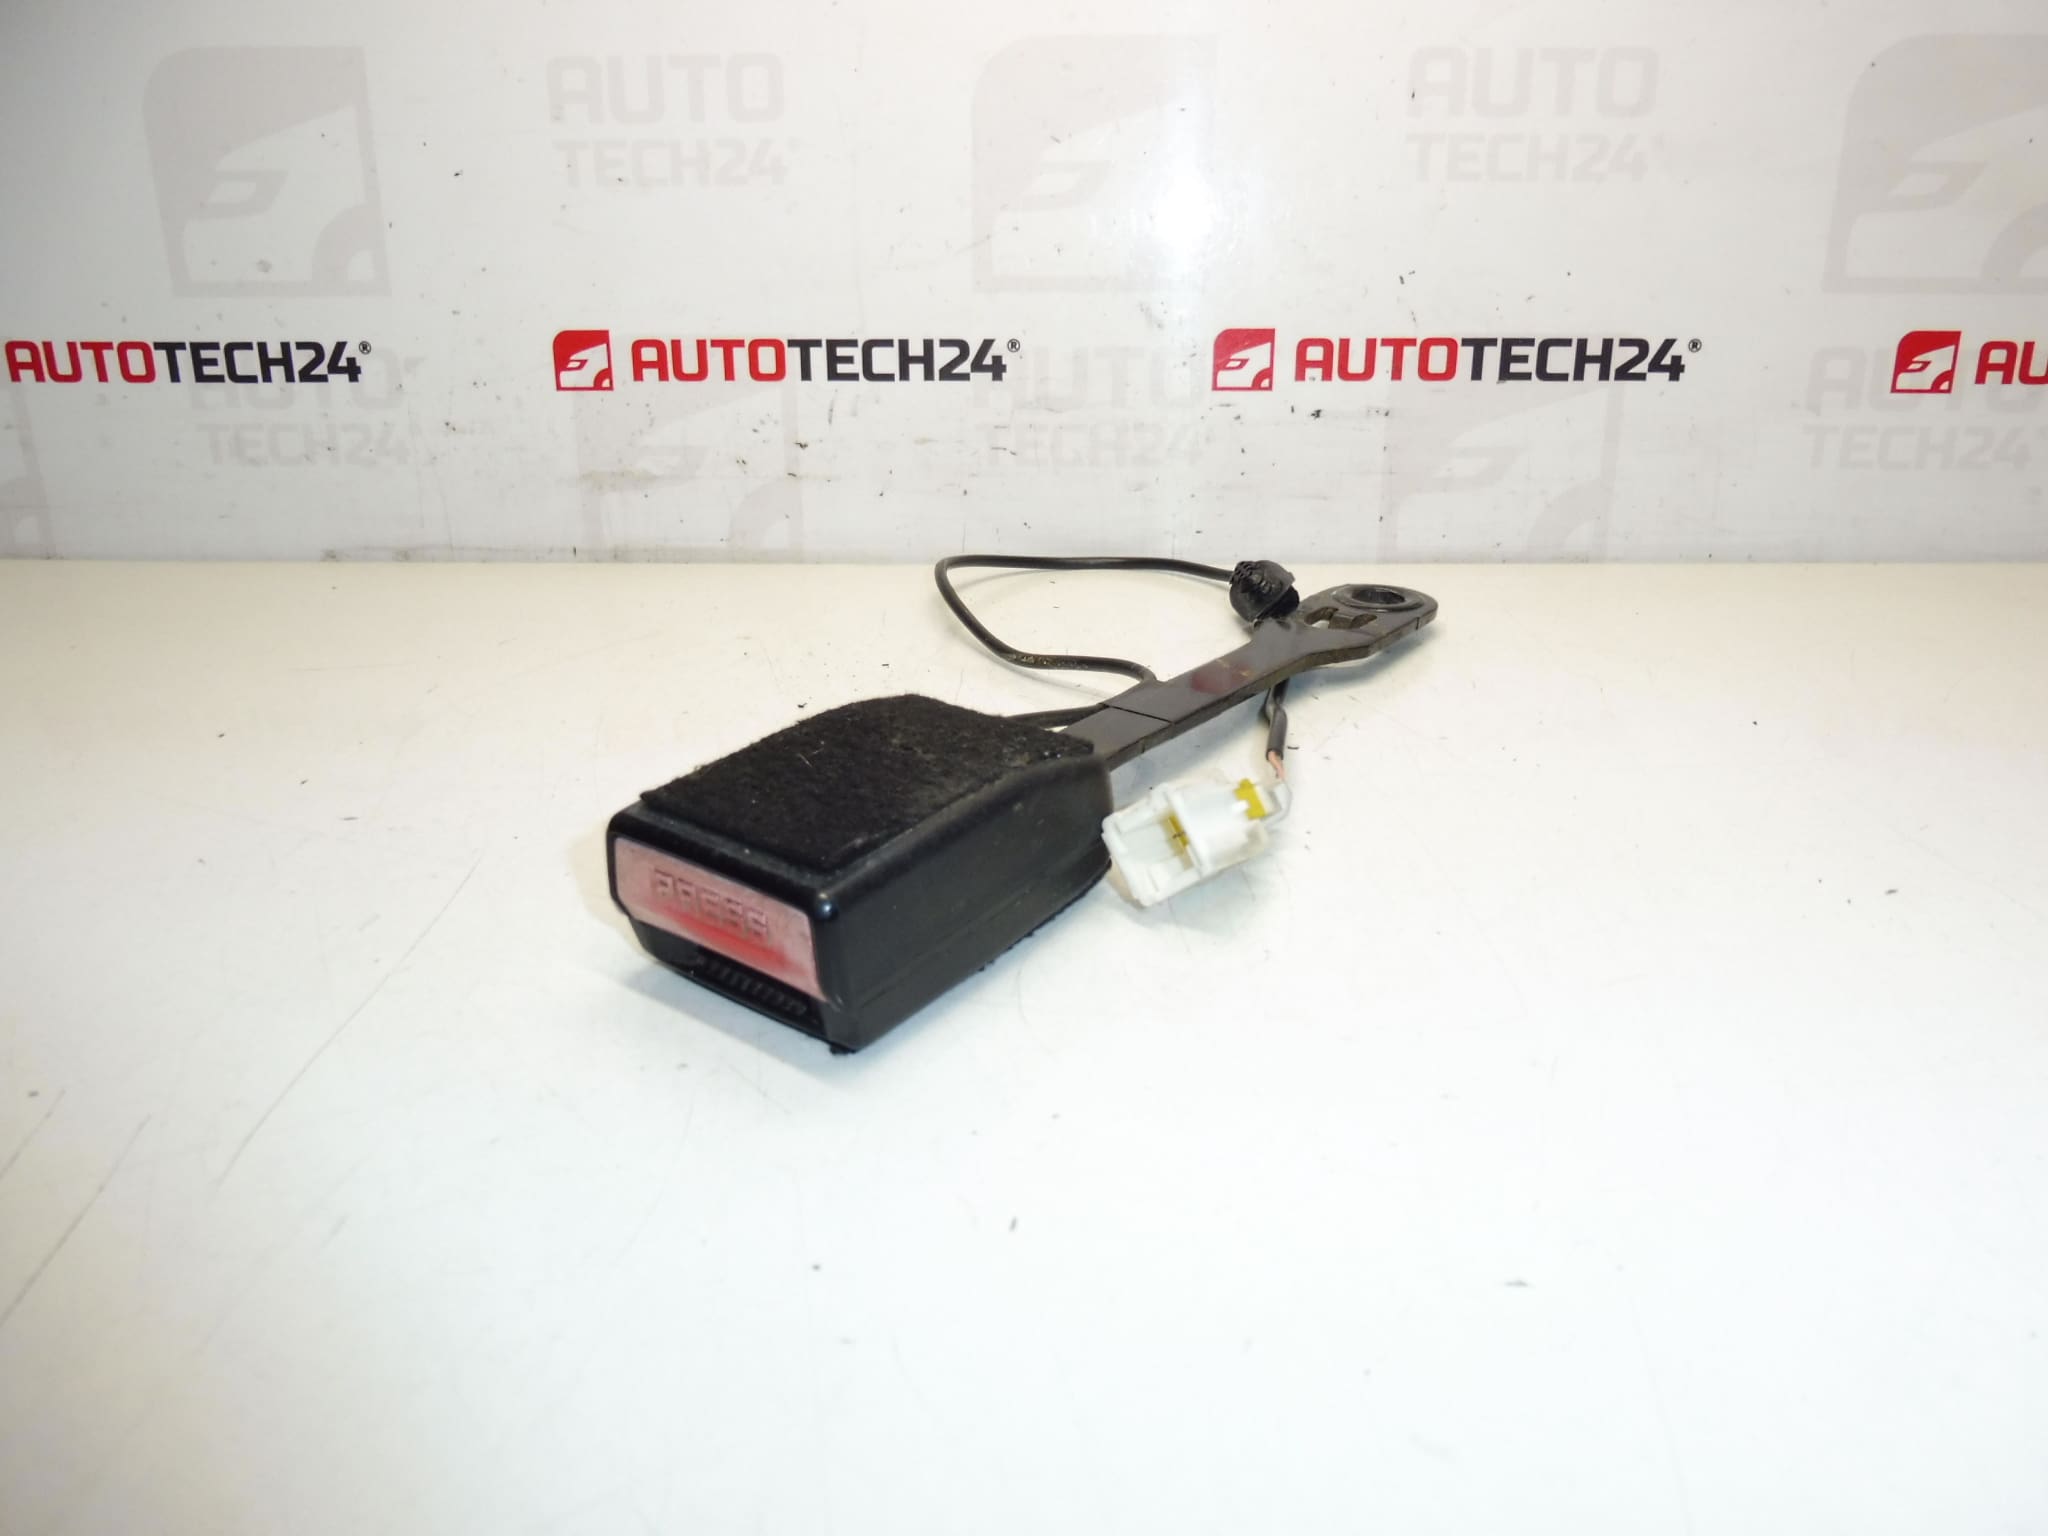
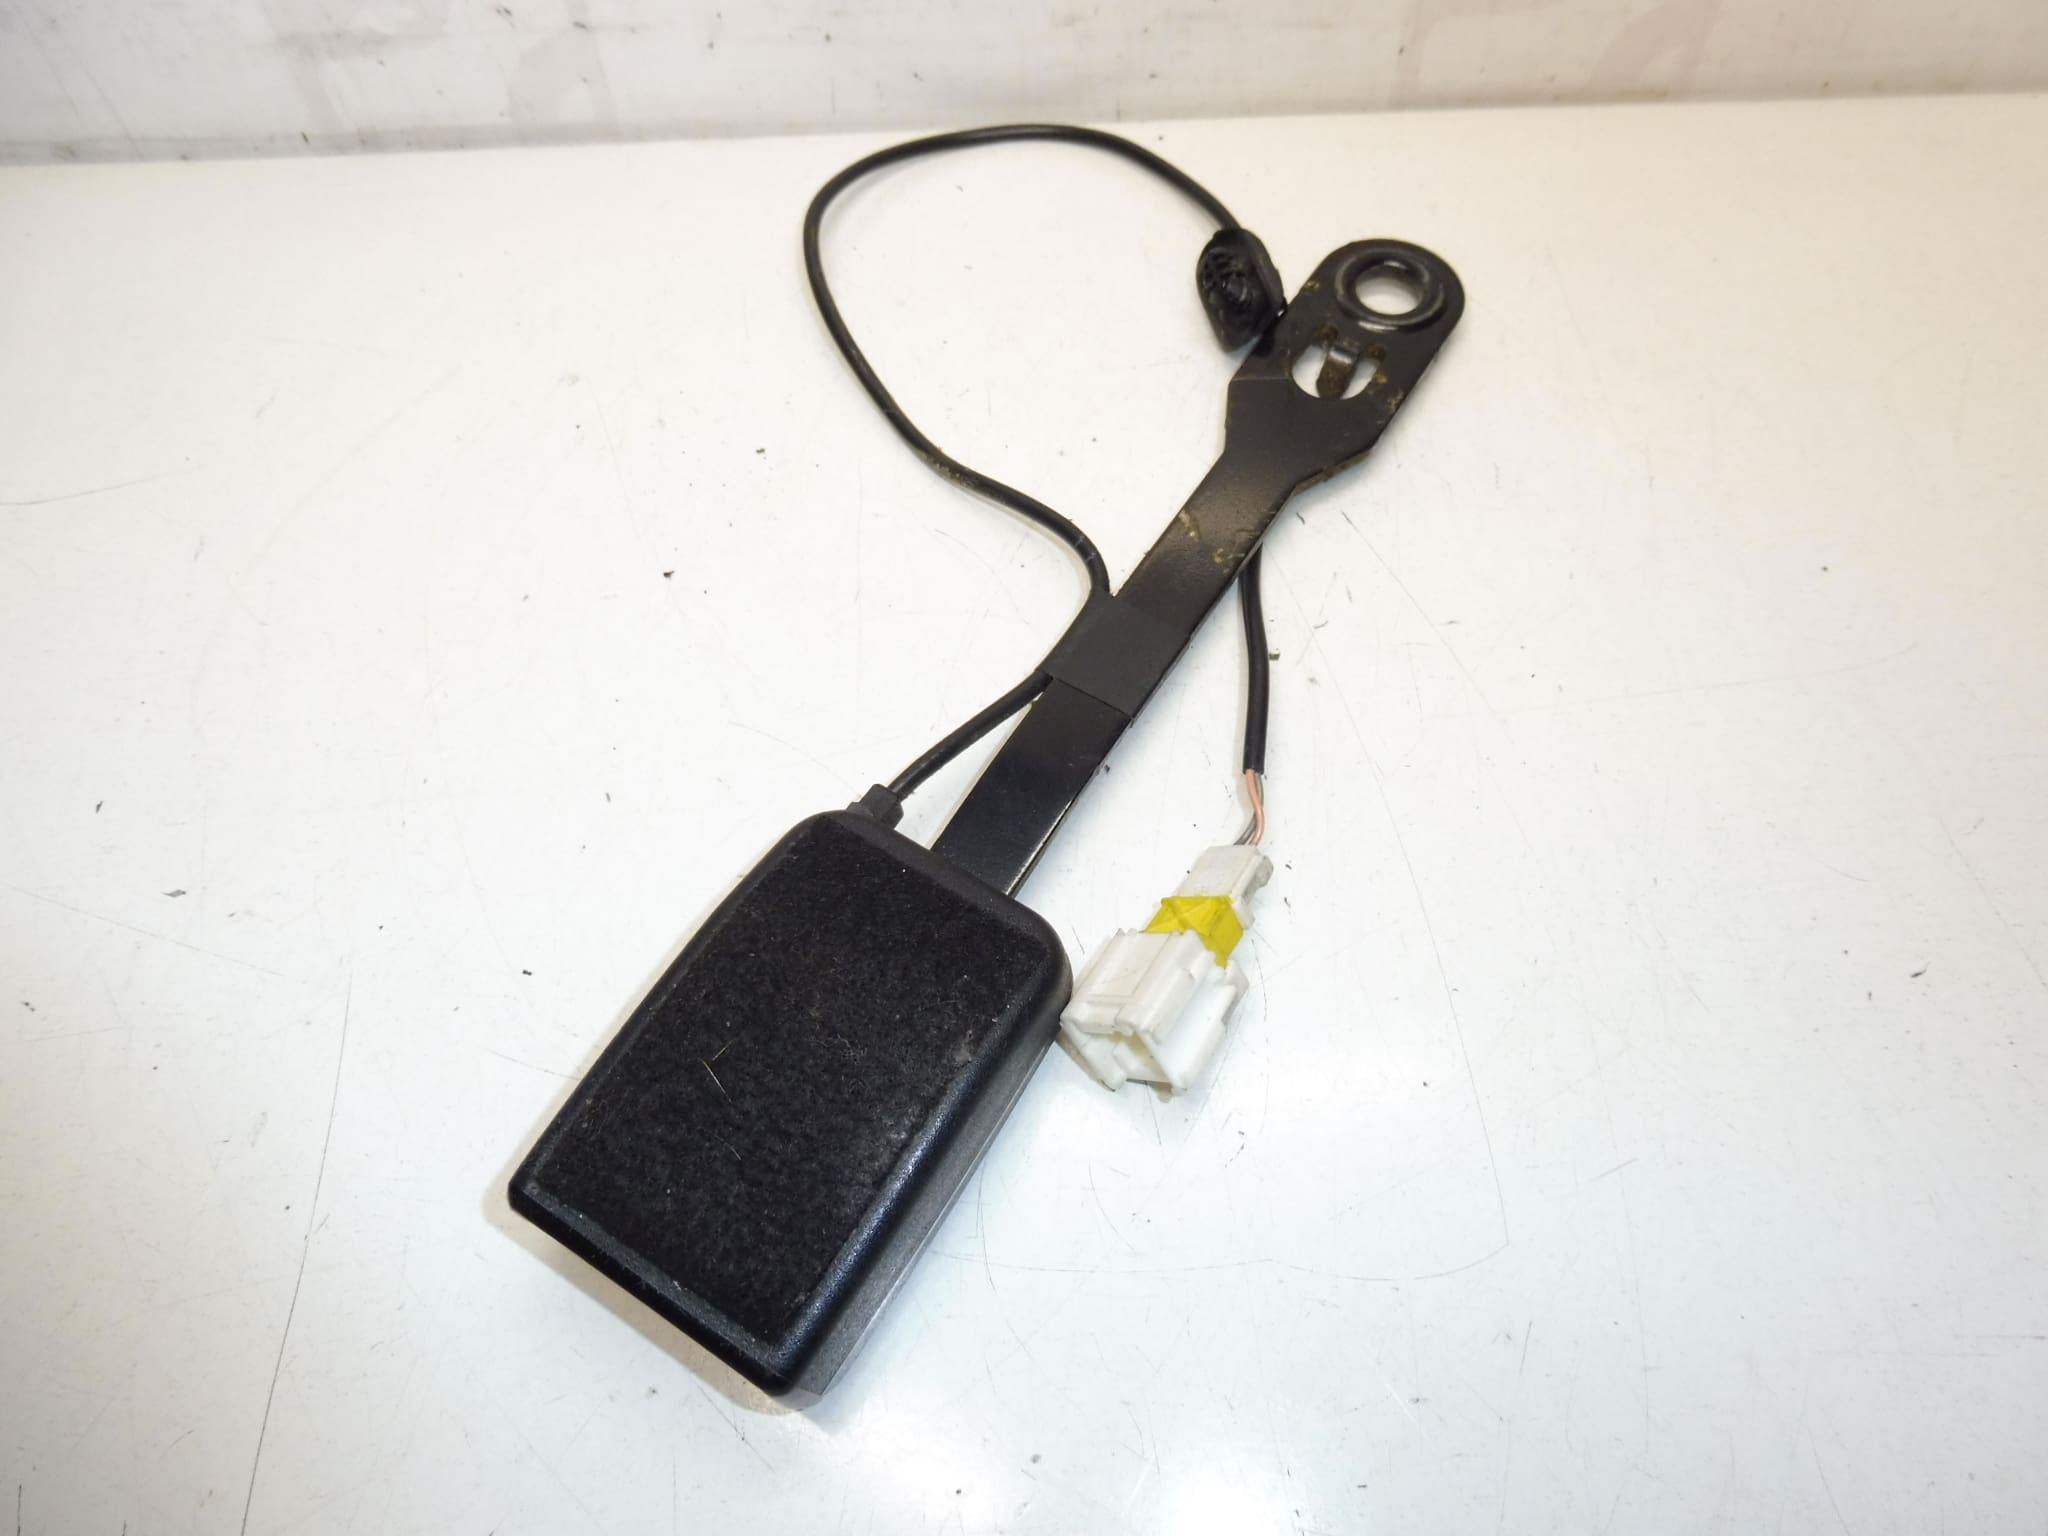
Driver’s seat belt buckle holder for PEUGEOT 307
Version FXX- – BLACK
Part description
Used driver’s seat belt buckle holder for Peugeot 307 with product number 8973PT. It is a component that secures the seat belt buckle, for which an undamaged condition and correct installation are important. The black version is identified in the source materials by code FXX-.
When looking for a replacement part, compare the number 8973PT, the shape of the holder, and its mounting with the original part. A replacement of the corresponding version allows you to replace a damaged holder without modifying the mounting. The model designation alone may not be sufficient to select the correct variant.
Technical information
- Manufacturer: not specified
- Model: Peugeot 307
- Part type: seat belt buckle holder
- Application: driver’s seat belt
- Version: FXX- – BLACK
- Condition: used part
- Other numbers: not specified
Product codes
- Product codes: 8973PT
- Model: Peugeot 307
Number 8973PT is the primary detail used to search for this holder. Before installation, you must also compare its design and mounting method.
Installation recommendations
The following procedure is general and applies to seat belt buckle holders. The exact access, removal method, and fastener requirements depend on the specific vehicle version. Since this is a component of the restraint system, we recommend that installation be carried out by a qualified mechanic in accordance with the manufacturer’s service instructions.
1) Before installation
- Compare the markings, shape, dimensions, mounting holes, and connection to the seat belt buckle with the old part.
- Check that the used holder has no cracks, deformation, significant corrosion, elongated holes, or signs of unprofessional modifications.
- Also assess the condition of the anchor points and surrounding parts of the restraint system. Do not use a part suspected of having been subjected to crash forces. A visual inspection alone may not reveal hidden damage.
2) Tools and materials required
- Suitable hand wrenches and sockets for the actual fastener configuration.
- A torque wrench for tightening according to the service documentation.
- Work lighting, protective gloves, and tools for carefully releasing any covers.
- Fasteners that comply with the manufacturer’s specifications, if replacement is required.
3) Step-by-step installation procedure
- Secure the vehicle against movement and prepare a safe work area.
- Find the service procedure for the specific vehicle version, including the rules for working on the restraint system.
- If the work involves electrical or pyrotechnic components, disconnect the power supply and observe the waiting period specified by the manufacturer. The source materials do not state whether these components are present on the offered part.
- Access the holder’s mounting points. Remove any covers or surrounding components only as required by the service procedure.
- Record the holder’s original orientation and the order of the fasteners.
- Release the fasteners using a suitable tool and remove the damaged holder without straining the surrounding components.
- Inspect the anchor points and threads. If any damage is found, stop the installation and arrange for a professional assessment.
- Compare the two parts side by side. The replacement holder must fit without force, bending, or modifying the holes.
- Position the holder in the correct orientation and secure it according to the manufacturer’s documentation. Follow the specified tightening procedure and any requirement to use new fasteners.
- Reinstall the removed components, check that the seat belt buckle is freely accessible, and restore the power supply as directed by the service procedure, if applicable.
4) Post-installation checks and function verification
Check that the mounting is secure, the holder is correctly positioned, and there is no unwanted play. Repeatedly test fastening and releasing the seat belt; the tongue must remain securely locked in the buckle. Check that the belt is not twisted and that the surrounding components do not obstruct its use. If electrical connections were affected, also verify the operation of the relevant systems. A test drive is no substitute for checking the safety-critical mounting; use the vehicle only after all faults have been rectified.
5) Most common installation errors + how to avoid them
- Confusing similar-looking parts: compare both the product number and the mounting design.
- Incorrect orientation or sequence of components: document the original assembly before removal.
- Tightening by guesswork: use a torque wrench and the vehicle manufacturer’s specifications.
- Modifying the holder to make it easier to fit: do not bend or weld the holder or enlarge its holes.
- Overlooking damage to the anchor point: inspect not only the part being replaced but also its mounting in the vehicle.
Reasons why the part may be damaged
In general, this type of component may be damaged in the following ways; this is not a description of the history of the offered part:
- Forces during a traffic accident, which may cause deformation or hidden damage.
- Mechanical stress and impacts when handling surrounding interior components.
- Loose or incorrectly tightened mounting, leading to play and damage to the contact surfaces.
- Moisture and corrosion, which may damage the holder material or its joints.
- Unprofessional removal or modifications, such as forceful prying, bending, or using unsuitable fasteners.