Description
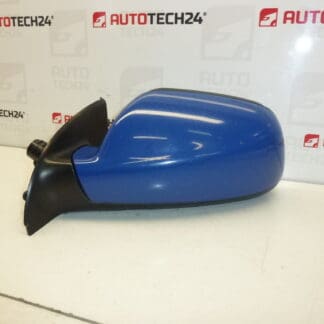
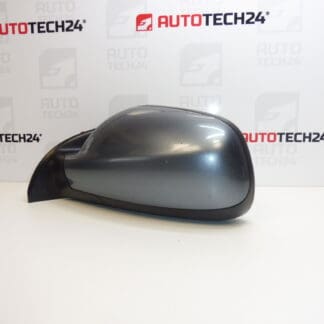
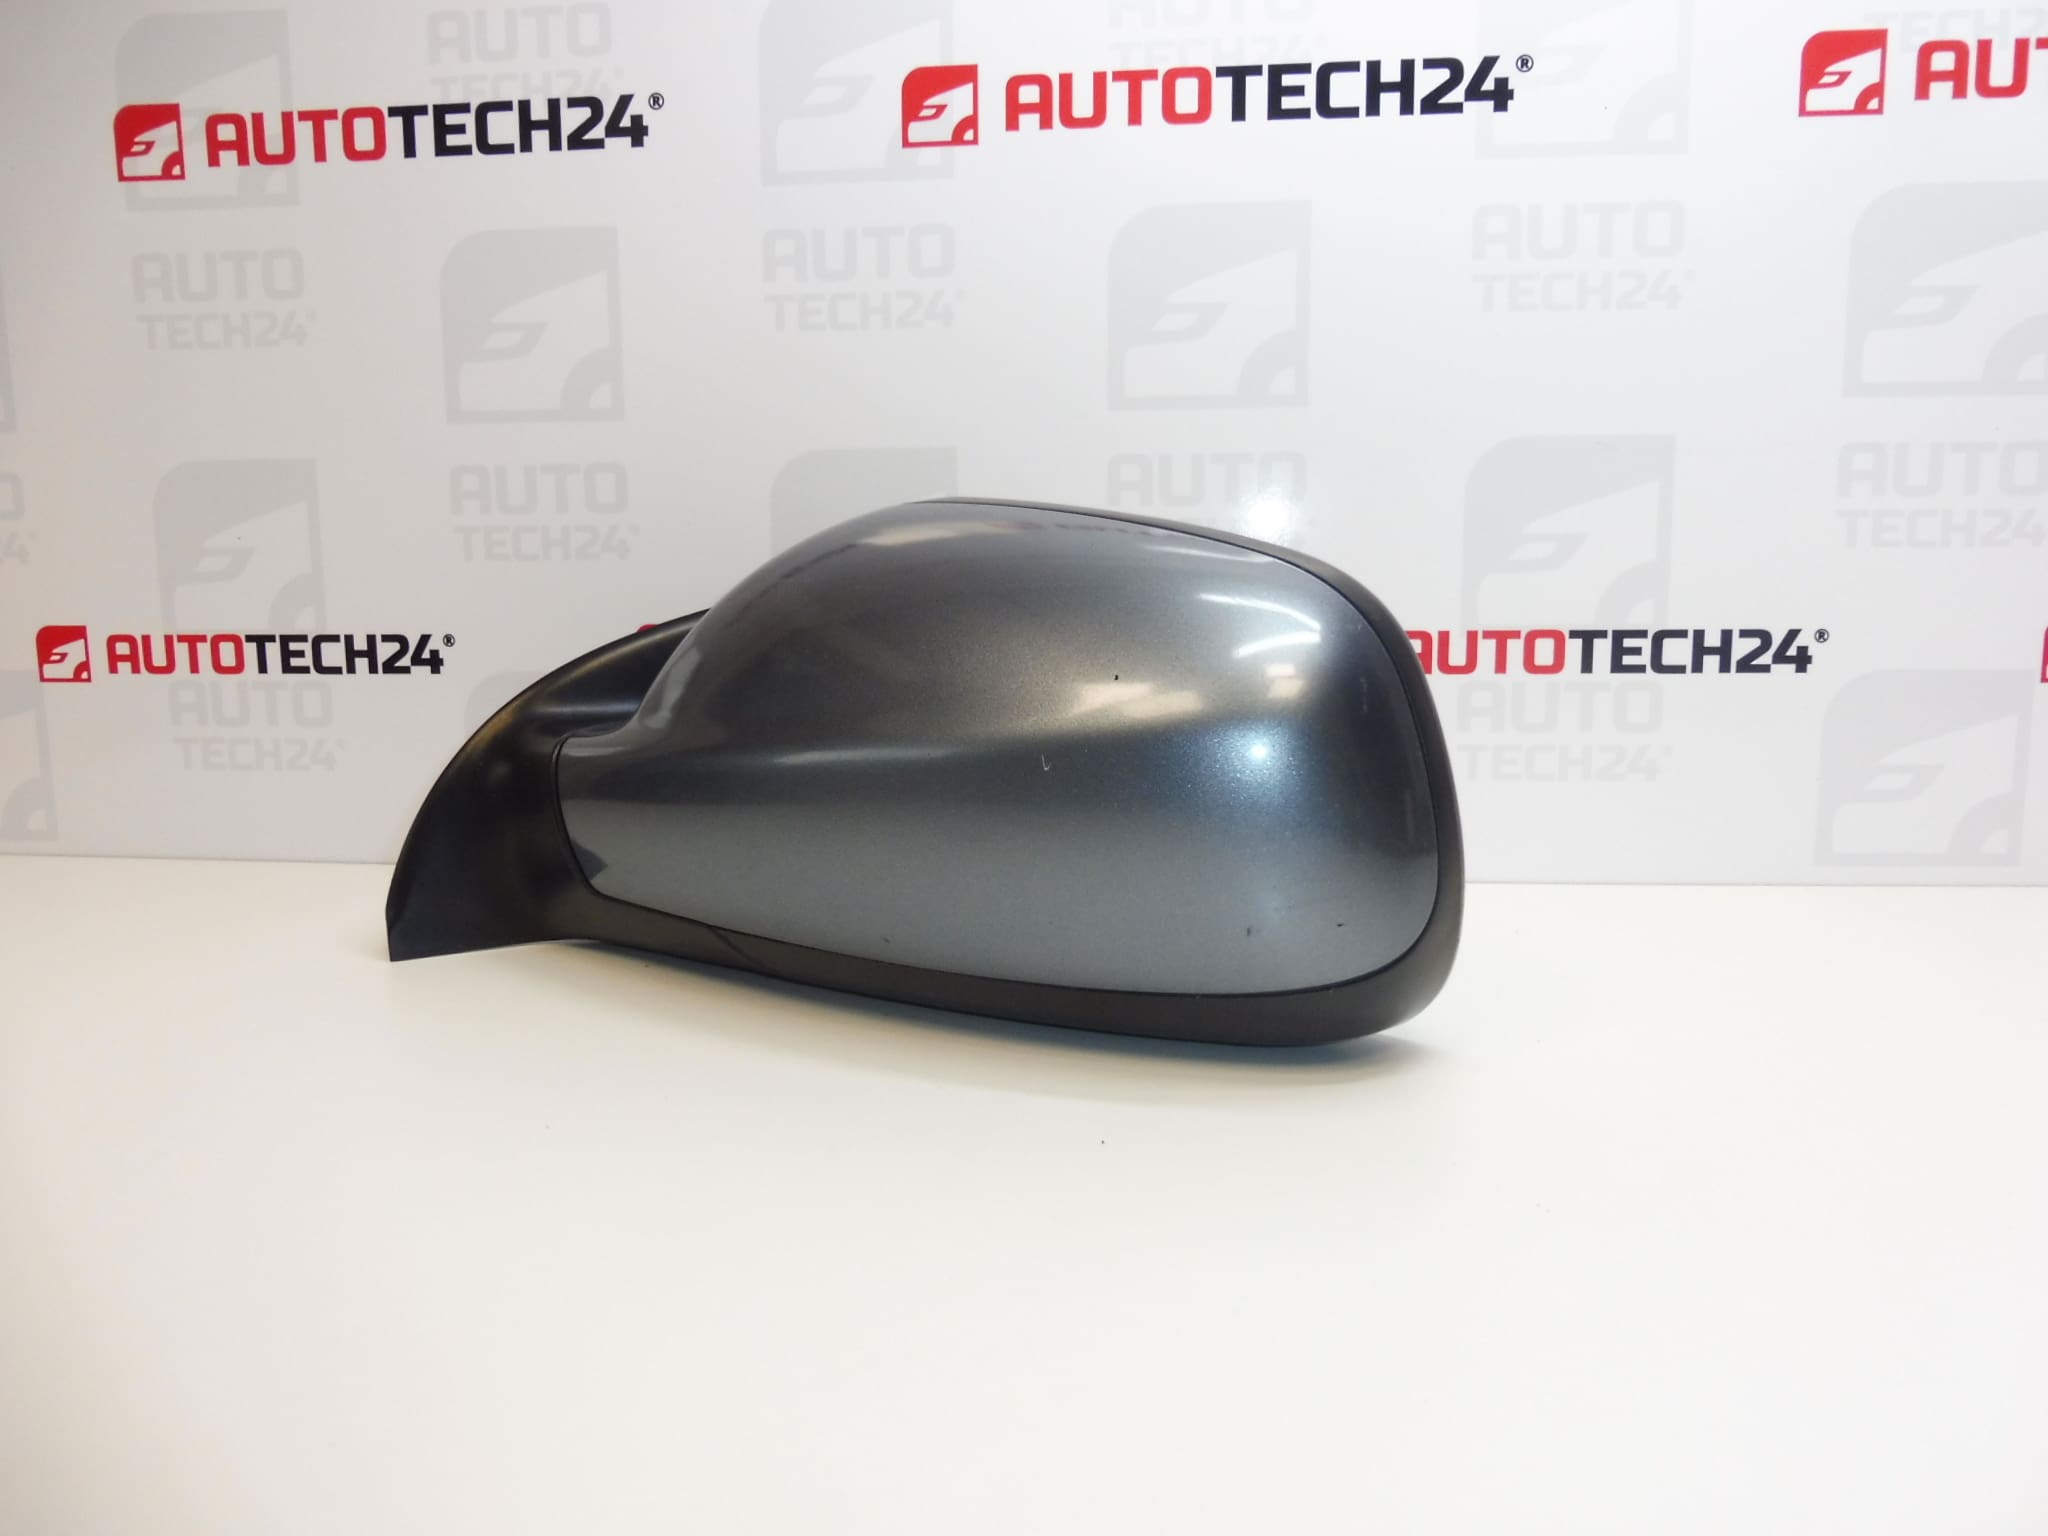
Left driver’s side mirror for PEUGEOT 307 vehicles
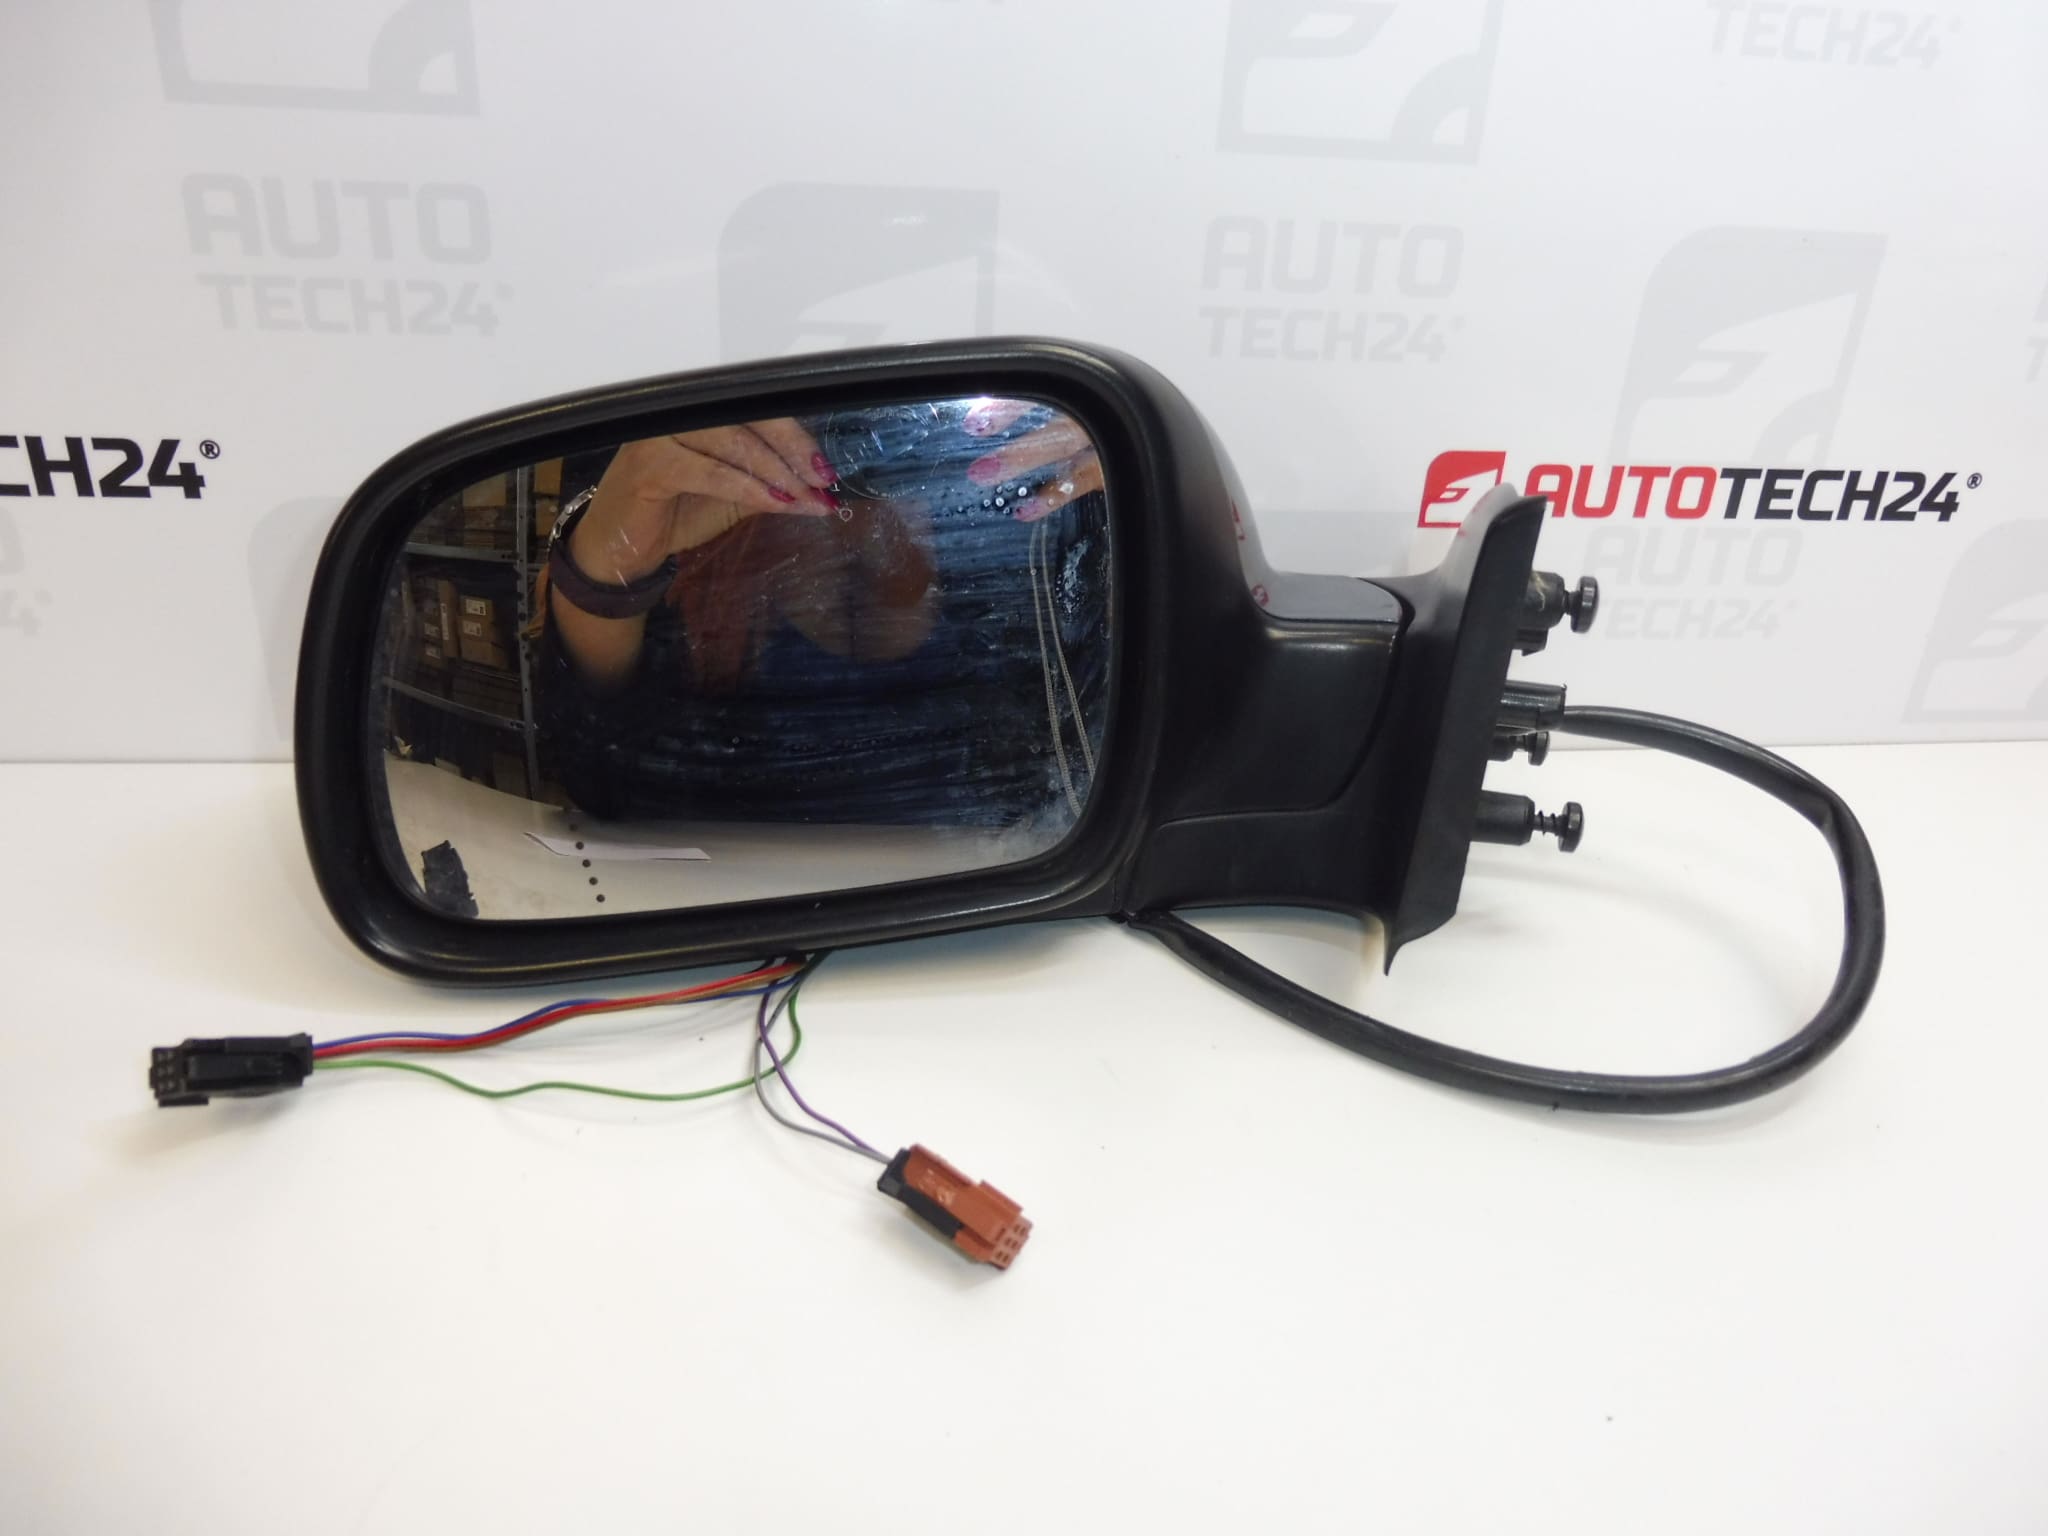
Electrically adjustable and heated, electrically folds in towards the vehicle
Colour EZW – FER GREY PAINT
7 PIN (5+2)
Part description
This used left electrically folding mirror for Peugeot 307 with part number 8149VV is a replacement for a damaged driver’s side mirror. It combines electric adjustment, heating and electric folding towards the vehicle. This retains convenient mirror operation and the option to fold it in when parking.
When selecting the part, compare the part number, mounting configuration, electrical functions and 7 PIN (5+2) wiring configuration with the original part in particular. The colour is listed in the documentation as EZW – FER GREY PAINT, while the listing title uses the designation EZWD. Matching the configuration helps avoid unnecessary modifications during replacement.
Technical information
- Manufacturer: not specified; the documentation lists the designation Stellantis CITROEN PEUGEOT.
- Model: Peugeot 307.
- Part configuration: left driver’s side mirror.
- Operation: electric adjustment and electric folding towards the vehicle.
- Heating: yes.
- Electrical connection: 7 PIN (5+2).
- Colour: EZW – FER GREY PAINT.
- Condition: used part.
- Other numbers: not specified; the additional designation in the title and short description is EZWD.
Product codes
- Product codes: 8149VV.
- Designation in the listing: EZWD.
- Colour code in the long description: EZW.
- Model: Peugeot 307.
Installation recommendations
The following procedure is general guidance for electrically adjustable, heated and folding side mirrors. The exact method of accessing the mountings, removing the trim and disconnecting the electrical wiring depends on the specific vehicle configuration. Follow the manufacturer’s service procedure.
1) Before installation
- Compare the replacement mirror with the original: left-hand side, base shape, mountings, connectors, cable routing and the presence of all required electrical functions.
- Verify that the part number and 7 PIN (5+2) connection configuration match. The pin count alone is no substitute for comparing the connectors and features.
- Inspect the glass, cover, hinge, mounting points and mating surfaces. Check for broken wires and oxidised or bent contacts.
- Check the seals and the condition of the paintwork. Compare the colour designation with the required finish.
2) Required tools and materials
You will usually need suitable screwdrivers and spanners for the actual fasteners, a plastic trim removal tool, protection for painted surfaces, a clean cloth and, if necessary, a product designed for cleaning electrical contacts. Also prepare a safe place to put the mirror and removed components.
3) Step-by-step installation procedure
- Secure the vehicle against movement and prepare access to the work area.
- Switch off the ignition. If the battery needs to be disconnected, follow the vehicle manufacturer’s instructions, including any required waiting period.
- Protect the surrounding painted surfaces from scratches during handling.
- Following the service procedure, carefully remove any covers or trim needed to access the mirror mountings and electrical connection.
- Record the original cable routing and seal position, for example by taking a photograph.
- Release the connector locking tabs and disconnect the electrical connection. Do not pull on the wires.
- Support the original mirror, undo its fasteners and remove it without putting strain on the wiring.
- Clean the mating surface and check the seal and the area around the mountings. Do not reuse damaged seals.
- Position the replacement mirror, route the wiring correctly and align the seal. Secure the mirror according to the manufacturer’s instructions, without overtightening the fasteners.
- Plug in the connectors until they lock securely. Check that the wires are not pinched, stretched or routed over sharp edges.
- Restore power according to the manufacturer’s procedure and check the electrical functions before refitting the covers, if the safe working procedure allows this.
- Refit the covers and trim, check that they are seated correctly and adjust the mirror to give the driver a proper view.
4) Post-installation checks and function testing
- Test electric adjustment in all directions, as well as folding in and out using the vehicle controls. Check for smooth operation and unusual noises.
- Check the heating in a way appropriate to the controls and activation conditions for the particular vehicle.
- Check that the mirror is firmly seated, the seal fits snugly and the trim is correctly fitted.
- Only take a short test drive after verifying secure mounting and visibility. Watch for vibration in the reflected image and any increased noise around the mirror base.
5) Common installation mistakes and how to avoid them
- Incorrect electrical configuration: compare the connectors, wiring and functions before installation, not just the mirror’s external shape.
- Pinched wiring: follow the original wire routing and check that the wires run freely before tightening.
- Incorrectly seated seal: clean the mating surface and fit the seal without folding it to reduce water ingress and noise.
- Overtightened fasteners: follow the manufacturer’s instructions; excessive force can damage the base or mounting points.
- Forcing the folding mechanism: do not force the folding hinge; test its function using the specified controls.
Reasons why the part may become damaged
Damage to this type of mirror is commonly caused by the following factors. This is a general overview, not a description of the condition of the item offered.
- Impact while parking or passing an obstacle can damage the glass, cover, base and folding hinge.
- Forced folding or movement of a frozen mechanism can place excessive strain on the drive and gears.
- Moisture and contact corrosion can cause intermittent failure of adjustment, heating or electric folding.
- Wear of moving parts may result in play, noise or irregular movement.
- Damaged wiring or heating element can cause individual electrical functions to stop working.
- Incorrect previous installation, particularly overtightened mountings or pinched wires, can shorten the part’s service life.