Description
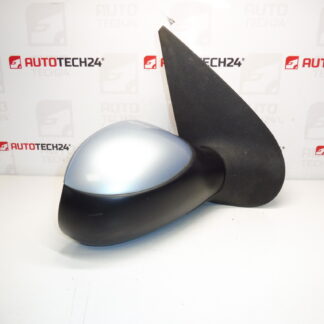
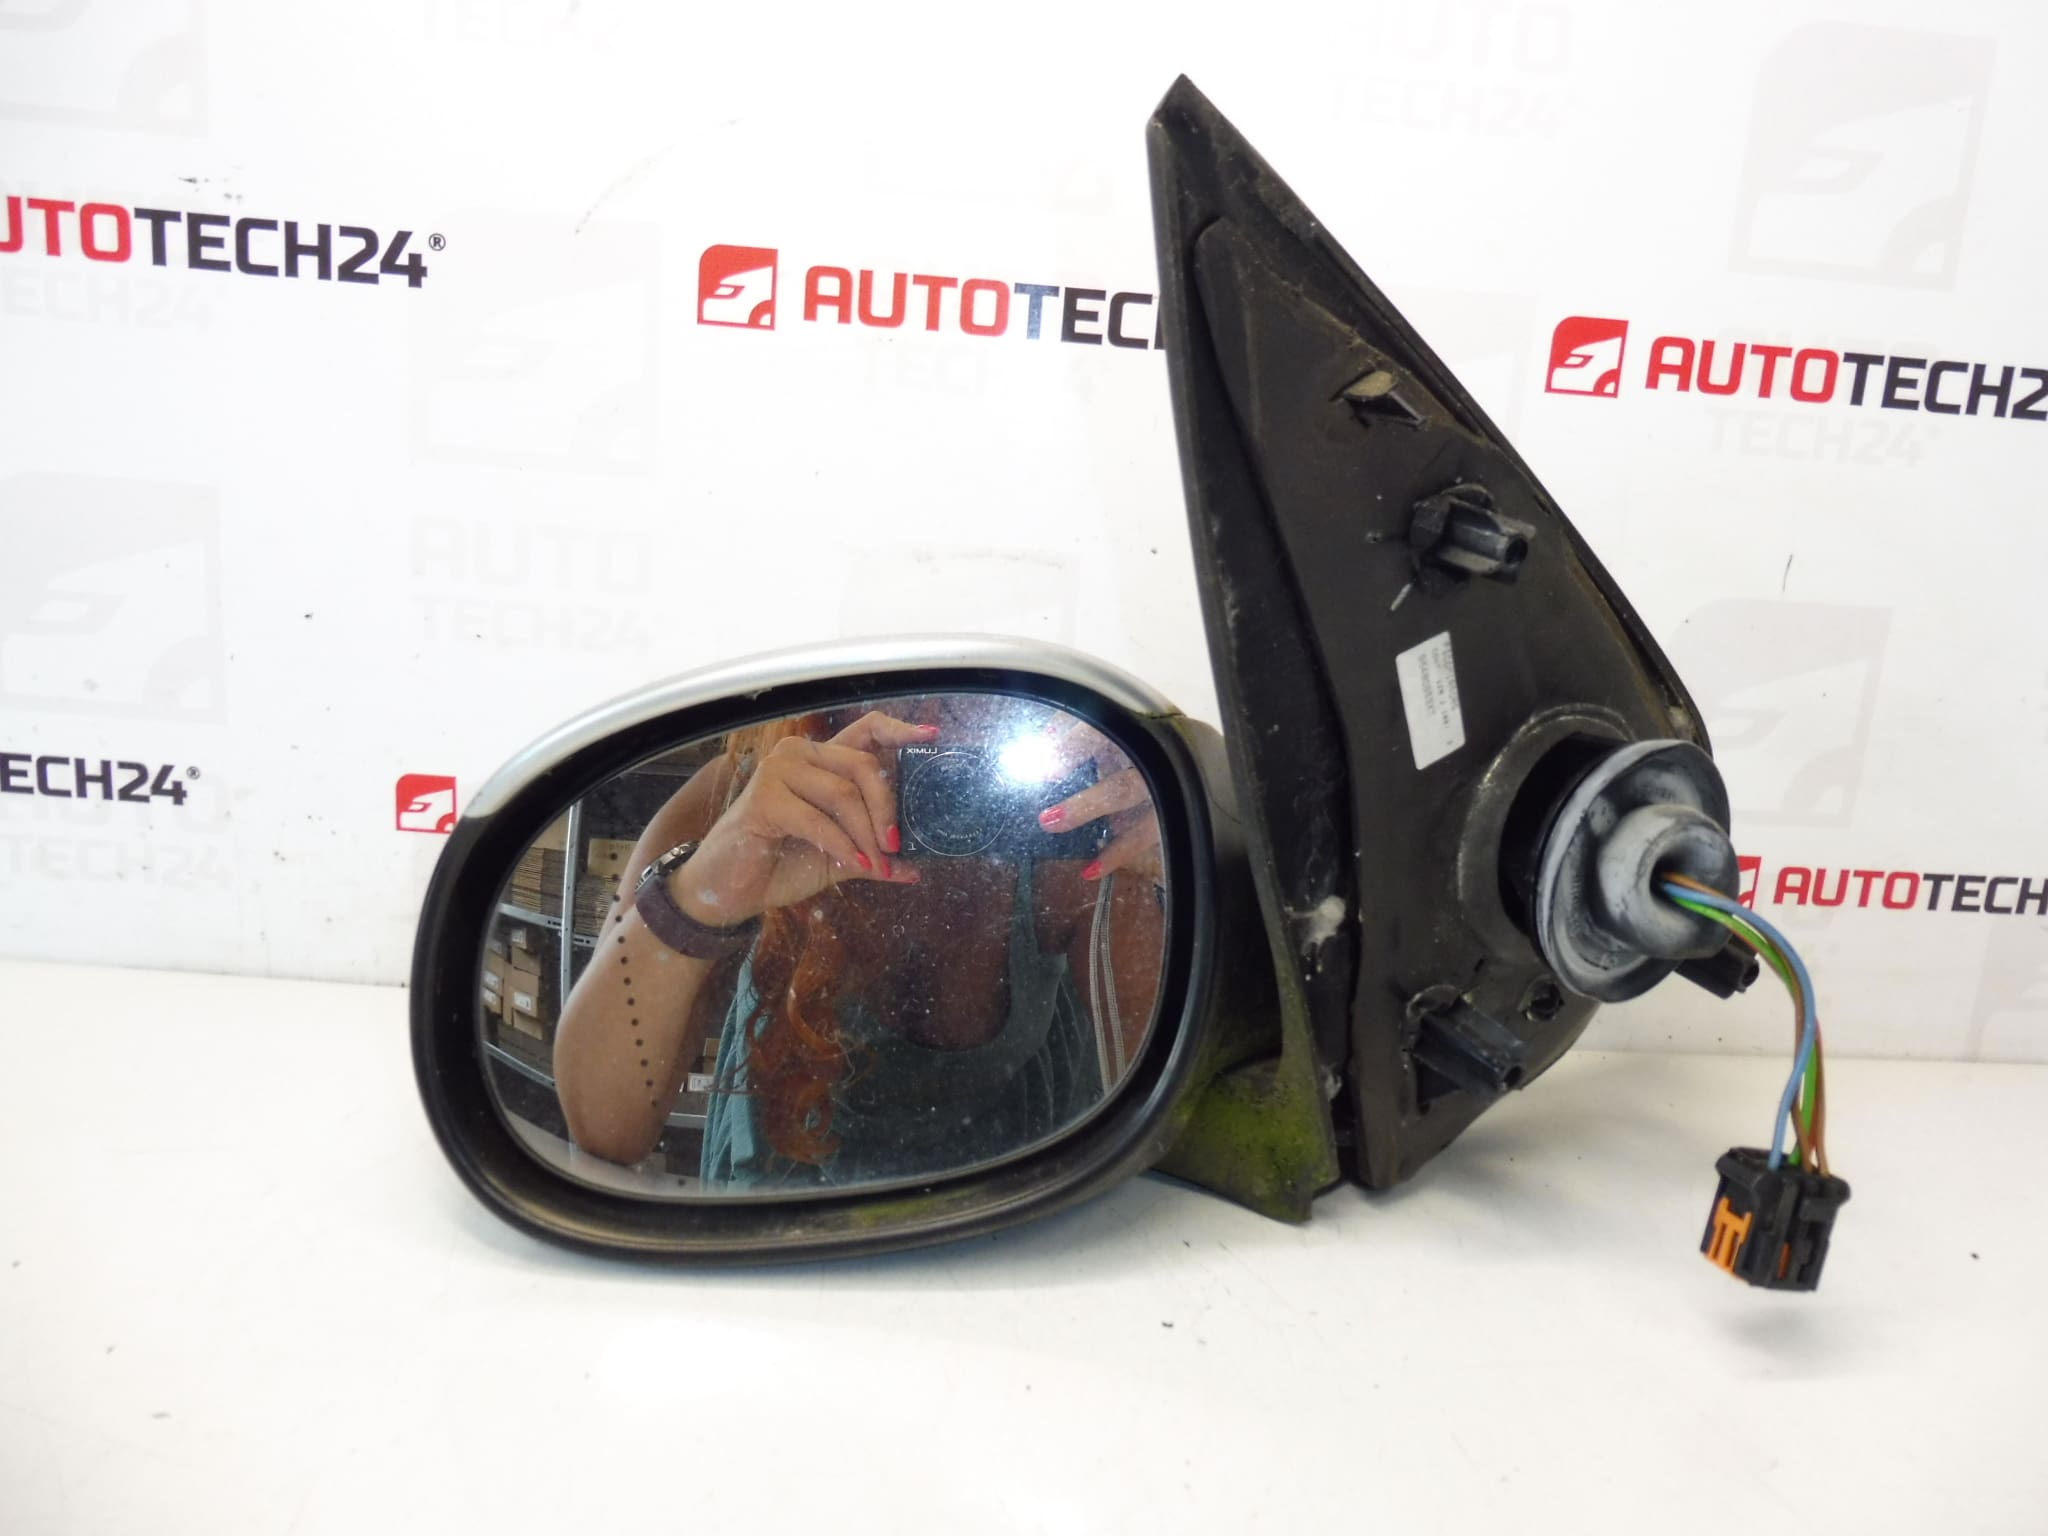
Left rear-view mirror for PEUGEOT 206
Electrically adjustable, electrically heated
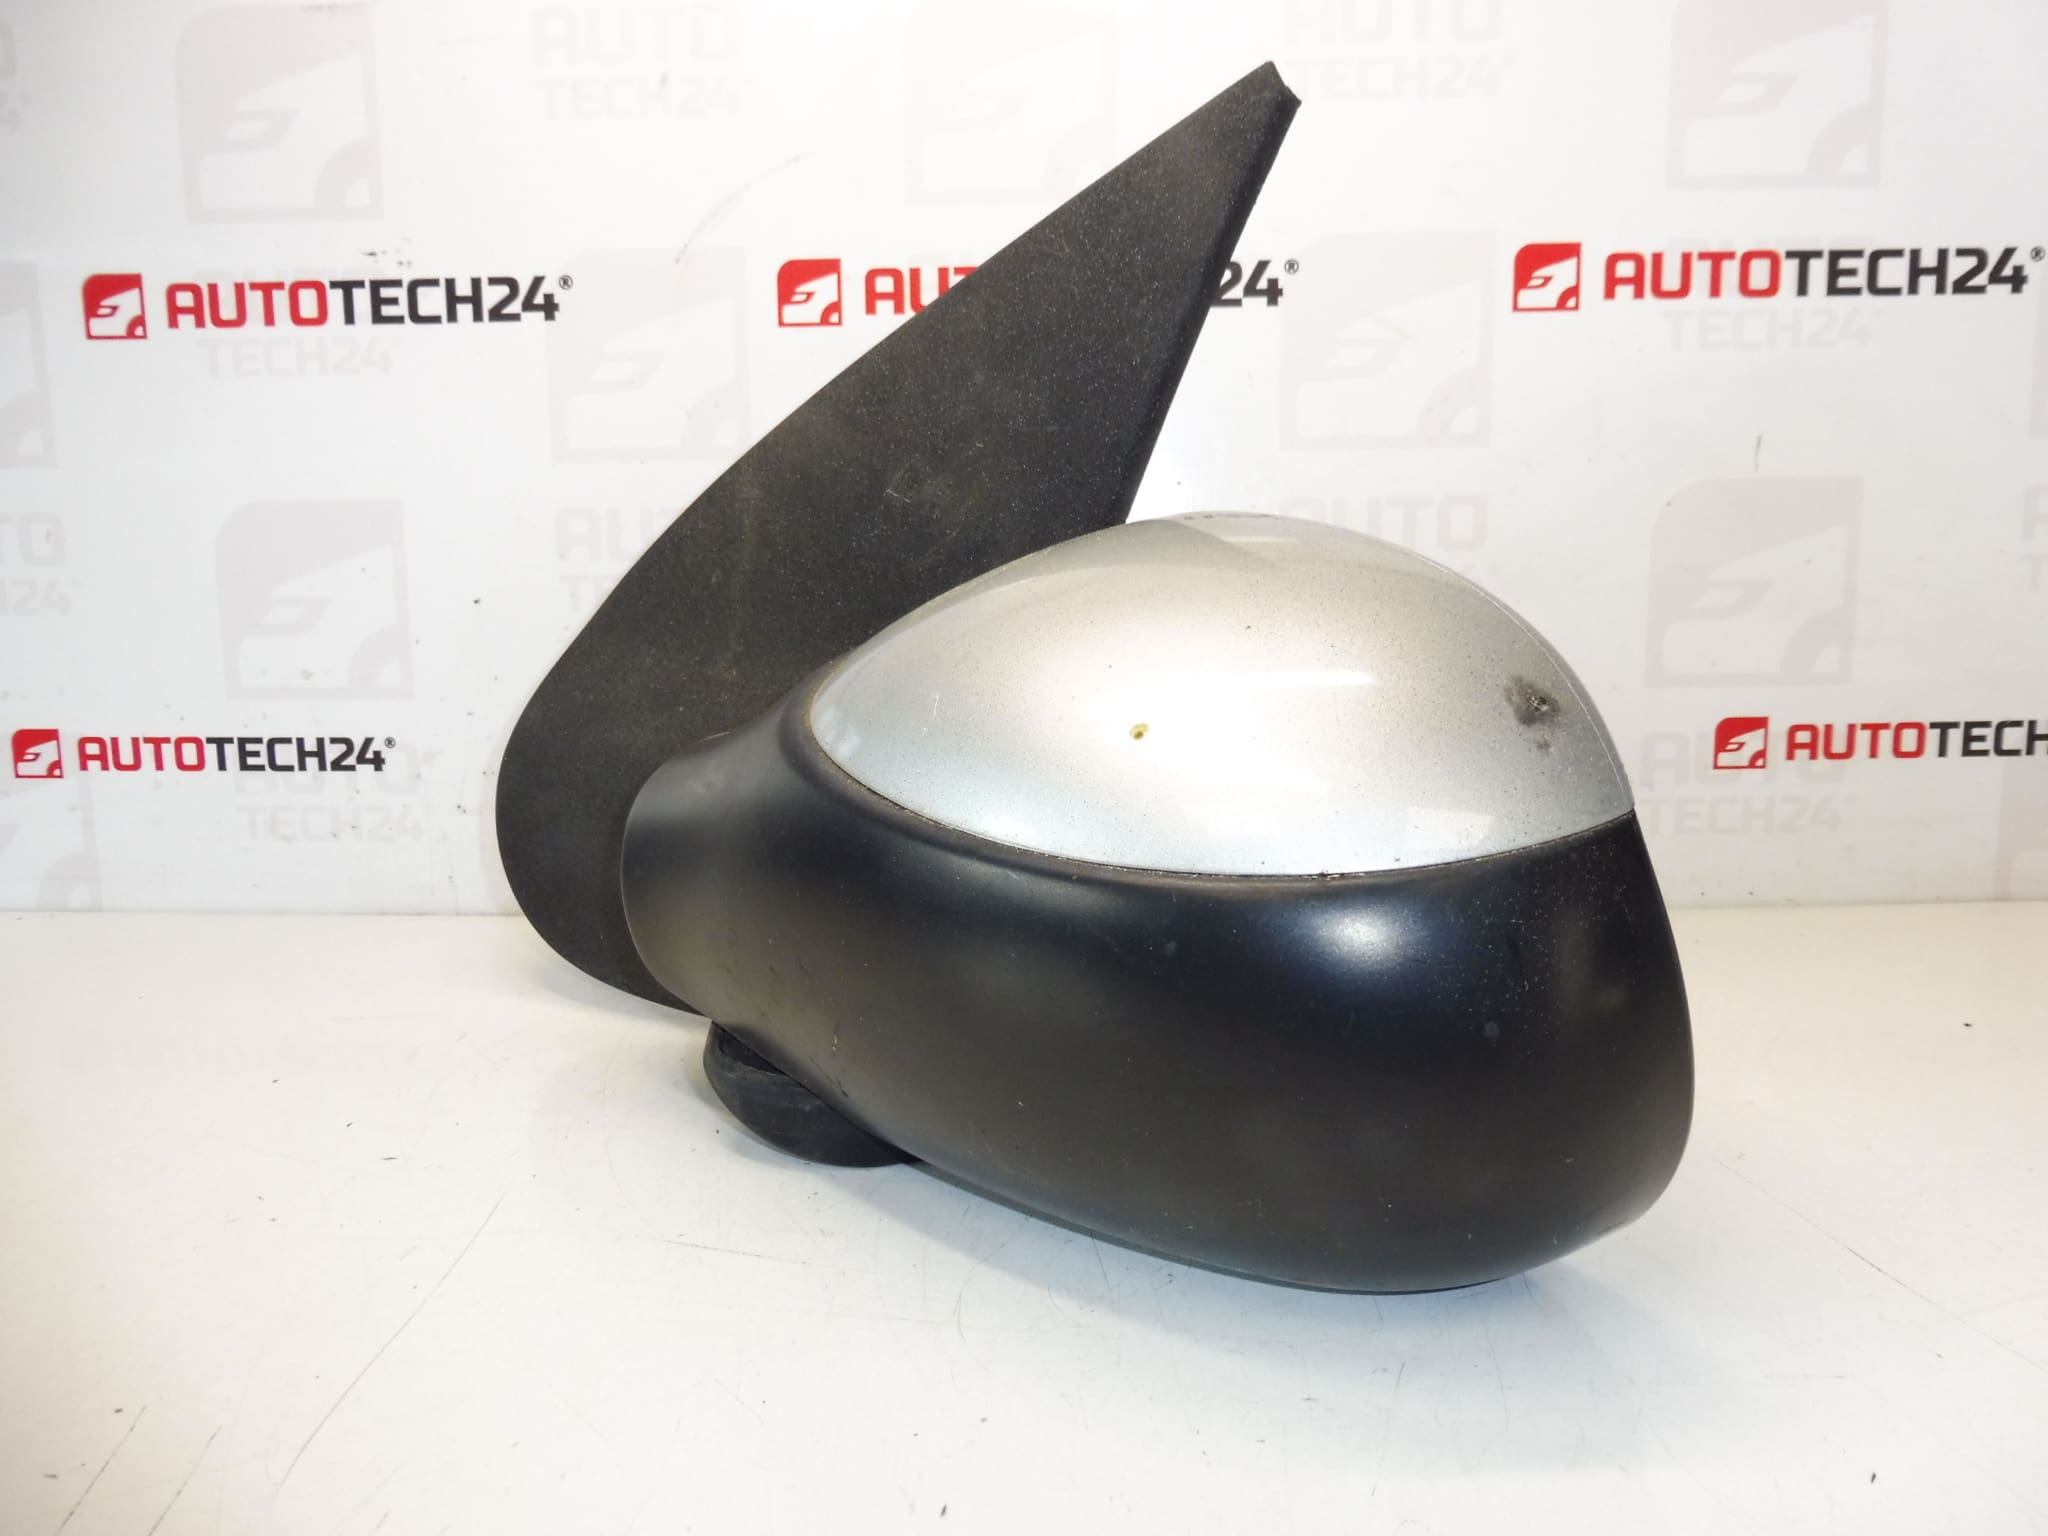
Color EZR – PAINT GREY ALUMINIUM
Slightly scratched, see photo
Driver’s door
5 PIN
Description
This left side exterior mirror is a direct-fit replacement for the Peugeot 206, offering electric adjustment and a heated glass element for clear vision in cold or wet conditions. Finished in EZR Grey Aluminium paint, it is intended for the driverʼs door and uses a 5-pin electrical connector. The part numbers associated with this unit include 96480953XT and 8153KQ, making it easy to find via catalog searches or part-number lookups.
Designed for professional workshops and competent DIY mechanics, this mirror restores full functionality—mirror adjustment and heating—after impact or electrical failures. The unit is an advantageous choice when the original mirror housing or electronics are damaged but the door mounting points are intact. Minor cosmetic marks are visible as shown in the photos.
Technical Information
- Manufacturer: Peugeot / Stellantis
- Model: Peugeot 206 (Driver Side)
- Product Codes: 96480953XT, 8153KQ
- Other Numbers: EZR, 5-pin connector
Installation Recommendations
Installation is straightforward for an experienced technician. Typical steps:
- Remove the interior triangular trim on the driver door to access the mirror mounting nuts.
- Disconnect the 5-pin electrical connector before loosening the fixing nuts.
- Unscrew the mirror retaining nuts, support the mirror to prevent dropping, and remove the old unit.
- Fit the replacement mirror, tighten the mounting nuts to the manufacturerʼs torque, reconnect the electrical plug and test adjustment and heating functions before refitting the trim.
Recommended tools: Torx/spline sockets or appropriate spanners, trim removal tools, and a multimeter for electrical checks. Always disconnect the battery or isolate the vehicle electrical system before working on powered mirrors to avoid short circuits or accidental motor operation.
Why This Part Fails Most Often
Common failure causes for exterior mirrors on the Peugeot 206 include:
- Impact damage from collisions or knocks, leading to broken housings, cracked glass, or stripped mounting points.
- Wear of the mirror adjustment motor or actuator after long service life or heavy use.
- Corrosion or wiring faults in the connector and door harness, causing intermittent or complete loss of power to the heater or motor.
- Failure of the heating element due to moisture ingress or electrical issues.
Fitment Notes
This unit is specified for the Peugeot 206 driver side with electric adjustment and heating functions. Verify the 5-pin connector and EZR paint code match the vehicle specification before installation. Part numbers 96480953XT and 8153KQ are commonly used references for this mirror.