Description
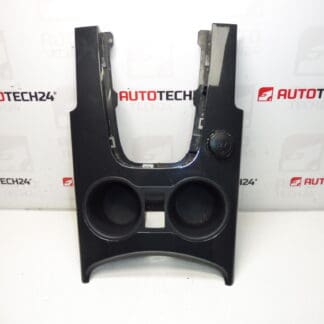
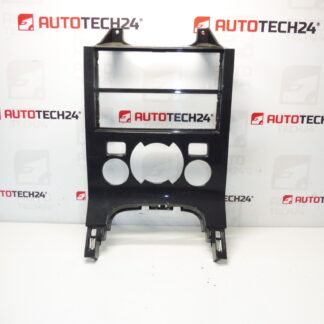
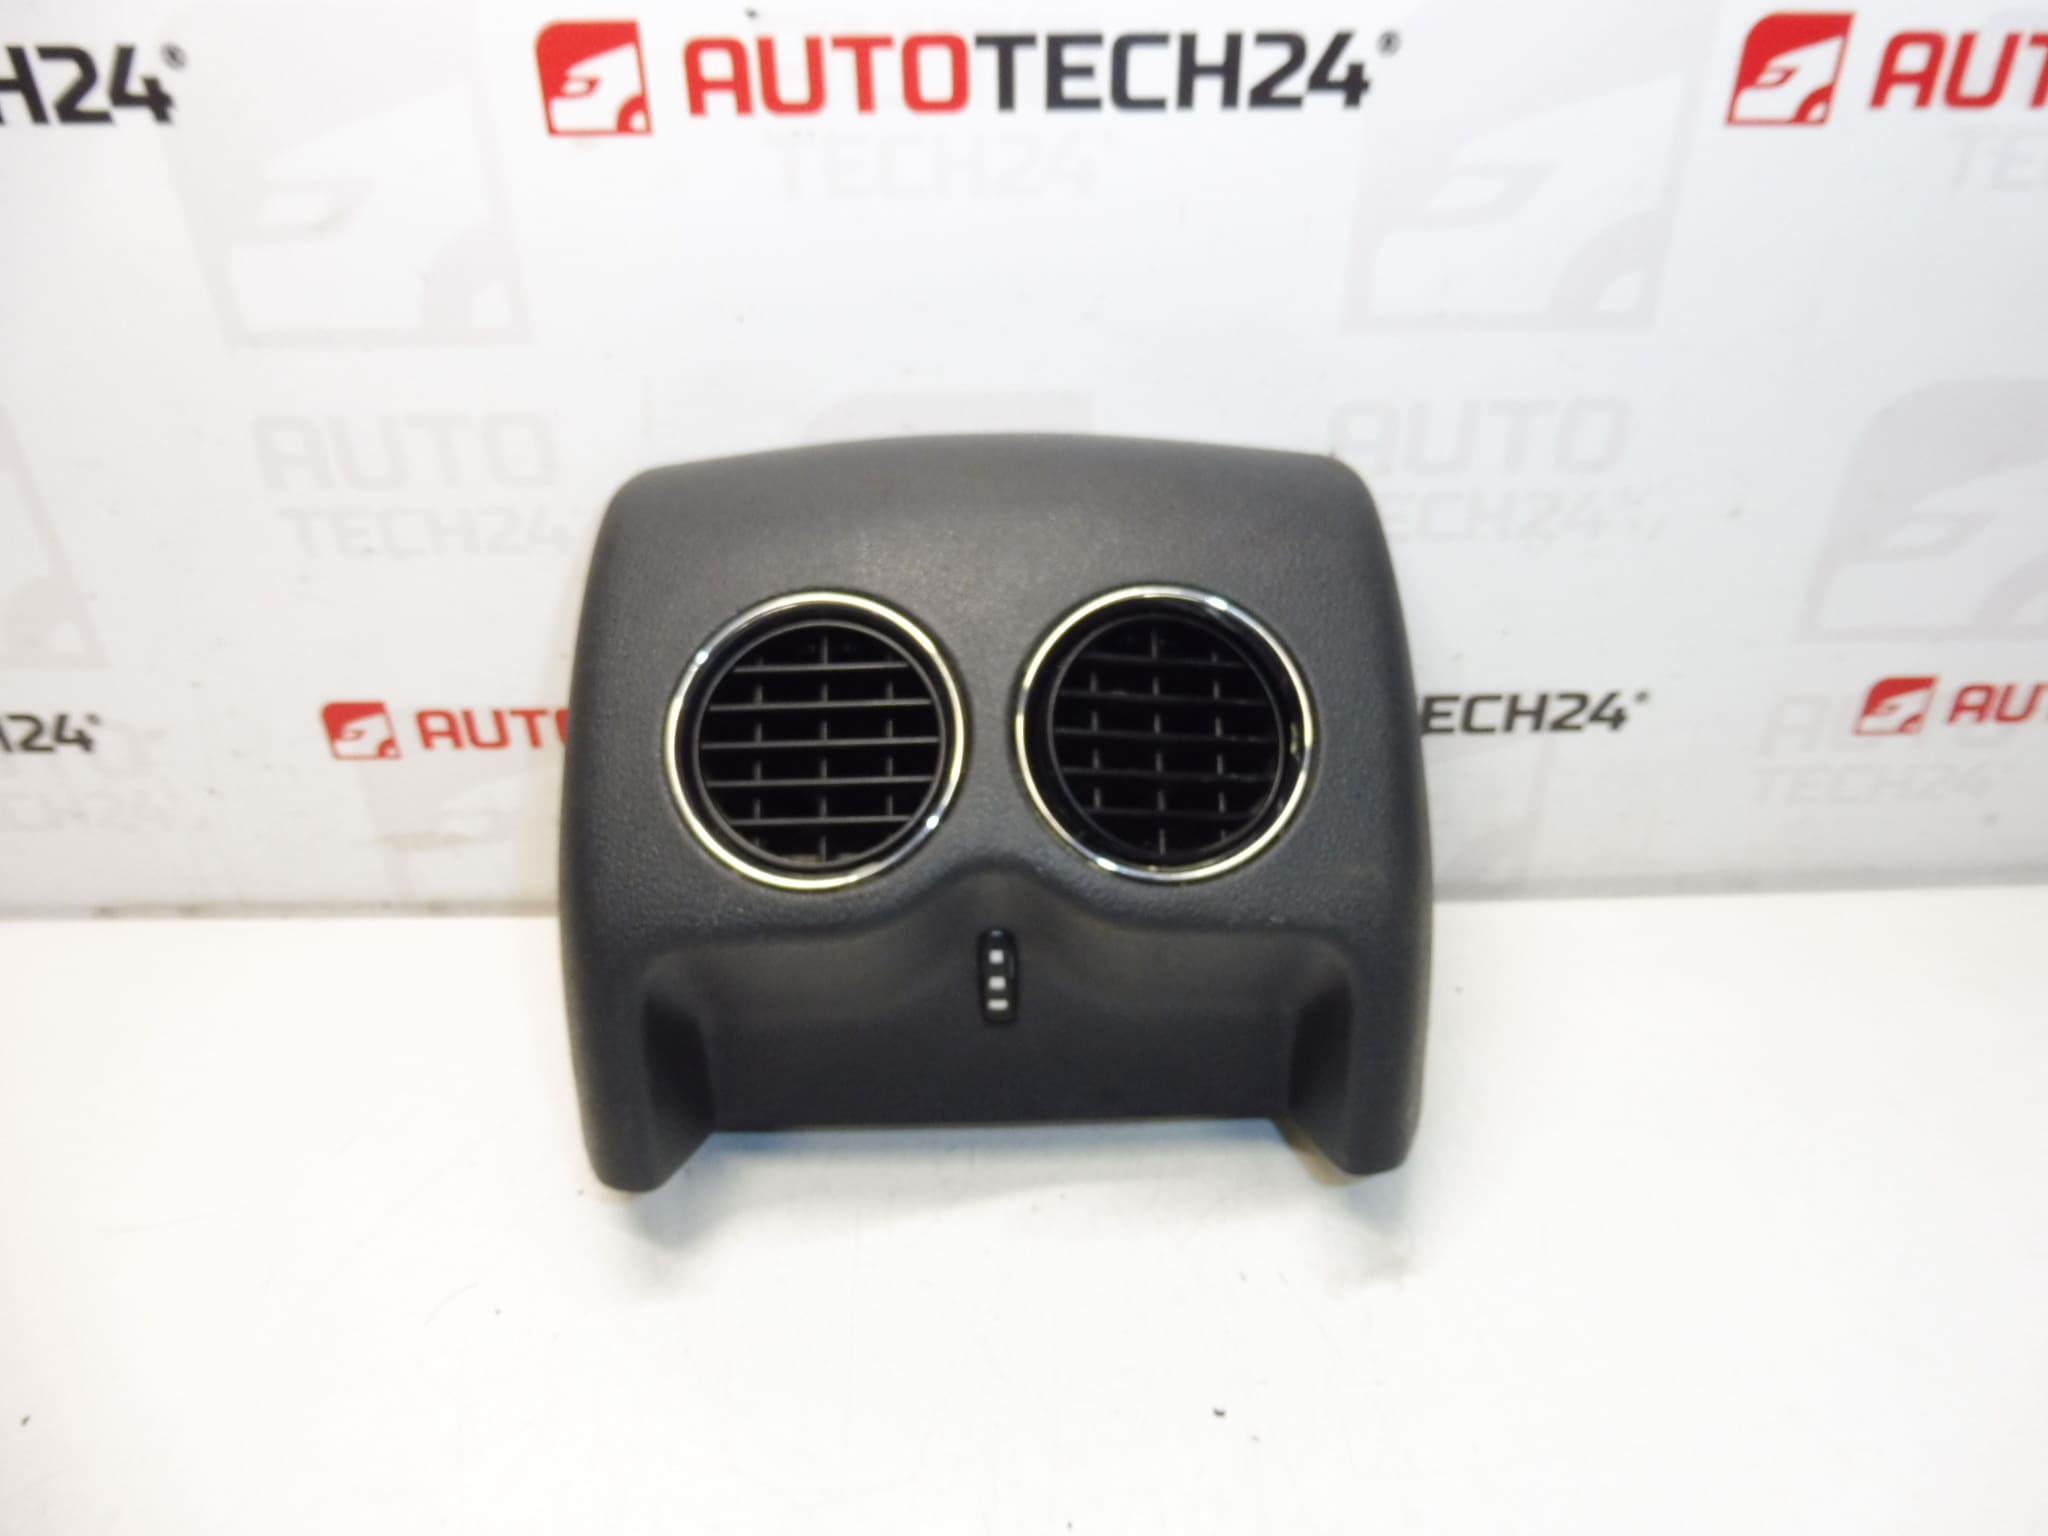
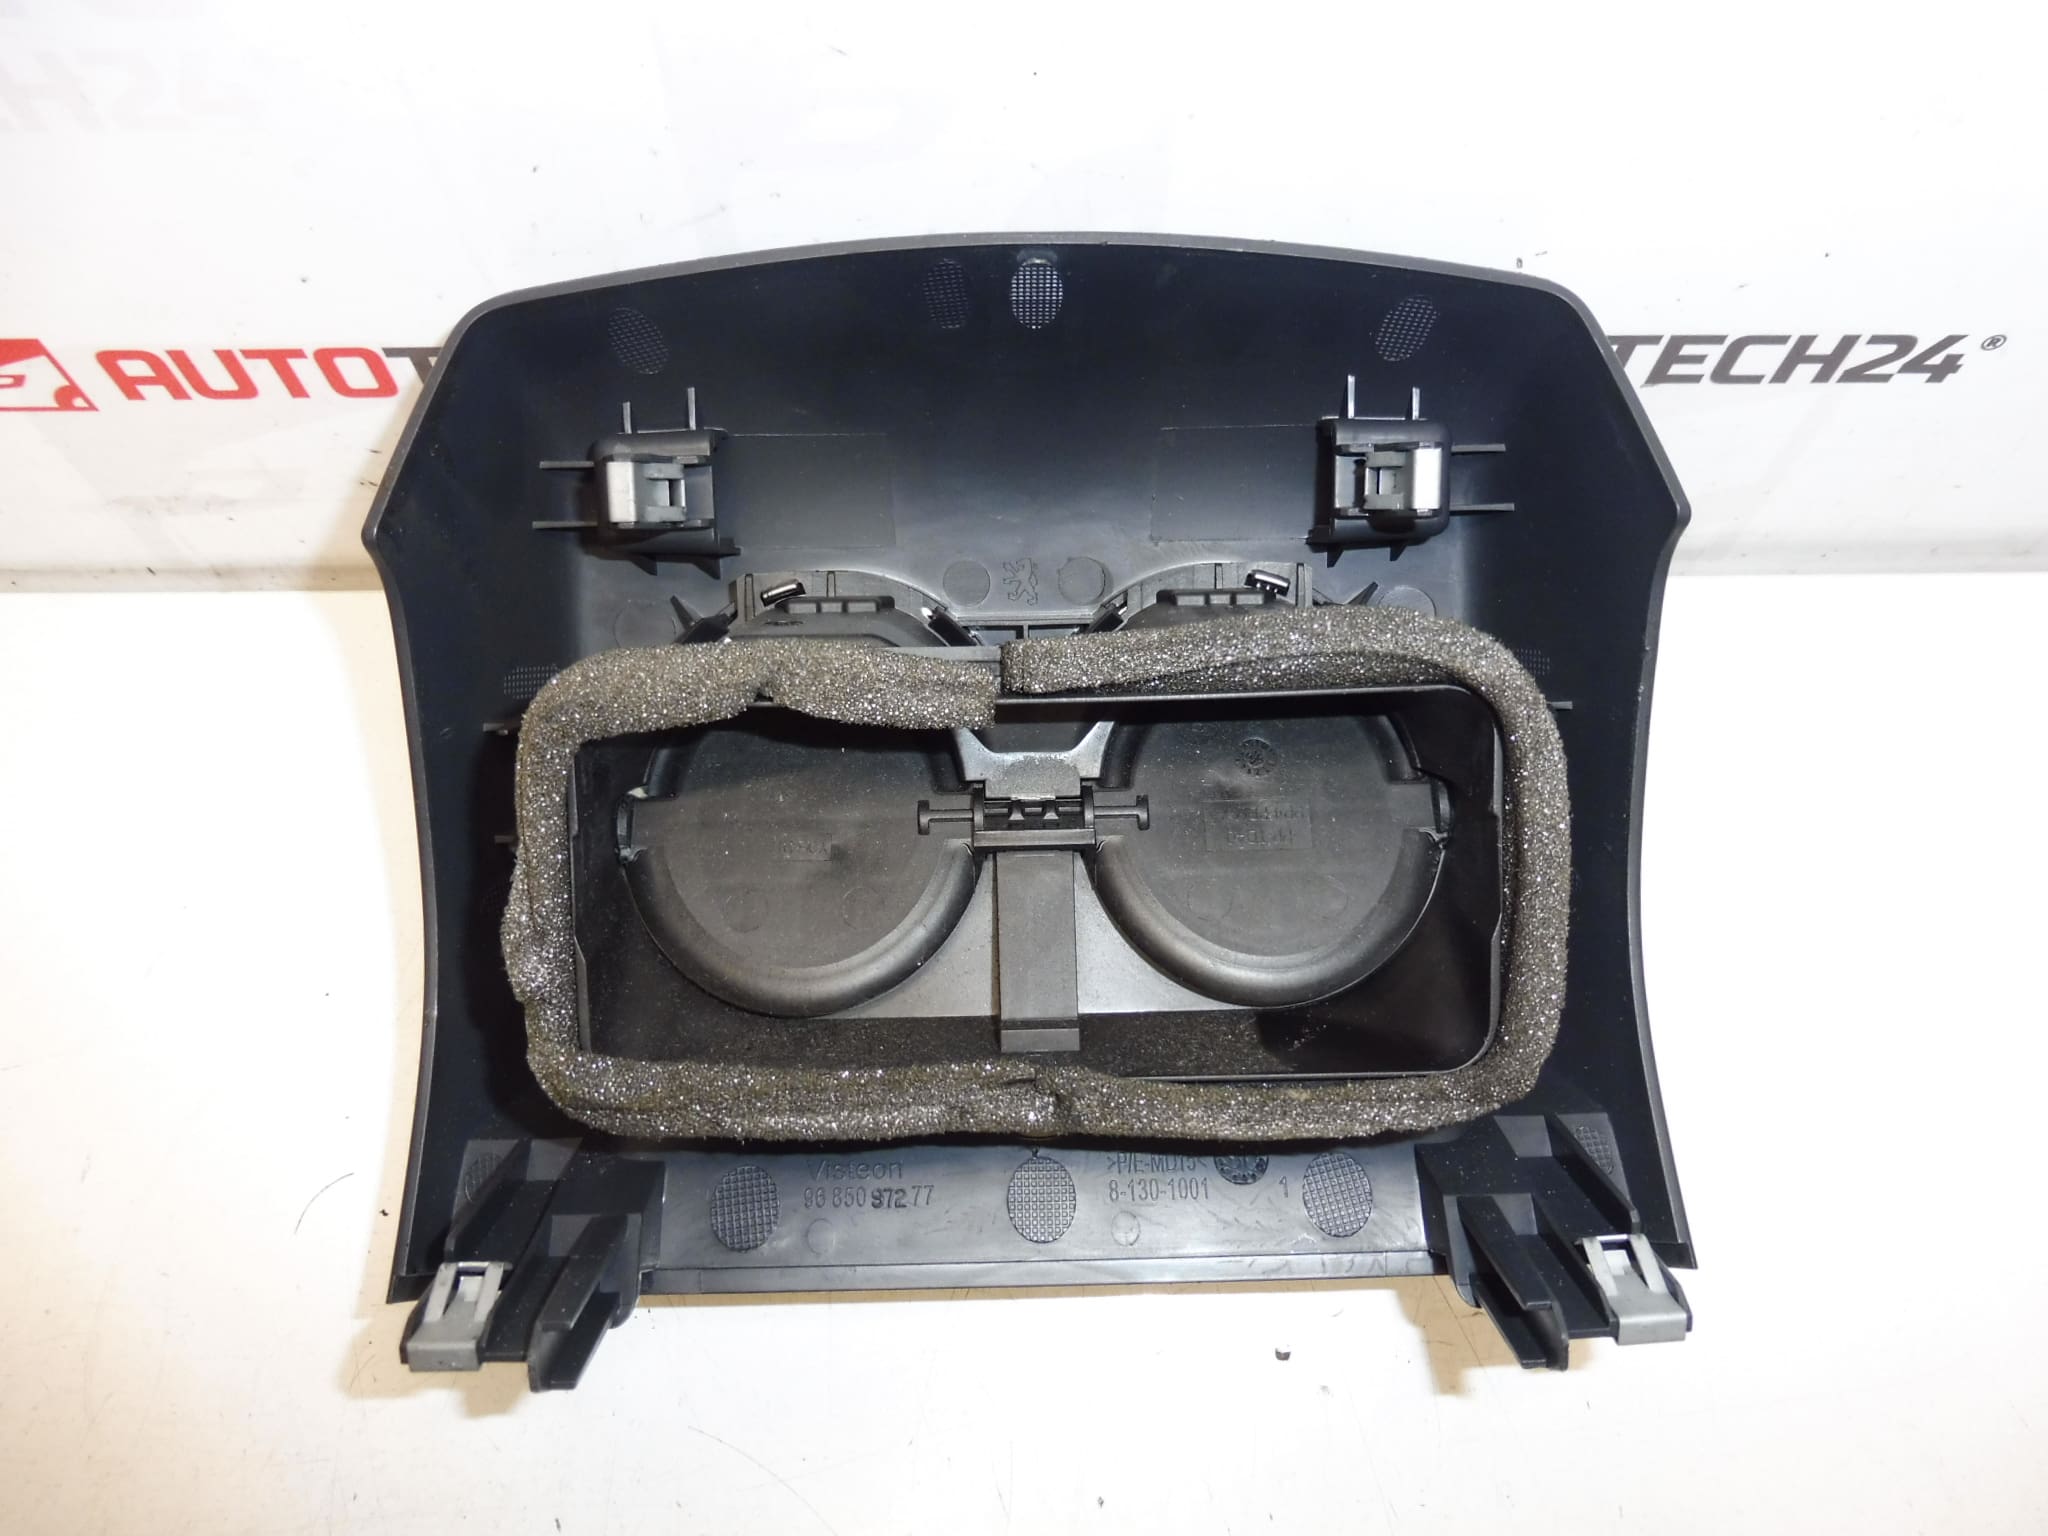
Floor Console Panel For PEUGEOT 3008 And 5008 First Series Color HZE – TRAMONTANE
This genuine-style floor console panel is a direct replacement for Peugeot 3008 and 5008 first generation interiors. Supplied in Color HZE (Tramontane), the panel restores factory appearance in the lower center-console area and helps maintain original fitment and finish. Often searched by part numbers 9685097277 and 7591P6, this item is aimed at professional technicians and competent DIYers performing interior repairs or refurbishments.
Key Benefits
- Direct fit for First Generation Peugeot 3008 and 5008 — no trimming or modification required when matching the correct variant.
- Factory Color HZE – Tramontane for seamless visual integration with original interior trims.
- Restores damaged or cracked console areas caused by impact, worn clips, or spills.
- Ideal for workshop replacement jobs and bodyshop refits where OEM-like appearance is required.
Applications
Technical Information
- Manufacturer: Stellantis / Peugeot
- Model: Peugeot 3008 I; Peugeot 5008 I (First Generation)
- Product Codes: 9685097277, 7591P6
- Other Numbers: T84, T87
- Color: HZE – Tramontane
Fitment And Replacement Guide
Replacement is straightforward for an experienced mechanic or a confident DIYer. Typical procedure:
- Prepare: Park on level ground and ensure good interior lighting. Gather trim tools and a basic screwdriver/Torx set.
- Remove Surrounding Trim: Carefully pry away adjacent trim pieces with a plastic trim tool to avoid scratching surfaces.
- Unscrew And Unclip: Remove visible screws or fasteners and release retaining clips. Work progressively to avoid cracking brittle clip areas.
- Detach Old Panel: Once unclipped, lift the panel clear and disconnect any plug-in elements if present (e.g., illumination modules or accessory sockets).
- Install New Panel: Align locating tabs and press until clips engage. Refit screws and surrounding trim. Verify correct seating and gap alignment.
- Check Functionality: If the panel carries any accessories (illumination, sockets), verify electrical connections before final assembly.
Estimated Fitment Time: 15–40 minutes depending on experience and model variant. Use of a plastic trim pry tool is recommended to protect visible surfaces.
Installation Recommendations
- Always work methodically and avoid excessive force when releasing plastic clips — many failures occur during removal rather than in service.
- Replace any broken or deformed clips to ensure a secure, rattle-free fit. Clip sets are inexpensive and improve long-term fitment.
- Keep fasteners organized during disassembly to ensure correct reassembly and consistent panel alignment.
- If the panel includes electrical parts, disconnect the battery before unplugging connectors only when advised by vehicle-specific procedures.
Why This Part Most Often Fails
- Impact Damage: Kicks, dropped objects, or collisions can crack the panel or break locating tabs.
- Clip And Fastener Fatigue: Repeated removal or brittle aging of plastic clips causes loose fitment and rattles.
- Liquid Spills And Corrosion: Prolonged exposure to moisture or spilled liquids can warp or stain the panel and affect any integrated trim components.
- Wear And Cosmetic Degradation: Scuffs, abrasion from shoes, and UV fading reduce visual appeal and often prompt replacement.
Search Tip: Customers frequently search by part numbers 9685097277 or 7591P6 when sourcing this console panel. Make sure the color code HZE (Tramontane) matches your vehicle’s interior for the best visual match.