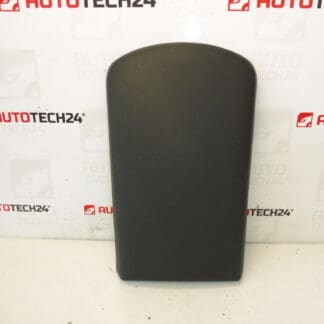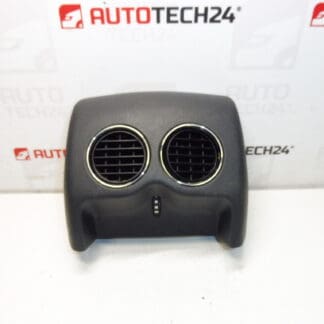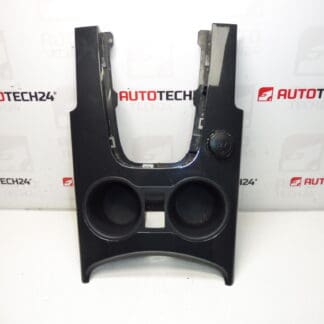
Description
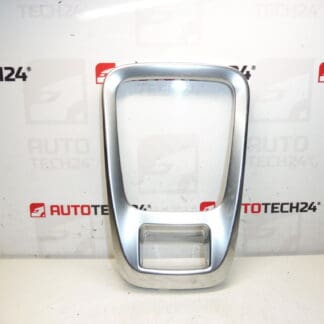
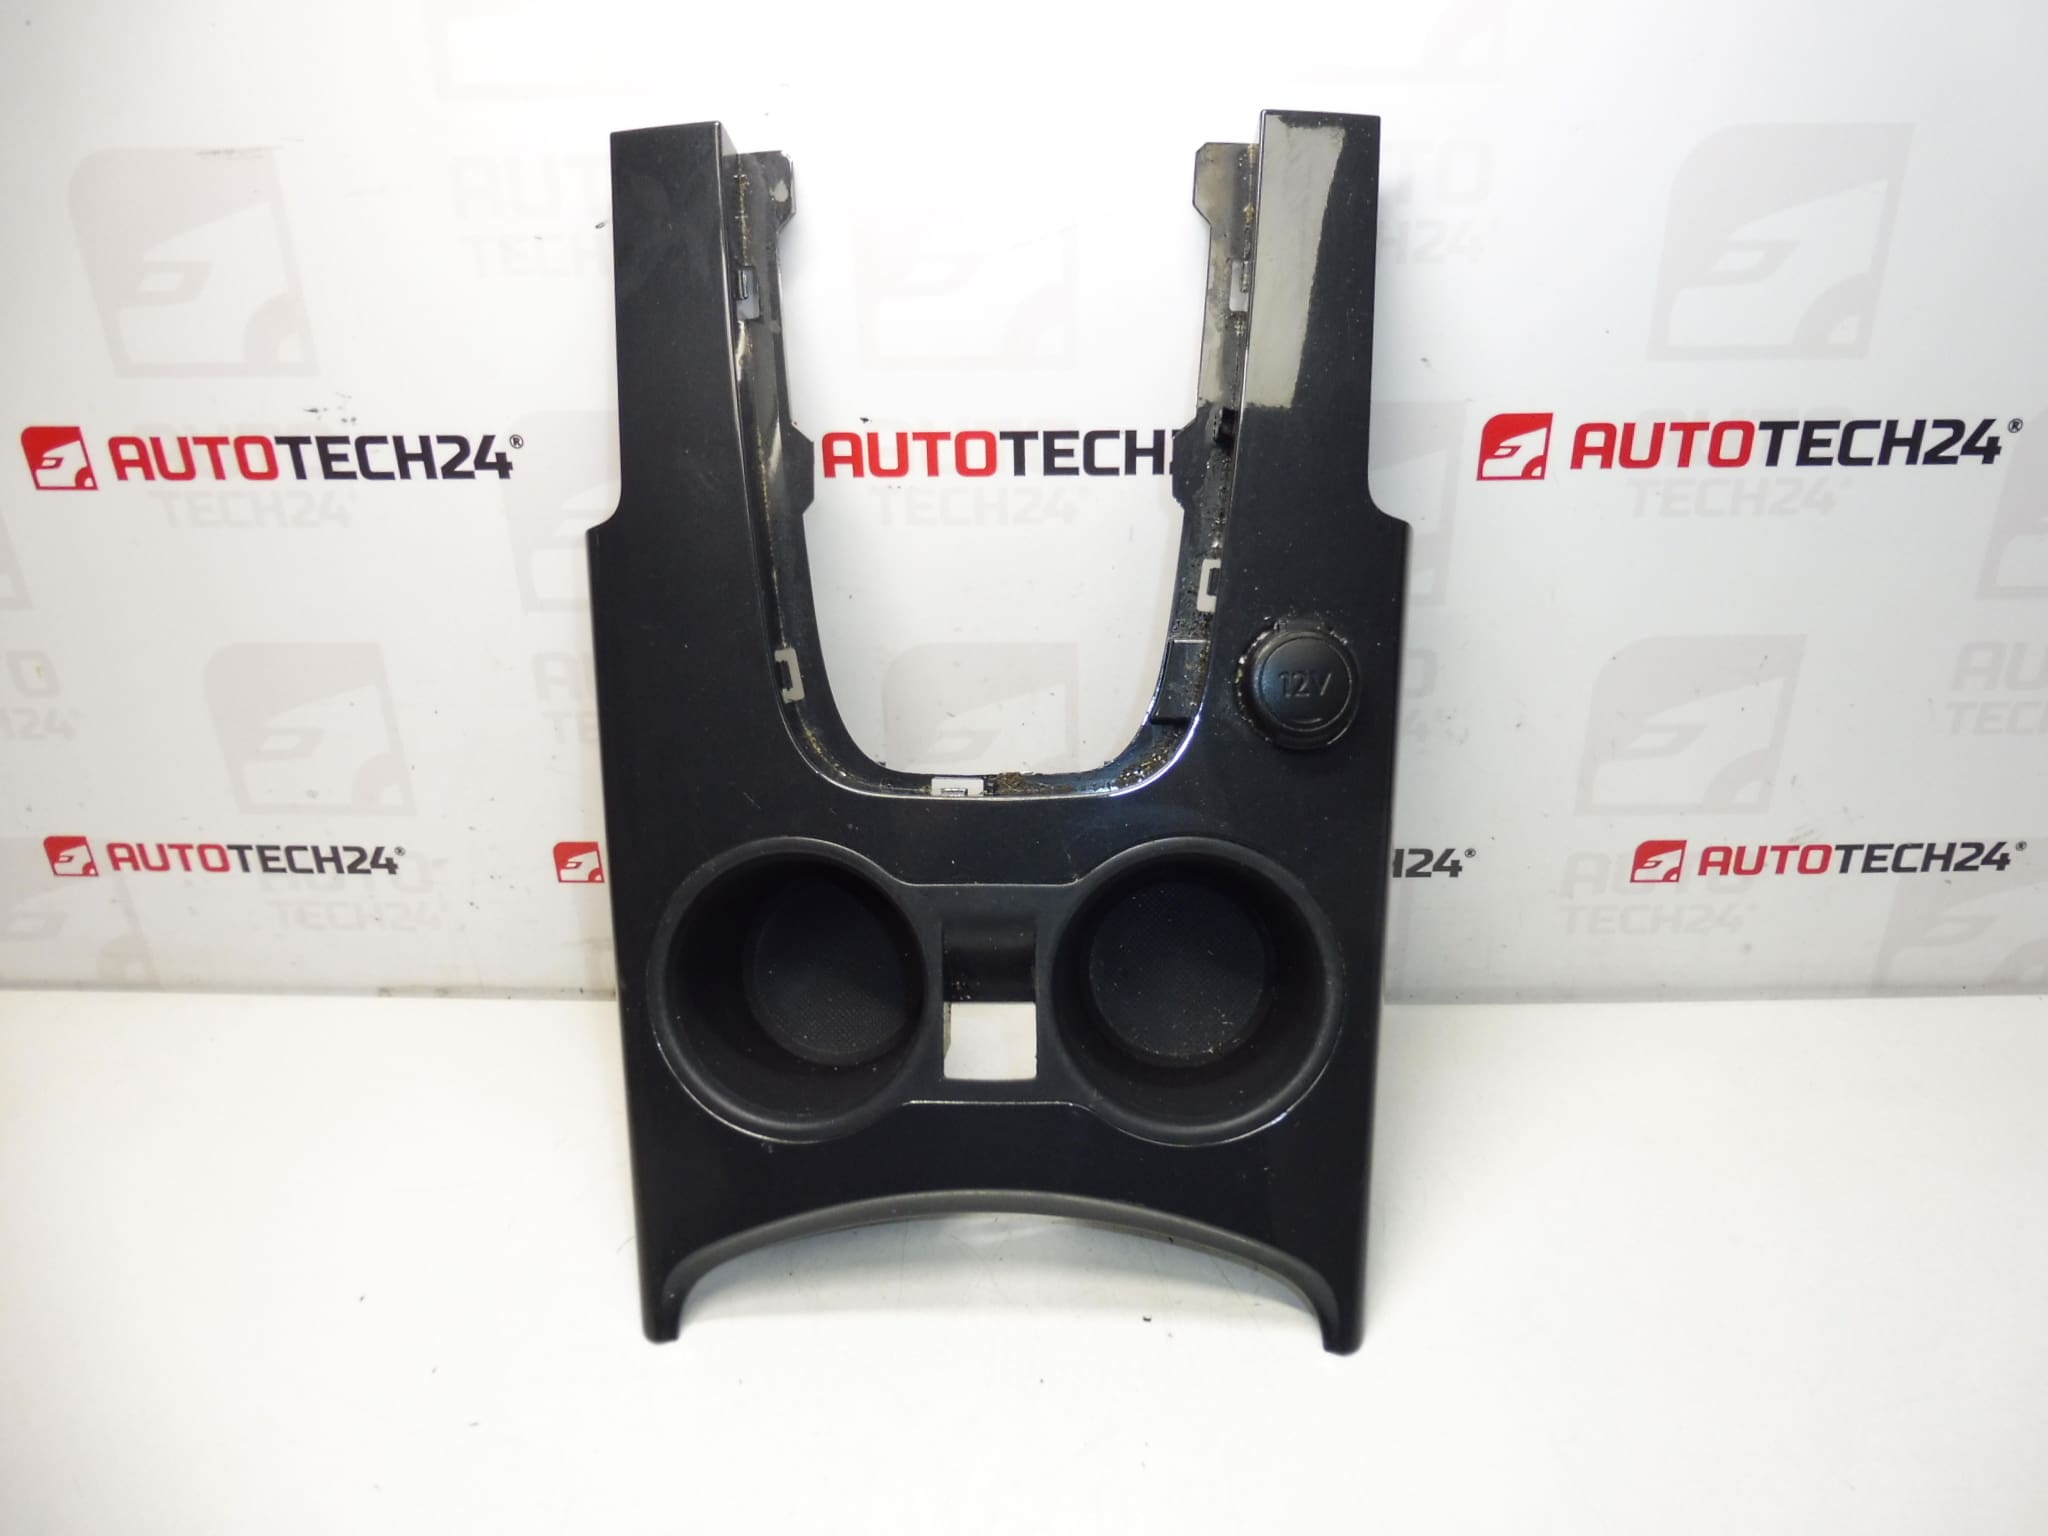
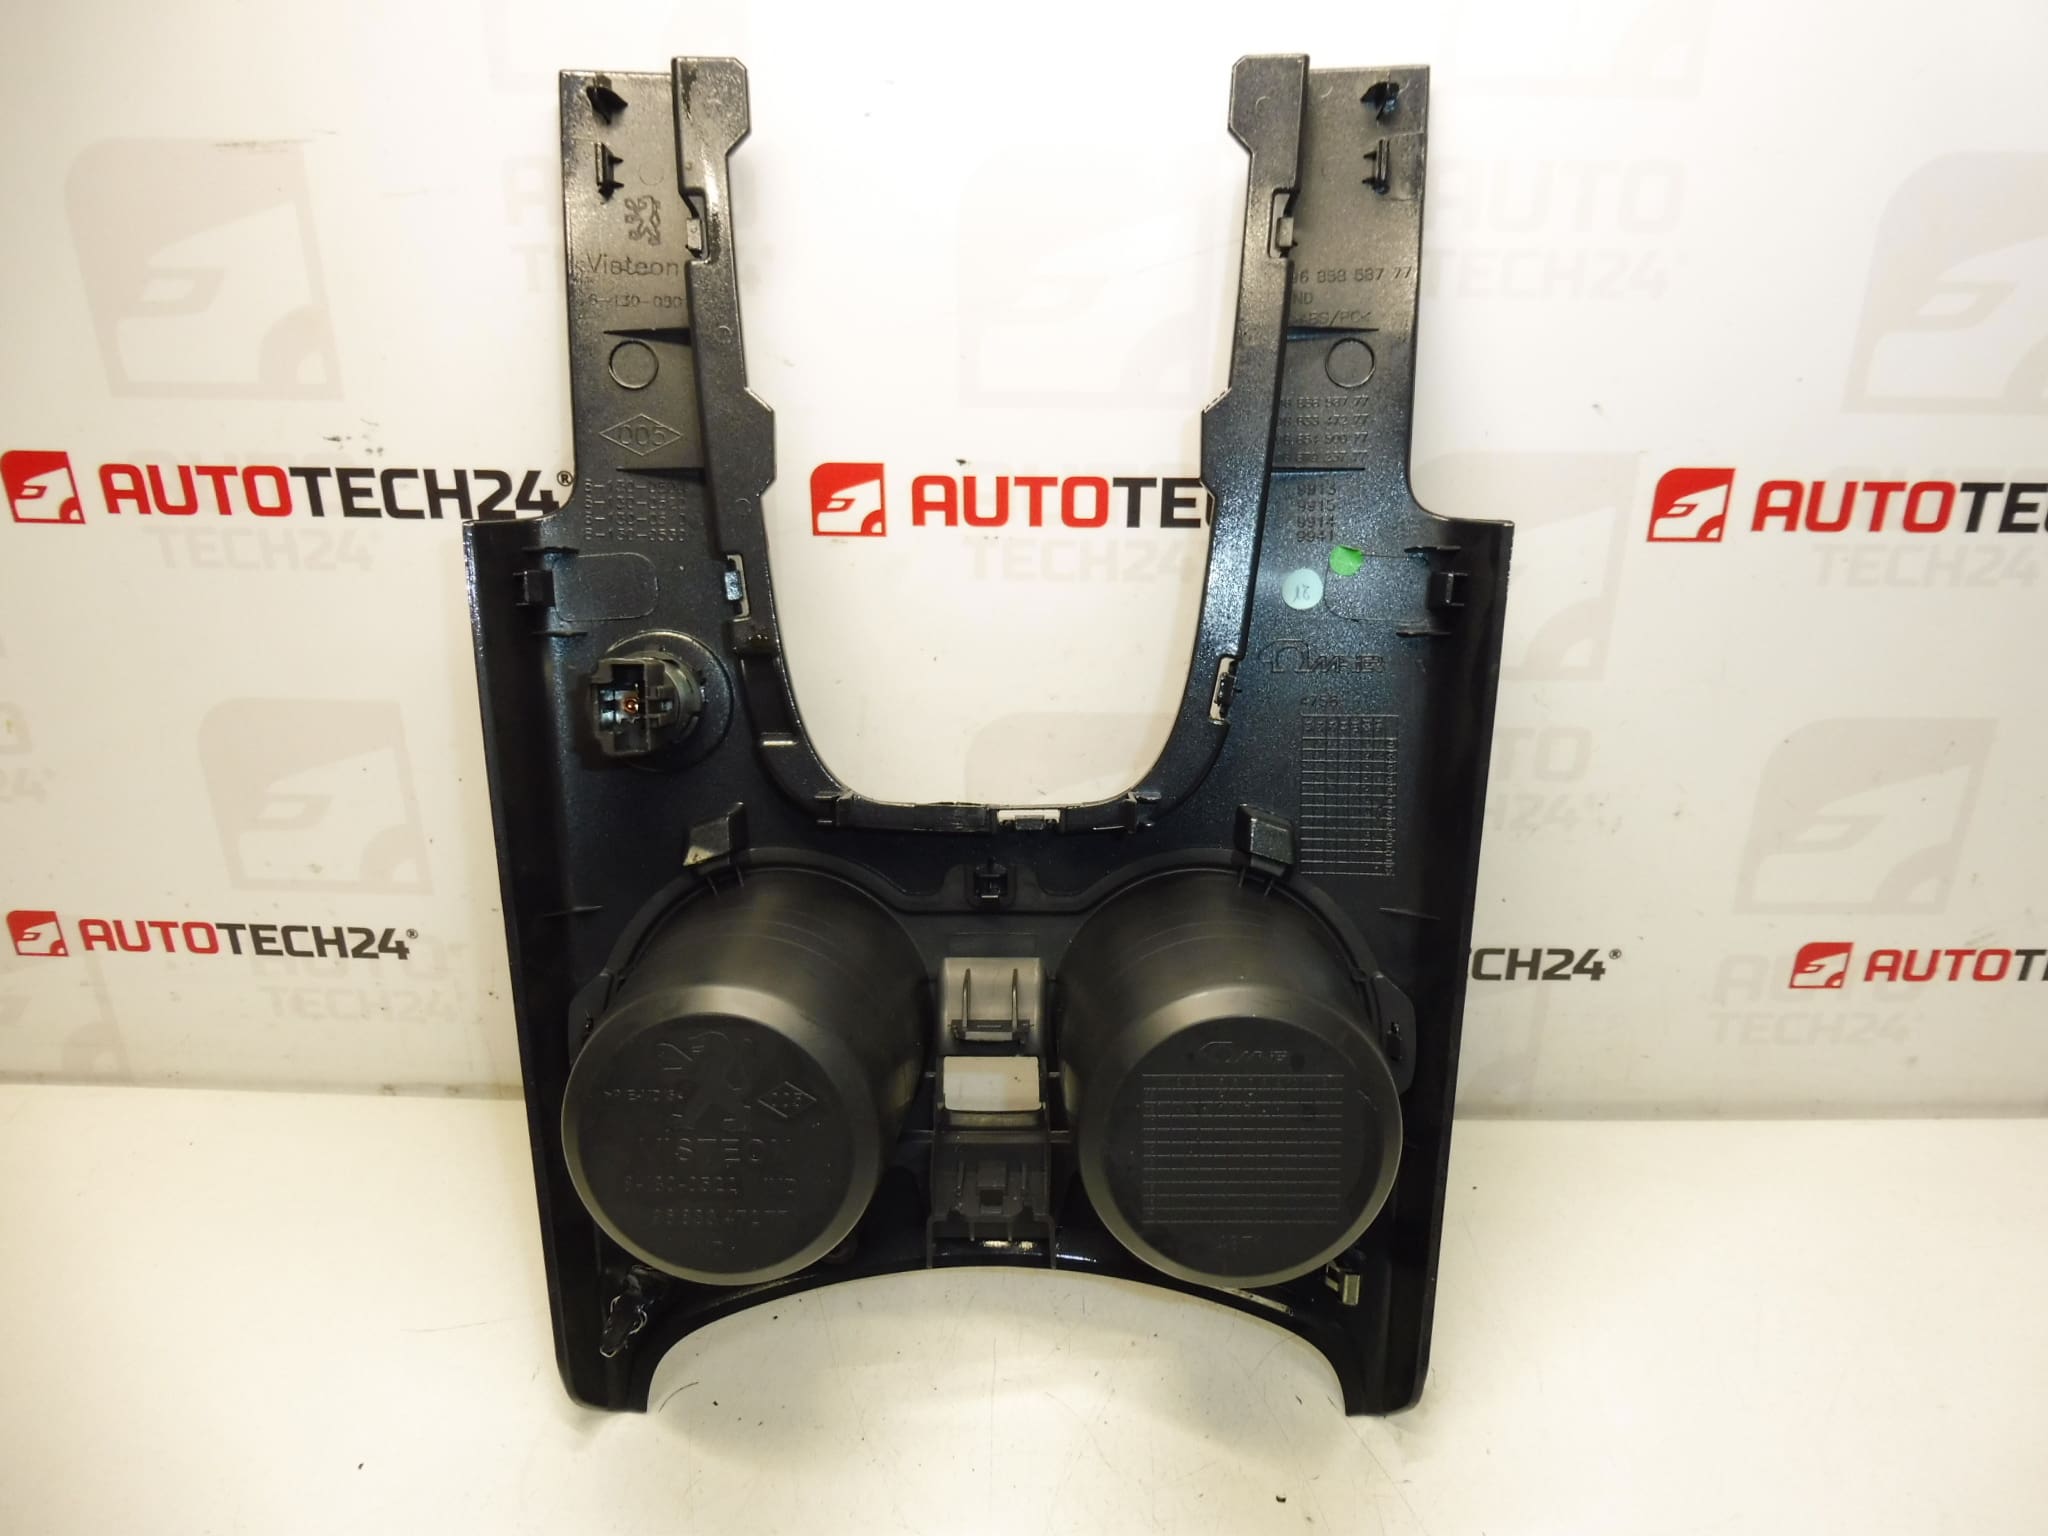
Floor Console Panel For Peugeot 3008 And 5008 First Series
Color HZE – Tramontane
Description
Replacement floor console panel surrounding the gear lever for first‑generation Peugeot 3008 and 5008. This trim piece provides the visible finish around the shift lever, secures the shift boot, and serves as the aesthetic and protective cover for mounting points on the center console. Supplied in Tramontane (HZE) color to match interior trim of original equipment.
Key Features And Benefits
- Direct fit for First Series Peugeot 3008 and 5008 models that use the referenced part numbers.
- OEM‑style finish in Tramontane (HZE) to maintain interior appearance and resale value.
- Replaces worn, cracked or discolored factory panel and broken mounting clips.
- Includes factory mounting locations for secure, vibration‑free installation.
Compatibility
Designed For: Peugeot 3008 I, Peugeot 5008 I. Often Searched By Part Numbers: 9685858777, 7591P7.
Technical Information
- Manufacturer: Stellantis (Peugeot/Citroën)
- Model: Peugeot 3008 I; Peugeot 5008 I
- Product Codes: 9685858777, 7591P7
- Additional Numbers: 7591.P7, T84, T87
Installation Recommendations
Suitable For Experienced Mechanics And Competent DIYers. Typical Replacement Steps:
- Park Vehicle On Level Surface And Engage Parking Brake.
- If The Panel Incorporates Electrical Switches Or Connectors, Disconnect The Battery Before Starting.
- Remove The Gear Knob According To The Vehicle Procedure (Pull Off Or Unscrew Depending On Variant) And Retract The Shift Boot.
- Unscrew Any Visible Fasteners And Carefully Release Trim Clips Around The Panel Using Trim Tools To Avoid Breakage.
- Disconnect Any Electrical Connectors If Present, Then Remove The Old Panel.
- Fit The New Panel Aligning Clips And Fasteners, Reattach Screws To The Specified Tightening Sequence, And Reconnect Electrical Plugs.
- Refit The Shift Boot And Knob, Reconnect The Battery If Disconnected, And Verify Full Range Of Gear Movement And Proper Operation Of Any Associated Switches.
Use Plastic Trim Tools To Prevent Damage To Surrounding Surfaces. Replace Broken Clips Or Fasteners As Needed For Secure Mounting.
Why This Part Commonly Fails
- Wear And Tear: Constant contact, scuffs, and abrasion from driver use cause surface degradation and fading over time.
- Broken Mounting Clips: Clips And Tabs Become Brittle With Age Or During Previous Removals, Leading To Loose Fitment Or Rattles.
- Impact Or Forceful Removal: Improper Removal Techniques Can Crack The Panel Around Mounting Points.
- Spills And UV Exposure: Liquids, Sunlight And Heat Accelerate Discoloration And Material Deterioration.
Practical Tips
- Inspect Mounting Clips And Replace Damaged Clips During Installation To Ensure A Tight Fit.
- Keep A Small Stock Of Trim Screws And Clips If You Regularly Service These Models.
- Match The Color Code (HZE Tramontane) To Interior Trim When Ordering To Avoid Visible Mismatch.