Description
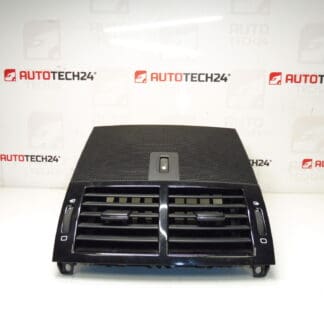
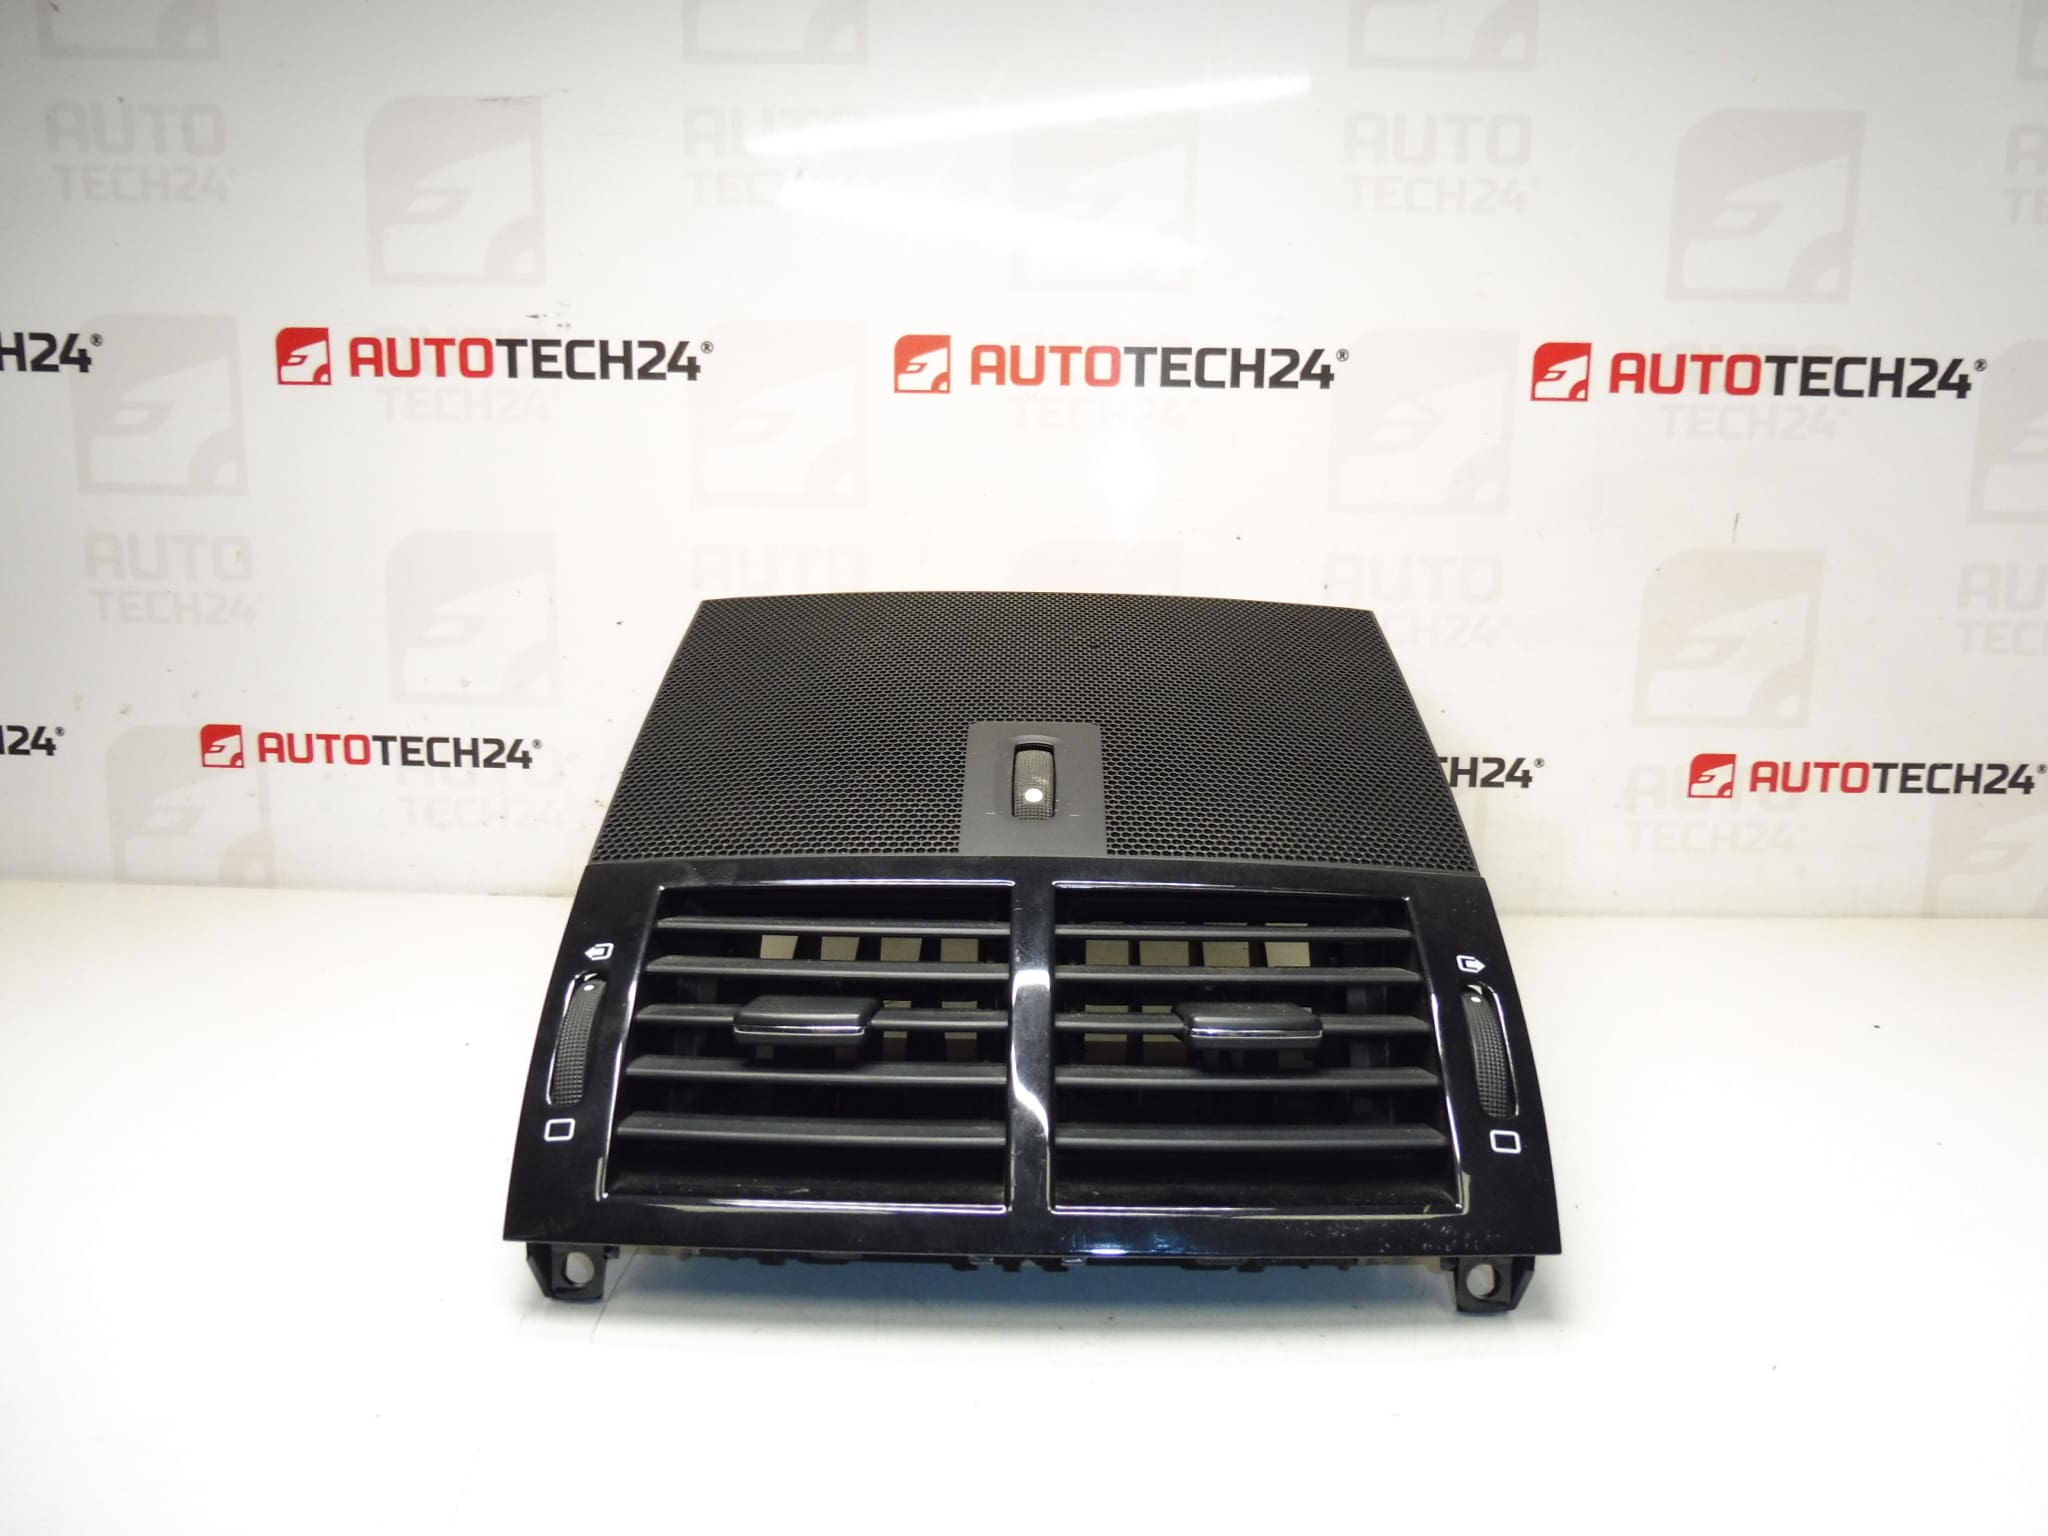
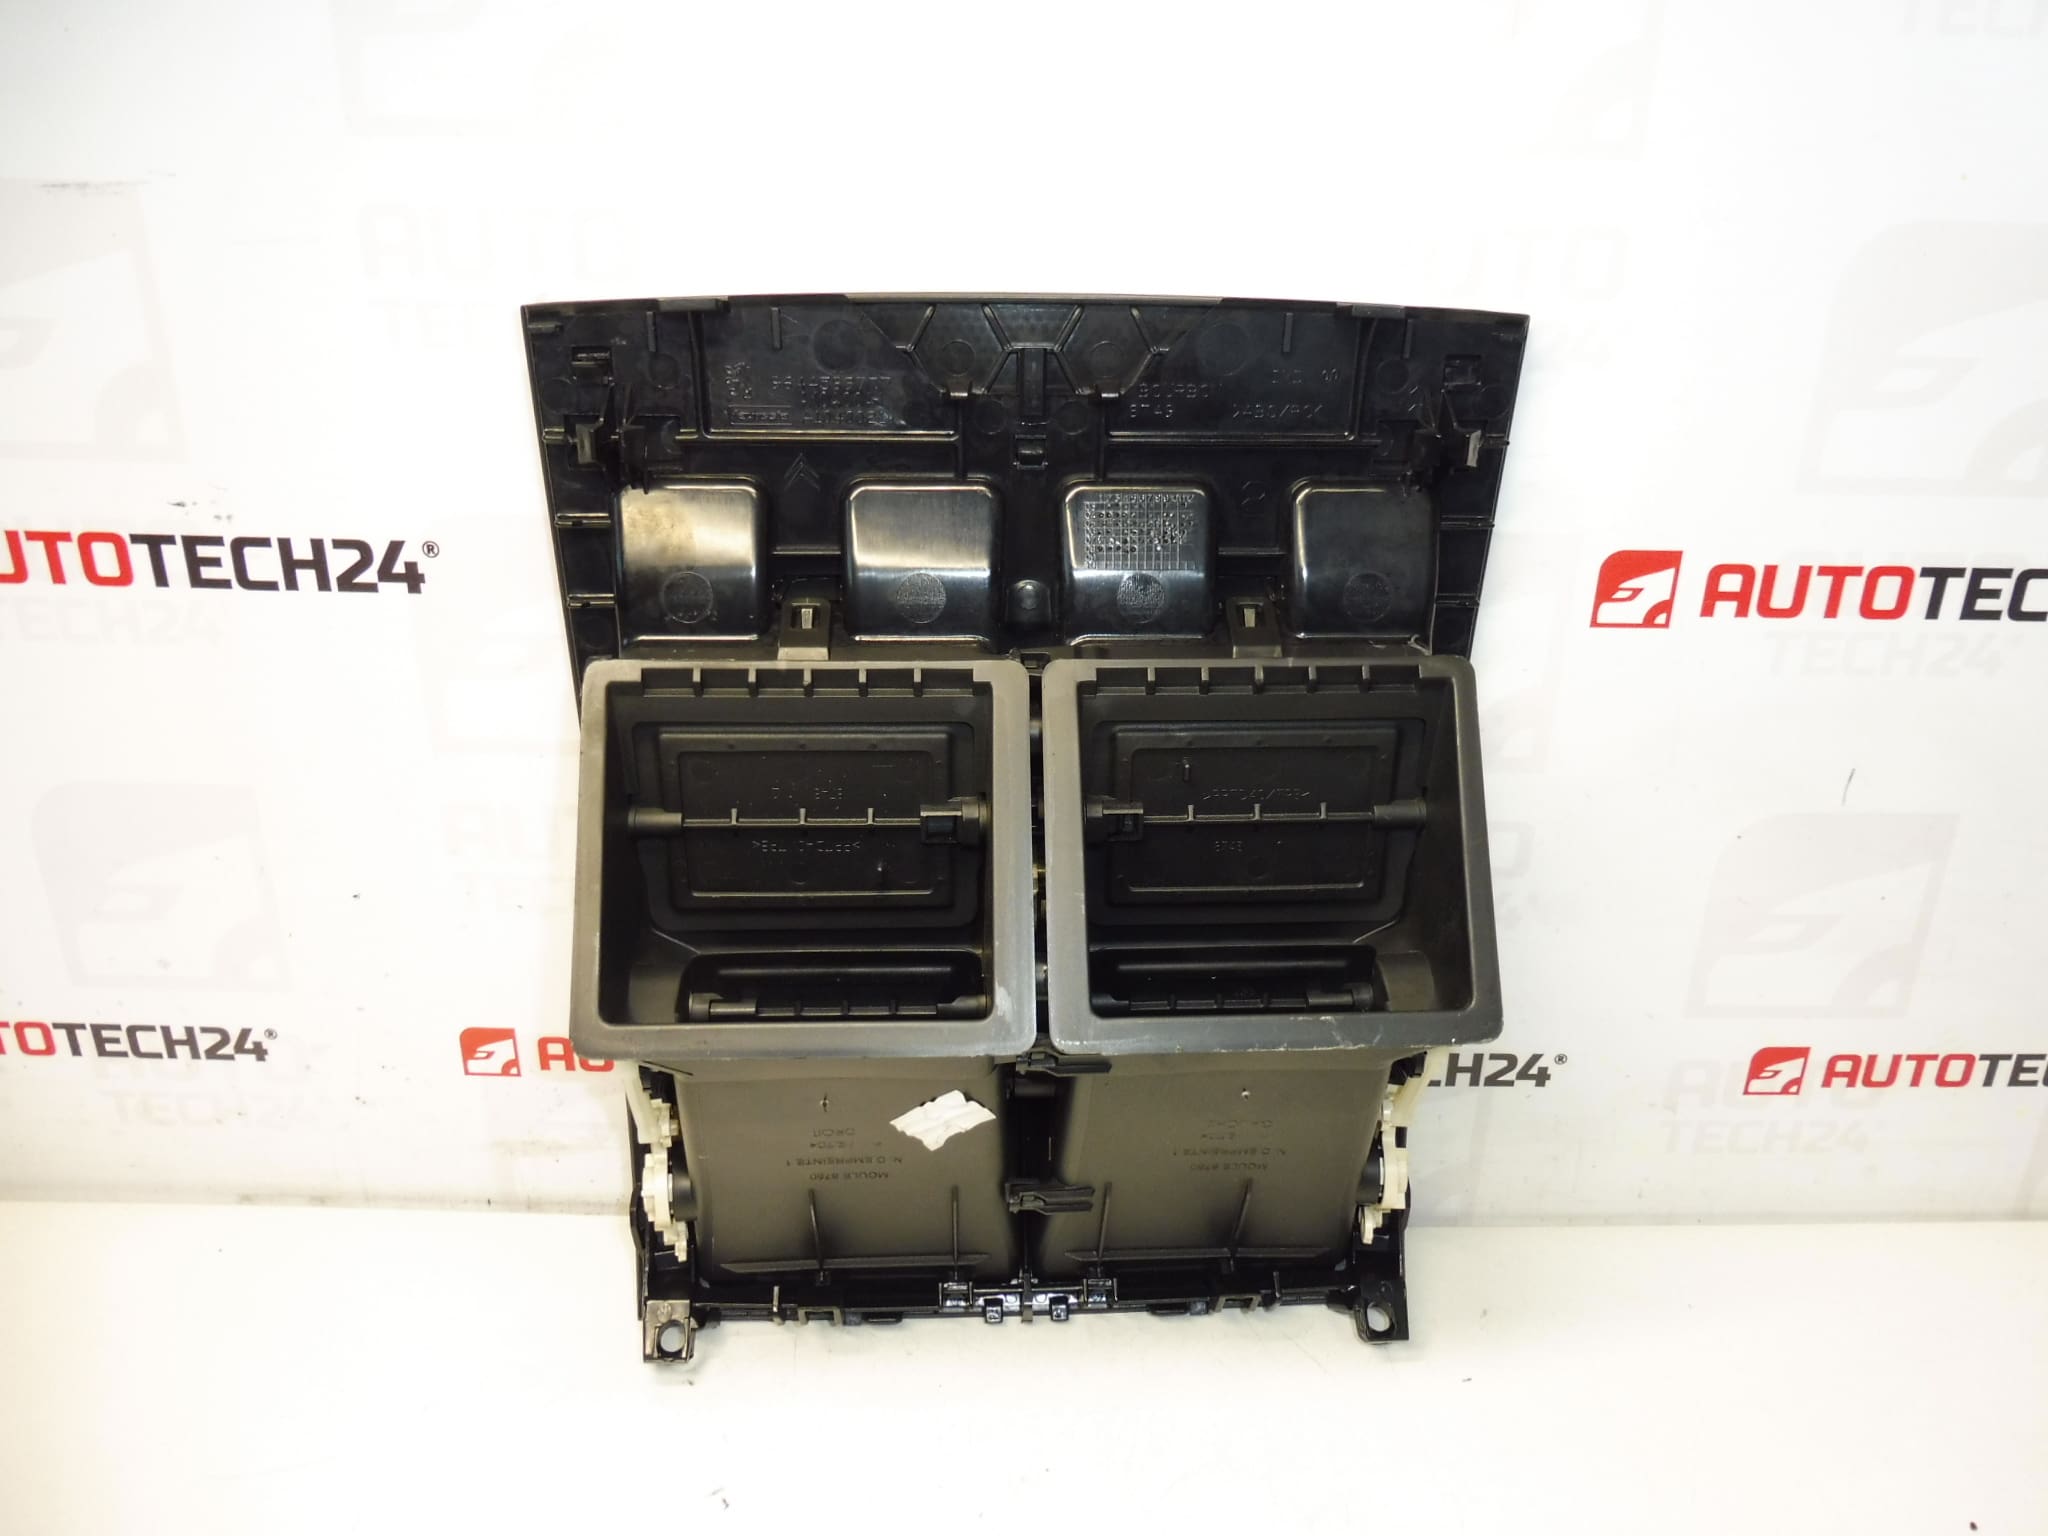
Central Air Vents – Chrome Slider For Peugeot 407. Color HXN – Black Pearl.
Direct-fit center dashboard air vent assembly with a chrome slider designed for Peugeot 407. Finished in HXN Black Pearl, this unit restores airflow control and interior appearance where the original vent has worn, cracked, or lost its trim. Frequently sought under OE number 9644589777, the part is aimed at professional technicians and experienced DIYers who need a reliable, cosmetically correct replacement for the factory center vents.
Technical Information
- Manufacturer: Stellantis / Peugeot
- Model: Peugeot 407
- Product Codes: 9644589777
- Additional Numbers: HXN (Color Code)
Function And Benefits
The center air vent controls airflow direction from the HVAC system into the cabin and incorporates the slider control that opens or closes the vent. This unit combines functional restoration with a chrome-trimmed aesthetic, ensuring even air distribution, smooth slider operation, and a factory-like finish that matches dashboards trimmed in Black Pearl (HXN).
How To Replace
- Prepare basic trim tools and a flat plastic pry tool to avoid damaging the dashboard finish.
- Carefully pry out the surrounding trim bezel; work gently along the edges to release retaining clips.
- Unsnap the center vent assembly from the dash and note the positions of any clips or guide tabs.
- Remove the old vent by releasing its retaining clips and slide out the damaged insert if necessary.
- Fit the new vent assembly into place, aligning all tabs, and press firmly until clips engage.
- Reinstall the trim bezel and verify smooth slider operation and correct airflow direction.
Typical replacement time for an experienced technician is short—generally 15–30 minutes for the center vent only, depending on dashboard trim removal complexity.
Installation Recommendations
- Use plastic trim tools to prevent scratches to the dash and vent surfaces.
- Inspect and, if needed, replace any broken retaining clips to ensure a secure fit.
- Lubricate slider contact points with a light silicone spray if the movement feels stiff, avoiding petroleum-based lubricants.
- Check surrounding seals and ducting for dust or debris that could obstruct airflow before final assembly.
- Handle the chrome slider with care to avoid fingerprints or scratches; clean with a microfiber cloth.
Why The Part Most Often Fails
- Plastic Fatigue And Broken Clips: Repeated adjustments and aging can make mounting clips brittle, causing the vent to loosen or fall out.
- Wear Of Slider Mechanism: Daily use and accumulated dust can wear the slider or cause it to jam.
- UV Exposure And Heat: Long-term sun exposure accelerates plastic degradation and color fading, especially on dashboards in sunny climates.
- Impact Or Force: Accidental knocks or forceful removal of trim pieces can crack the vent housing or deform tabs.
Compatibility And Notes
Fits Peugeot 407 center dashboard applications that accept OE part number 9644589777 and are finished in color code HXN (Black Pearl). Many customers search by the OE number when ordering—using 9644589777 will help locate the correct item quickly. The part is a direct exterior/interior trim replacement and does not contain electrical components.