Description
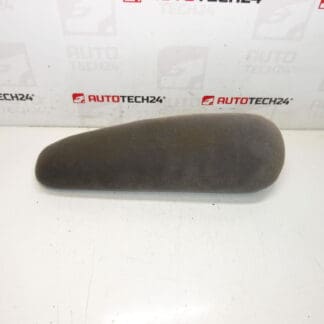
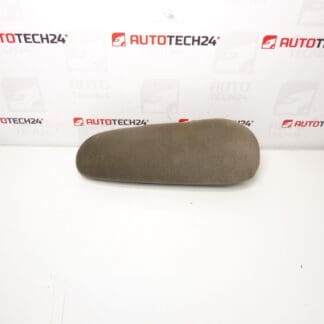
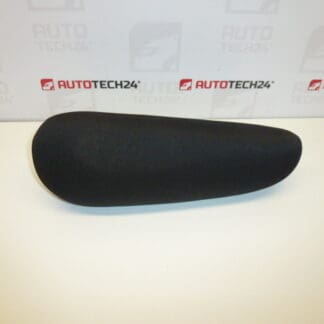
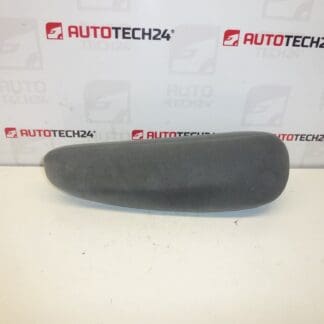
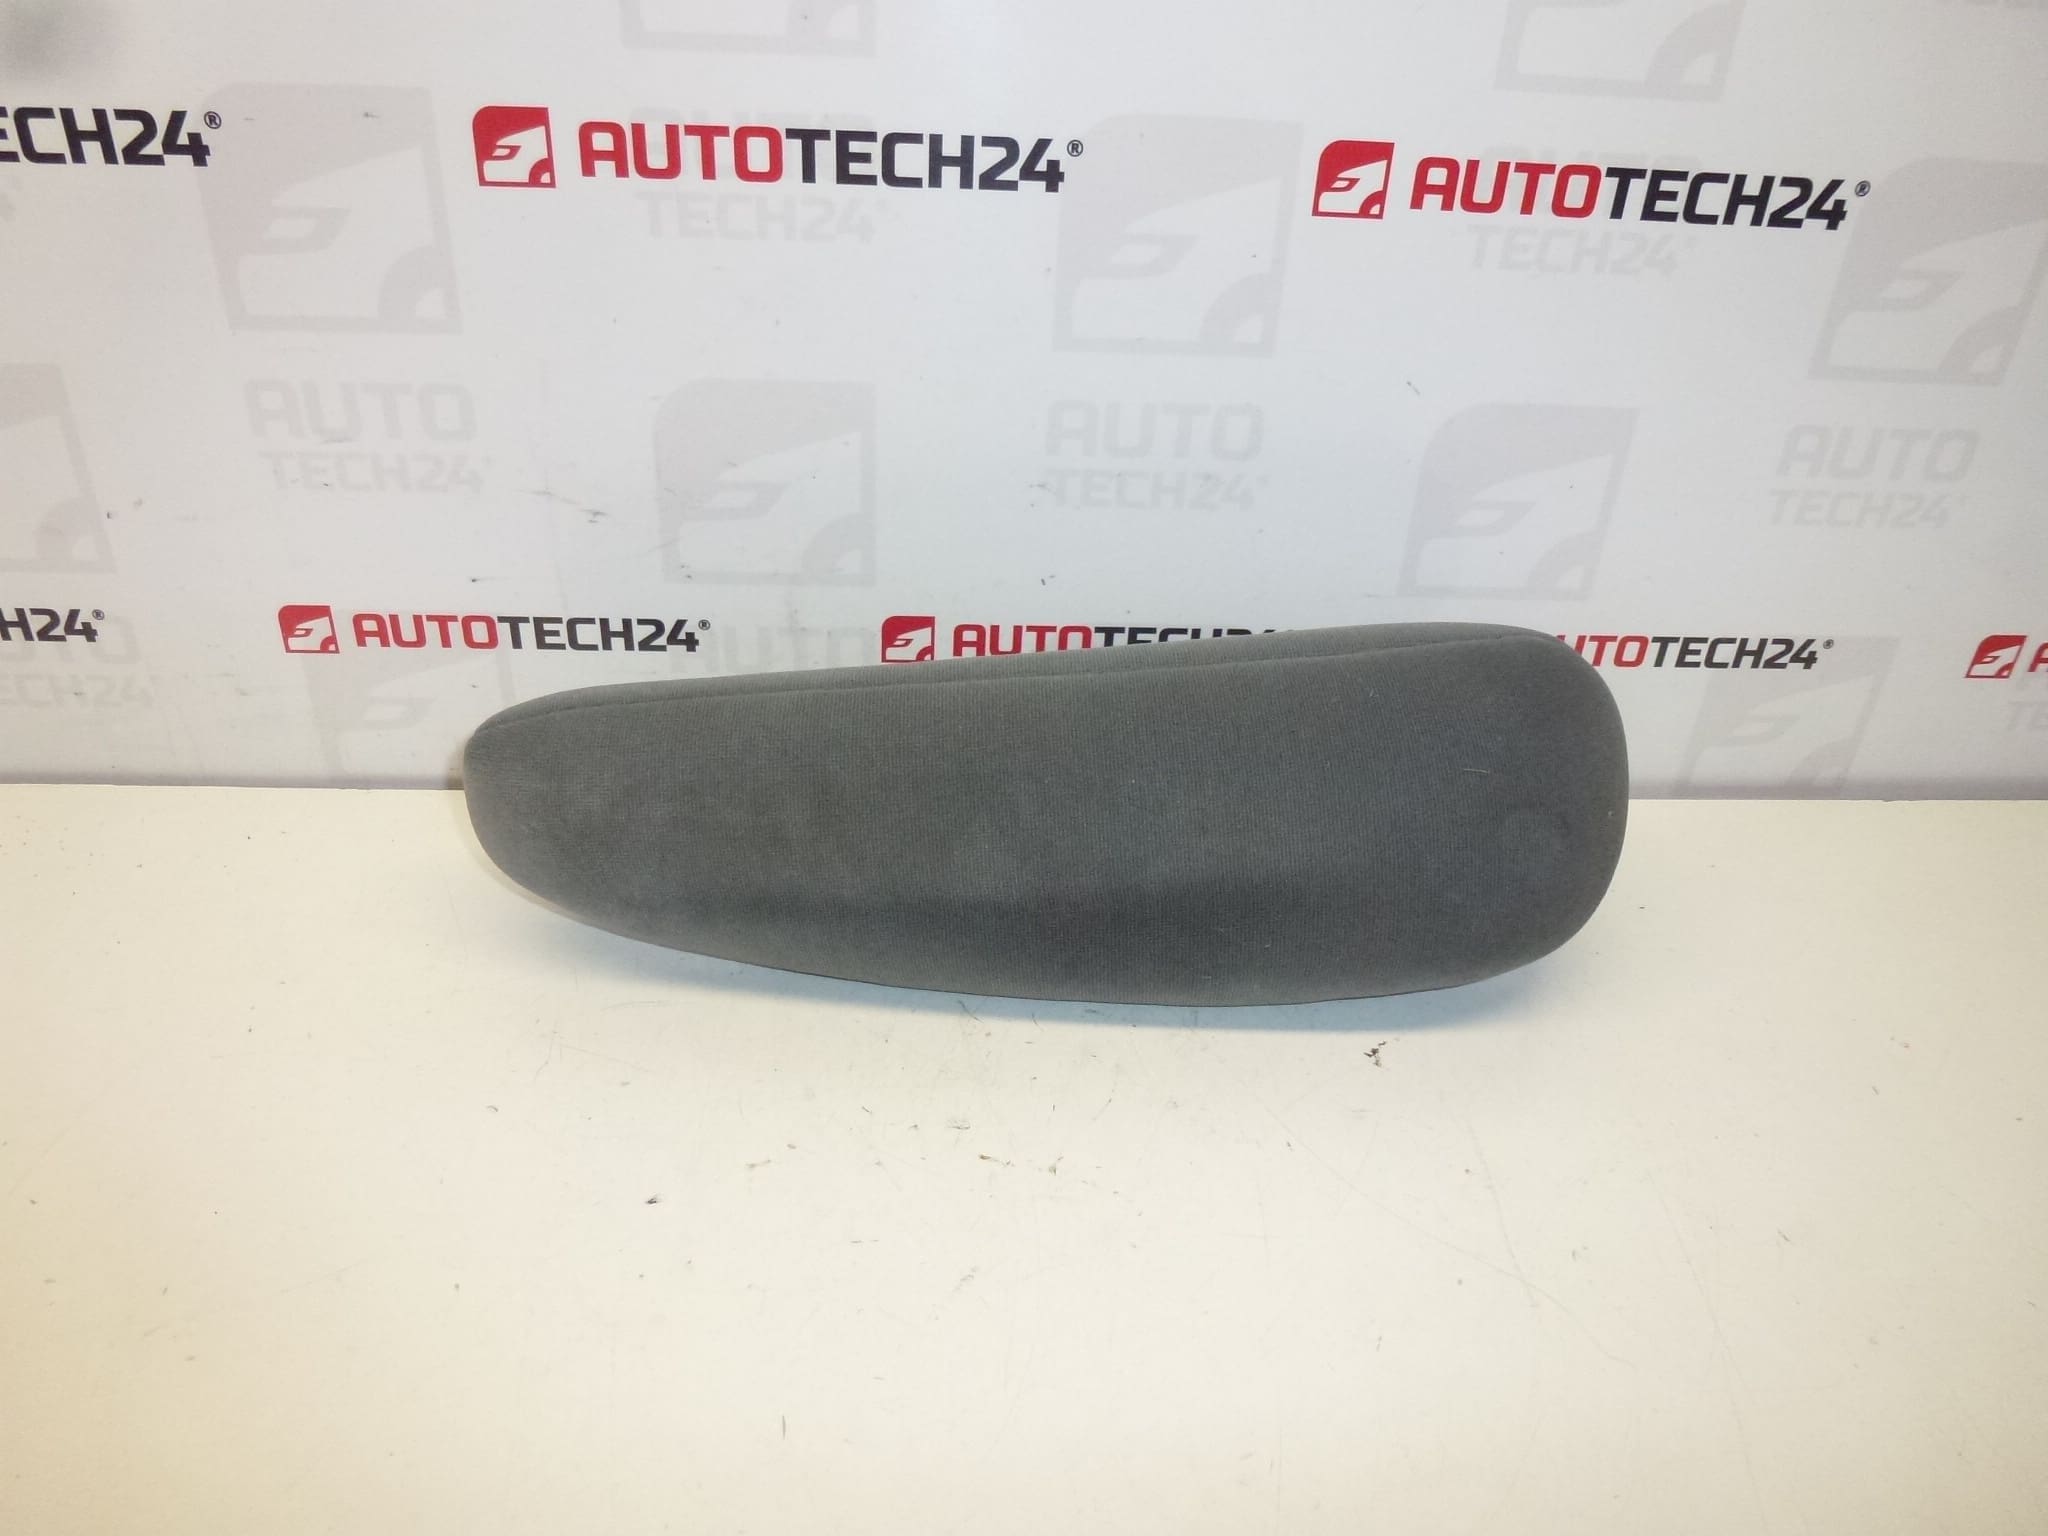
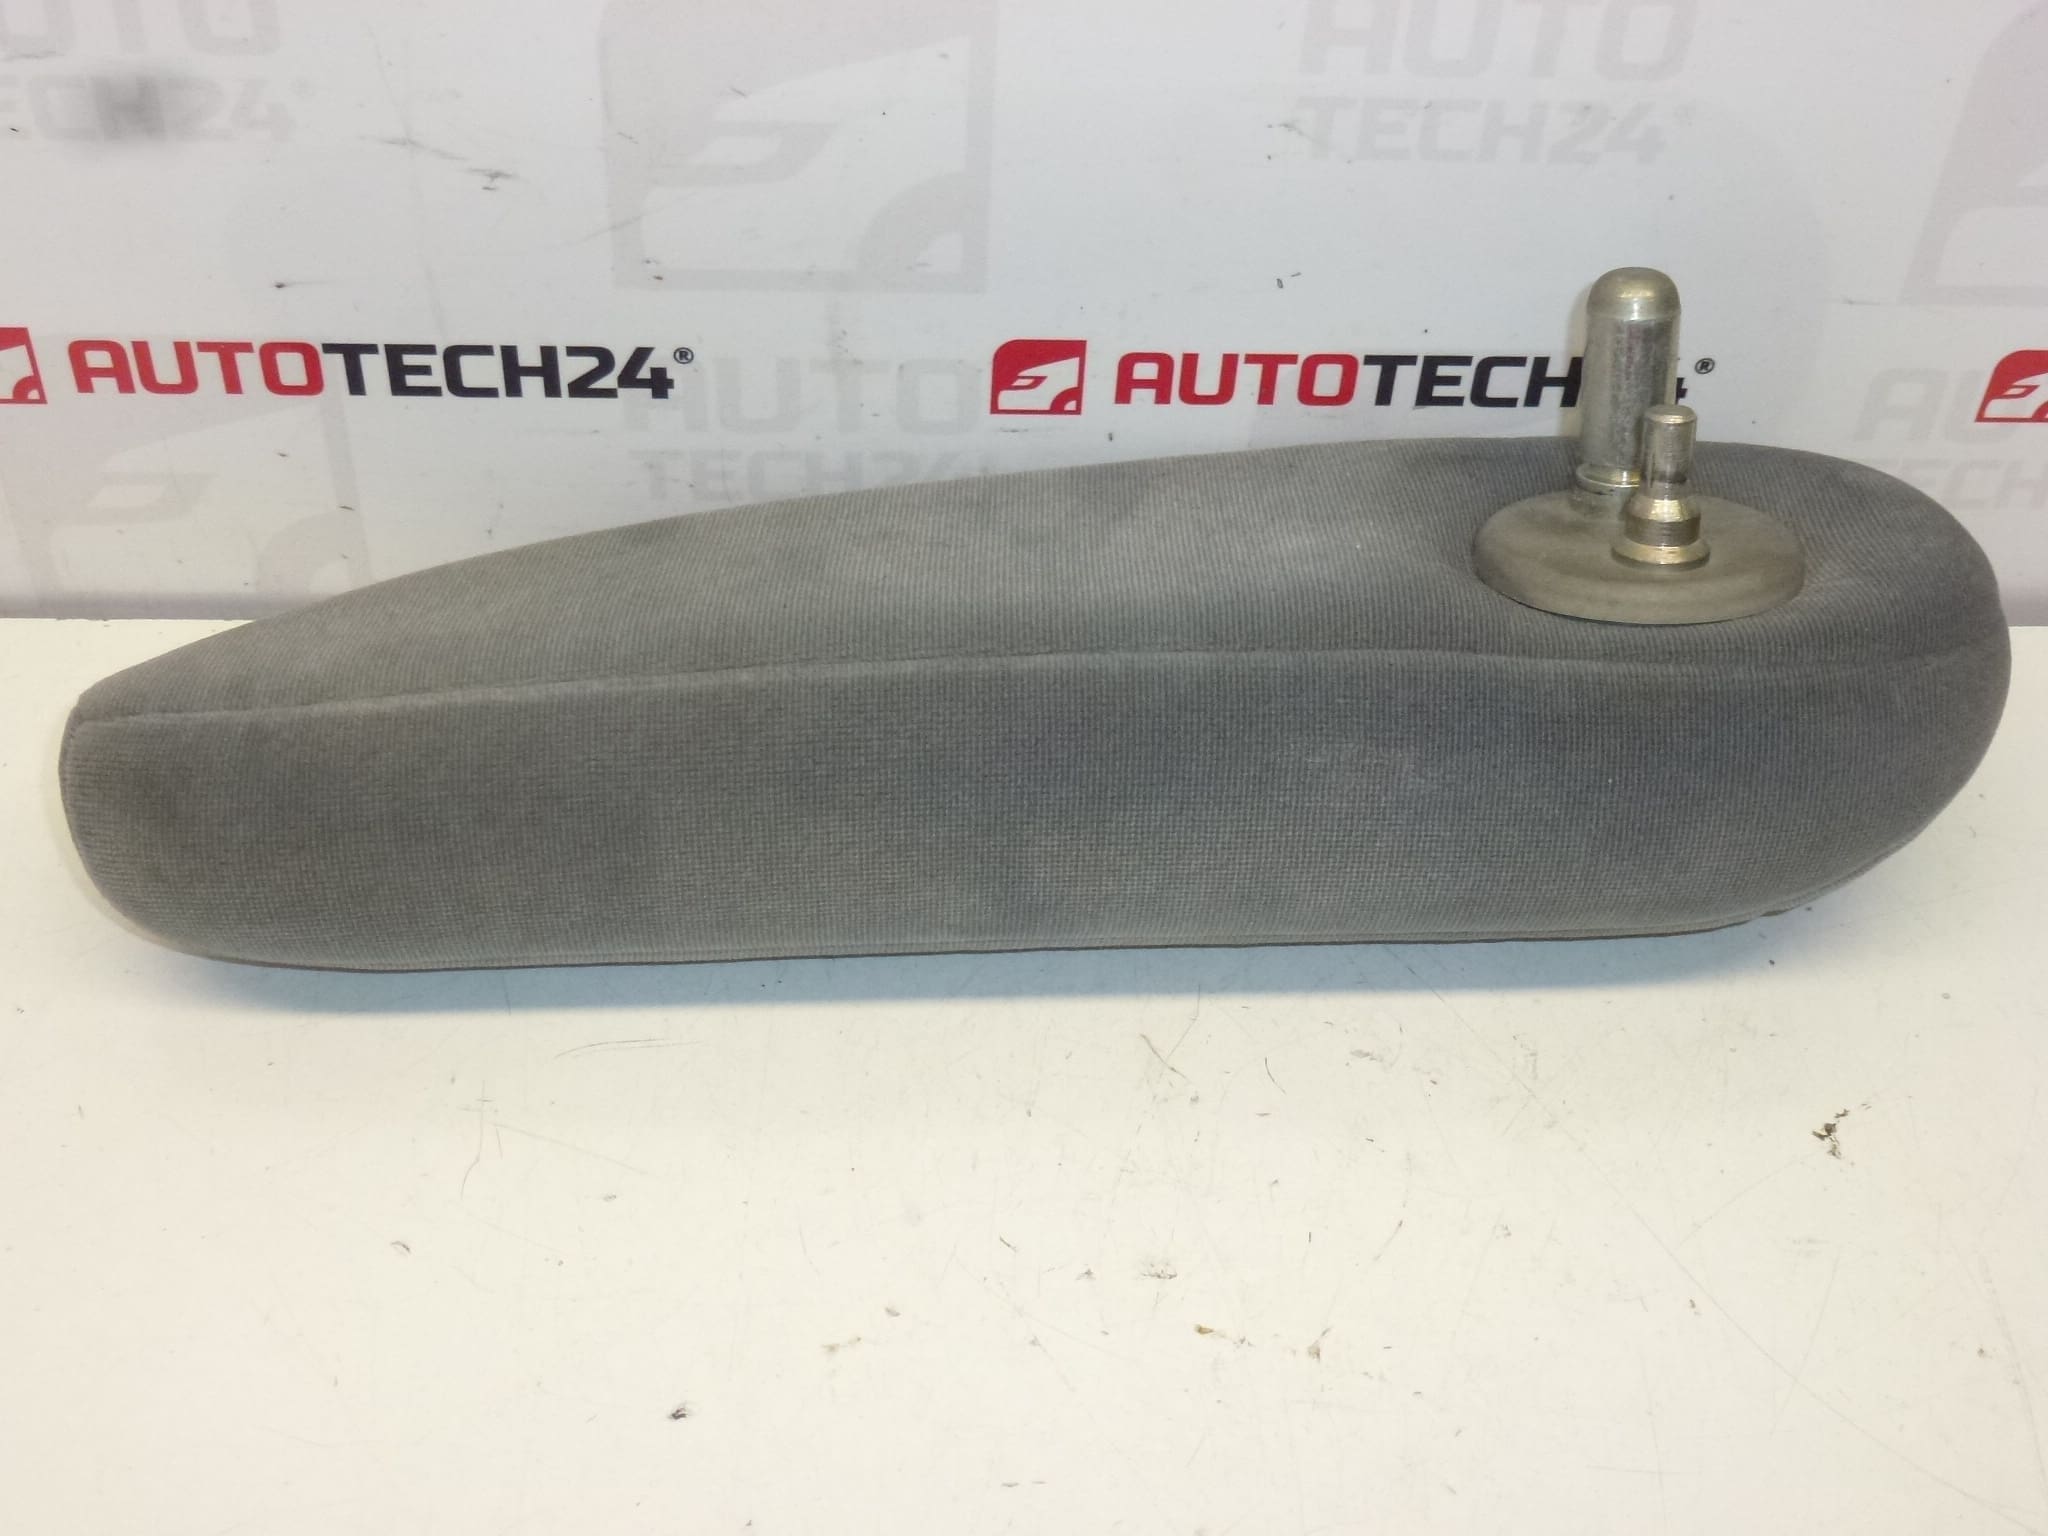
Right Armrest For Citroën C3 Vehicles. Passenger Seat. Grey AQUILON Fabric.
This genuine-style right-hand passenger armrest is a direct replacement designed for Citroën C3 models and is commonly searched by part number 896983. Upholstered in durable Grey AQUILON fabric, it restores comfort and appearance to the front passenger seat while matching original interior trim. Ideal for professional workshops and DIY enthusiasts who maintain or restore vehicle interiors.
The armrest provides ergonomic forearm support on longer journeys, reduces wear on seat bolsters by shifting resting pressure, and completes the cabin aesthetics. It features a foldable design mounted to the passenger seat frame—installation reuses original mounting points for a secure fit. The AQUILON fabric offers a textile surface that balances comfort and resistance to everyday abrasion.
Technical Information
- Manufacturer: Stellantis / Citroën
- Model: Citroën C3
- Product Codes: 896983, NFP
- Other Numbers: —
Installation Recommendations
- Prepare Basic Tools: Trim removal tool, screwdrivers, Torx bits, and a small socket set are usually sufficient.
- Remove Any Trim: Carefully pry off surrounding trim panels to access the armrest mounting points to avoid damaging clips.
- Unfasten Mounts: Unscrew or unclip the original fasteners securing the old armrest to the passenger seat frame. Keep original hardware if in good condition.
- Swap and Align: Position the replacement armrest on the same mounting points, align pins or brackets, then fasten firmly—do not overtighten to avoid cracking plastic components.
- Test Operation: Fold the armrest several times and check for smooth movement and secure attachment. Refit trim panels.
- Estimated Time: 20–40 minutes for a competent technician or experienced DIYer, depending on model variant and trim complexity.
Why This Part Fails Most Often
- Wear Of Fabric And Foam: Repeated use causes surface abrasion and foam compression, reducing comfort and altering appearance.
- Hinge Or Bracket Damage: Stress from folding, heavy loads, or accidental impact can break internal hinges or mounting brackets.
- Broken Clips Or Fasteners: Plastic clips and rivets become brittle with age and can fail during use or when removing panels.
- Spills And Contamination: Liquids can degrade adhesives, corrode metal components, or stain textile covers.
Part Number Search Tip: This component is frequently listed by its product code (896983). For a quick match, check the part number against the vehicle’s parts list or parts catalogue when selecting a replacement.