Description
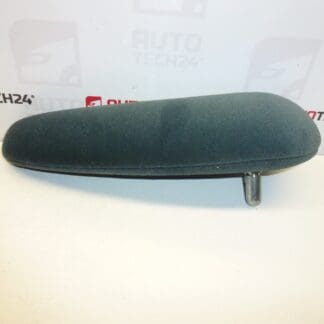
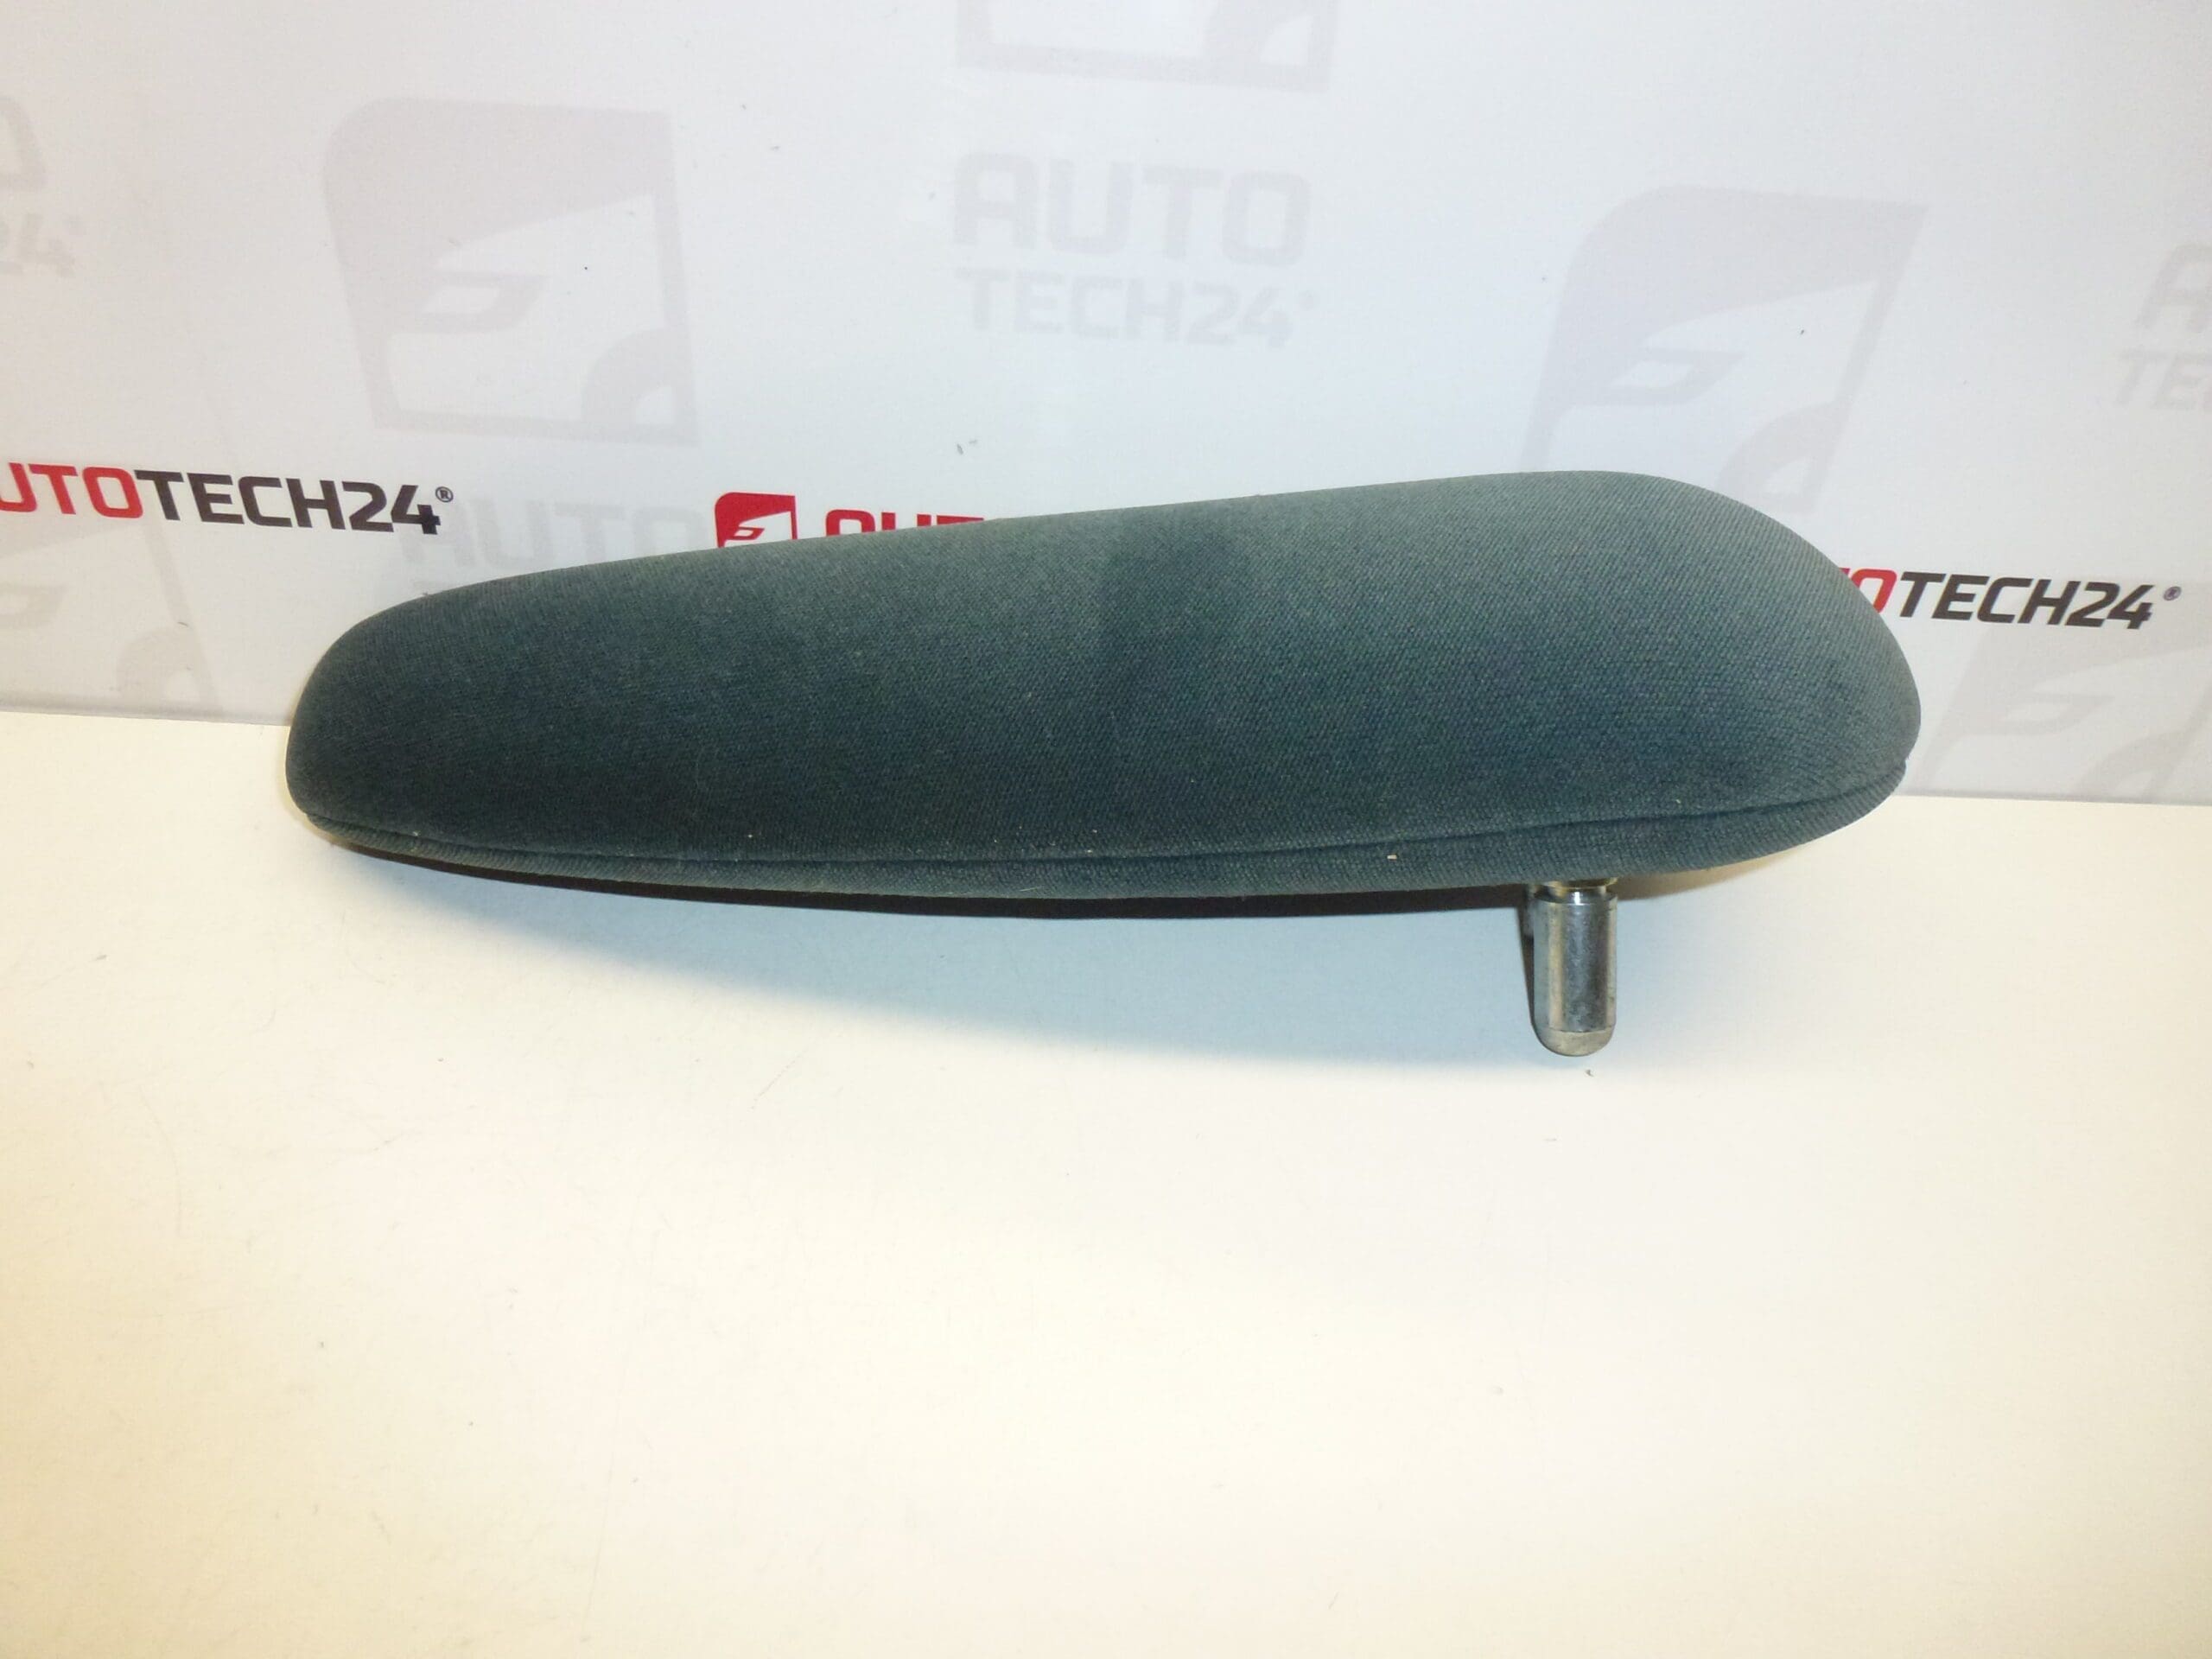
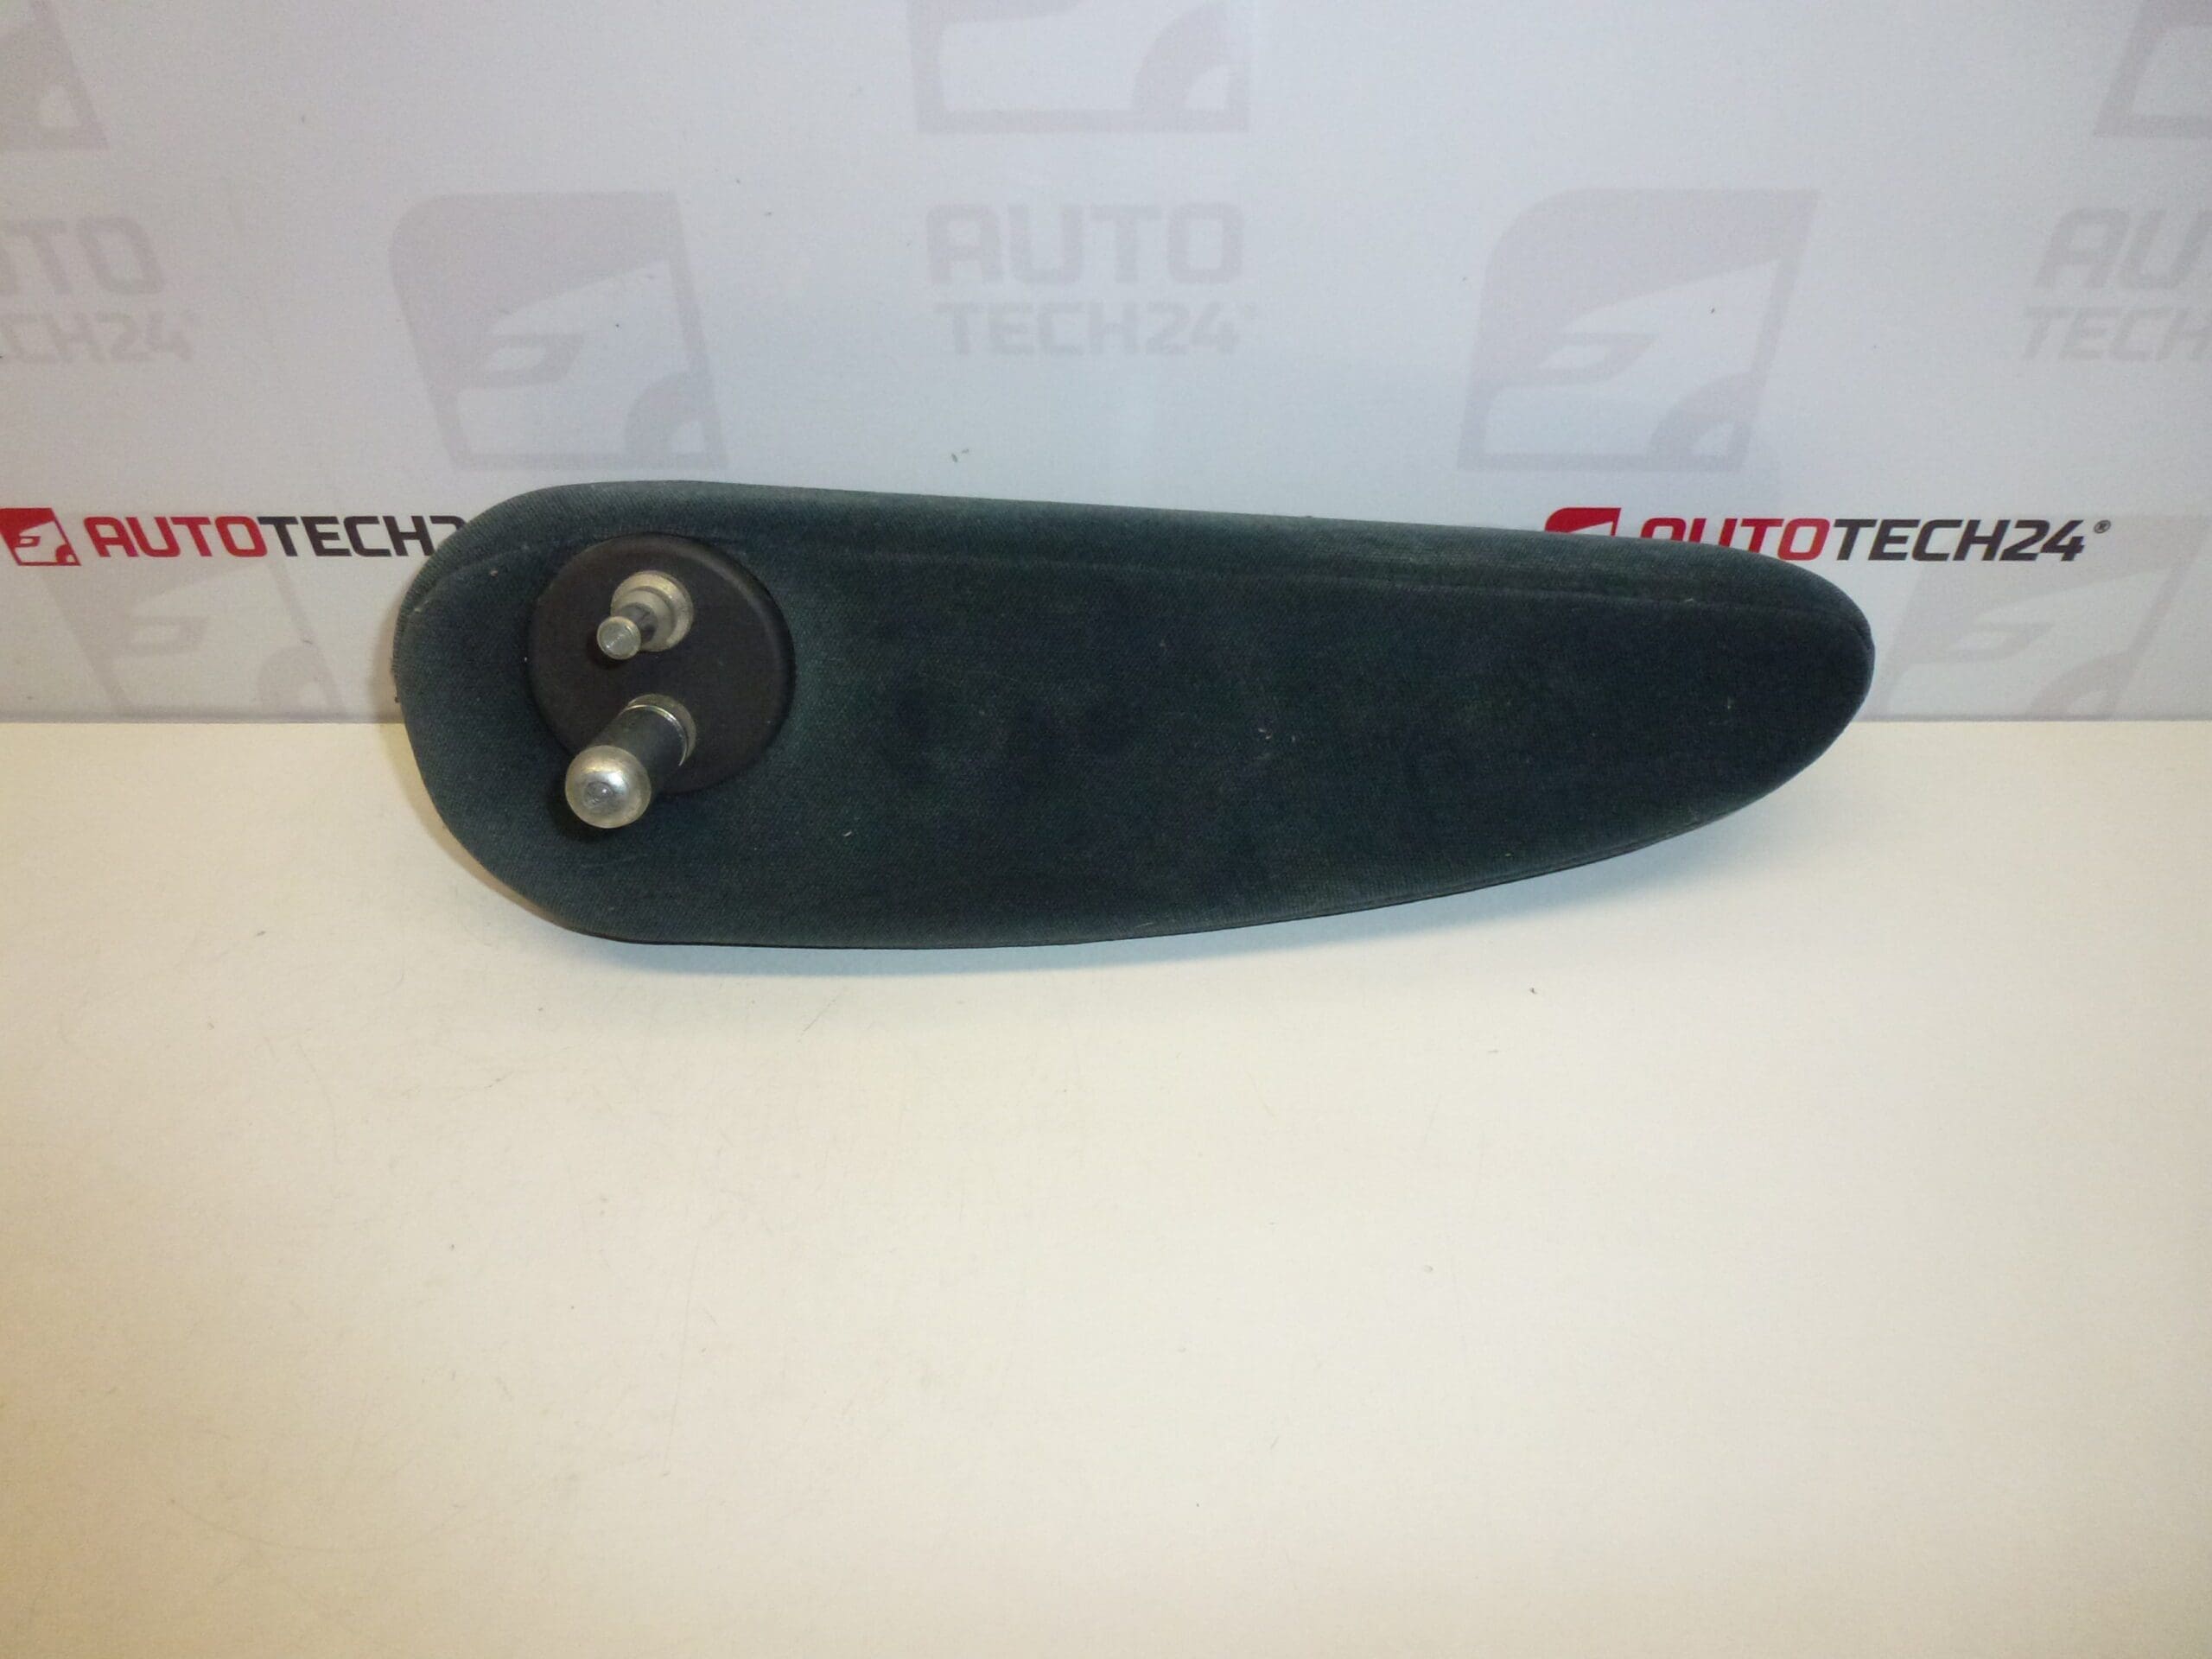
Right armrest for passenger seat PEUGEOT 307
Design HQD- – GREEN ASCOT
Part description
This right armrest is intended for the interior of the Peugeot 307 and serves as a support for the passenger seat. It is a part in a specific color design GREEN ASCOT (designation HQD-), suitable as a replacement in case of damage, wear or aesthetic deterioration of the original backrest.
When choosing, we recommend following the product number 883012 and matching design/color so that the part fits correctly in the interior in terms of appearance and attachment.
Technical information
Product codes
- Product codes: 883012
Installation recommendations
Generally/typically for interior armrest replacement, the exact procedure may vary depending on the design of the seat and the specific attachment. Below is a practical one-size-fits-all procedure.
1) Before assembly
- Compare the new part with the old part: side (right), shape, attachment, possibly covers and folding mechanism.
- Check the color and finish (ASCOT GREEN / HQD-) to match the interior.
- Inspect the backrest for cracks in the supporting part, broken handles or excessively extended joints.
2) Necessary tools and materials
- Basic set of screwdrivers / bits and ratchet (according to the type of fastening material in the car)
- Plastic removal levers (trim tools)
- Flashlight
- Cleaning agent for plastics/textiles and cloth (for cleaning contact surfaces)
3) Step-by-step assembly procedure
- Secure the vehicle against movement and create enough space for the passenger seat.
- Adjust the seat to a position that allows access to the armrest attachment point.
- Carefully remove any plastic covers in the mounting area (use a plastic pry bar to avoid damaging the upholstery).
- Undo the fasteners of the original backrest (screws/pins depending on the design).
- Remove the old armrest and check the condition of the threads, grips and seating surfaces on the seat.
- Clean the mating surfaces and remove any dirt that could cause play or creaking.
- Place the new backrest in the correct position and first lightly fasten it with the fasteners.
- Check that the backrest fits correctly and that nothing is cut when the seat moves.
- Tighten the fasteners and replace all caps.
- Test the full tilt/recline and verify that the mechanism holds without excessive play.
-
4) Post-assembly checks and functional test verification
- Check the stability of the attachment (the backrest must not wobble or loosen).
- Check that there is no abrasion anywhere on the upholstery and that the backrest does not restrict the normal control of the seat.
- Drive the car briefly and feel for any creaking – tightening or comparing the covers/seats often helps.
5) The most common assembly mistakes + how to avoid them
- Swap sides (right/left): always compare the shape and orientation with the old piece.
- Damage to covers and upholstery: use plastic pry bars and work gradually without violence.
- Backrest not sitting in the correct position: before final tightening, straighten the backrest and try the movement several times.
- Pulling/tearing off the attachment: tighten with sensitivity, especially for plastic parts and inserts in the upholstery.
Reasons why the part is damaged
- Mechanical wear of the joint and play from frequent use.
- Cracking of grips when leaning with full weight or upon impact.
- Damage to the surface (abrasions, flaking, penetration) due to normal operation.
- Unprofessional disassembly/assembly leading to the caps breaking off or the attachment being deformed.