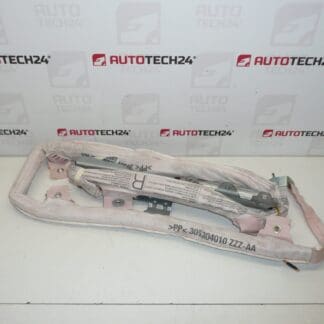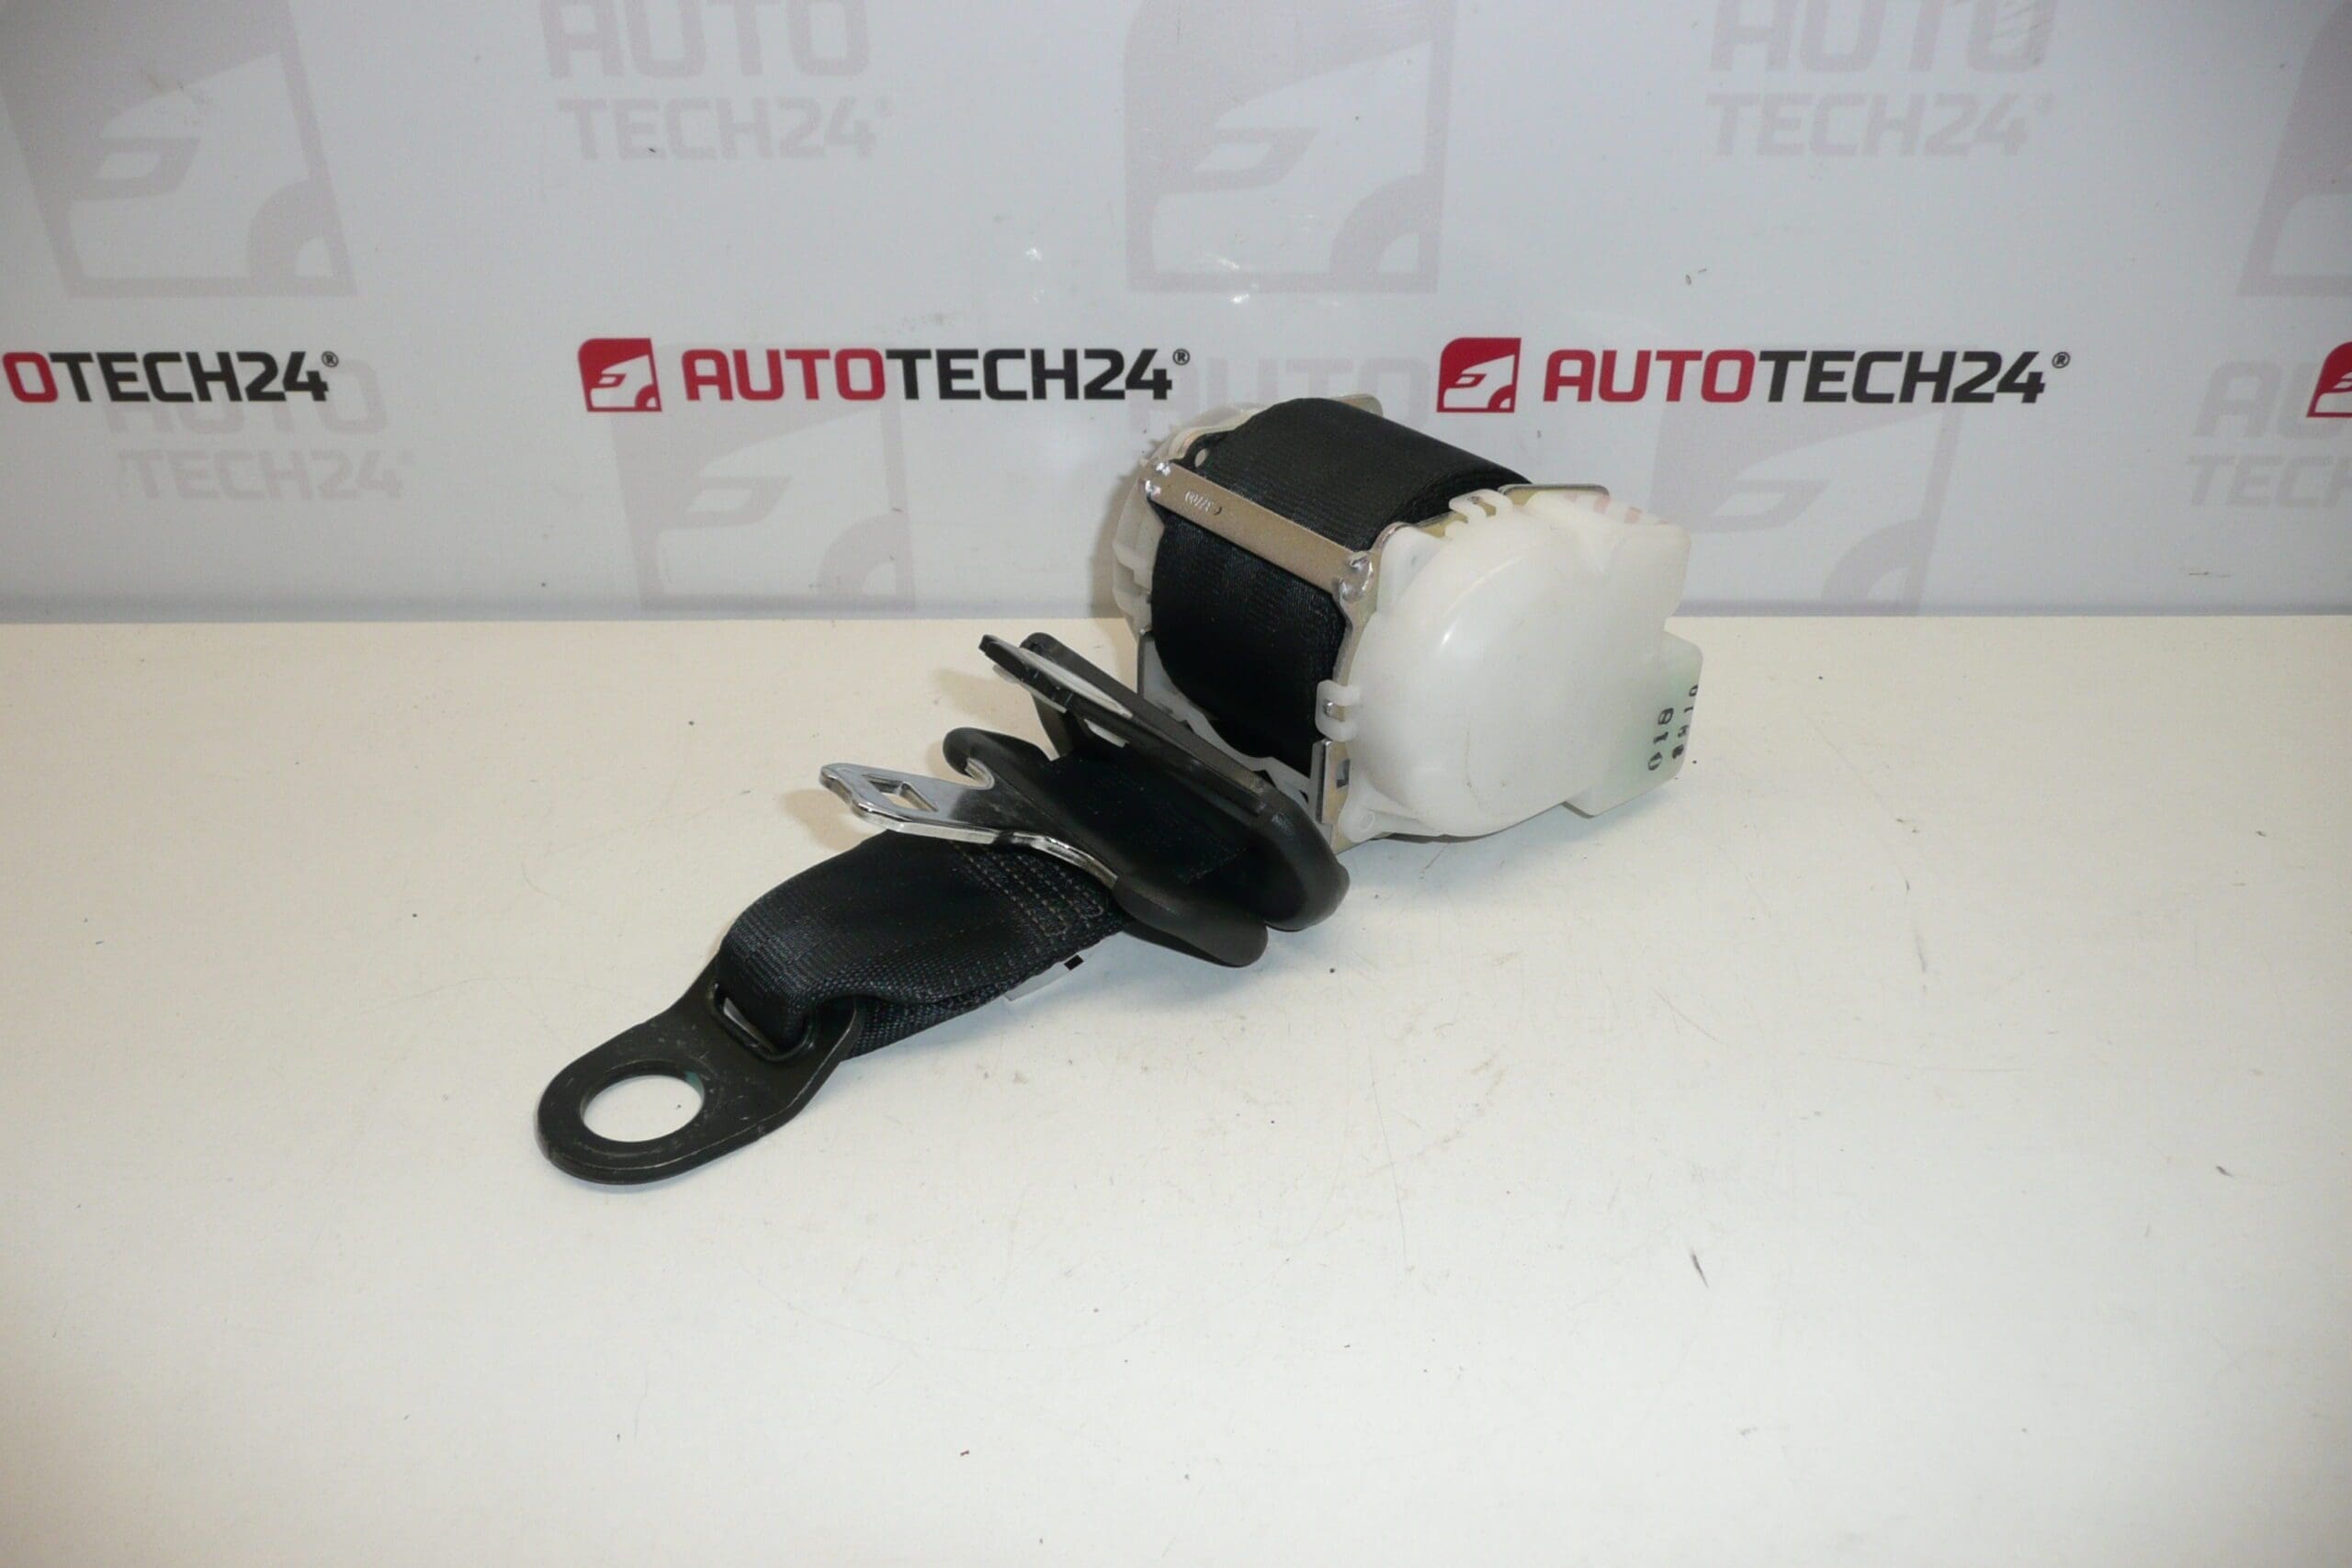
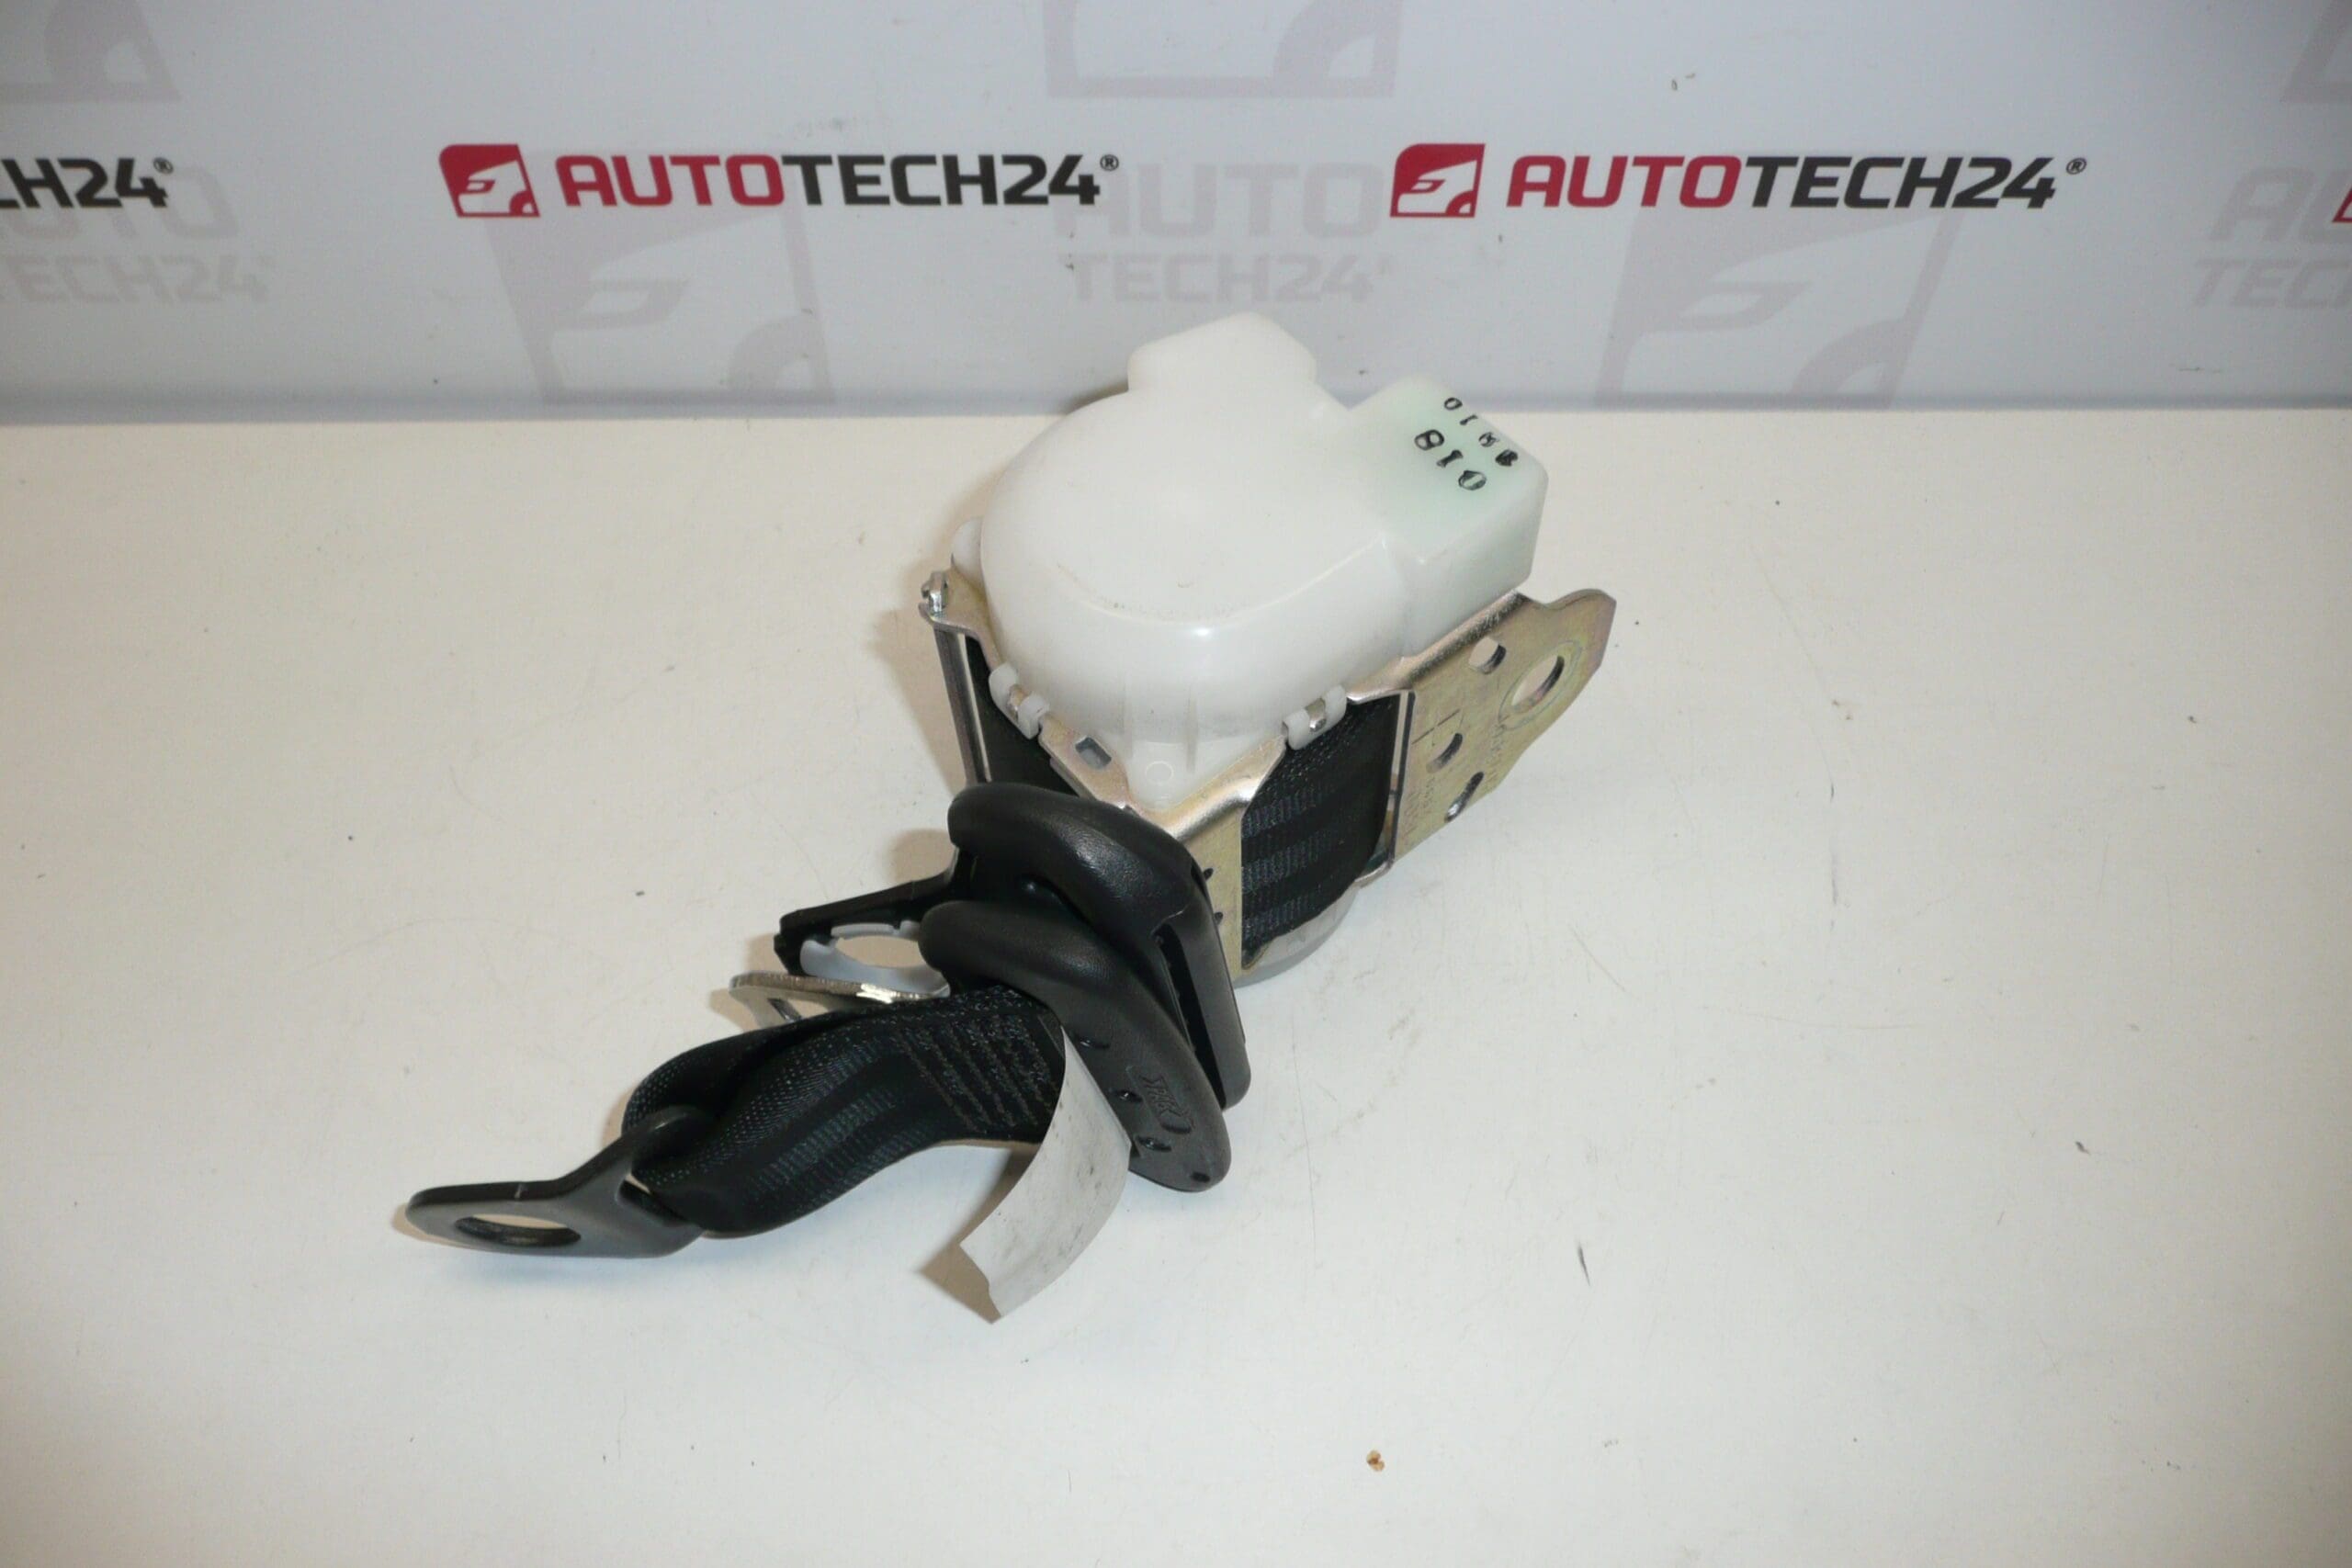
Description
Left Rear Seat Belt For CITROËN C1, PEUGEOT 107 And TOYOTA AYGO
Color HZE – TRAMONTANE
Up To 2014
This left rear seat belt assembly is an OE-fit safety component intended for the rear left passenger position on first‑generation Citroën C1, Peugeot 107 and Toyota Aygo models (produced up to 2014). Supplied in Tramontane (HZE) trim, the assembly includes the retractor and mounting points as seen in original equipment configurations and is identified by the common part references used across Stellantis platforms.
Technical Information
- Manufacturer: Stellantis (Citroën / Peugeot)
- Model: Citroën C1, Peugeot 107, Toyota Aygo (First Generation, up to 2014)
- Product Codes: 8974LH, 16084061XZ, 7P2200
- Additional Numbers: 16084061XZ | 7P2200 | 8974LH
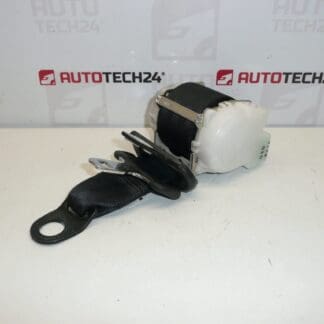
Function And Application
The seat belt secures the rear‑left occupant and reduces injury risk by restraining body movement during sudden deceleration or collision. The assembly typically integrates an emergency locking retractor that locks webbing under rapid movement and the buckle/anchor hardware required for secure attachment to the vehicle body. Correct fitment ensures proper interaction with the vehicle’s occupant restraint system.
How To Replace
Replacement should be carried out by a qualified technician or an experienced DIYer familiar with safety systems. Typical steps:
- Prepare Vehicle: Park on level ground and follow all safety practices. For vehicles equipped with pyrotechnic pretensioners, isolate the system as per manufacturer guidance.
- Access Mounting Points: Remove interior trim panels necessary to expose the upper anchor, retractor, and floor anchor bolts.
- Unbolt Assembly: Remove fasteners securing the retractor, shoulder anchor and lower anchor. Keep track of bolts and their positions.
- Fit New Assembly: Position the new belt and retractor, route webbing correctly, then torque bolts to manufacturer specifications.
- Final Checks: Reinstall trim, verify smooth webbing travel, confirm the retractor locks under rapid pull and that buckle latches securely.
- Use Correct Tools: Torx and torque wrench as required by vehicle fasteners.
- Follow Safety Precautions: If the vehicle uses pretensioners, adhere to the manufacturer’s procedure for handling and disposal of pyrotechnic components.
- Inspect Surrounding Hardware: Check anchor points, bolts and body structure for corrosion or deformation and replace damaged components.
- Perform Functional Test: After installation, test the belt retraction and locking function before returning the vehicle to service.
Always follow the vehicle manufacturer’s repair manual for exact procedures and torque values.
Installation Recommendations
Why The Part Most Often Fails
Seat belts are durable but can become unserviceable for several reasons: webbing wear or fraying from abrasion, contamination (dirt/oil) that impairs retraction, corrosion of mounting bolts or anchors, mechanical failure of the retractor mechanism, or activation/deployment of pretensioner systems during an impact. Any visible damage, irregular webbing movement or a belt that does not lock properly requires immediate replacement to maintain occupant safety.
Notes For Mechanics And DIY Customers
This part is commonly looked up by the listed product numbers and vehicle models. Ensure you replace like‑for‑like for position and trim color to maintain interior appearance and correct mounting. After installation, check system operation and report any abnormal noises or sticking retractor behavior.