Description
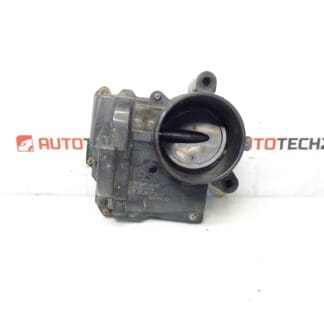
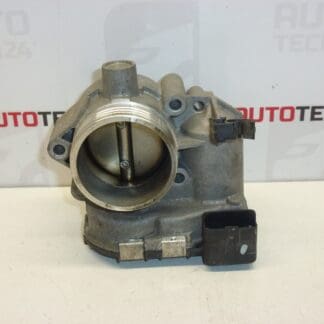
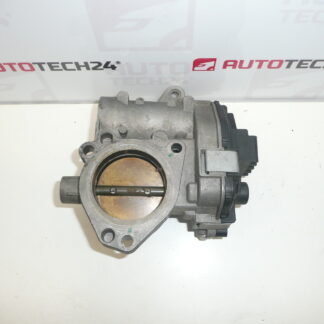
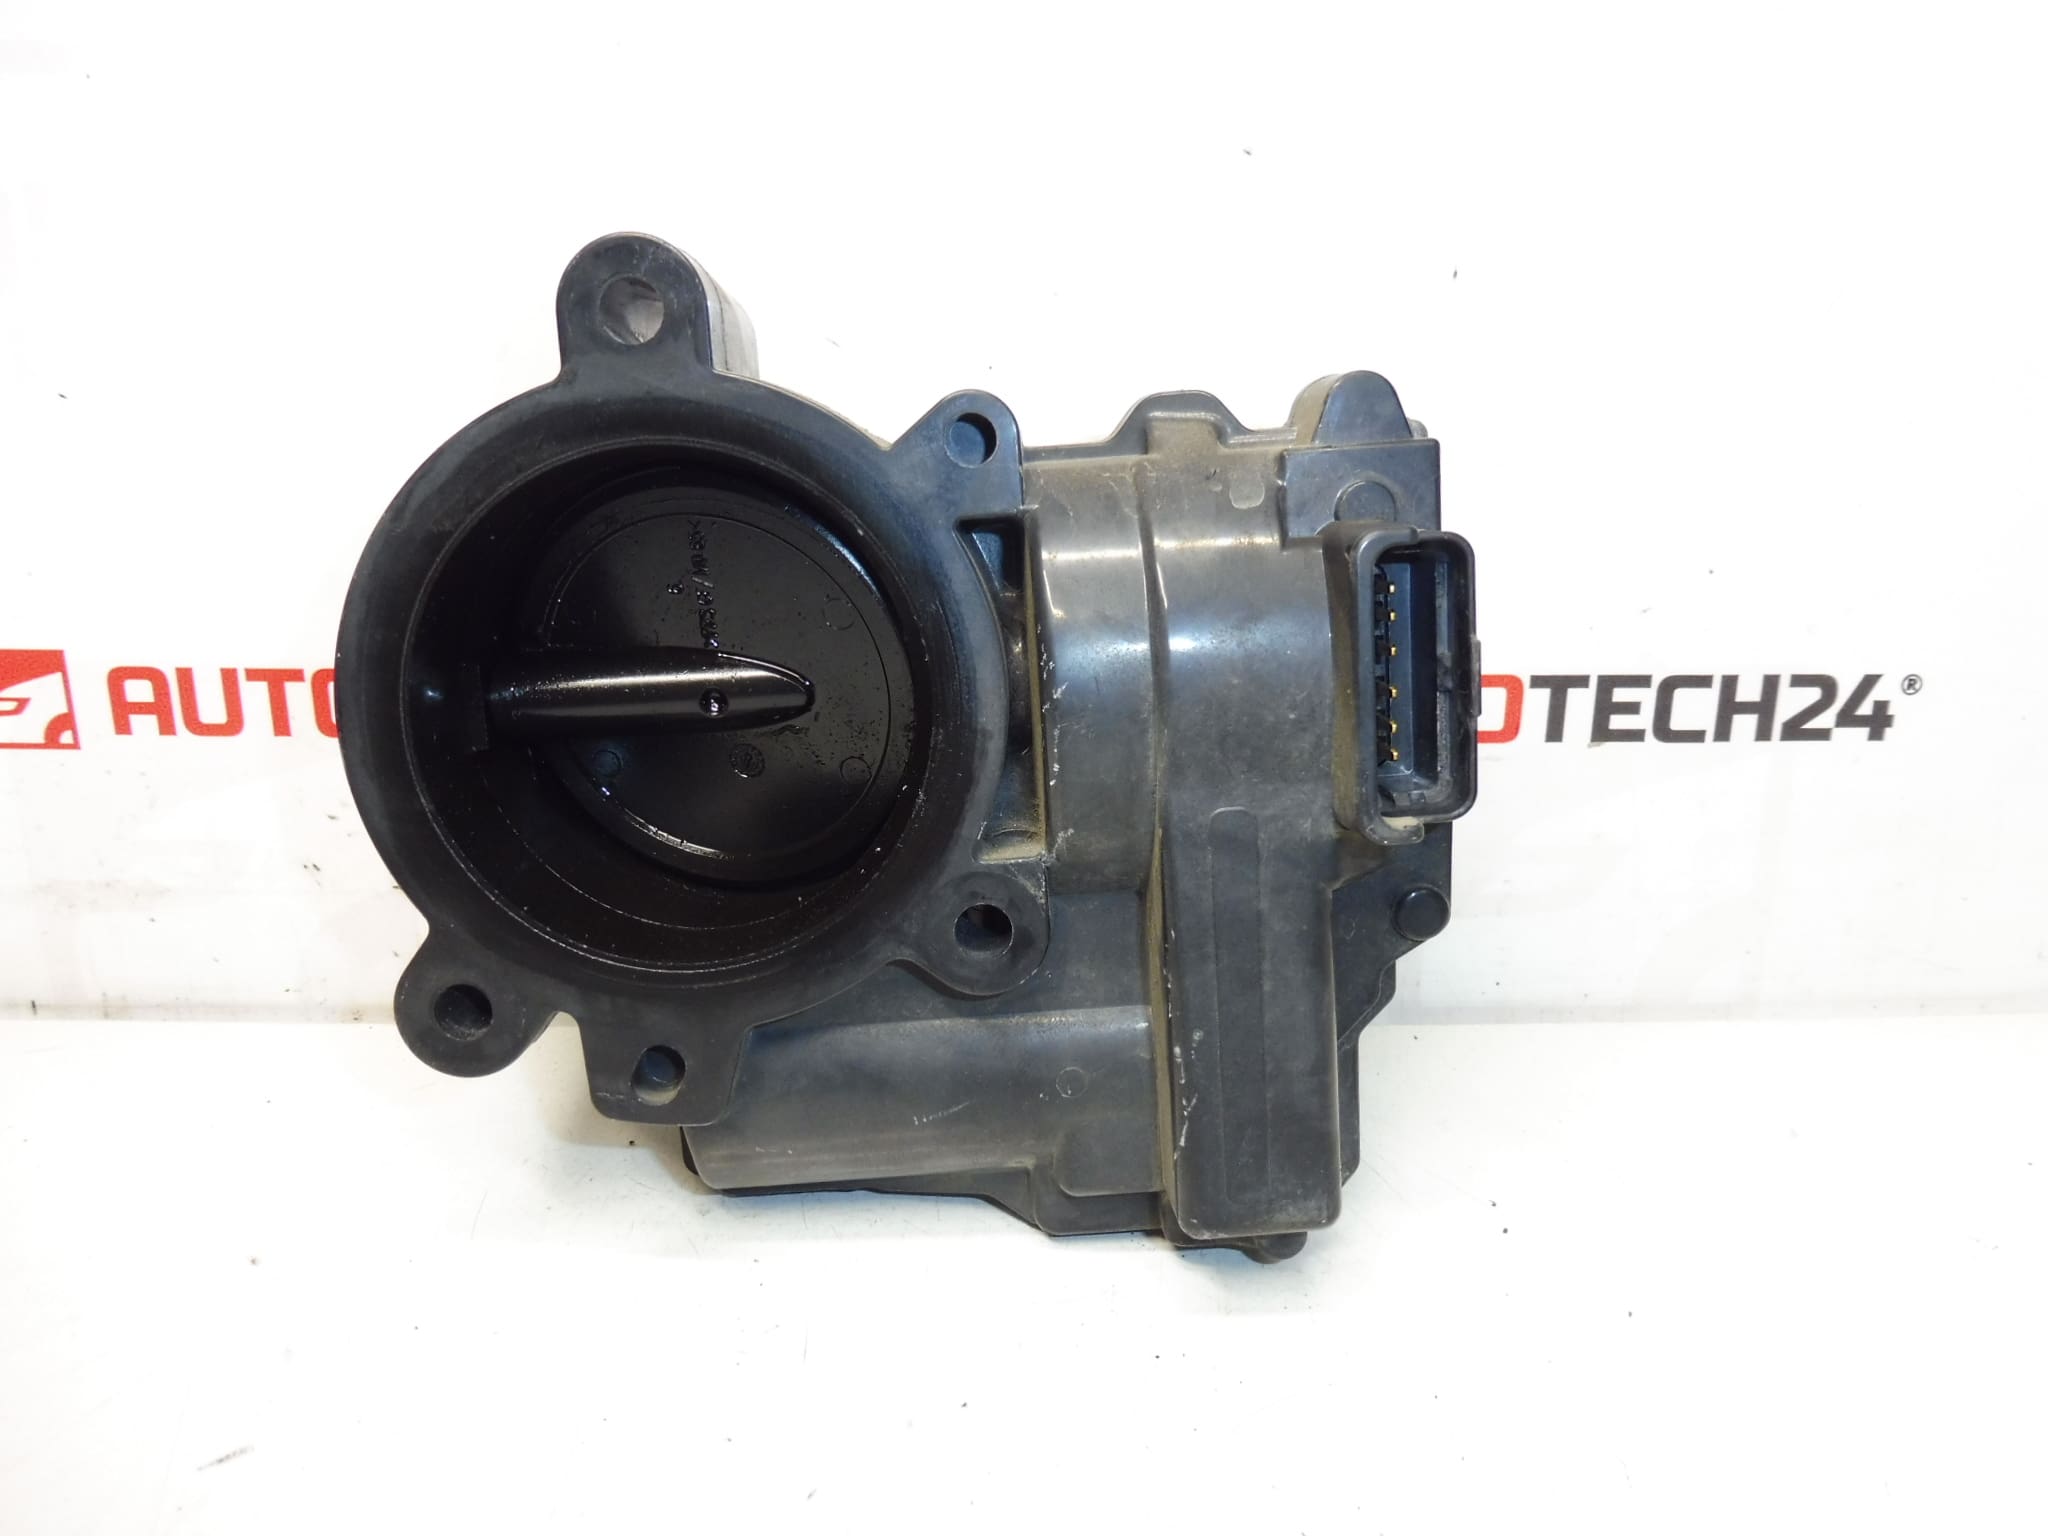
Throttle body housing for 1.4 16V VTI and 1.6 16V VTI engines for Citroën and Peugeot vehicles.
Product Overview
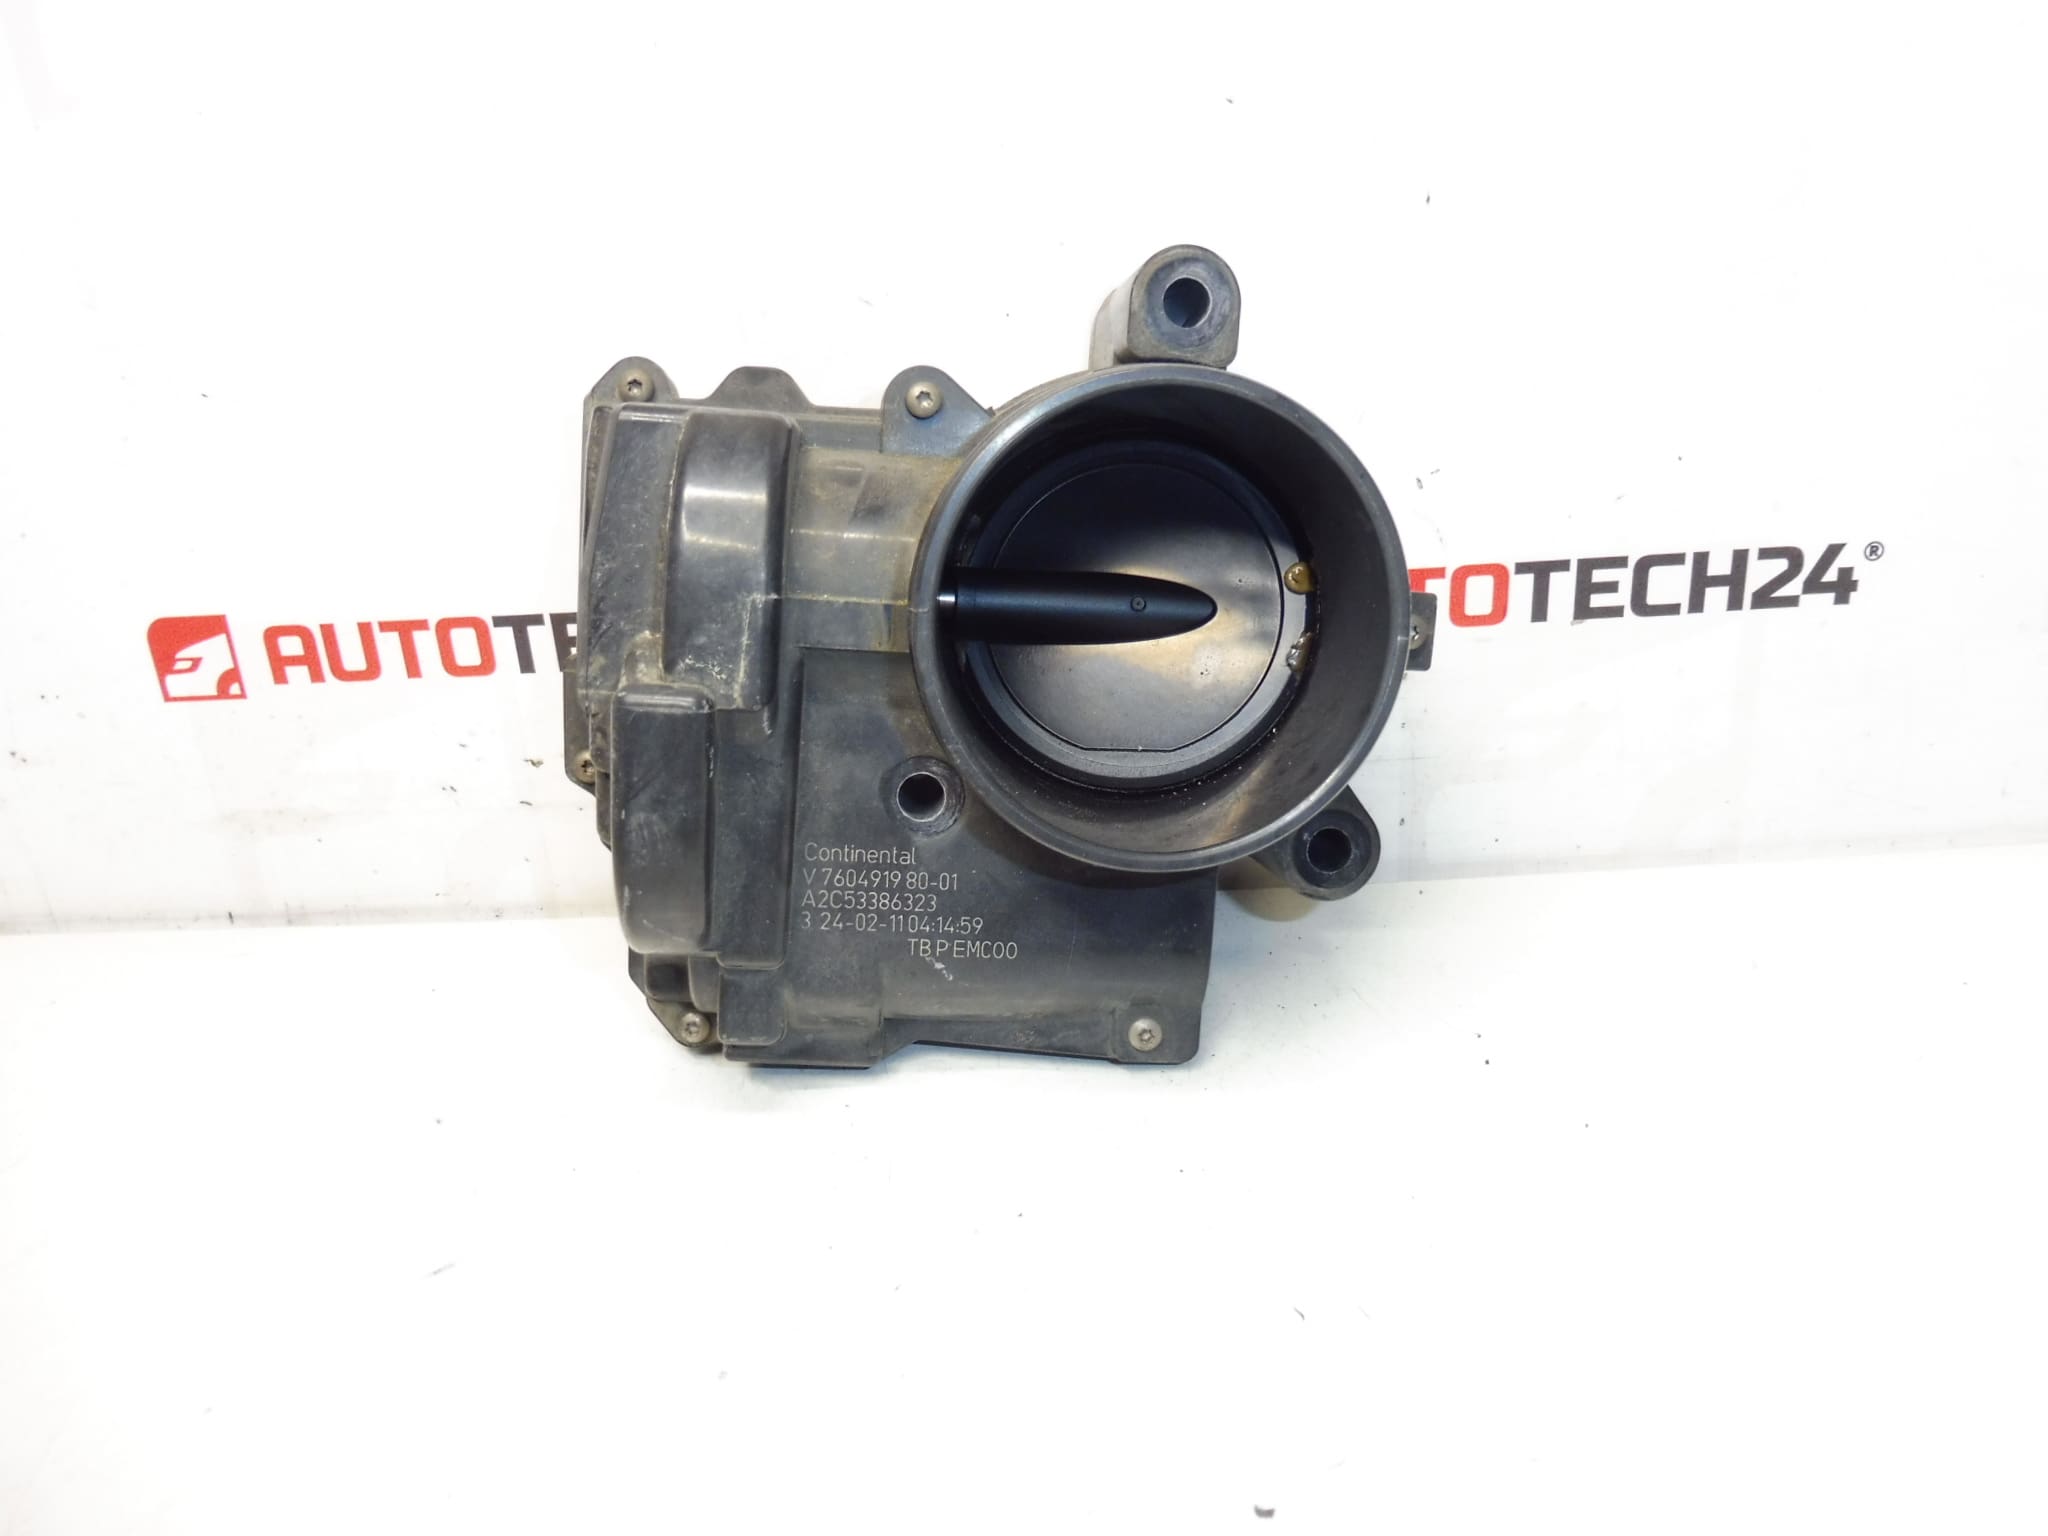
Siemens VDO throttle body housing designed for Stellantis 1.4 16V VTi and 1.6 16V VTi petrol engines. This unit is the airflow control element of the intake tract and is supplied under multiple part references including V760491980, V760491980-01, A2C53386323 and 163673. It is suitable for a range of Citroën and Peugeot models and is intended for professional fitment or experienced DIY mechanics who maintain or repair VTi engines.
Compatible Models
- Citroën Berlingo B9
- Citroën C3 (including C3 II and C3 Picasso)
- Citroën C4 II
- DS3
- Peugeot 207
- Peugeot 308
- Peugeot Partner Tepee
Function And Application
The throttle body regulates the amount of air entering the engine in response to driver input (accelerator pedal) and the engine control unit. Proper operation ensures correct air–fuel ratio, stable idle, predictable throttle response and prevents limp-home modes. On modern VTi engines the throttle assembly works with sensors and actuators (throttle plate, motor/actuator, and position sensor) to provide electronic throttle control.
Technical Information
- Manufacturer: Siemens VDO (OEM Supplier for Stellantis)
- Model: For 1.4 16V VTi And 1.6 16V VTi Engines
- Product Codes: V760491980, V760491980-01, A2C53386323
- Other Numbers: 163673
Replacement Procedure
- Disconnect Battery: Always disconnect the negative battery terminal before starting to avoid electrical damage.
- Access Throttle Body: Remove intake hose and any airbox components blocking access.
- Unplug Electrical Connectors: Carefully release connectors and vacuum hoses attached to the unit.
- Remove Fasteners: Unbolt the throttle body from the intake manifold and remove the old gasket.
- Fit New Unit: Install new gasket if required, mount the throttle body and tighten bolts to the manufacturer torque specification.
- Reassembly And Adaptation: Reconnect all hoses and connectors, reconnect battery and perform throttle adaptation/learn procedure as specified by the manufacturer using diagnostic equipment or following the service manual steps.
Installation Recommendations
- Replace Gasket: Always fit a new intake/throttle gasket and inspect the mounting surface for carbon or deposits.
- Clean Adjacent Components: Clean intake tract and EGR passages if heavily contaminated to prevent recontamination of the new unit.
- Use Proper Tools: Use appropriate torque tools and avoid over-tightening fasteners to prevent warping or leaks.
- Perform Adaptation: Execute throttle relearn or adaptation via diagnostic tool (DiagBox or equivalent) or follow the vehicle’s service manual to ensure correct idle and throttle response.
Why The Part Fails
Common causes of throttle body faults include carbon and oil buildup on the throttle plate and bore, contamination from PCV/EGR systems, wear or failure of the throttle motor or position sensors, and corrosion or damaged wiring/connectors. Symptoms typically appear as rough idle, unstable idle speed, reduced engine power, poor throttle response or illumination of the engine warning lamp. Failure tendency depends on driving style and maintenance; carbon buildup often becomes noticeable after prolonged service intervals or when intake maintenance is neglected.
Notes For Mechanics And DIYers
This part is aimed at professional workshops and experienced DIYers servicing Citroën and Peugeot VTi engines. Keep part numbers V760491980, V760491980-01, A2C53386323 and 163673 handy when searching or ordering to speed up identification and ensure correct fitment.