Description
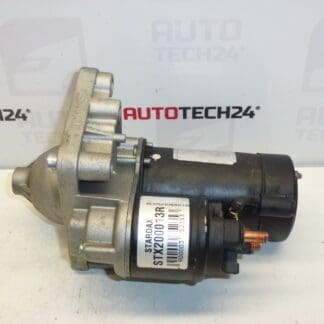
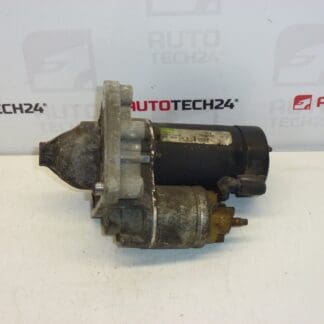
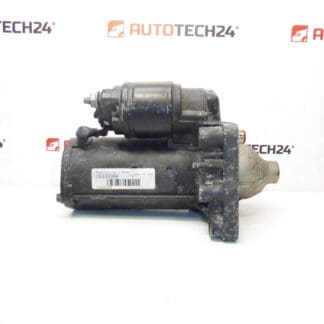
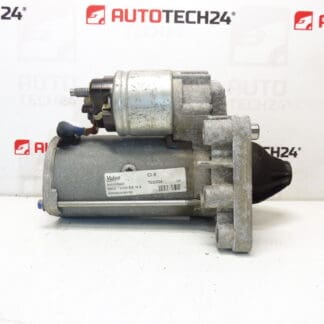
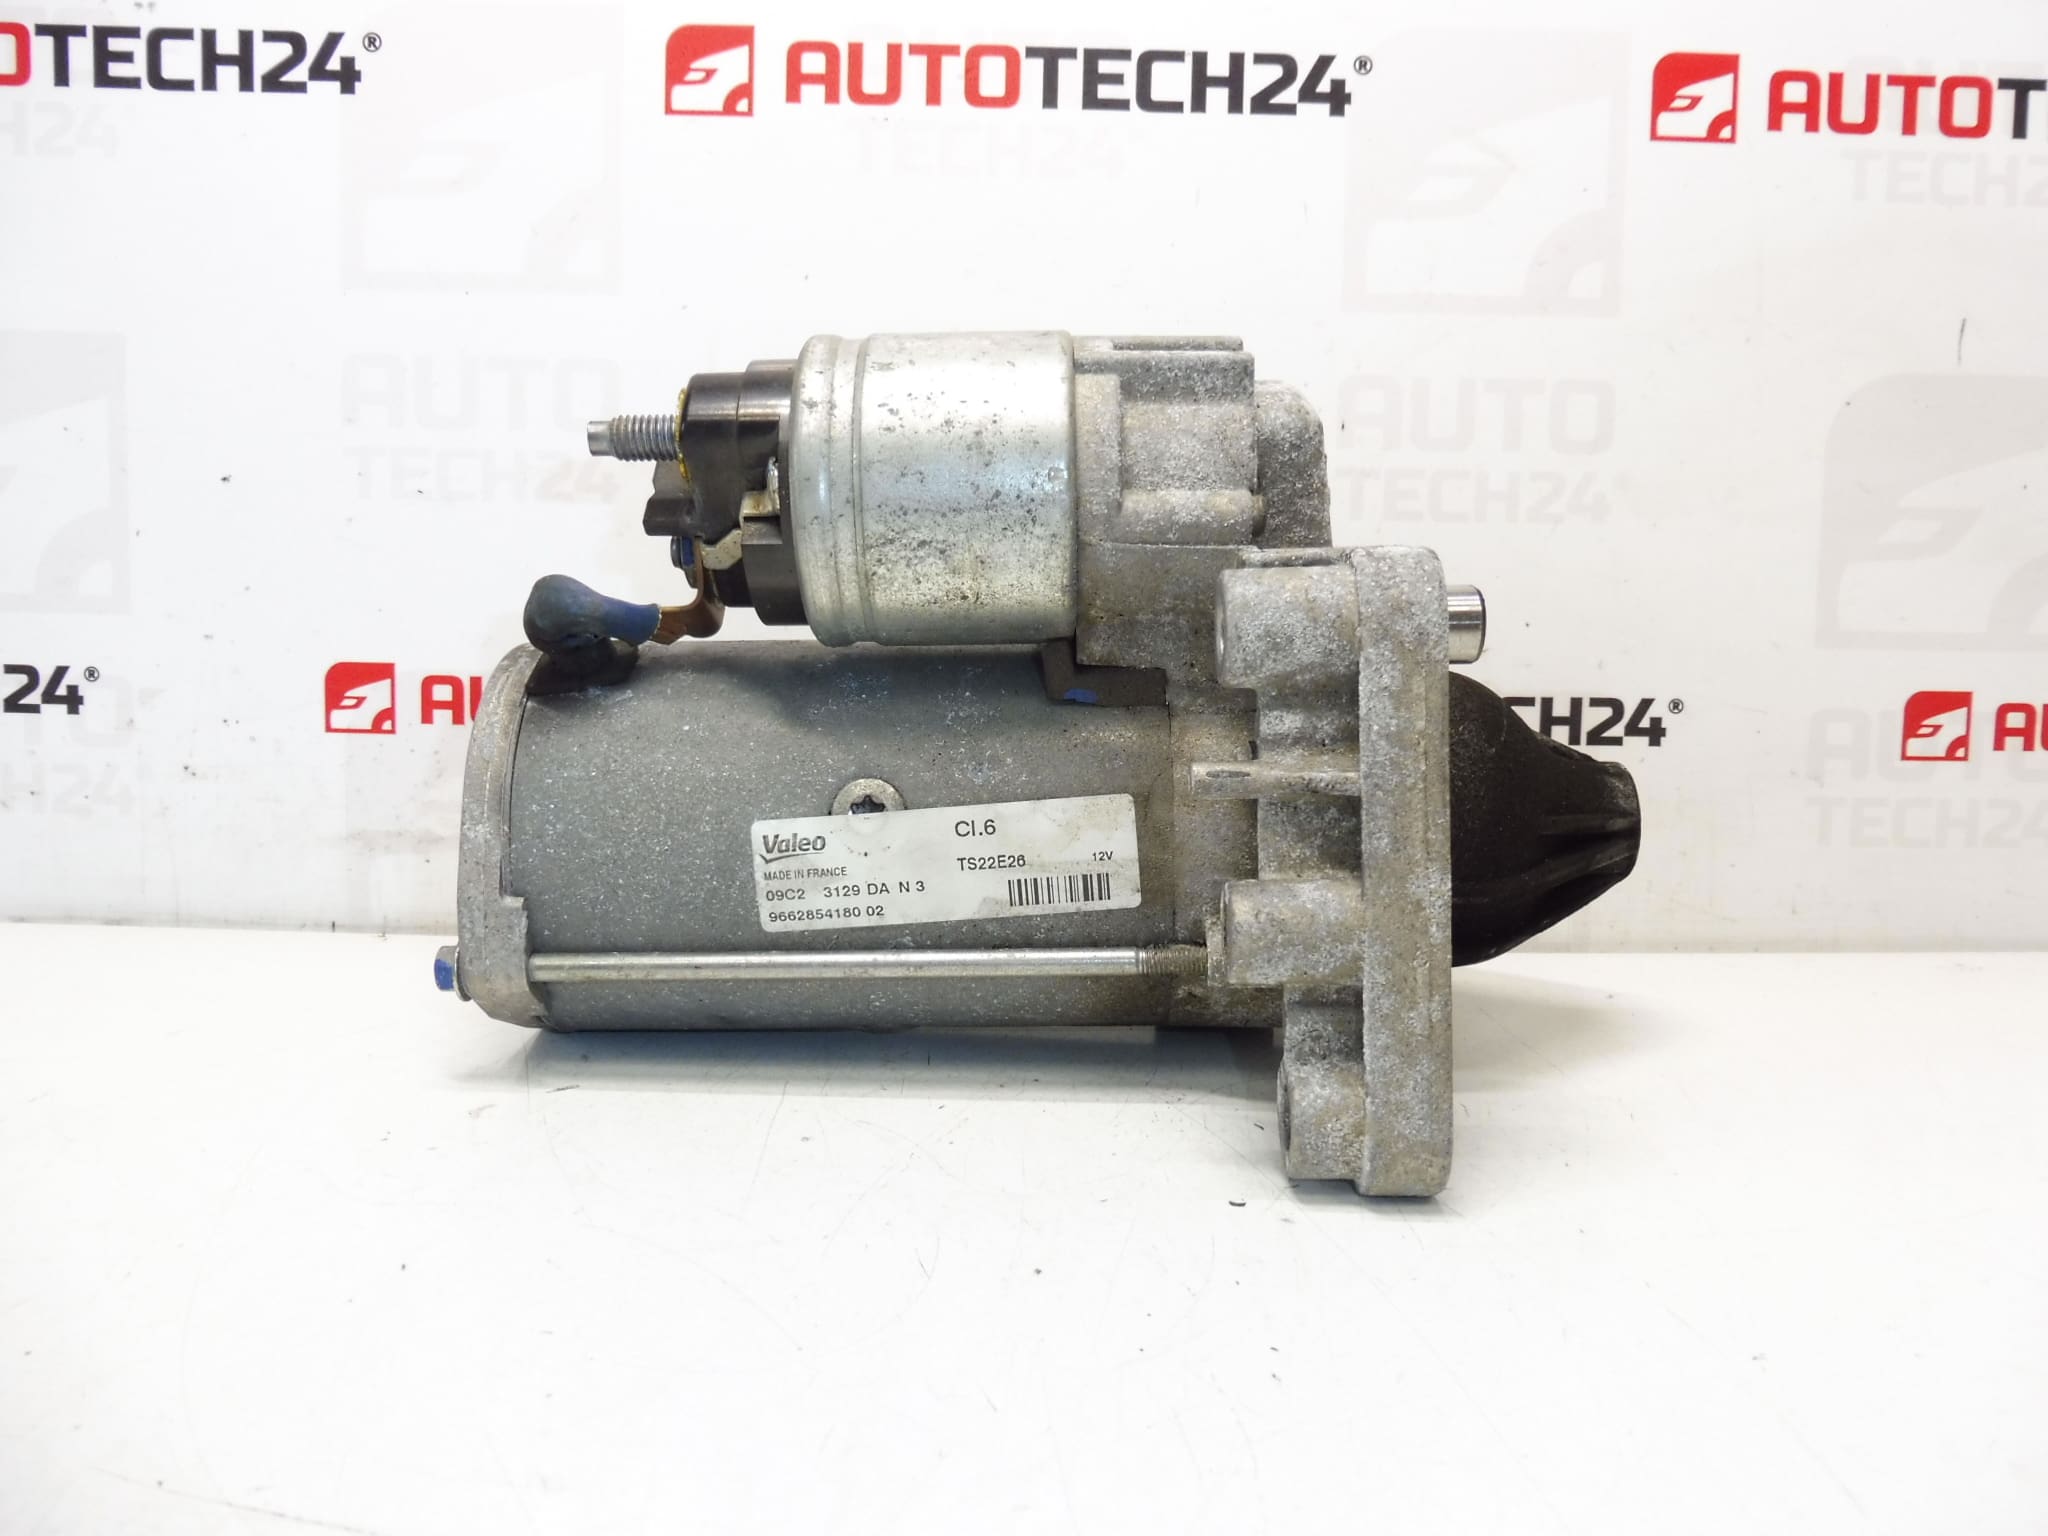
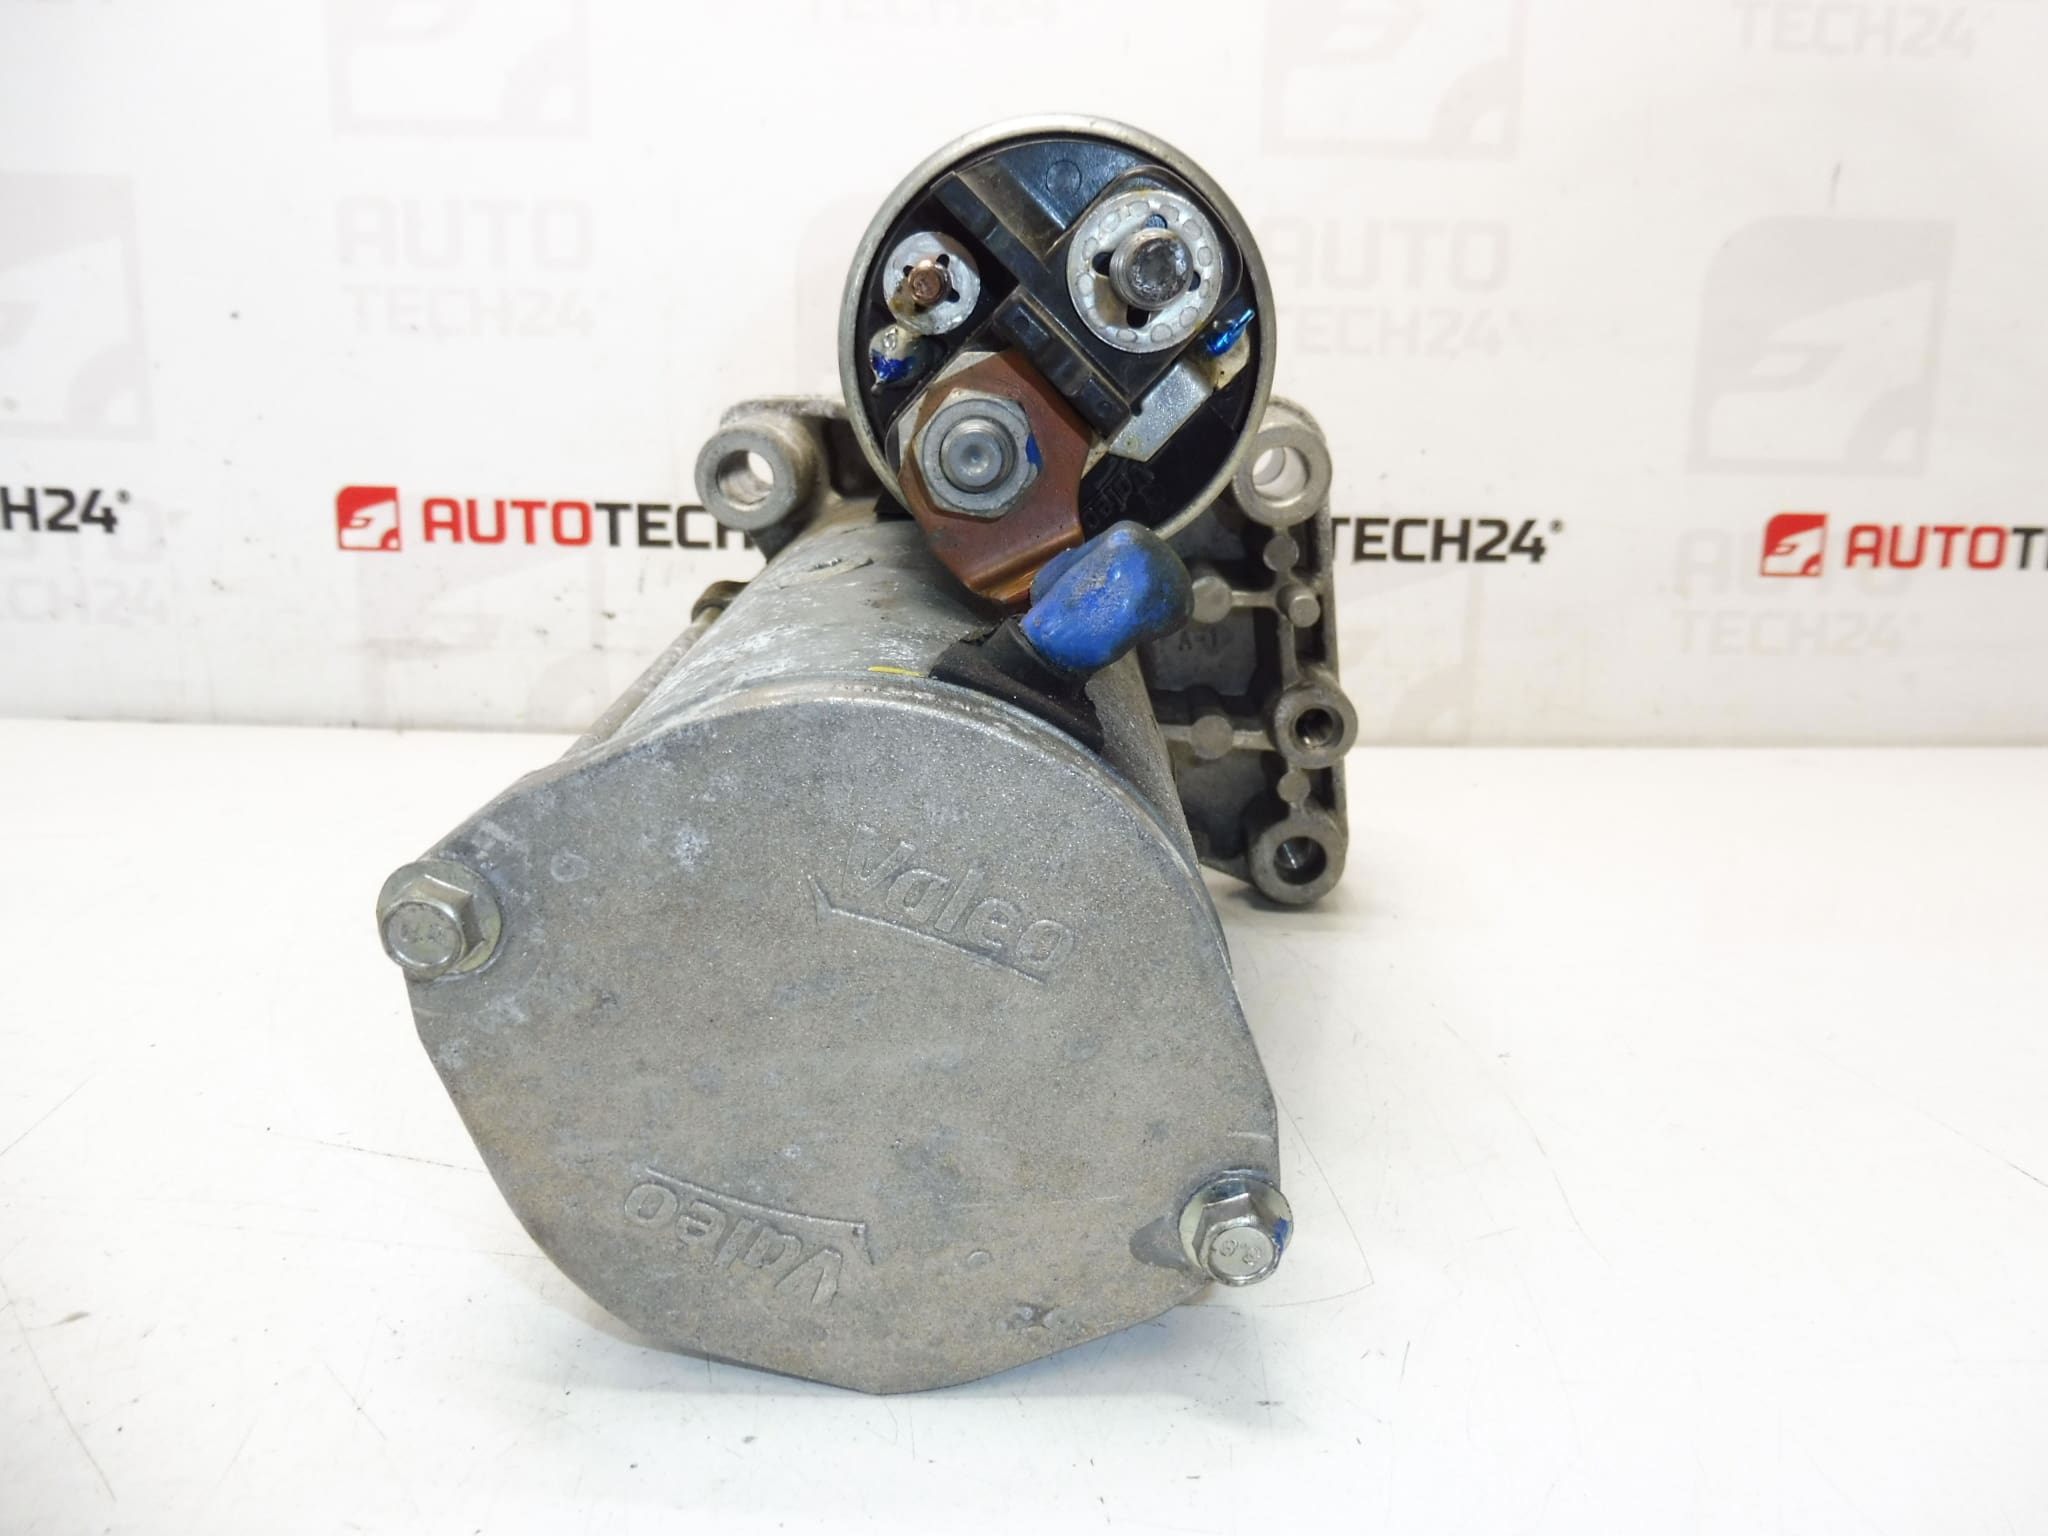
Starter VALEO TS22E26 CL6 1.4 HDI, 1.5 HDI and 1.6 HDI. From a vehicle with only 64,000 km. Voltage: 12 V. Number of Teeth: 11
Product Overview
High-quality Valeo starter motor TS22E26 CL6 designed for Stellantis HDi diesel engines. This unit is a direct-fit replacement for a range of Citroën and Peugeot models equipped with 1.4, 1.5 and 1.6 HDi engines. Built to deliver reliable cranking torque for cold starts and repeated stop/start duty common in urban and light commercial use, the starter features an 11-tooth pinion and standard 12 V electrical rating. Ideal for professional workshops and experienced DIY mechanics looking for a proven OE-style replacement using original Valeo specifications and familiar part references.
Applications / Compatibility
Commonly fitted to the following models (examples):
- Citroën Berlingo
- Citroën C4
- Citroën Xsara Picasso
- Peugeot 207
- Peugeot 307
- Peugeot 308
- Peugeot Partner
Replacement Procedure (Practical Guide)
Suitable for trained mechanics and competent DIYers. Basic replacement steps:
- Disconnect the negative battery terminal before any work to avoid short circuits.
- Raise and support the vehicle securely to access the starter area (typically bellhousing/flywheel side).
- Locate and label the electrical connections (battery positive cable, solenoid wire, ground if fitted) to ensure correct reassembly.
- Support the starter while removing the mounting bolts to prevent it dropping and damaging wiring or components.
- Inspect mating surfaces, flywheel ring gear teeth and electrical terminals for wear or corrosion.
- Fit the replacement starter, tighten mounting bolts to manufacturer torque values (refer to factory manual), reconnect wiring and battery, then perform a cranking test.
Installation Recommendations
- Always disconnect the battery before removal and follow vehicle manufacturer procedures to avoid damage.
- Clean battery terminals and earth points; poor connections are a common source of starting problems.
- Check the condition of the ring gear and starter engagement; excessive play or damaged teeth require additional repairs.
- Use proper lifting/support equipment; secure the starter during removal to avoid injury or damage.
- After installation, verify charging system voltage and starter draw to ensure correct operation.
Why Starters Fail
Typical causes of starter motor failure include:
- Wear Of Brushes And Commutator: Over time brushes wear and electrical contact degrades, reducing starter performance.
- Solenoid Or Bendix Failure: Solenoid faults prevent proper engagement or electrical contact; the Bendix drive can stick or wear.
- Contamination: Oil, coolant or road grime ingress can damage internal components or cause electrical shorts.
- Electrical Issues: Weak battery, corroded cables, or poor ground connections increase load and accelerate starter wear.
- Mechanical Damage: Damaged pinion or flywheel ring gear teeth from repeated grinding or misalignment.
Expected Service Life
Service life depends on usage, environment and vehicle maintenance. Under normal conditions a starter often exceeds 100,000 km, but frequent short trips, heavy stop/start duty, electrical charging problems or contamination can reduce lifespan.
Technical Information
- Manufacturer: Valeo
- Model: TS22E26 CL6 (suitable for 1.4 HDi, 1.5 HDi, 1.6 HDi)
- Product Codes: 9646694080, 9662854180
- Additional Numbers: 5802AE, 5802AF, 5802CE, 5802AE (listed references)
- Voltage: 12 V
- Number Of Teeth: 11
Notes For Professionals
Fitment is usually straightforward for experienced technicians. Always consult the vehicle’s workshop manual for exact removal/installation procedures and torque values. Inspect related components (battery, alternator, starter relay/fuses, ring gear) to prevent recurrence of starting faults.
Why Choose This Unit
Genuine Valeo engineering and matching OE references make this starter a reliable choice for Citroën and Peugeot HDi vehicles. Whether you are a professional workshop replacing a failed starter or an experienced DIYer performing a timed repair, this unit combines correct fitment characteristics (11-tooth pinion, 12 V rating) with proven mechanical construction for dependable engine starting.