Description
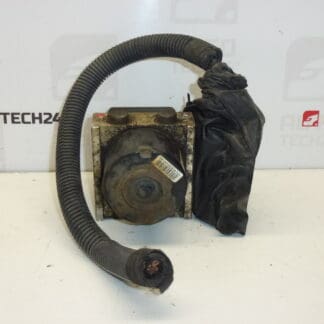
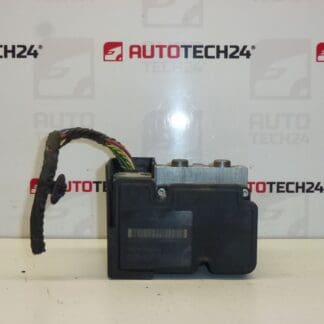
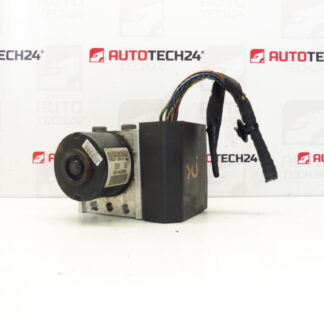
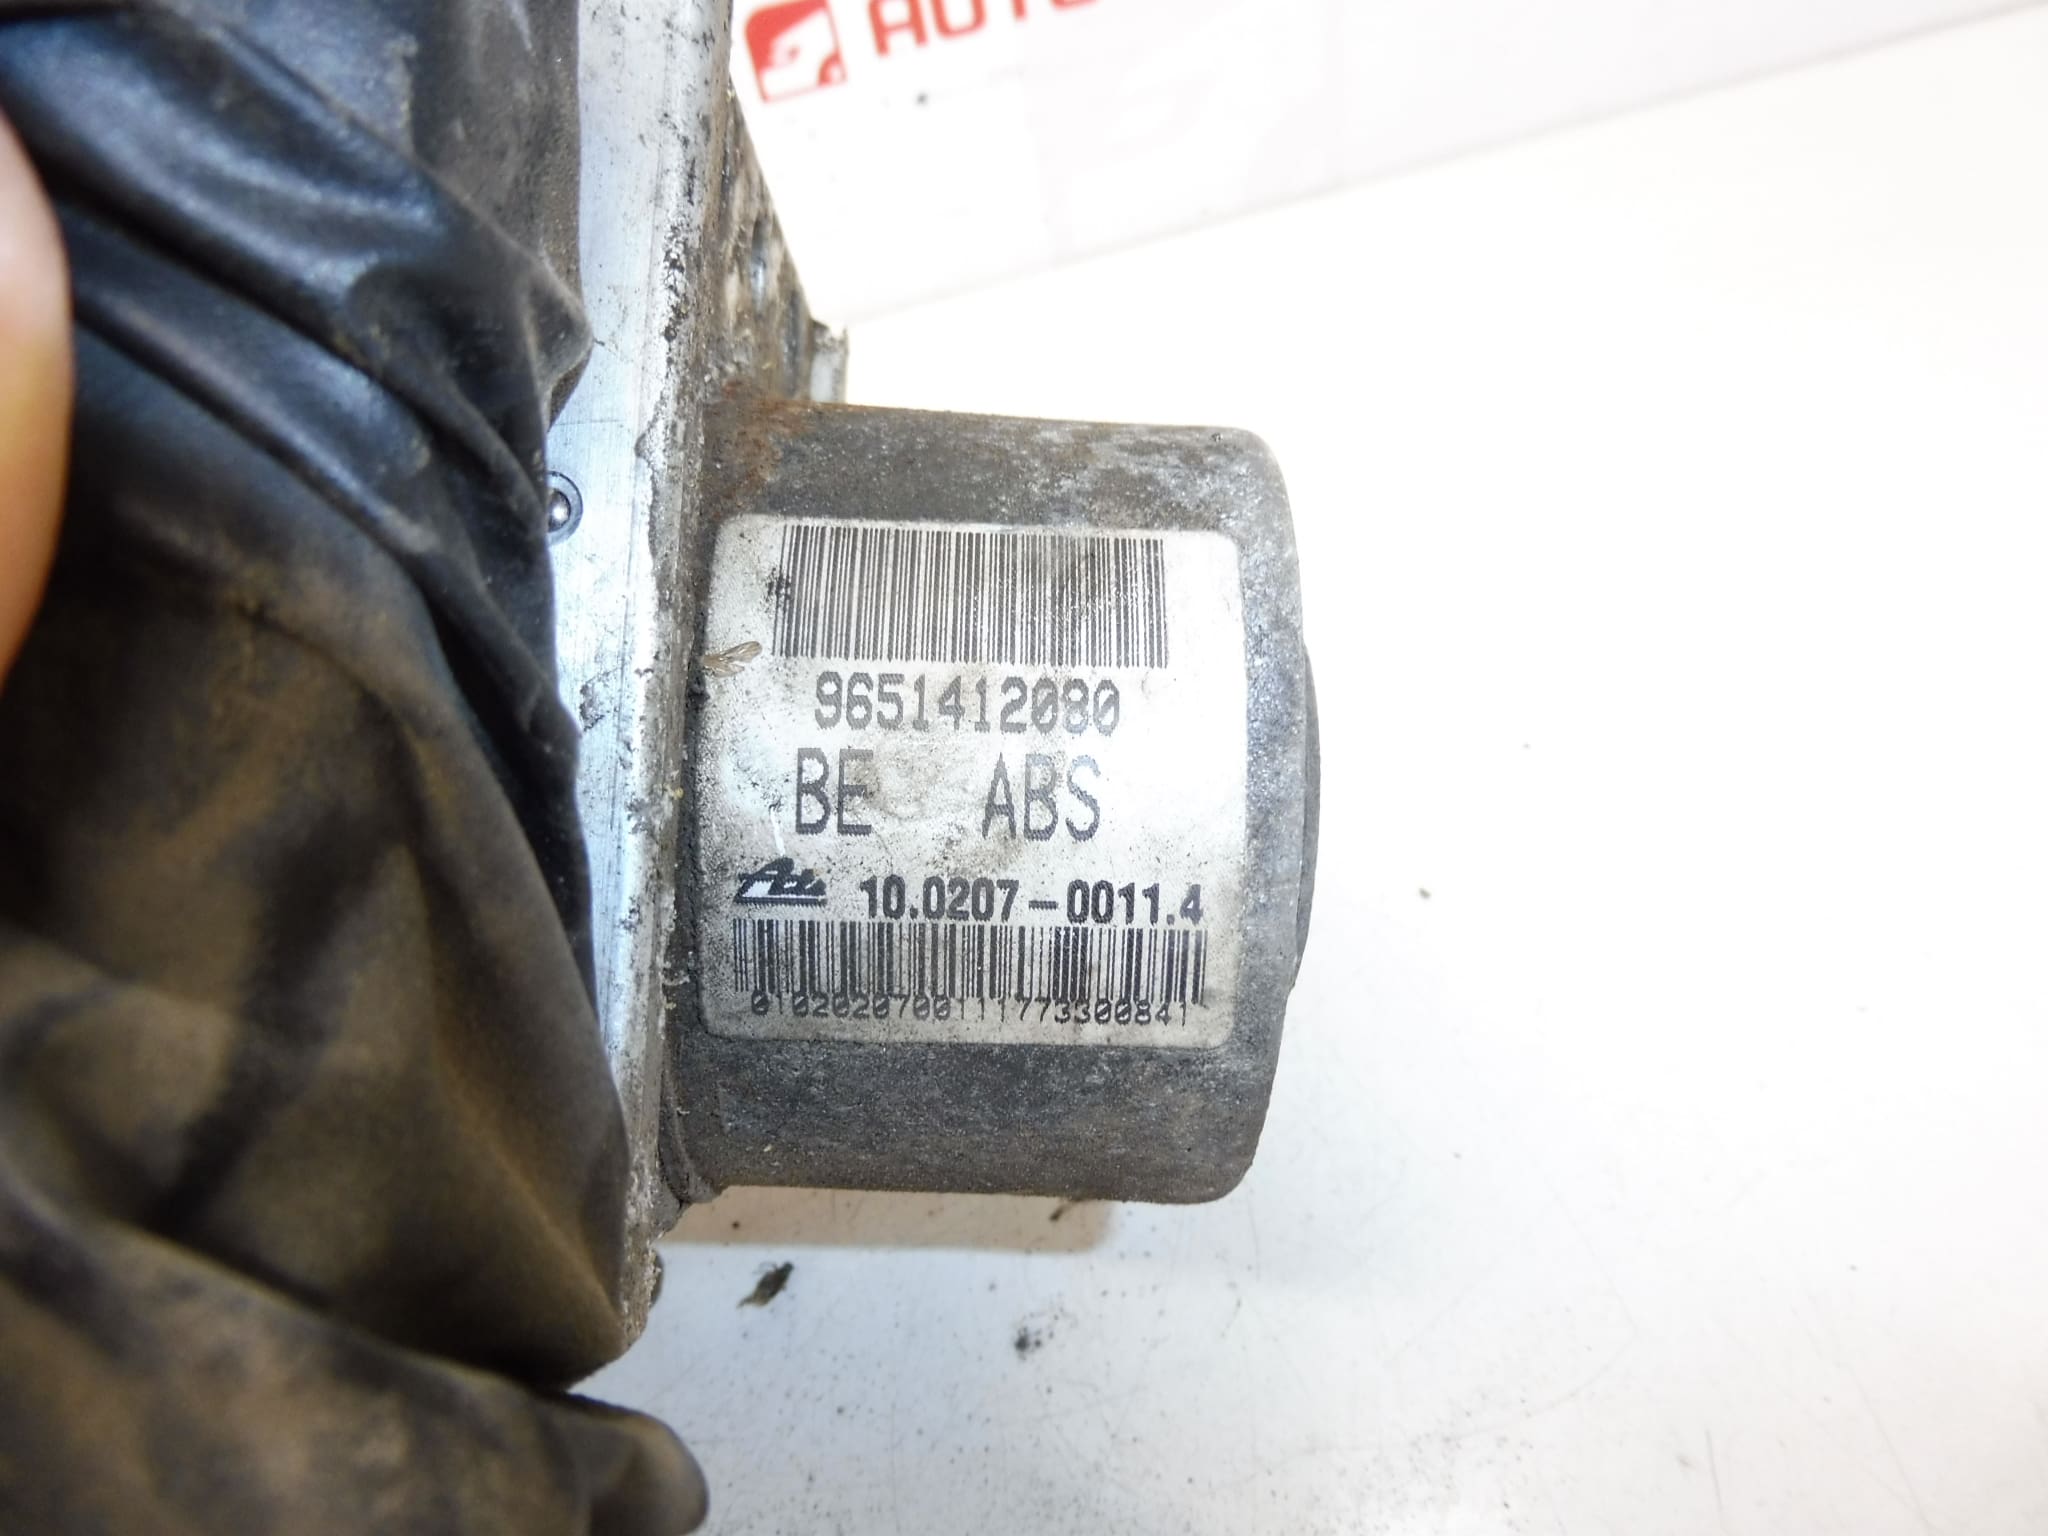
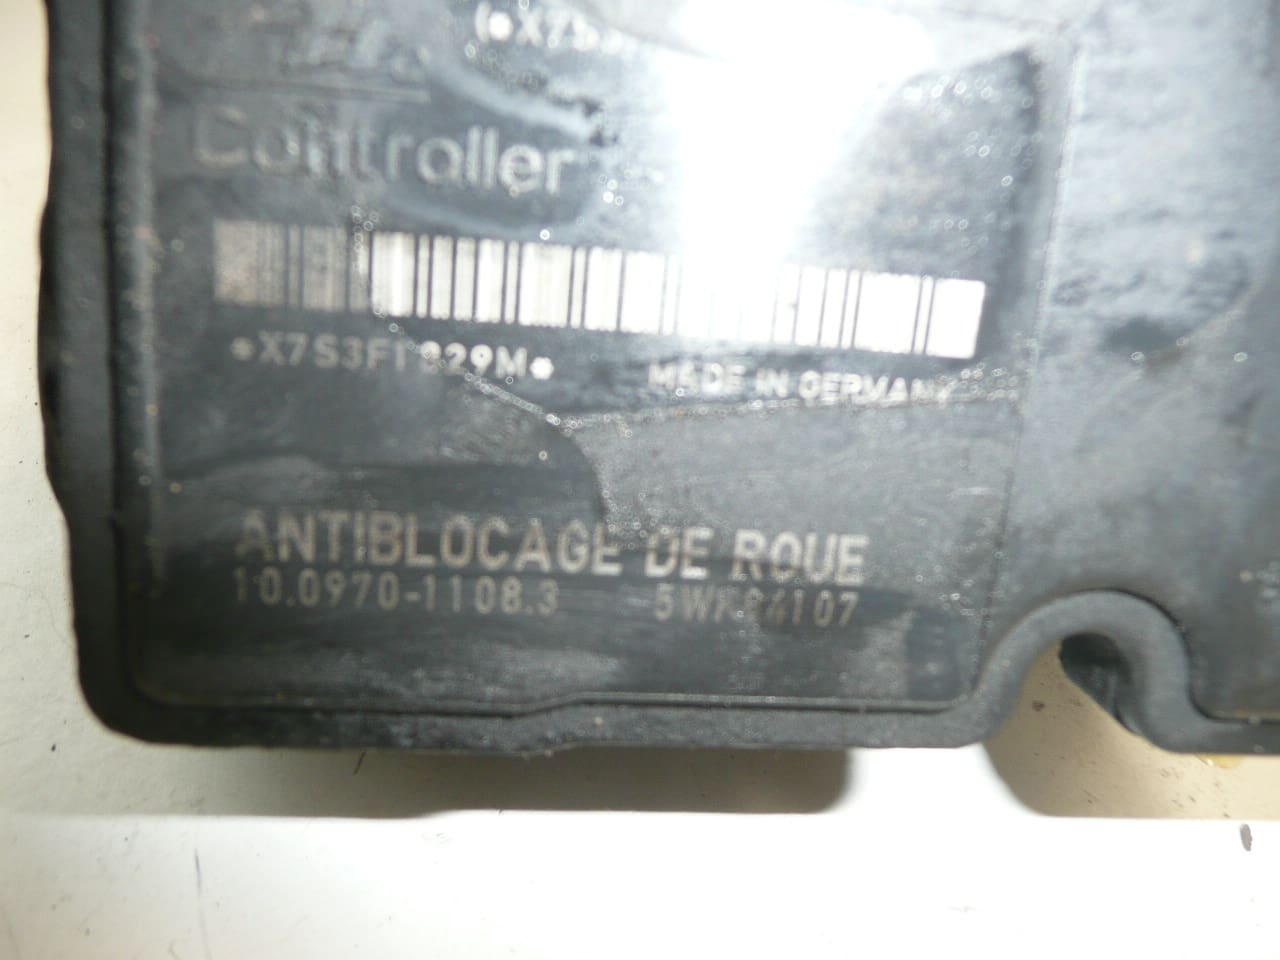
Control Module, ABS Pump, Unit, ABS Block ATE Citroën C2 and C3, Peugeot 207. Supplied with a piece of wiring.
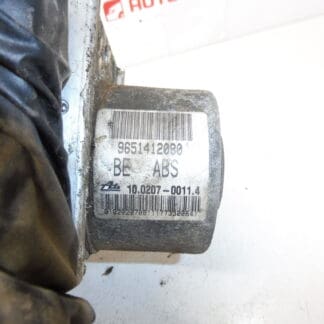
This ABS/ESP control unit by ATE is a direct-fit replacement widely used on Citroën C2, Citroën C3 (including C3 Pluriel) and Peugeot 207 vehicles. It is often searched for by part numbers such as 9651412080 or 10.0207-0011.4, so listing these codes in your search will help you find the correct unit quickly. The module restores electronic brake control and ABS functionality, improving active safety and brake stability. Supplied with a length of wiring to simplify the electrical connection during installation—appropriate for professional garages and experienced DIY technicians.
Technical Information
- Manufacturer: ATE
- Model: Citroën C2, Citroën C3, Citroën C3 Pluriel, Peugeot 207
- Product Codes: 9651412080; 10.0207-0011.4; 10.0970-1108.3
- Other Numbers: 4542F3; 4542F4; 4541G4; 4541G5
How It Is Replaced (High-Level)
Replacement of the ABS pump and control module is a mechanical and electrical job best handled by trained technicians or experienced DIYers with appropriate tools. Typical steps include:
- Disconnect The Battery To Prevent Electrical Damage And Avoid Unintended System Inputs.
- Access The Unit—Usually Located In The Engine Bay Near The Brake Master Cylinder/Firewall. Remove Any Covers Or Brackets As Needed.
- Label And Cap Brake Lines Before Removal To Prevent Fluid Loss And Contamination. Use Correct Line Wrenches To Avoid Rounding Fittings.
- Disconnect Electrical Connector(s) And Remove Mounting Bolts To Extract The Module.
- Install New Unit Using The Supplied Wiring Piece Where Required, Reconnect Brake Lines, Torque Fasteners To Manufacturer Specifications, And Reconnect Electrical Connectors.
- Bleed The Brake System Thoroughly. After Installation, Use A Diagnostic Tool To Clear Fault Codes And Perform Any Required ABS Pump Activation/Initialization Routines.
Installation Recommendations
- Replace Brake Fluid When Replacing The ABS Unit To Remove Moisture And Contaminants That Can Damage The New Module.
- Use A Proper Diagnostic Scanner Capable Of ABS/ESP Procedures To Clear Codes And Run Pump Self-Test Sequences After Installation.
- Protect Exposed Brake Lines And Electrical Connectors From Dirt During The Swap; Cap Lines Immediately After Disconnection.
- Check Wheel Speed Sensors And Wiring Harnesses—A Faulty Sensor Or Damaged Connector Can Cause Premature Stress On A New ABS Module.
- If You Are Unsure About Bleeding Or Calibration, Have The Final Steps Performed At A Workshop With The Required Equipment.
Why This Part Fails Most Often
Common causes of ABS module failure include moisture Ingress And Corrosion At Electrical Connectors, Internal Pump Motor Wear, Contaminated Or Moisture-Laden Brake Fluid, And Thermal Or Mechanical Stress Over Time. Symptoms That Indicate A Faulty Unit Include An Illuminated ABS Warning Light, Intermittent Or Permanent Loss Of ABS Function, Audible Pump Noise During Normal Driving, And Altered Brake Pedal Feel Or Performance.
There Is No Fixed Replacement Interval—Many Units Last For Years Or Well Over 100,000 Km Under Normal Conditions. However, cars Exposed To Road Salt, Frequent Short Trips, Or Infrequent Brake Fluid Changes Are More Likely To Experience Early Failures.