Description
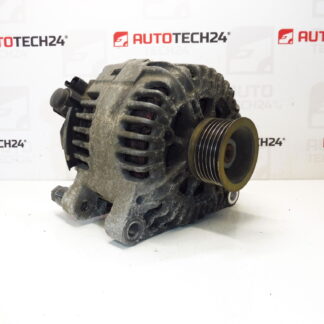
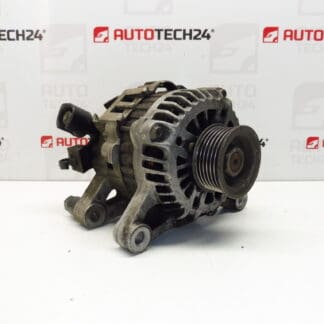
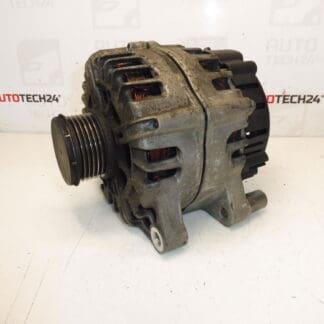
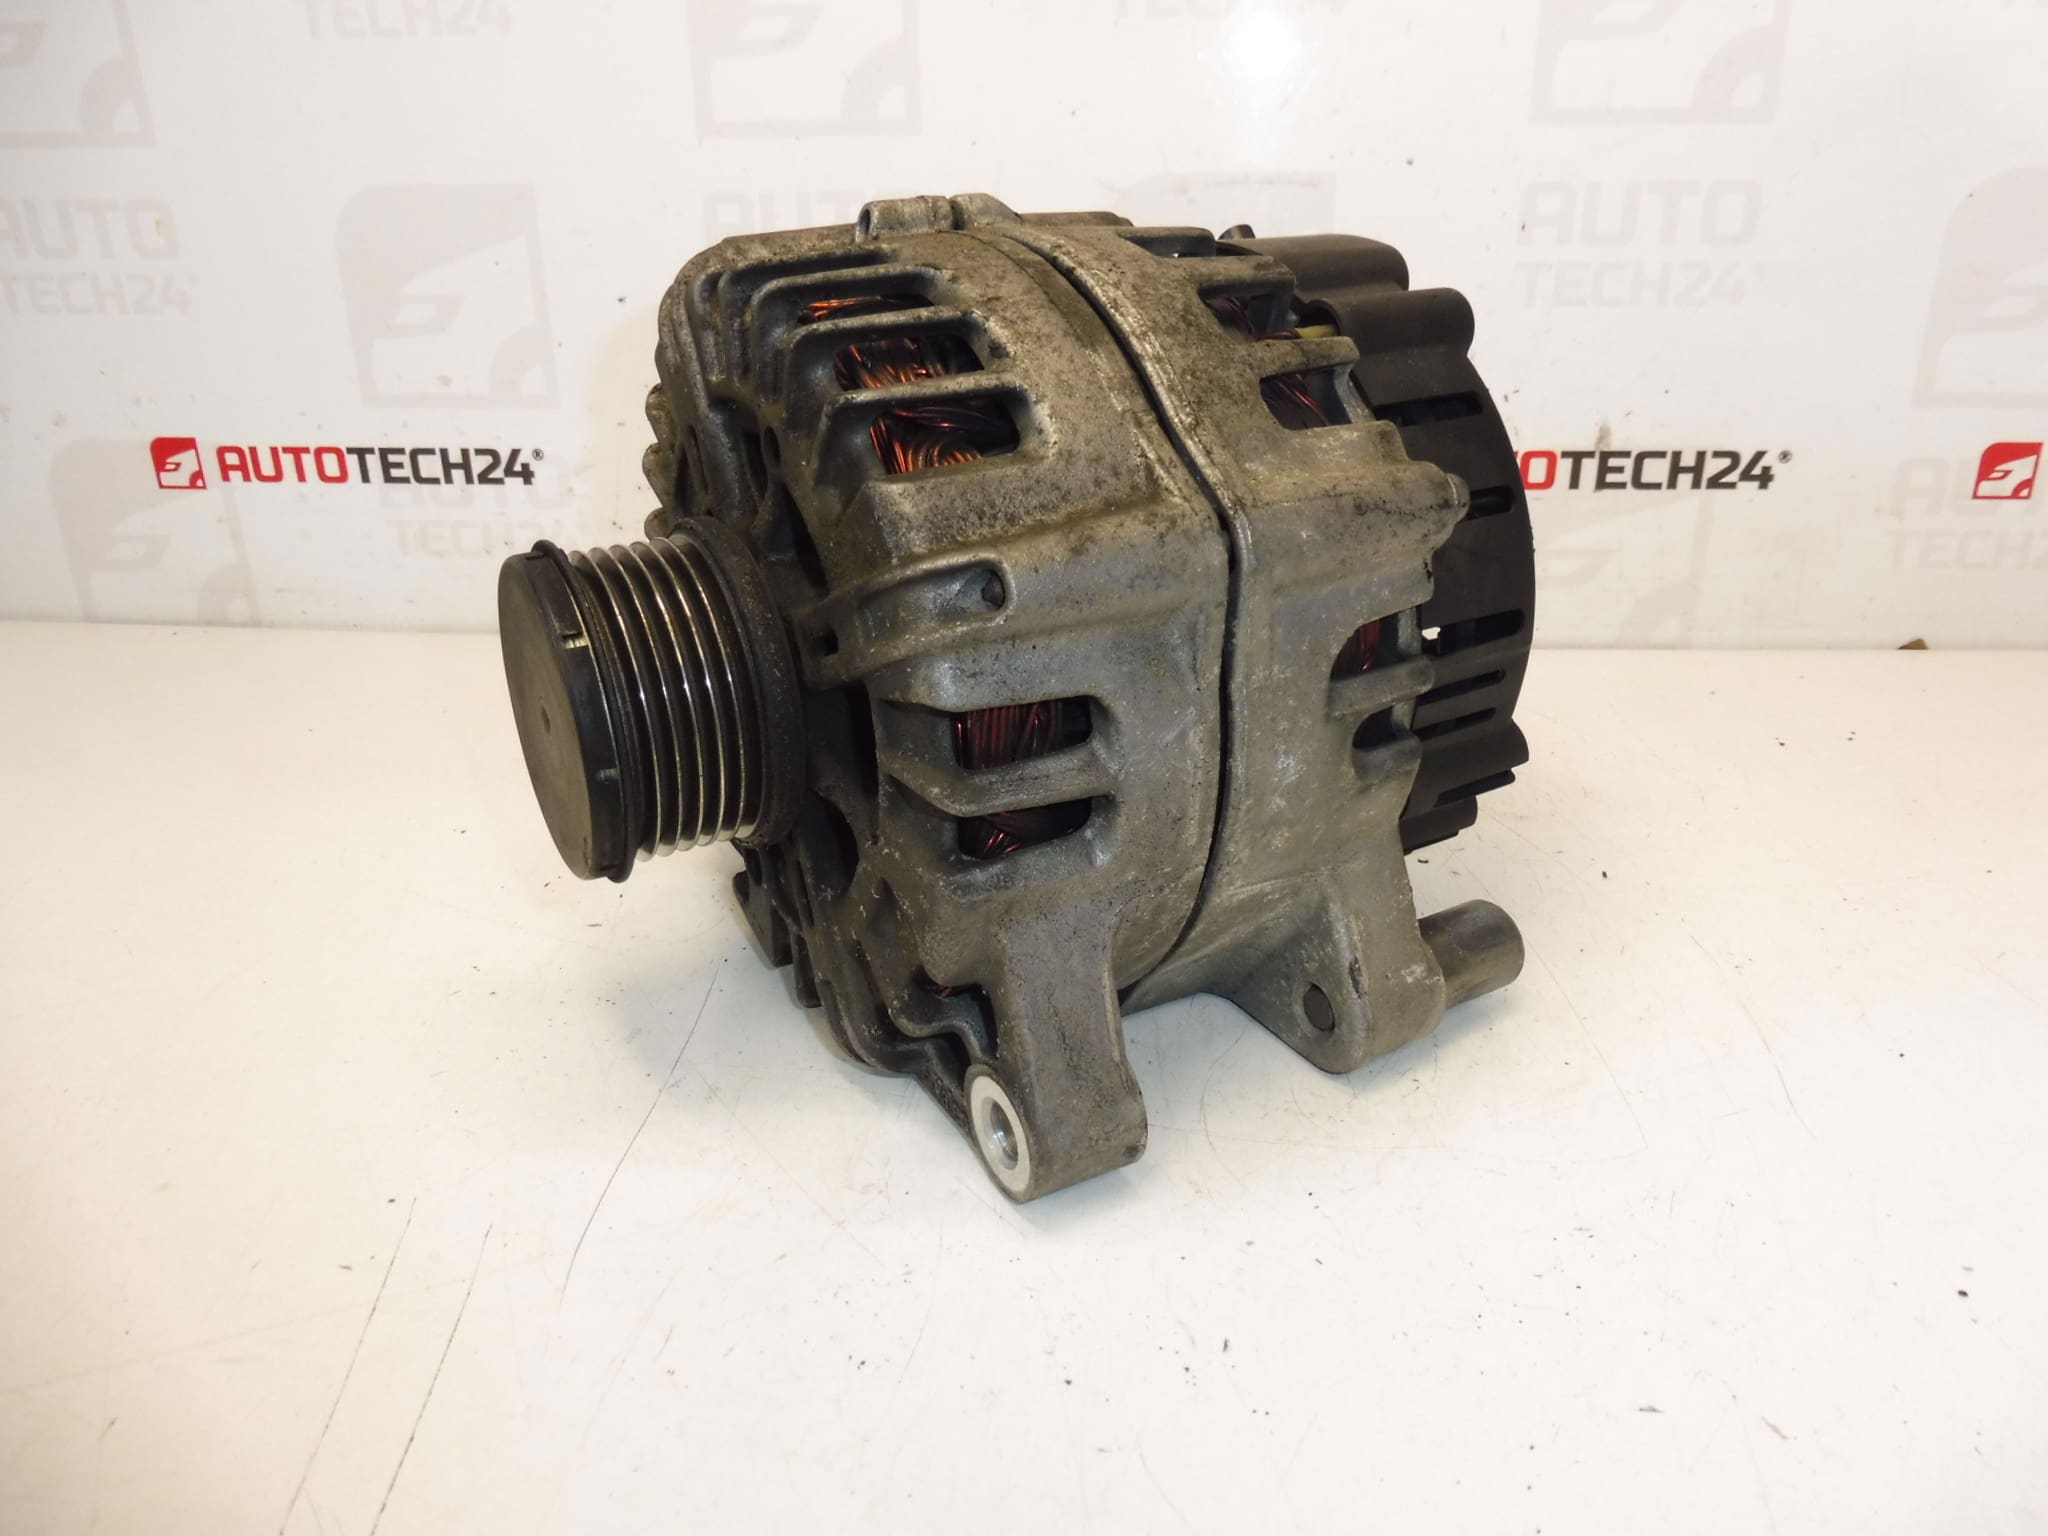
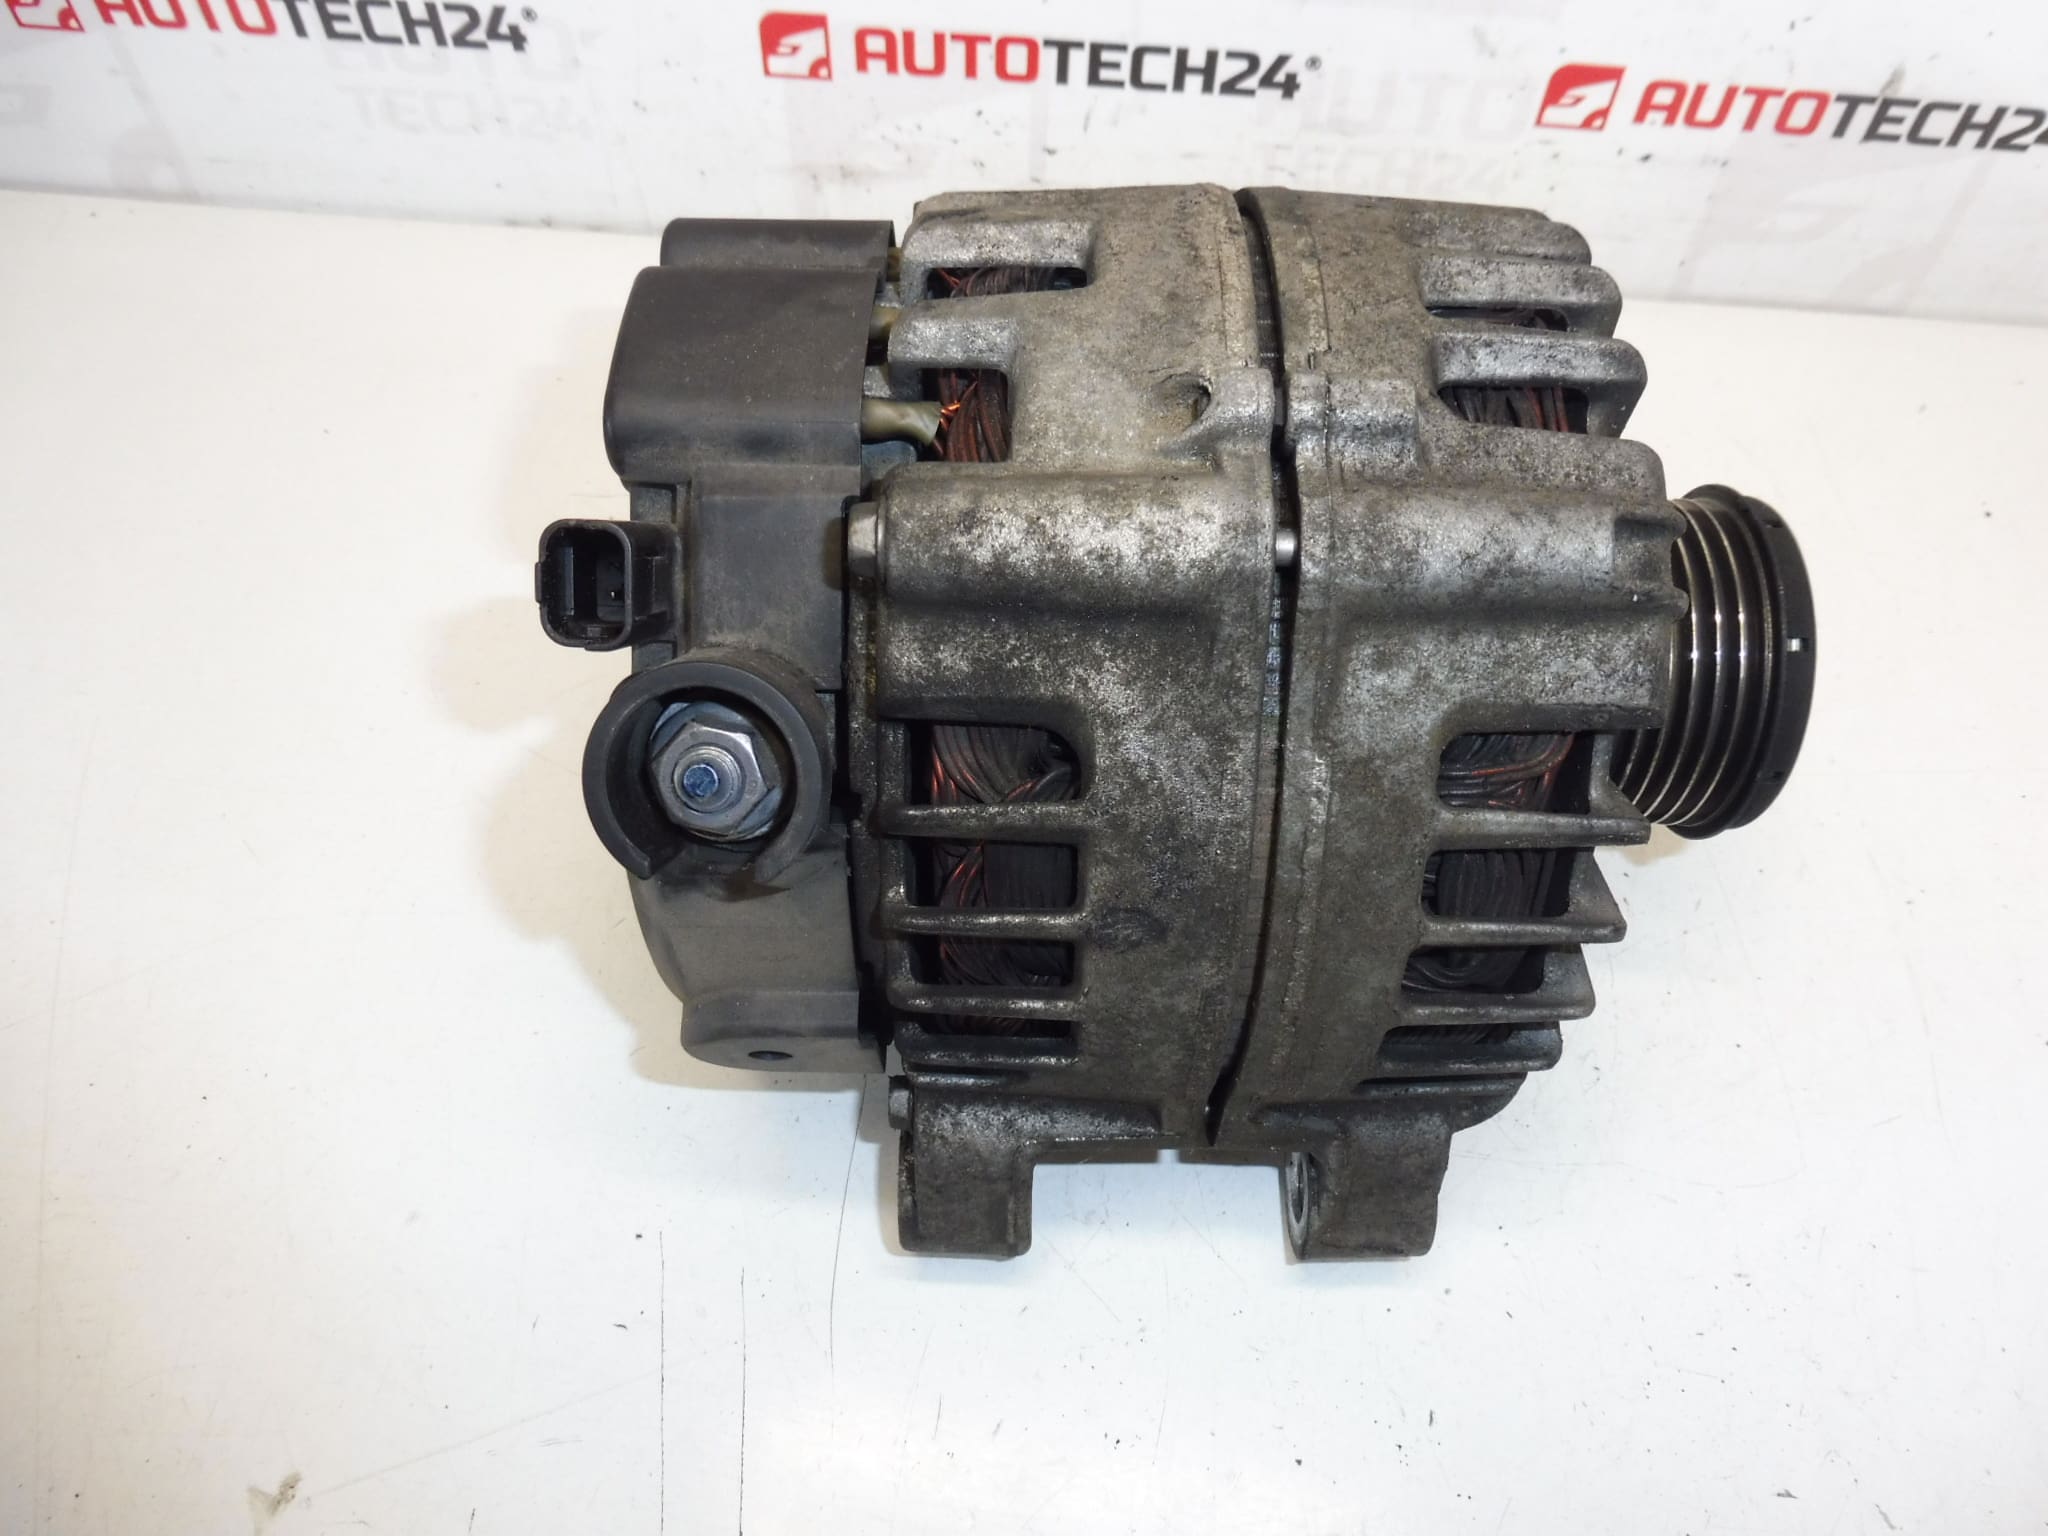
VALEO CL18 Alternator For 2.0 And 2.2 HDi Engines For Citroën And Peugeot Vehicles. With Decoupling (One-Way) Pulley.
Product Overview
This Valeo CL18 alternator delivers a high 180 A charging output designed for 12 V electrical systems used on Citroën and Peugeot cars equipped with 2.0 and 2.2 HDi diesel engines. The unit is supplied with a decoupling (one-way/freewheeling) pulley to reduce vibration transfer to the belt drive and improve longevity under frequent engine load changes. It is a direct-fit replacement for common OE references listed below and is suitable for professional workshops and experienced DIY mechanics who require a reliable, high-output charging unit.
Benefits
- High Output: 180 A capacity supports vehicles with heavy electrical loads (climate control, infotainment, start-stop auxiliary systems).
- Decoupling Pulley: Reduces belt noise and stress, improving belt and alternator service life.
- Direct Fit: Designed to match OE mounting points and electrical connections for straightforward installation on listed models.
- Durability: Built to withstand common under-hood conditions; suitable for daily driven and commercial use.
How It Works
The alternator converts mechanical energy from the engine into electrical energy to charge the battery and power vehicle electronics. The internal regulator controls output voltage while the rectifier converts AC to DC. The decoupling pulley isolates torsional vibrations from the belt drive, reducing stress on bearings and the drive belt.
Applications / Compatible Models
Intended for use on selected Citroën and Peugeot models equipped with 2.0 and 2.2 HDi diesel engines. Typical applications include:
- Citroën C4 Picasso (models with 2.0 / 2.2 HDi where OE numbers match)
- Peugeot 3008 I (models with 2.0 / 2.2 HDi where OE numbers match)
- Peugeot 5008 I (models with 2.0 / 2.2 HDi where OE numbers match)
How To Replace
Replacement is straightforward for a competent mechanic or experienced DIYer. Typical steps:
- Disconnect the negative battery terminal before beginning work.
- Relieve tension and remove the serpentine belt from the alternator pulley.
- Disconnect electrical connectors and wiring (stator plug, battery output cable).
- Remove alternator mounting bolts and extract the unit from its bracket.
- Fit the new alternator, tighten mounting bolts to manufacturer torque settings, reconnect wiring and belt, then reconnect the battery.
- Start the engine and confirm charging voltage (typically ~13.8–14.6 V) and correct belt alignment.
Installation Recommendations
- Always Disconnect The Battery Before Work To Avoid Short Circuits And Damage.
- Inspect And Replace The Serpentine Belt If Worn; Incorrect Belt Condition Or Tension Shortens Alternator Life.
- Ensure Electrical Connections Are Clean, Tight, And Free Of Corrosion.
- Use Correct Tools And Follow Manufacturer Torque Specs For Mounting Bolts.
- After Installation, Verify Charging System Output With A Multimeter Or Diagnostic Tool.
Why The Part Commonly Fails
Alternators typically fail due to wear of moving parts or electrical components. Common causes include:
- Bearing Wear From High Mileage Or Contamination, Causing Noise Or Seizure.
- Brush And Slip Ring Wear Leading To Poor Charging Or Intermittent Output.
- Diode/Rectifier Or Voltage Regulator Failure Resulting In Undercharging Or Overcharging.
- Oil Or Coolant Contamination From Engine Leaks Accelerating Bearing And Electrical Damage.
- Excessive Belt Tension Or Misalignment Causing Premature Bearing Failure.
Technical Information
- Manufacturer: Valeo
- Model: CL18
- Product Codes: 9664074280; 9803750980; 1648236080; 5705KR; 5702J4
- Additional Numbers: 1648236080; 5702J4; 5705KR (cross-references)
- Voltage: 12 V
- Output: 180 A
Notes
Check the listed OE/product codes against the part being replaced to ensure correct fitment. Follow standard safety procedures during removal and installation to avoid damage to the alternator or vehicle electrical system.