Description
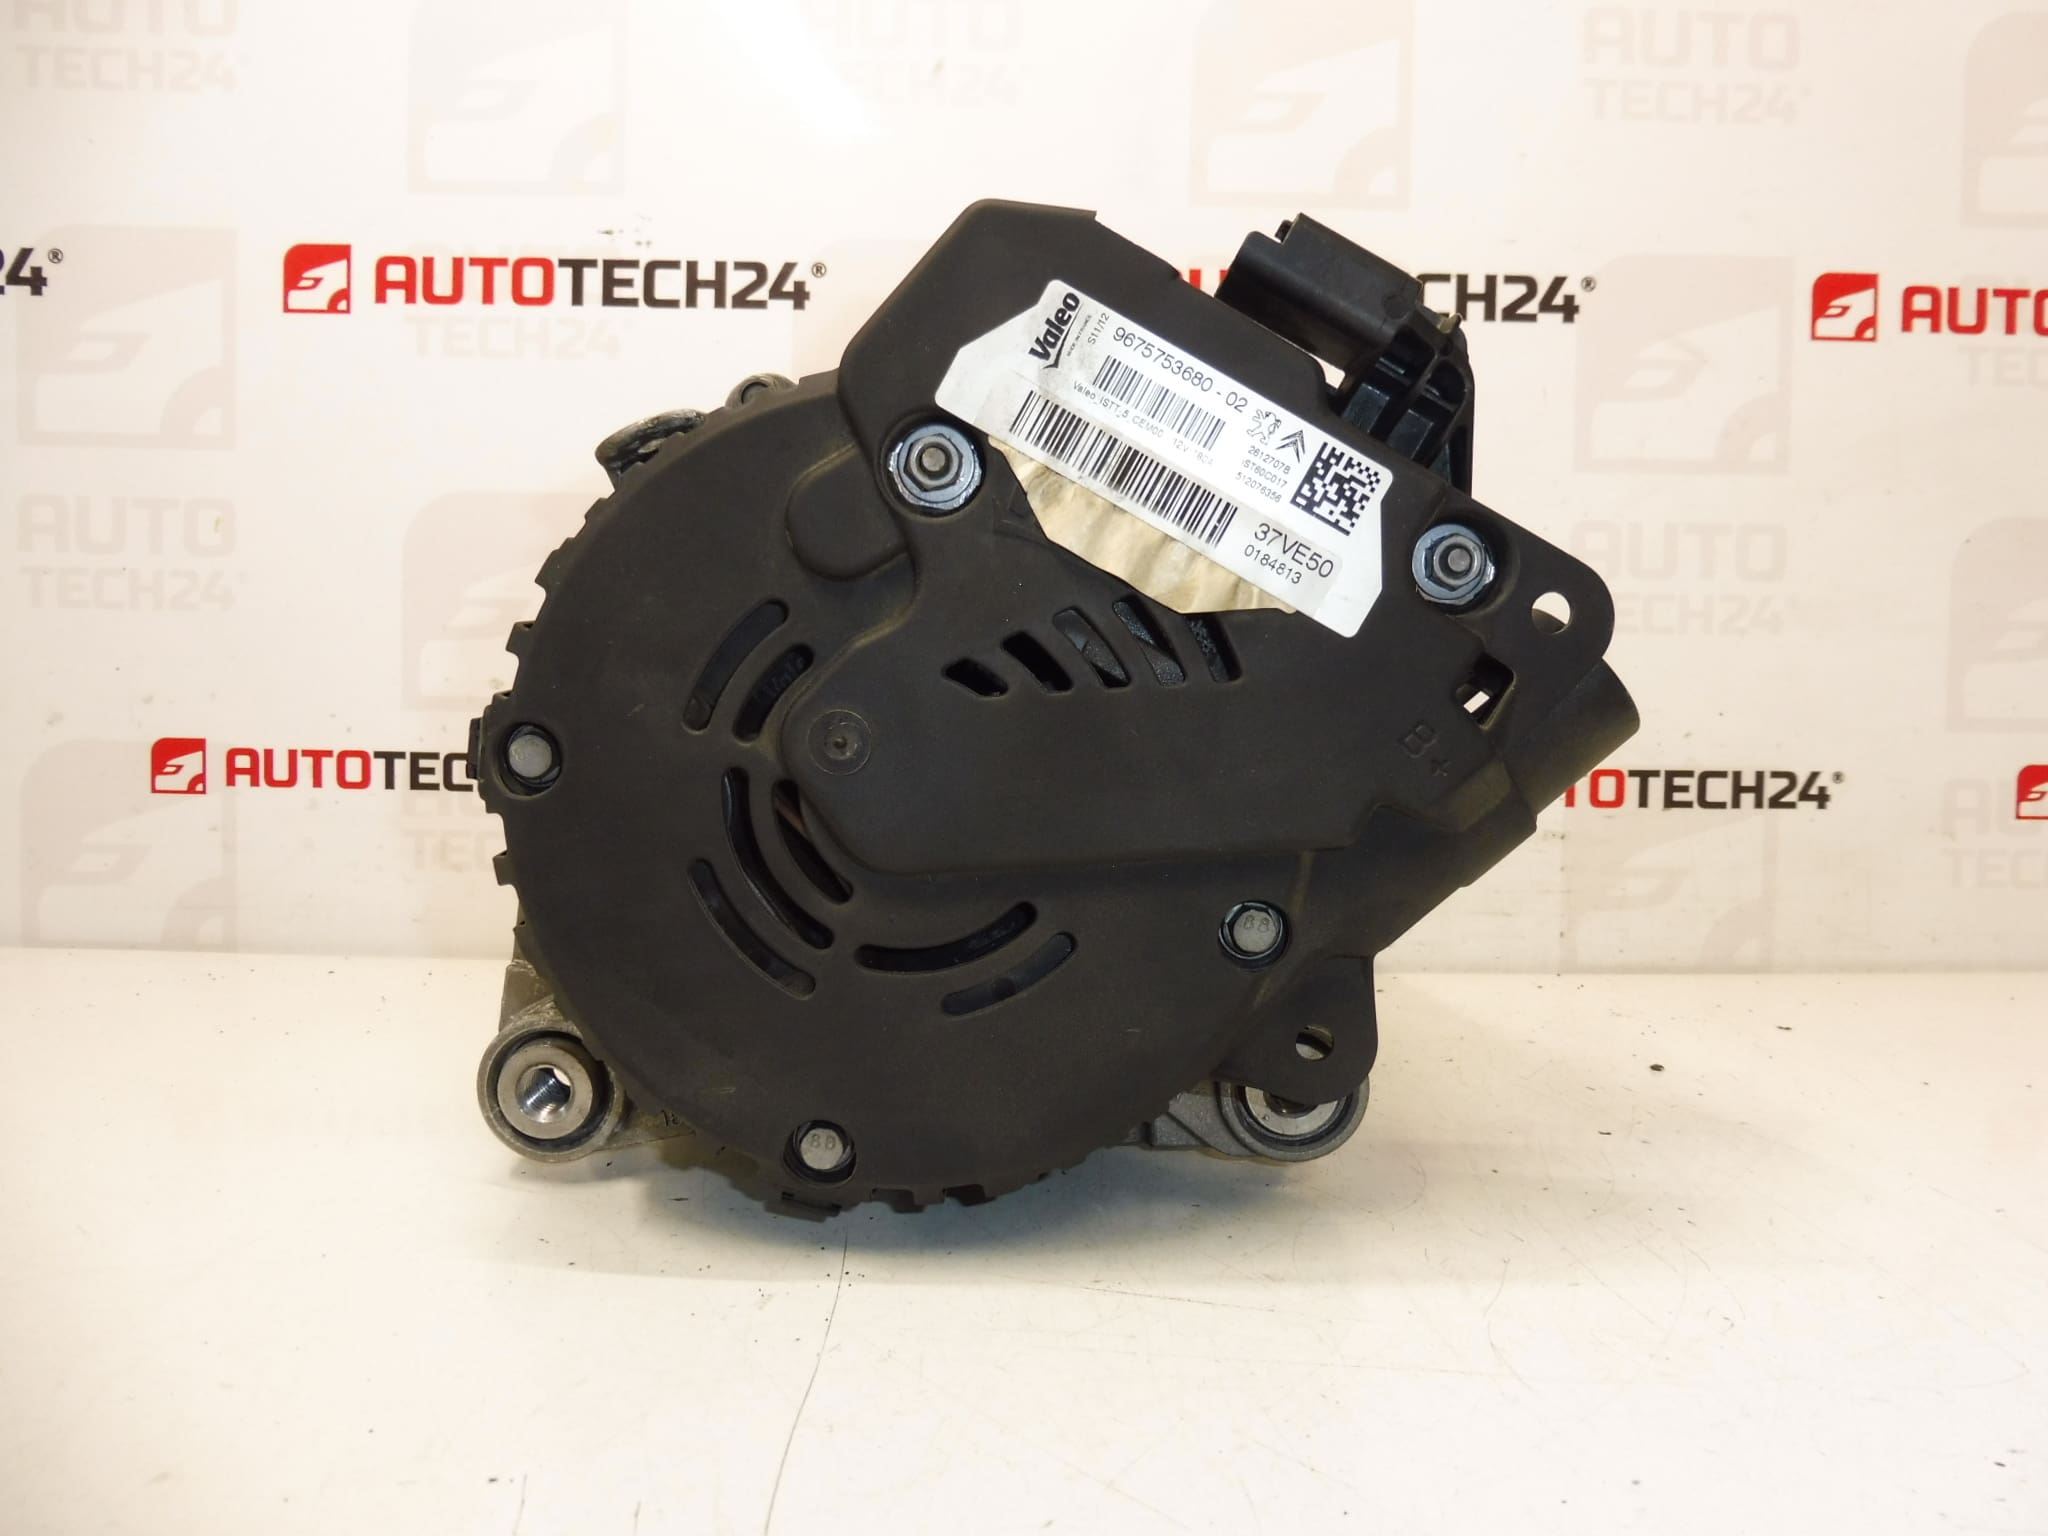
Valeo CL18 START-STOP alternator for Citroën Peugeot cars with 1.6 e-HDI engine
From a car with only 64,000 km
Part description
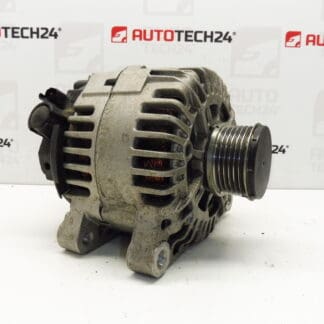
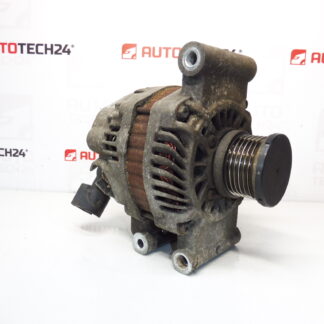
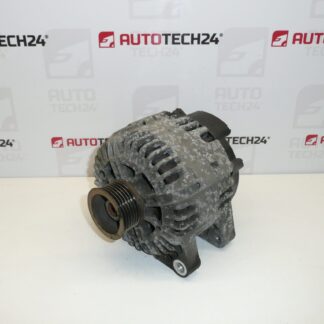
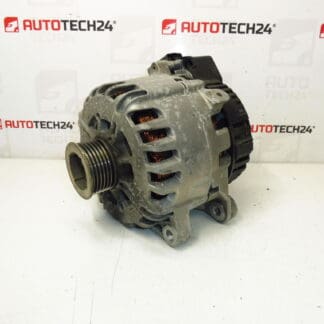
The used Alternator Valeo CL18 START-STOP is intended for Citroën and Peugeot cars with a 1.6 e-HDI engine. It is an important part of the charging system, which ensures the charging of the battery and the proper functioning of the car’s electrical systems. Thanks to the label reverse alternator, this part is also searched for by a specific product number when repairing cars with a start-stop system.
The advantage of this piece is that it comes from a car with only 64,000 km, which may be of interest to mechanics and home repairers looking for an original used part at a reasonable price. When choosing an alternator, it is always practical to compare, in particular, the designation on the label, the type of connector, mounting and product codes.
Technical information
- Manufacturer: Valeo
- Model: CL18 START-STOP
- Other numbers: 9675753680-02, 1625944380, 5705PA
Product codes
- Product codes: 9675753680, 9675753680-02, 1625944380, 5705PA
- Models: Citroën C4, Citroën C4 PICASSO, PEUGEOT 3008 I, Peugeot 308, PEUGEOT 5008 I
Installation recommendations
Generally/typically for alternator replacement, the exact procedure may vary depending on the specific car model and engine compartment design. Below is a practical general procedure for this type of part.
1) Before assembly
- Check that the product codes, manufacturer designation and alternator type match.
- Compare the mounting, connector, electrical connection and dimensional design with the old part.
- Inspect the condition of the pulley, threads, attachment points and connectors.
- Make sure that the used part is not mechanically damaged and has no visible signs of overheating.
2) Necessary tools and materials
- A common set of hand tools
- Ratchet and suitable attachments
- Accessory and cover release tool
- Electrical contact cleaner
- Protective gloves and work lighting
3) Step-by-step assembly procedure
- Turn off the ignition and disconnect the battery.
- Provide access to alternator by removing obstructing covers or parts if necessary.
- Carefully mark or photograph the electrical connections before removing the original part.
- Disconnect the electrical connectors and power line from the old alternator.
- Release the respective drive and remove the original alternator from the brackets.
- Compare the old and new part side by side, especially the mounts, connectors and pulley.
- Clean the contact surfaces and check the condition of the connection cables and connectors.
- Place the used alternator in place and fasten it according to the car structure.
- Reconnect the power lines and connectors so that they are properly seated and secured.
- Restore accessory drive according to vehicle design.
- Reinstall all removed covers and surrounding parts.
- Connect the battery and perform a basic function check.
-
4) Post-assembly checks and test drive/function verification
- After starting, observe for any unusual noises, vibrations or overheating smell.
- Check that the alternator is properly seated and the electrical connections are tight.
- Verify the proper functioning of the charging system and electrical appliances.
- After a short test drive, visually check the fit and connection again.
5) The most common assembly mistakes + how to avoid them
- Part exchange based on incomplete designation – always compare all numbers and physical design.
- Assembly with a damaged connector – check the contacts and any signs of oxidation before installation.
- Insufficient cleaning of the contact surfaces – dirt can complicate the correct seating of the part.
- Forgotten or poorly seated electrical connection – always check all connections after connection.
- Handling damage – handle the alternator with care, especially around the connectors and pulley.
Reasons why the part is damaged
- normal wear and tear during long-term operation
- increased load in the vehicle charging system
- wear of the belt drive or related parts
- dirt, moisture or corrosion of electrical contacts
- overheating and prolonged high thermal stress
- improper handling during previous assembly or disassembly