Description
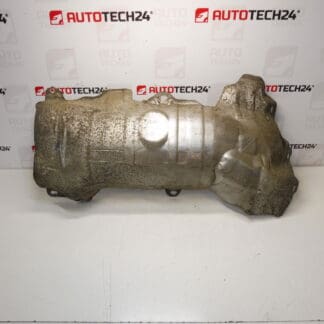
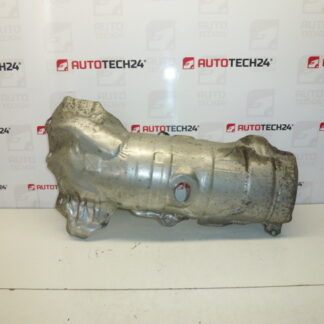
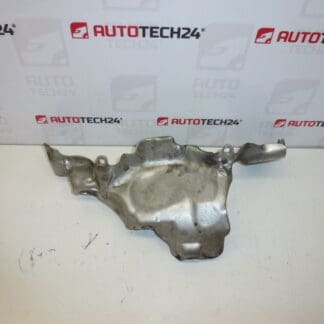
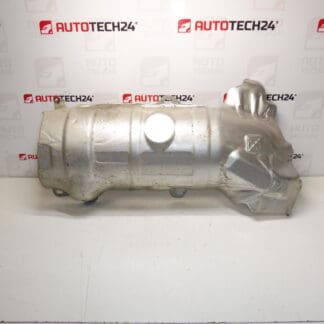
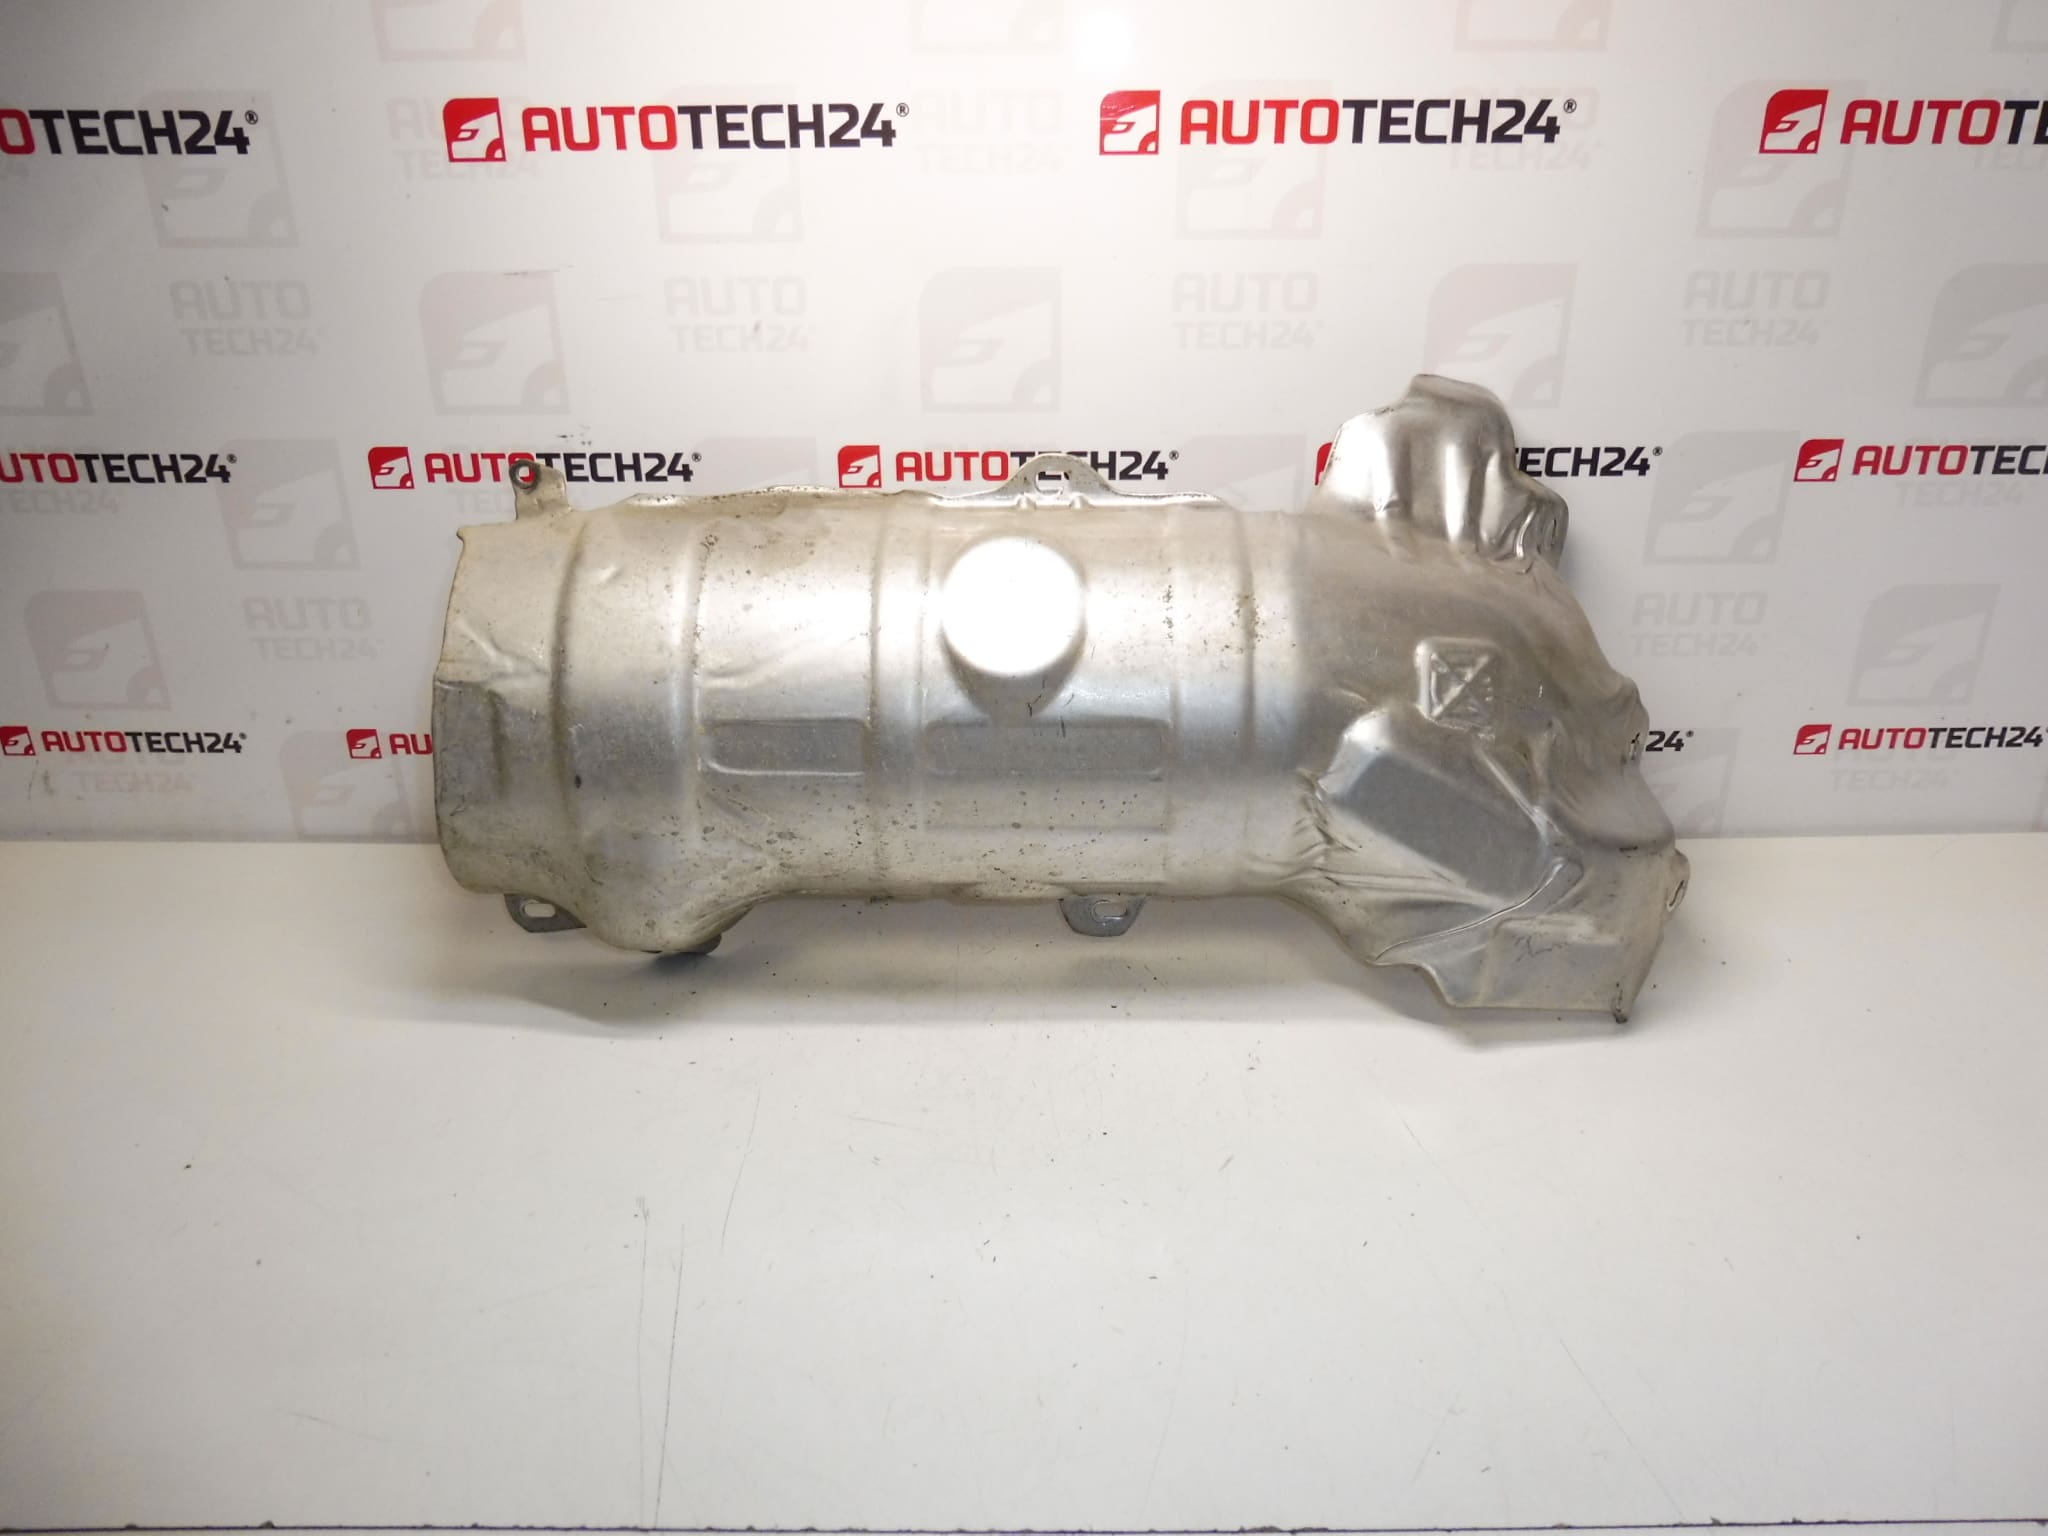
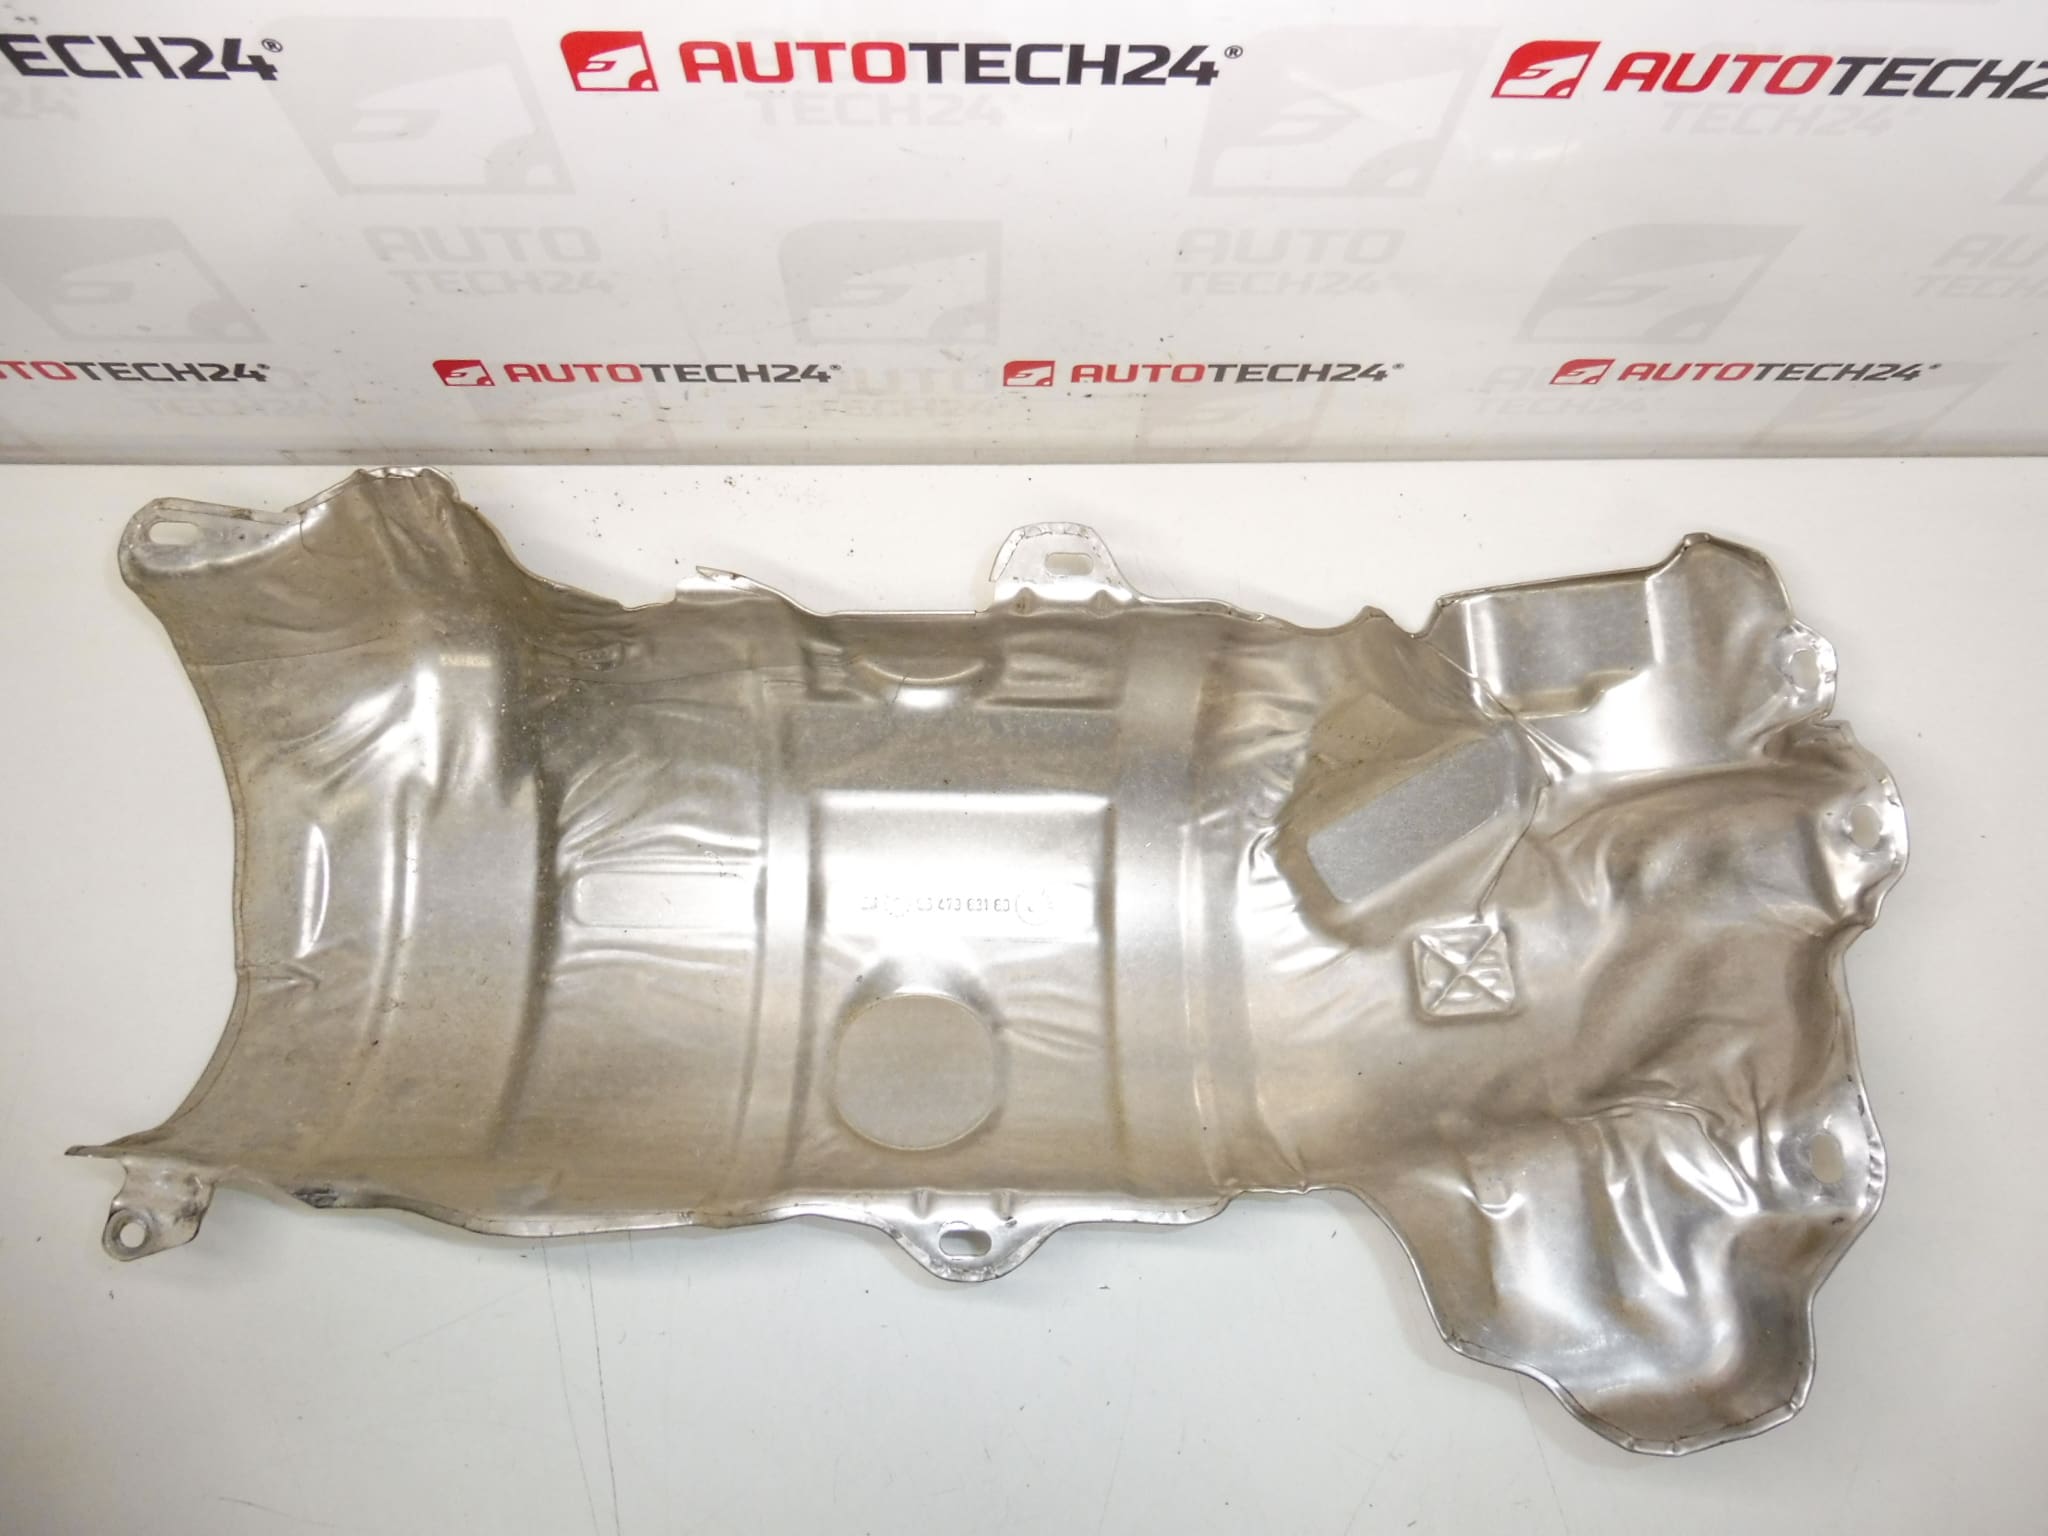
Catalyst cover 1.6 HDI for CITROEN PEUGEOT cars
Part description
This heat shield / catalyst cover is designed for the 1.6 HDI engine in Citroën and Peugeot cars. It serves to protect the surrounding components from radiant heat from the exhaust section (catalyst/FAP area) and at the same time helps direct the thermal load to where it should be. When the shield is damaged or missing, overheating of the surroundings, resonances and unpleasant sounds often occur.
The advantage is traceability by product numbers, which is the fastest way to the right part in service practice.
Technical information
- Manufacturer: PSA Citroën Peugeot
- Model: Citroën Berlingo, Citroën C4, Citroën Xsara Picasso, Peugeot 206, Peugeot 207, Peugeot Partner
- Other numbers: 9647983780
Product codes
- Product codes: 9647983180, 1723T1
Installation recommendations
In general/typically, replacing the heat shield (catalyst cover) is a simple operation, but correct seating, undamaged mounts and elimination of resonances are crucial. The exact procedure may vary depending on the specific design of the car and access to the exhaust section.
1) Before assembly (checks of used part)
- Compare with the old part: shape, moldings, location of holes and type of attachment.
- Check if the shield is cracked, significantly bent or with torn out meshes/holes.
- Verify compliance by codes: 9647983180 and 1723T1 (or 9647983780).
2) Necessary tools and materials (in general)
- Basic set of ratchets and extensions / keys according to the type of connecting material
- Flat screwdriver or small pry bar (to align shield and guide into position)
- Thread brush and cleaner (for cleaning contact points/screws)
- Work gloves, possibly protective glasses
3) Step-by-step assembly procedure
- Let the exhaust section cool completely.
- Secure the vehicle against movement and create safe access to the installation site (depending on the vehicle’s capabilities).
- If the original shield is on the car, check its attachment and identify all attachment points.
- Clean the surroundings of the attachment (threads/seats) from dirt and corrosion.
- Place the heat shield in the correct position and check the fit without using force.
- Start fastening first “freely” – grab the fasteners lightly so that the shield goes even further.
- Align the shield so that it does not rub against the surrounding parts anywhere and has an even seat.
- Gradually tighten the fastening so that the shield is firmly held, but not unnecessarily deformed.
- Do a clearance check – the shield must not be in contact with parts that could cause knock/resonance.
-
4) Post-assembly checks and test drive/function verification
- After starting, observe for vibrations or metallic noises when idling.
- After driving for a short time and warming up the engine, check again that the shield is secure and nothing has come loose.
5) The most common assembly mistakes + how to avoid them
- Bad fit (shield rests on surrounding parts) → always seat and check clearances before tightening.
- Tightening “to force” → deformation and subsequent resonances may occur; tighten gradually.
- Ignoring damaged mounts → torn holes or cracks lead to early release; thorough inspection before assembly.
Reasons why the part is damaged
- Corrosion due to heat, water and road salt (especially in attachment points).
- Exhaust vibration and long-term stress that gradually pulls out the mounts.
- Mechanical damage during service interventions (careless disassembly/assembly of surrounding parts).
- Temperature cycling (repeated heating and cooling) which can cause cracking and deformation.