Description
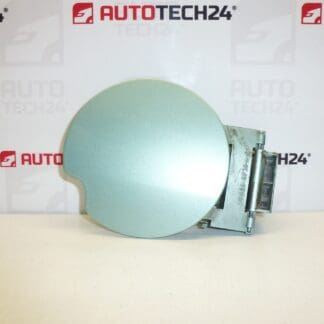
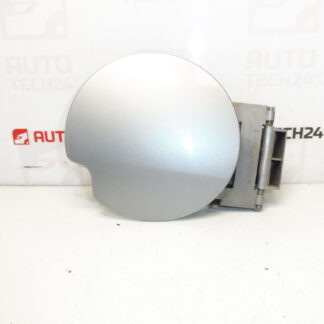
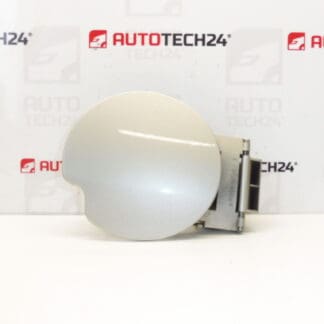
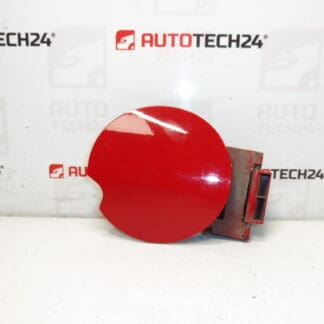
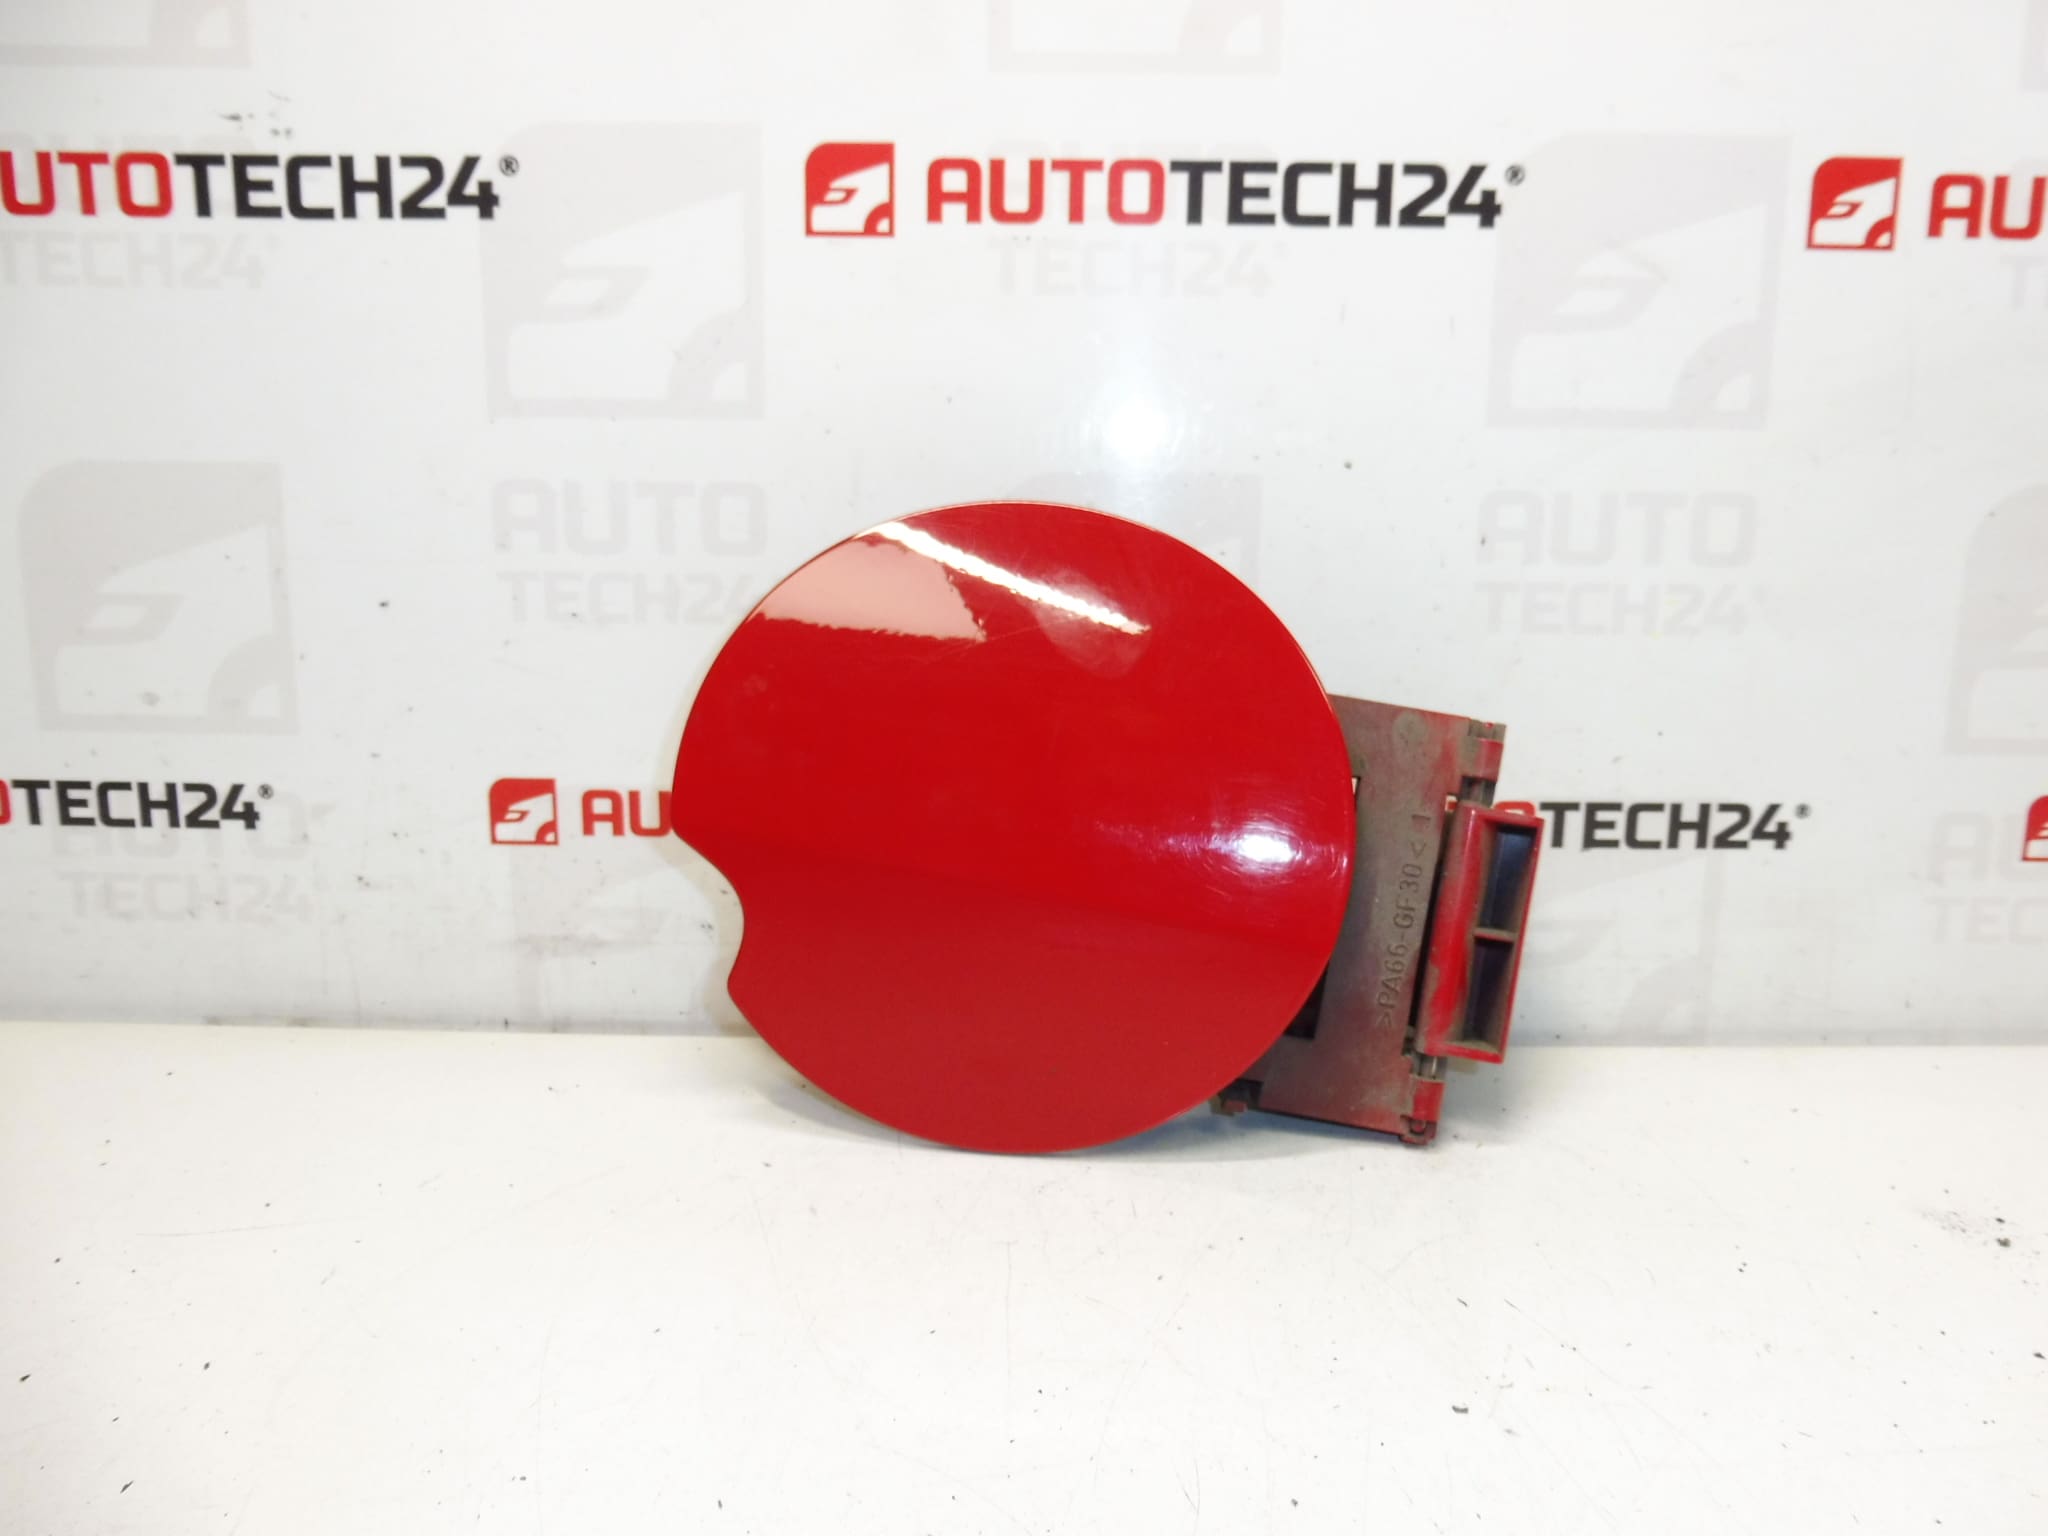
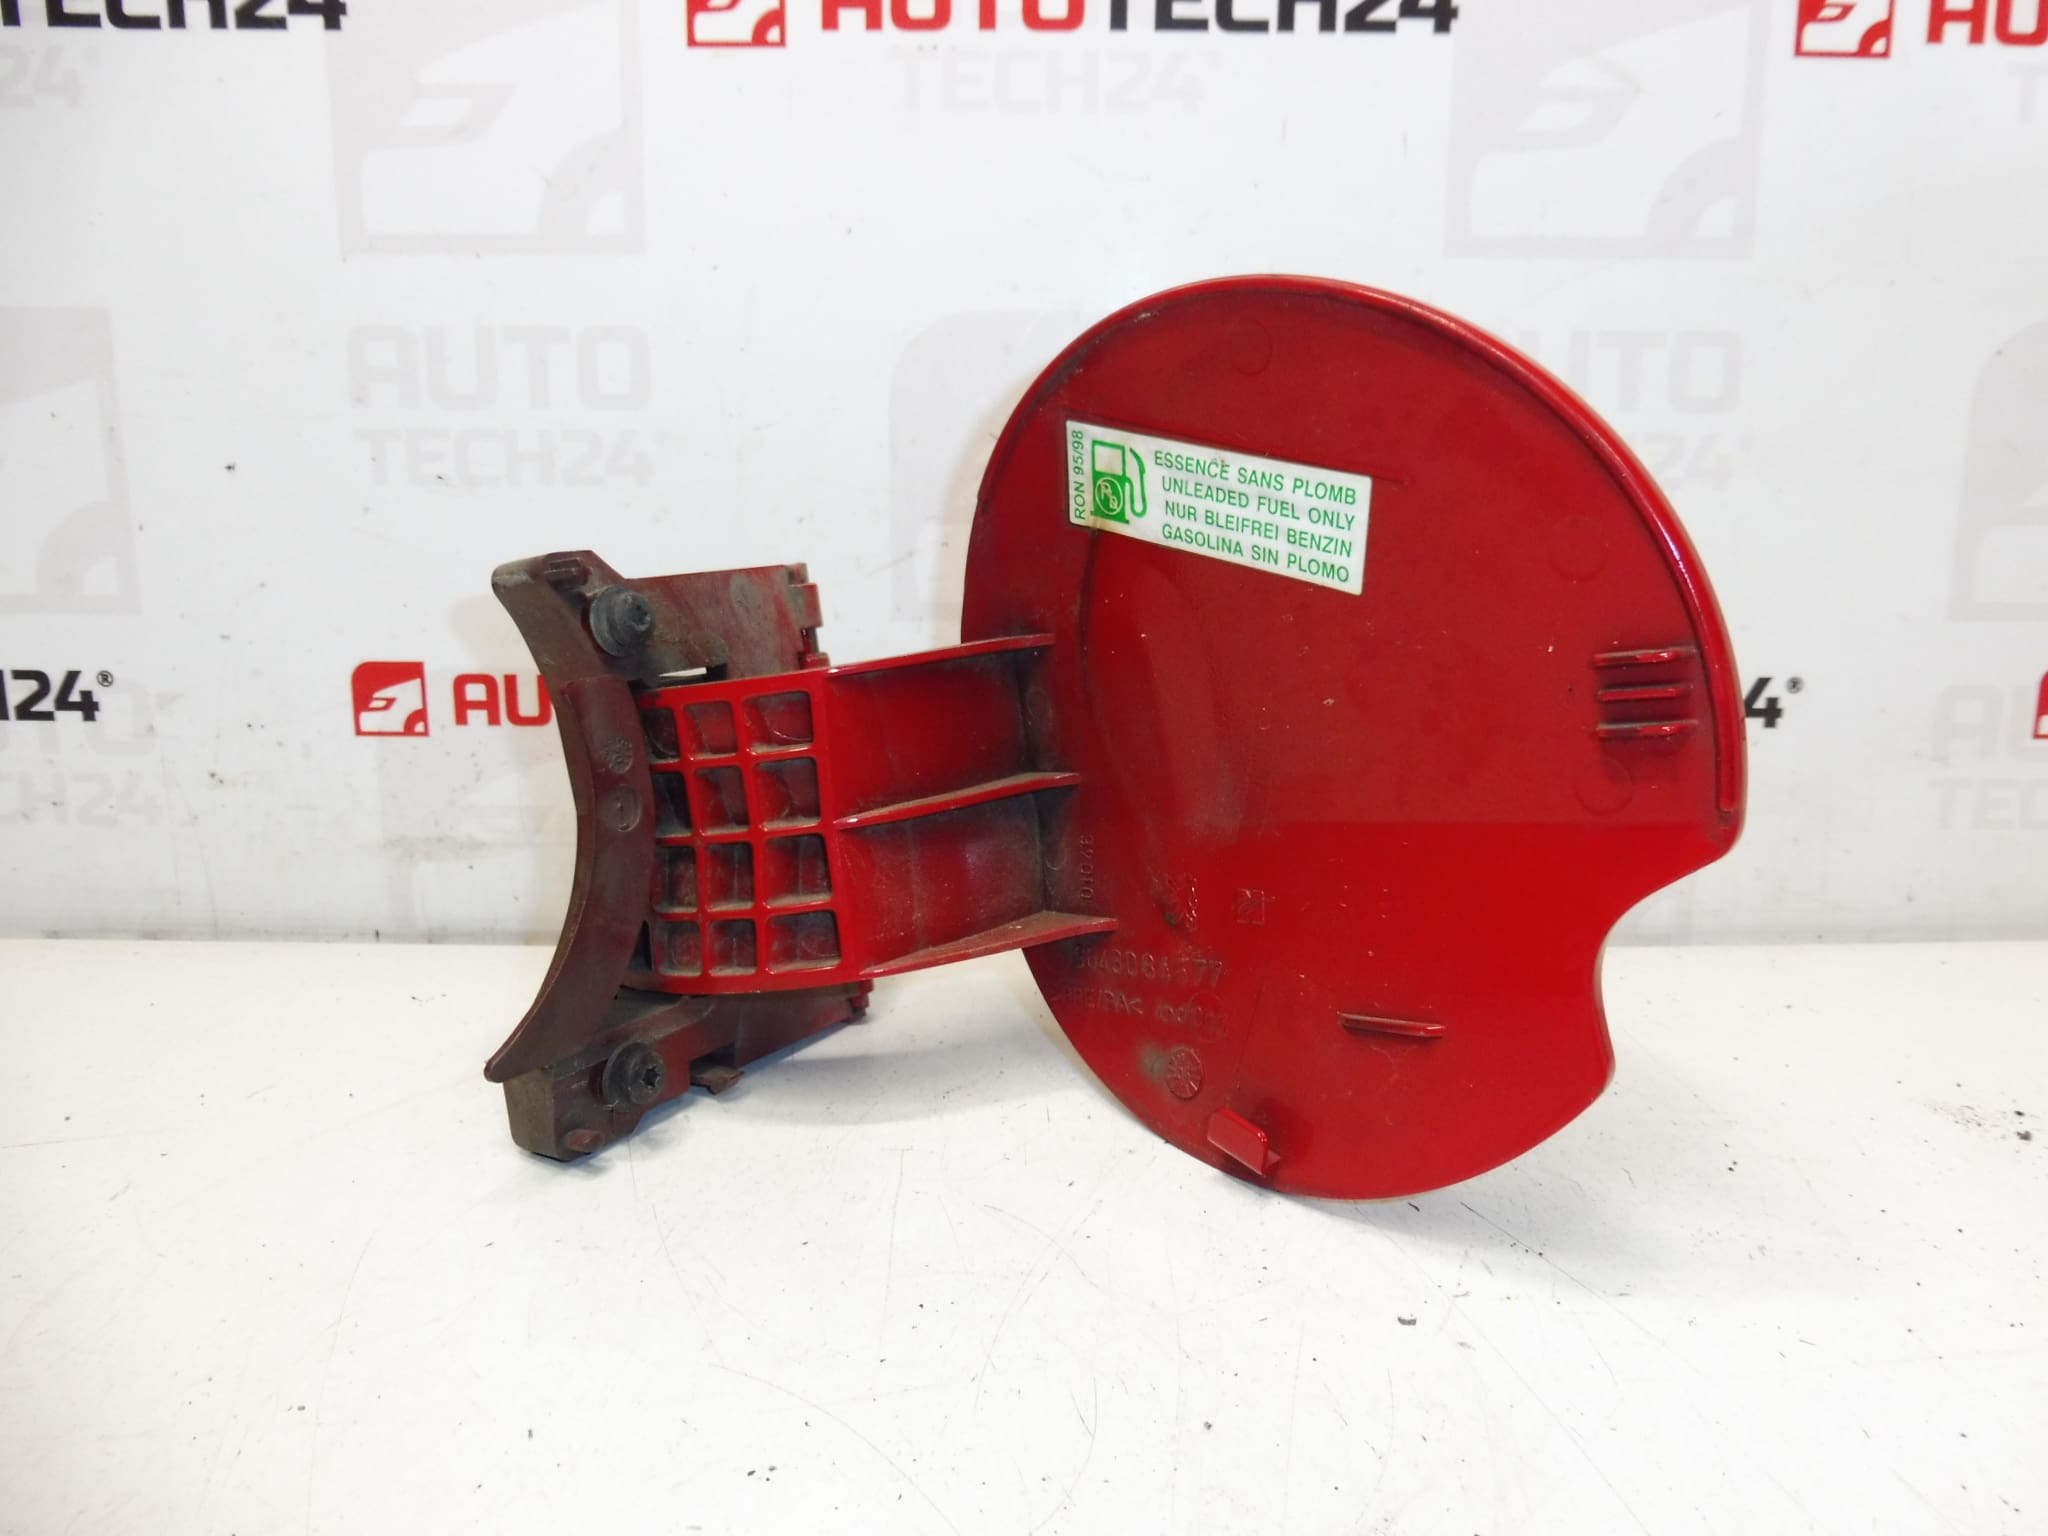
Fuel filler cap cover for Peugeot 307 CC I and II. Color KKN – Aden Red paint. Various colors available in stock.
This genuine-style fuel filler flap cover is designed for Peugeot 307 CC convertibles and provides an exact fit and finish to restore the vehicle’s exterior appearance and protect the fuel filler neck. Ideal for professional workshops and experienced DIY enthusiasts, the part is commonly searched by OEM codes (9643084577, 1517A5) and color code KKN, improving findability in online searches. Supplied painted in Aden Red (KKN) with other color options available, this cover replaces damaged or corroded flaps caused by impacts, paint degradation or hinge failure.
Function And Application
The fuel filler flap cover protects the fuel cap and filler neck from dirt, moisture and minor impacts while serving as an exterior body panel that must match the vehicle paint. It is tailored for Peugeot 307 CC models (first and second generation) and aligns with factory mounting points to maintain correct sealing and closing action.
Replacement And Installation
- Open The Fuel Flap And Inspect Fixings: Locate the hinge screws or retaining clips securing the flap to the body.
- Remove Fasteners: Carefully remove hinge screws or release clips. Keep original fasteners if reusable or replace with identical hardware.
- Disconnect Any Tether Or Lock Components: If the cap tether or locking mechanism is attached to the flap, disconnect it gently.
- Fit The New Cover: Align the replacement flap with the hinge and body gap, then secure fasteners without overtightening to avoid deforming the flap.
- Test Operation: Open and close several times to verify smooth movement, correct latch engagement and even panel gaps. Adjust hinge alignment if necessary.
Typical workshop time: 20–45 minutes, depending on access and whether trim removal is required. Recommended tools: set of screwdrivers/Torx bits, trim pry tools, small ratchet set and clip pliers.
Why This Part Most Commonly Fails
- Impact Damage: Minor collisions or parking knocks deform the flap or hinge.
- Hinge And Clip Wear: Plastic hinges and clips can become brittle with age and UV exposure, leading to loose or broken mounting points.
- Corrosion And Paint Degradation: Salt, moisture and stone chips cause corrosion or peeling paint, especially around the edges.
- Latch Malfunction: Dirt ingress or wear can prevent proper closing or locking.
Technical Information
- Manufacturer: Peugeot / Stellantis
- Model: Peugeot 307 CC (I, II)
- Product Codes: 9643084577, 1517A5
- Additional Numbers: KKN (Color Code), KKNB (as referenced)
Installation Recommendations
Handle the painted surface with care to avoid scratches during fitting. If screws or clips are corroded, replace them to ensure secure mounting. Check the flap gap and latch operation after installation and use a suitable threadlocker on metal fasteners if recommended by the workshop practice. For best aesthetic results, verify color code (KKN – Aden Red) before ordering; alternative colors are available from stock.
Search terms: Peugeot 307 CC fuel filler flap, Peugeot 307 fuel flap 9643084577, 1517A5 Aden Red fuel door. Order the correct color-matched cover now to restore appearance and function.