Description
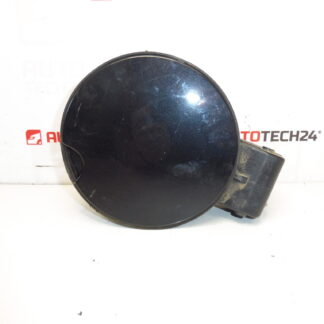
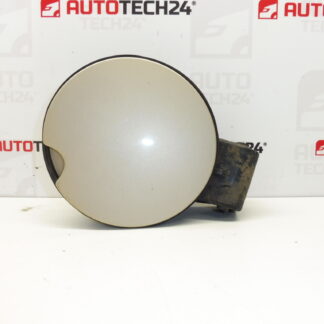
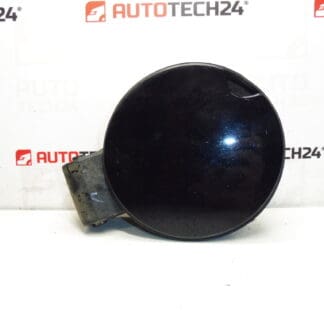
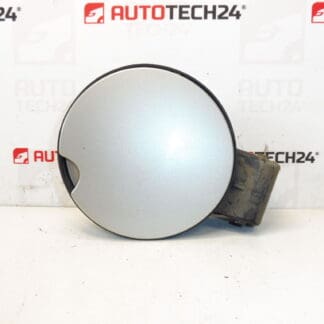
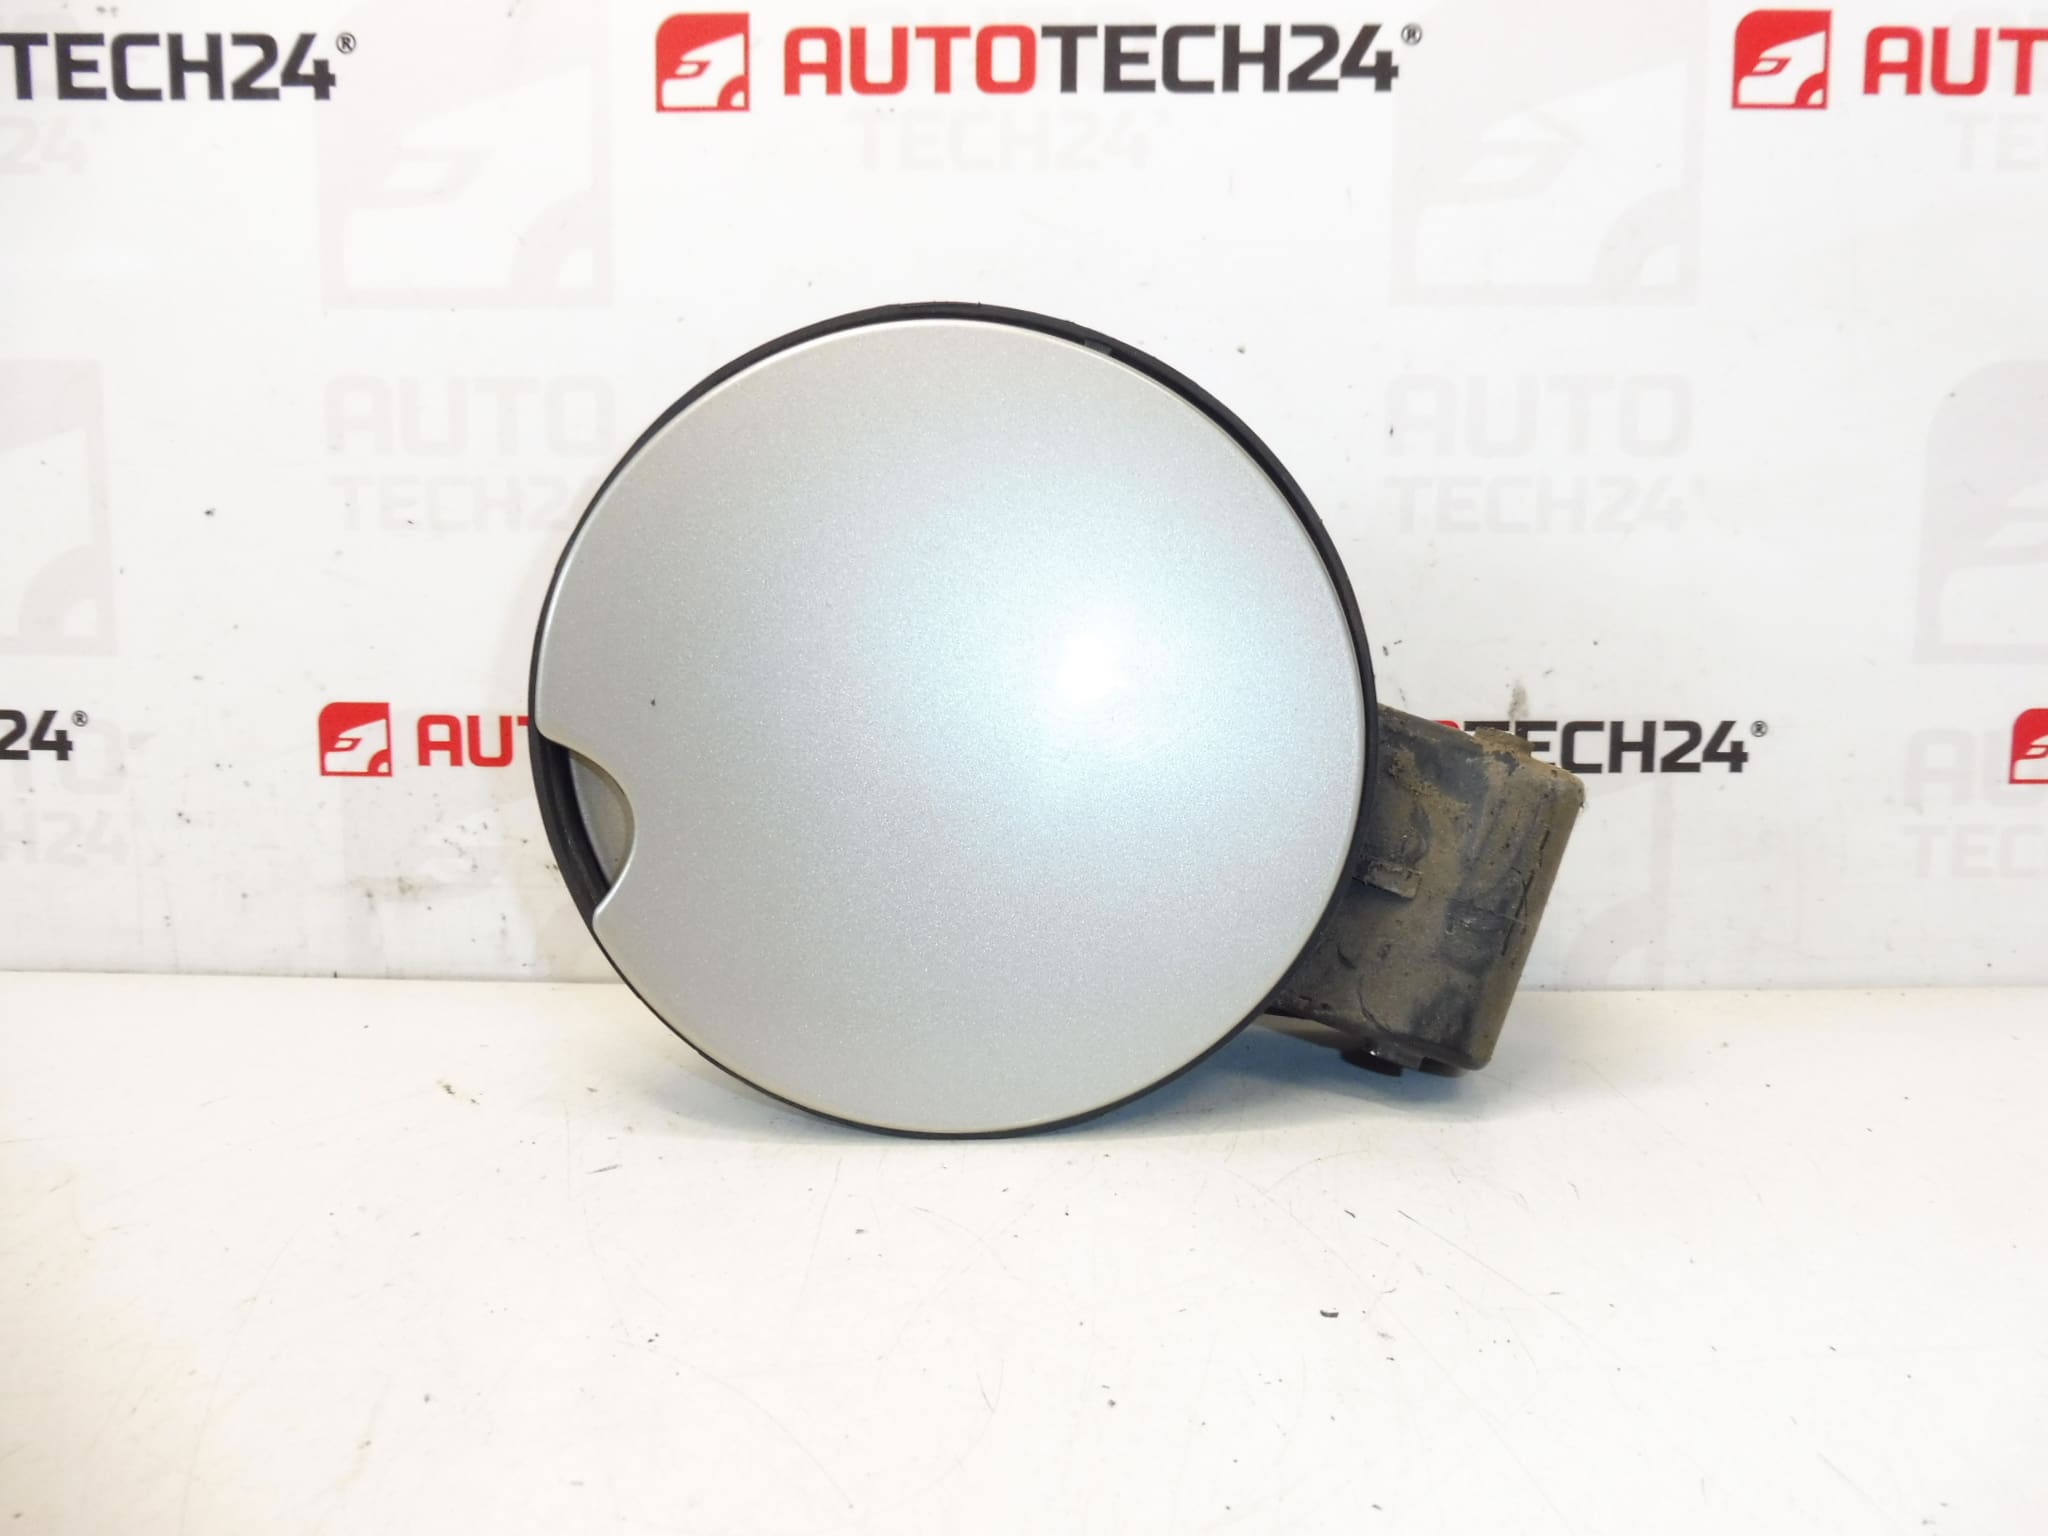
Fuel Filler Flap For Citroën C4 5-Door Vehicles. Color ETS – Paint Grey Cendré
Direct-fit fuel filler flap tailored for Citroën C4 5-door models, finished in ETS Grey Cendré for a factory-matching look. This replacement part restores the exterior appearance and sealing of the fuel filler area, maintaining paint continuity and correct alignment with the bodywork. Frequently searched by OE numbers, this flap is suitable for professional garages and experienced DIY mechanics who expect an original-look result and reliable fitment.
Technical Information
- Manufacturer: Citroën (Stellantis)
- Model: Citroën C4 I (5-Door)
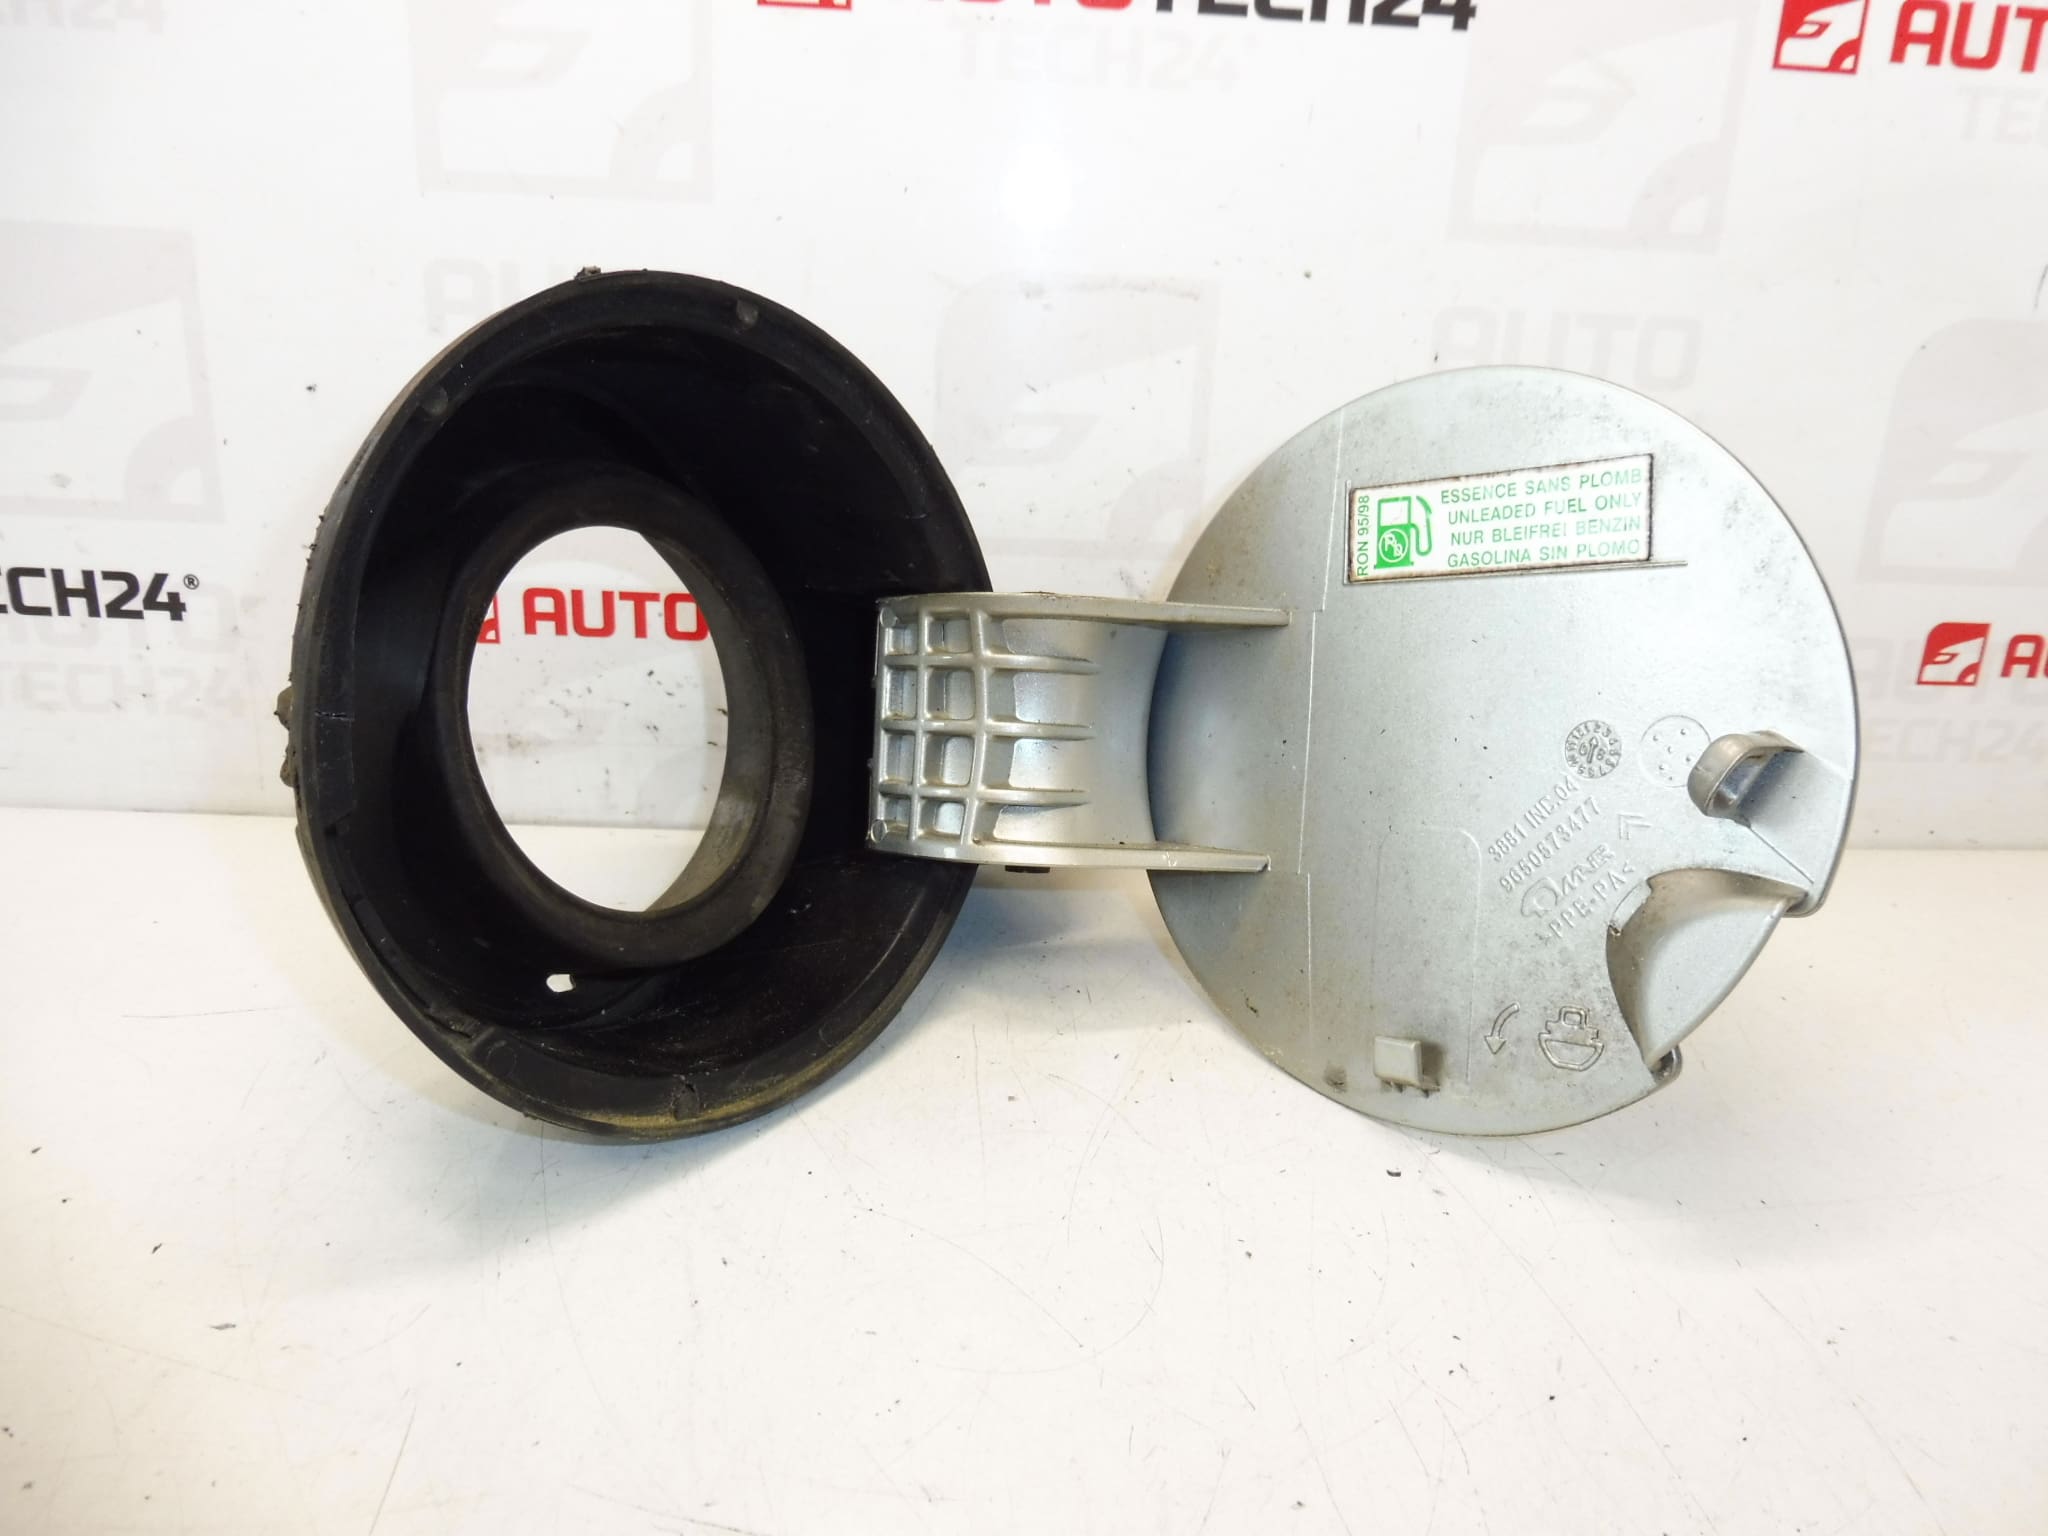
- Product Codes: 9650573477, 1517C1, 151880
- Additional Numbers: ETSC, ETS
How To Replace
Replacement is straightforward for a competent mechanic and requires basic hand tools. Typical procedure:
- Open The Fuel Flap And Remove Any Visible Fasteners Or Retaining Clips.
- Access Mounting Points From The Wheel Arch Or Inner Trim If Required And Remove Fixings.
- Disconnect The Locking Actuator Or Retaining Cable If The Model Is Equipped With Central Locking.
- Remove The Old Flap, Transfer Any Useful Hardware Or Gaskets, And Fit The New Flap Into Position.
- Check Alignment, Tighten Fasteners To Manufacturer Torque Where Specified, And Test Opening, Closing, And Locking Functions.
Installation Recommendations
- Test Fit Before Painting Or Final Assembly To Ensure Correct Alignment.
- Replace Broken Clips, Gaskets, And Fasteners To Avoid Rattles Or Water Ingress.
- Lubricate Hinge Points Lightly To Prevent Squeaks And Reduce Wear.
- Verify Locking Actuator Operation After Installation If Central Locking Is Present.
- Use Primer And Paint Matching The ETS Grey Cendré Code For Visible Repairs.
Most Common Reasons For Failure
- Impact Damage From Minor Collisions Or Refuelling Incidents Leading To Cracked Or Deformed Flap.
- Plastic Hinge Or Clip Fatigue Causing The Flap To Sag Or Become Loose.
- Corrosion Around Mounting Points Or Water Ingress Affecting Fitment.
- Locking Mechanism Or Actuator Wear Resulting In Failure To Lock Or Stay Closed.
- Paint Damage From Stone Chips Or Chemical Exposure Affecting Appearance.
This fuel filler flap is an efficient way to return your Citroën C4 to original appearance and function. Supplied to match the ETS Grey Cendré finish and referenced by OE numbers for easy identification during ordering and inventory management.