Description
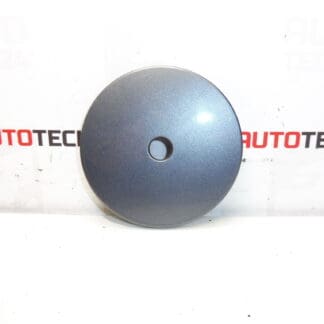
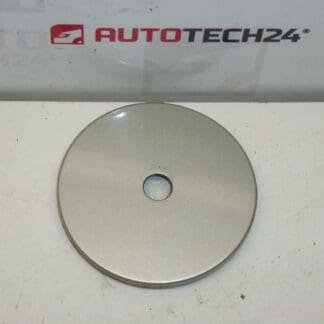
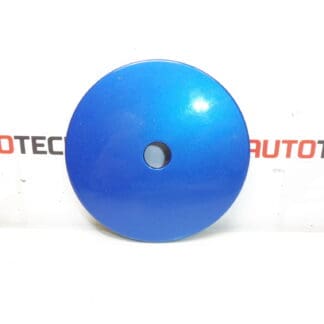
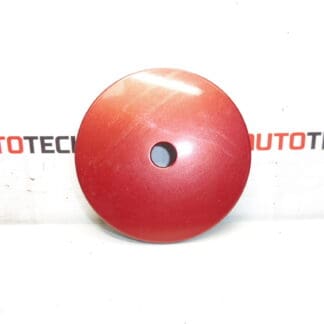
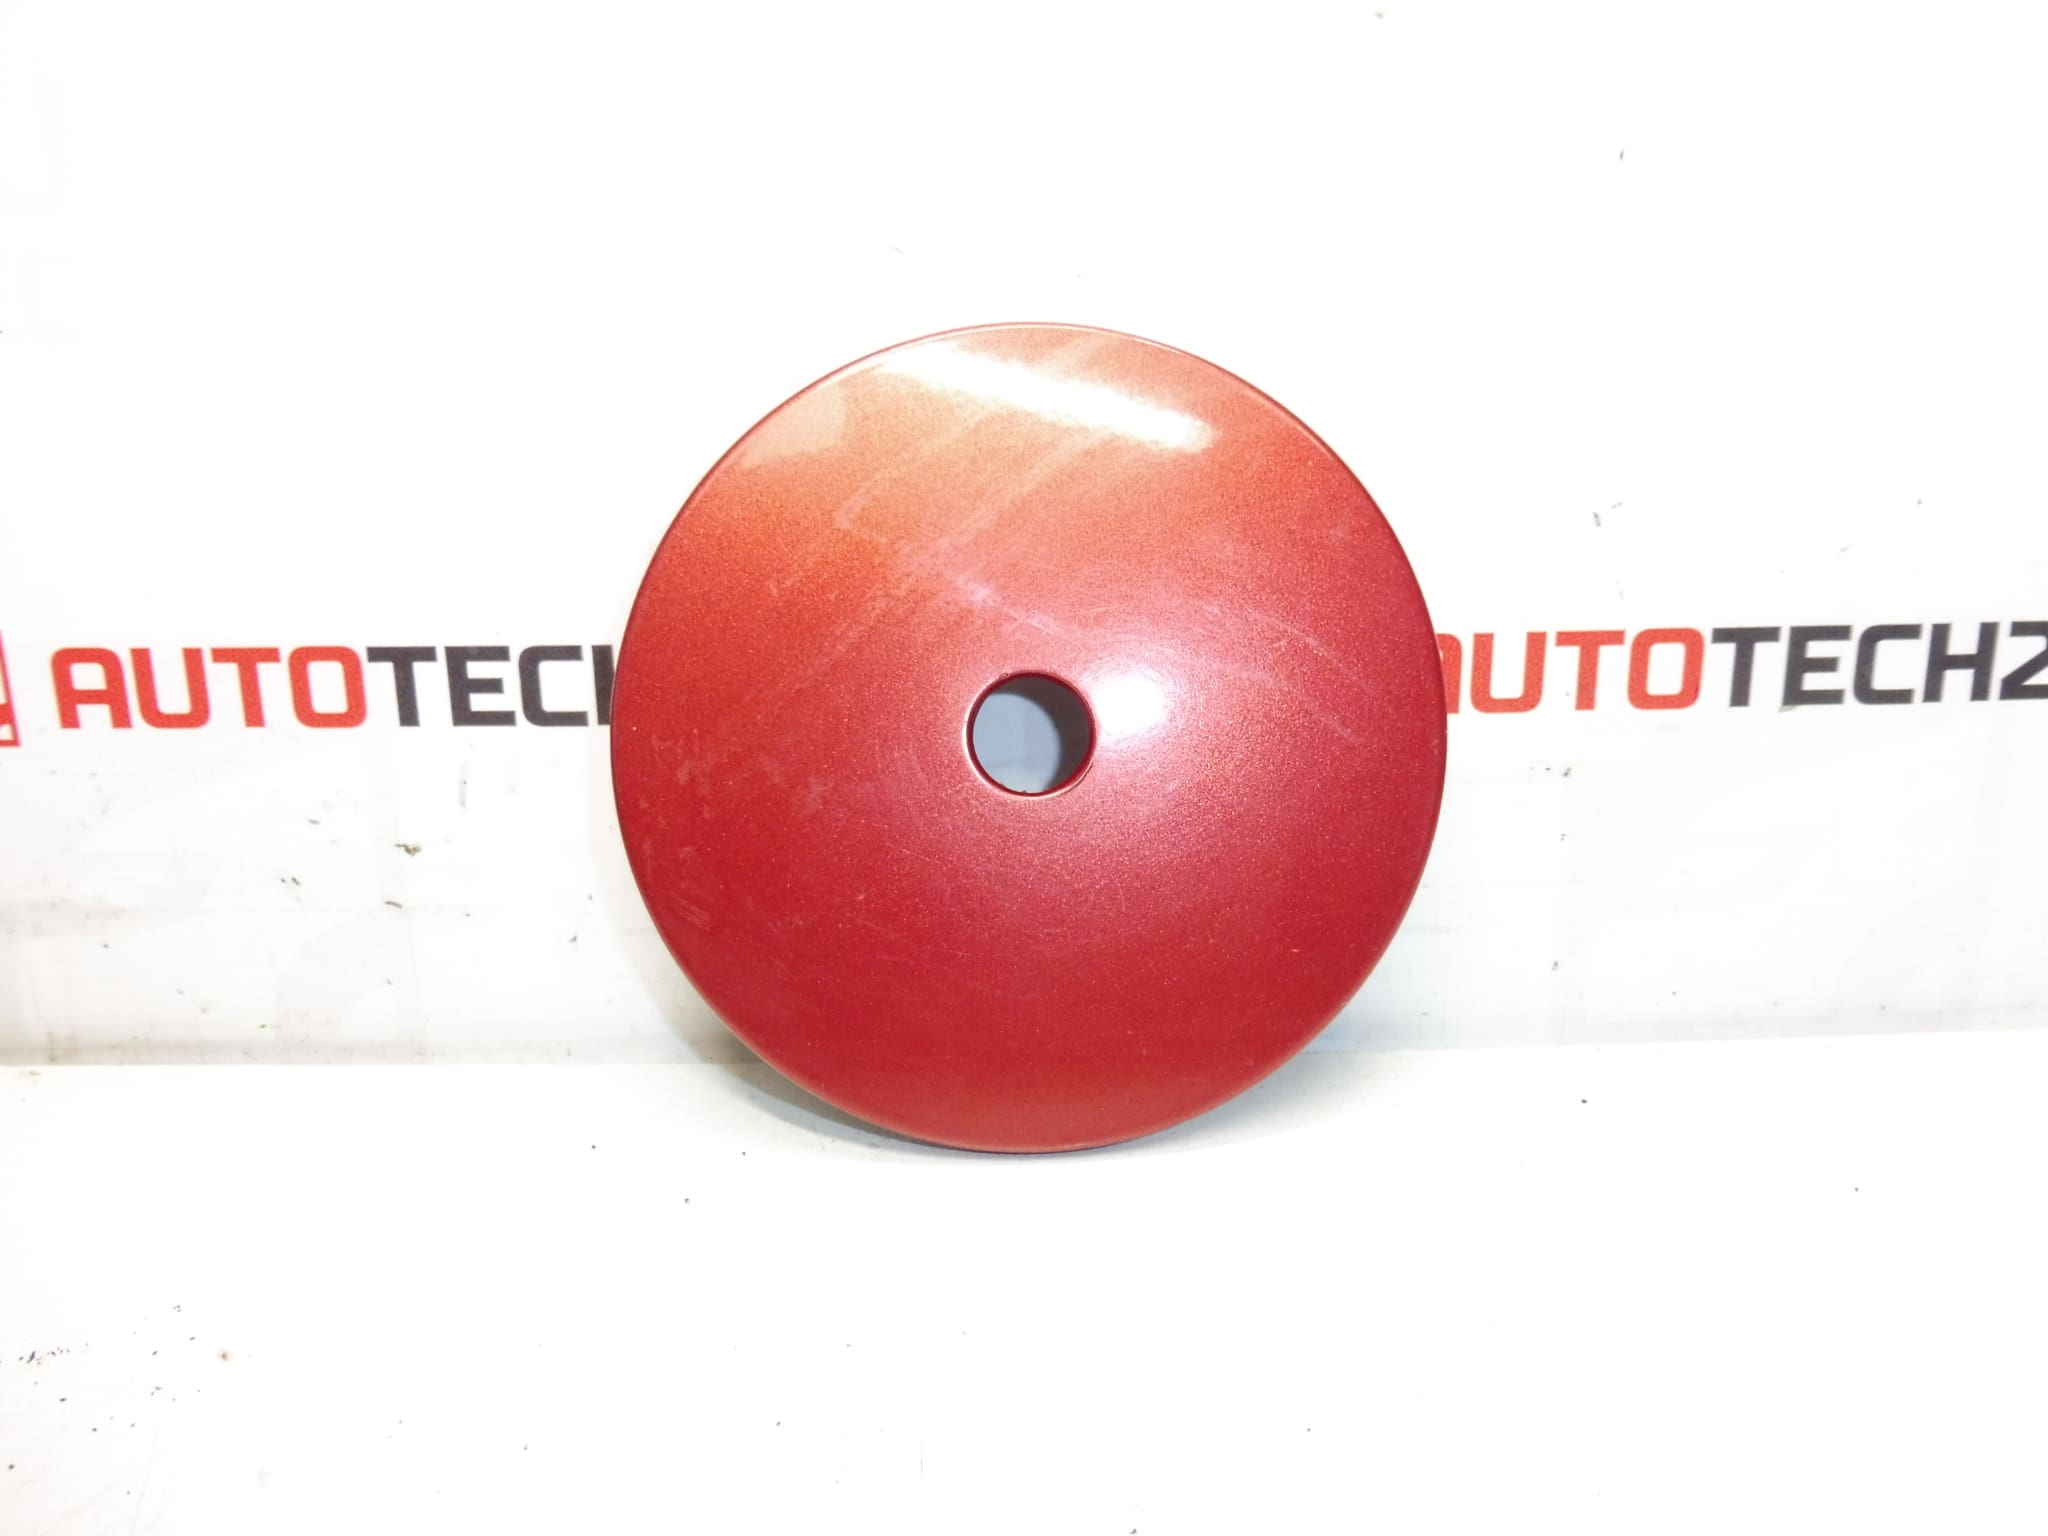
Fuel filler cap cover for PEUGEOT 206. Color EKQ – LUCIFER RED PAINT. Lockable cap available for purchase in BODYWORK – LOCKS section.
This replacement fuel filler cap cover is an ideal fit for Peugeot 206 vehicles and is painted in factory color code EKQ (Lucifer Red). Searched often by part numbers 9639426610, 9628582180 or 1508C1, this cover restores the exterior finish after minor impacts, corrosion or paint damage and keeps the fuel filler area protected. Designed for mechanics and DIY enthusiasts, the panel offers a direct-fit installation and accurate color match for a discreet repair.
Technical Information
- Manufacturer: Peugeot (Stellantis)
- Model: Peugeot 206
- Product Codes: 9639426610, 9628582180, 1508C1
- Additional Numbers: EKQ (Color Code – Lucifer Red)
Installation Recommendations
Installation is straightforward for professionals and competent DIY mechanics. Typical replacement steps:
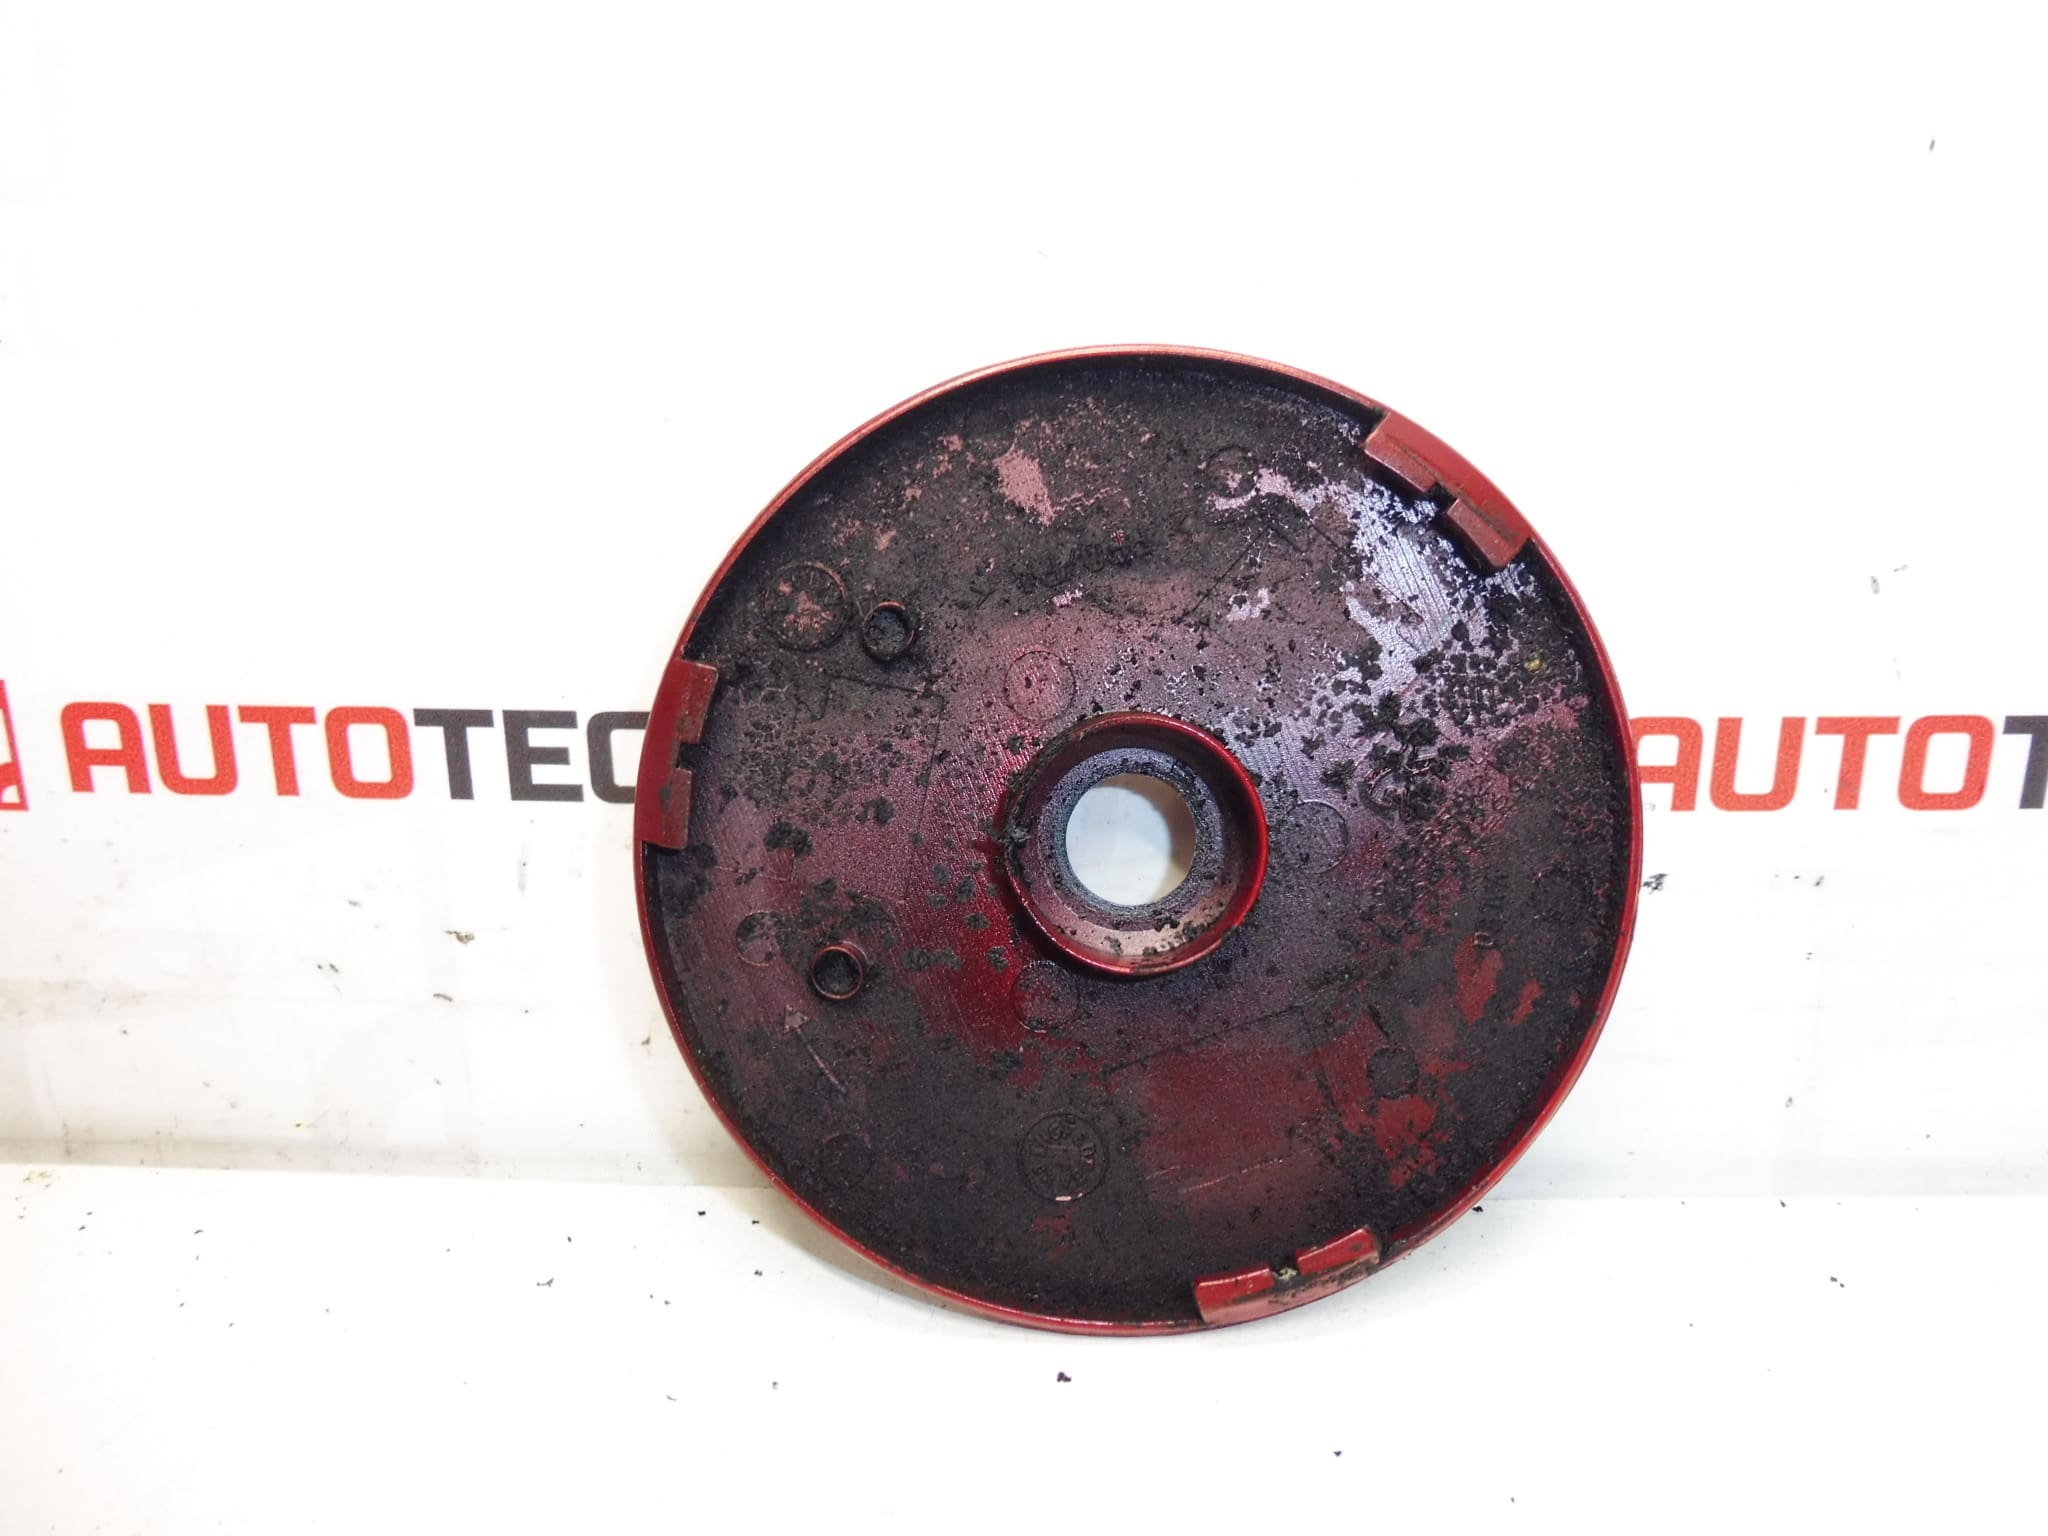
- Open the filler flap and locate the hinge screws or retaining clips visible on the inner edge.
- Remove the retaining screws or clips and carefully detach the hinge pin/spring. In some vehicles access to fasteners may require removal of the inner wheelarch liner or access panel.
- Fit the new cover, align the hinge and refit the spring/pin and screws. Check that the flap opens and closes smoothly and that the latch engages correctly.
- If the part requires painting or blending, mask surrounding panels and follow appropriate paint-preparation procedures to ensure a factory-quality finish.
Use appropriate hand tools and avoid levering on painted edges to prevent chipping. If the locking mechanism is required, order the lockable version from the Bodywork – Locks section and follow the lock fitting instructions supplied with that item.
Why This Part Fails Most Often
- Collision Damage: Minor parking impacts or fuel-flap knocks commonly crack or deform the cover.
- Corrosion: Rust at the hinge or surrounding panel can seize or weaken the mounting points, especially in older or salted-road vehicles.
- Latch/Hinge Wear: Repeated use or stressed hinges can cause misalignment, preventing proper closing.
- Paint Damage: Chips and scratches from refuelling or road debris lead to visible deterioration and may require replacement for cosmetic reasons.
Commonly searched by OEM numbers (9639426610 / 9628582180 / 1508C1) and color code (EKQ), this filler cap cover offers an efficient, cost-effective repair option to restore appearance and function to Peugeot 206 vehicles.