Description
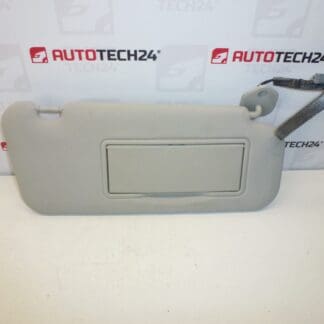
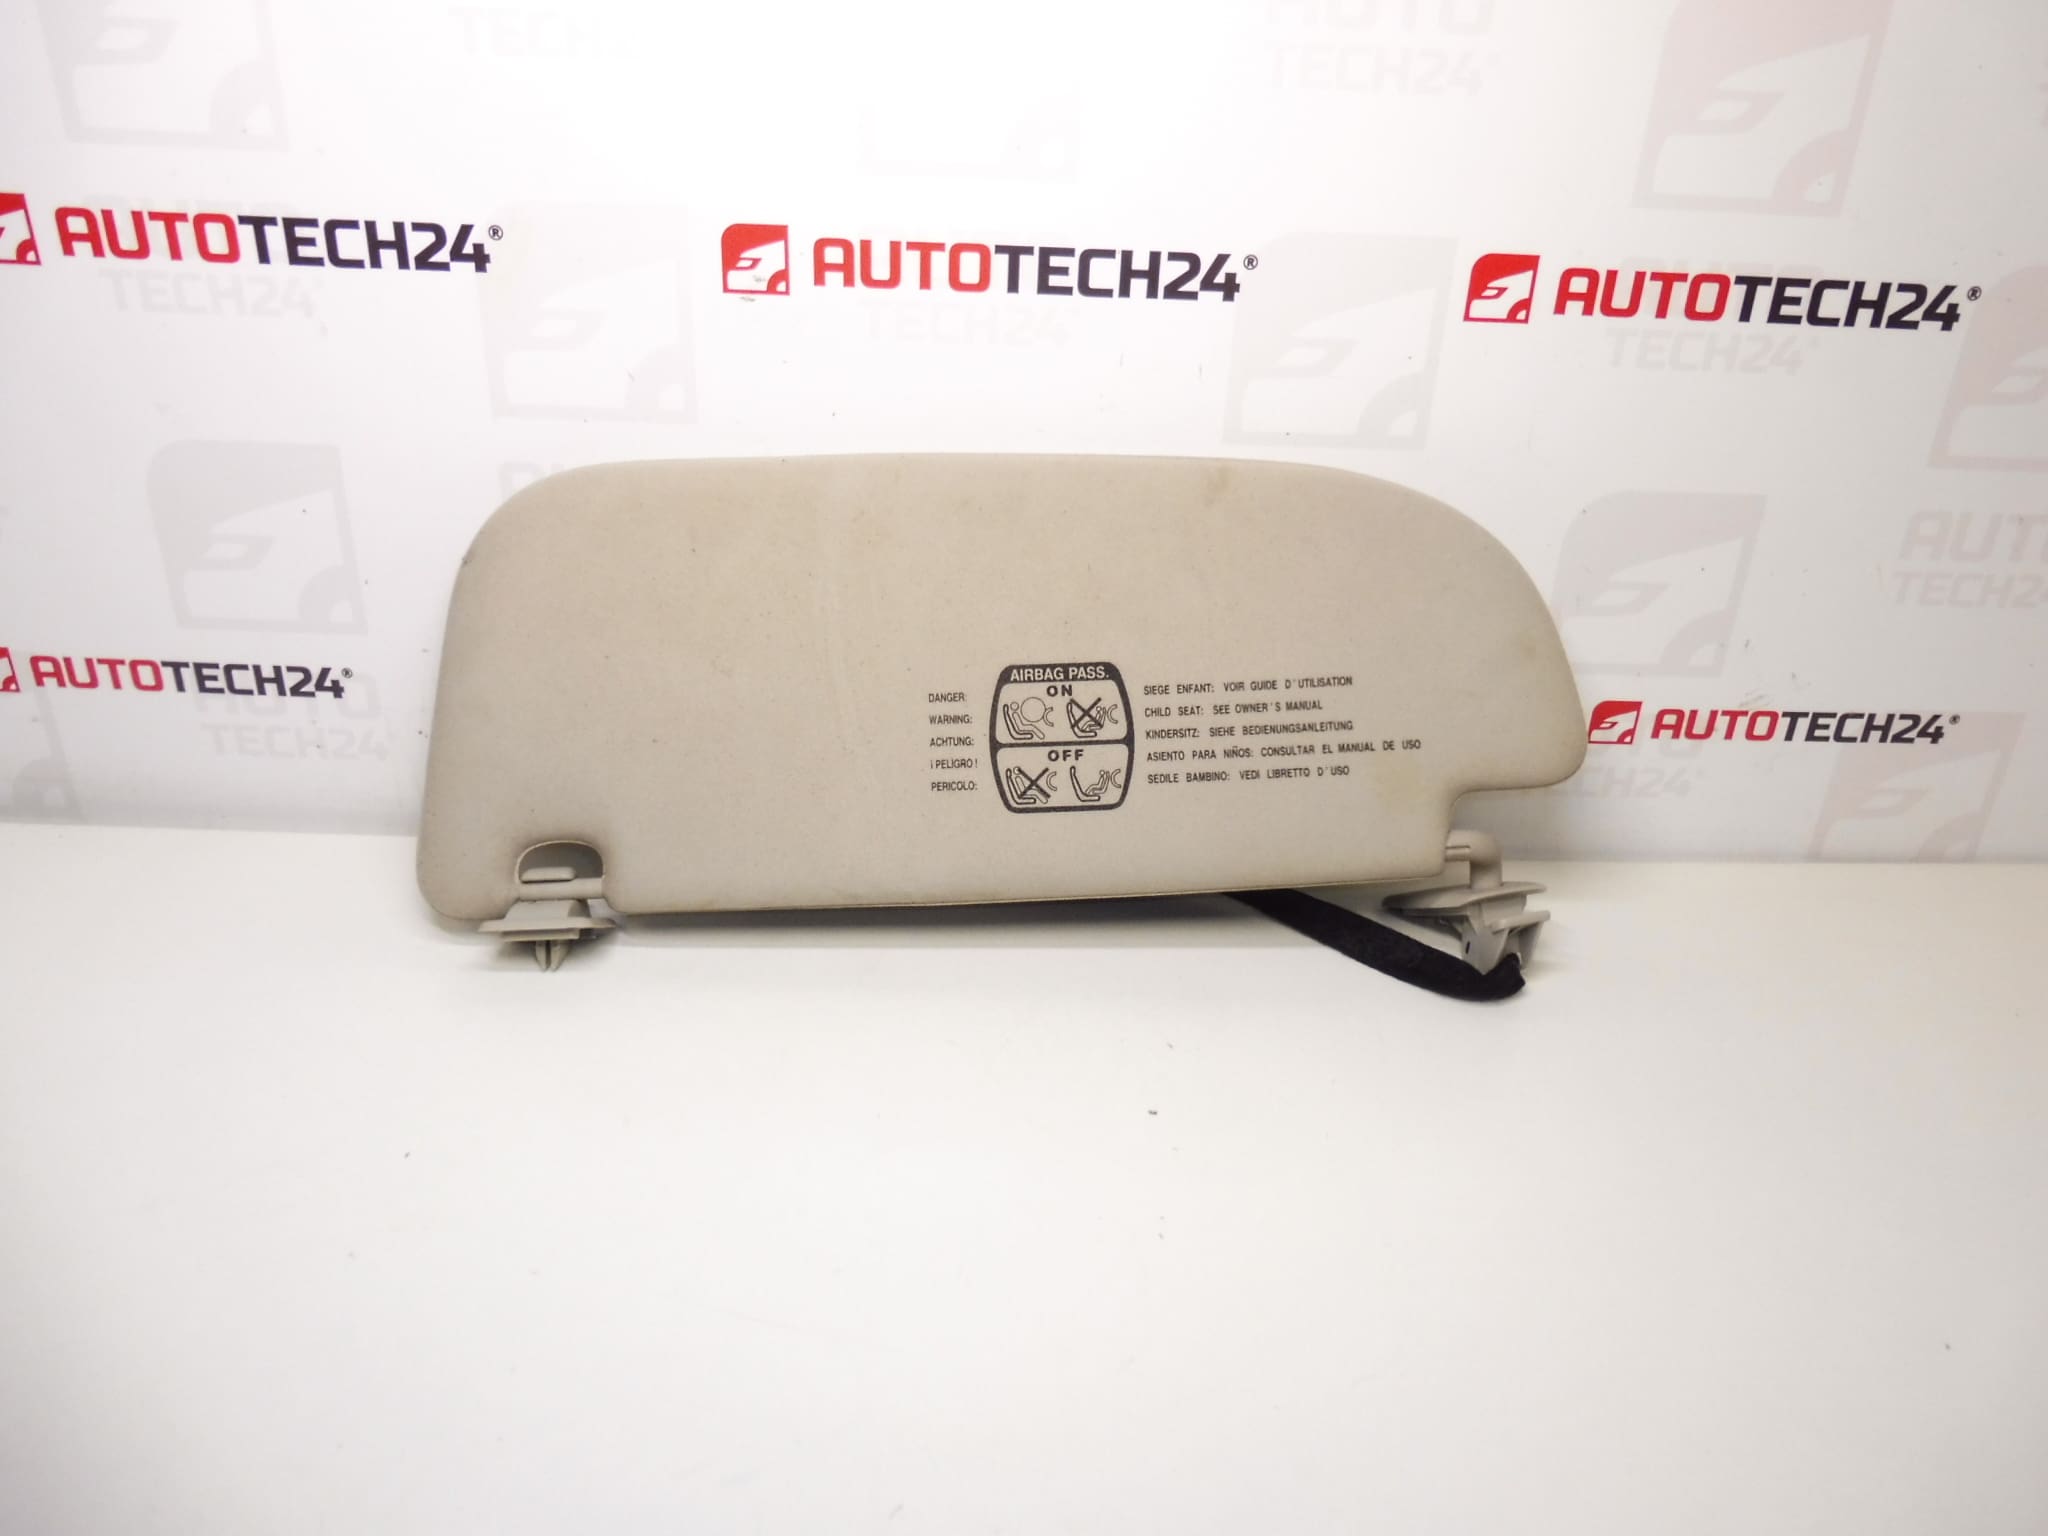
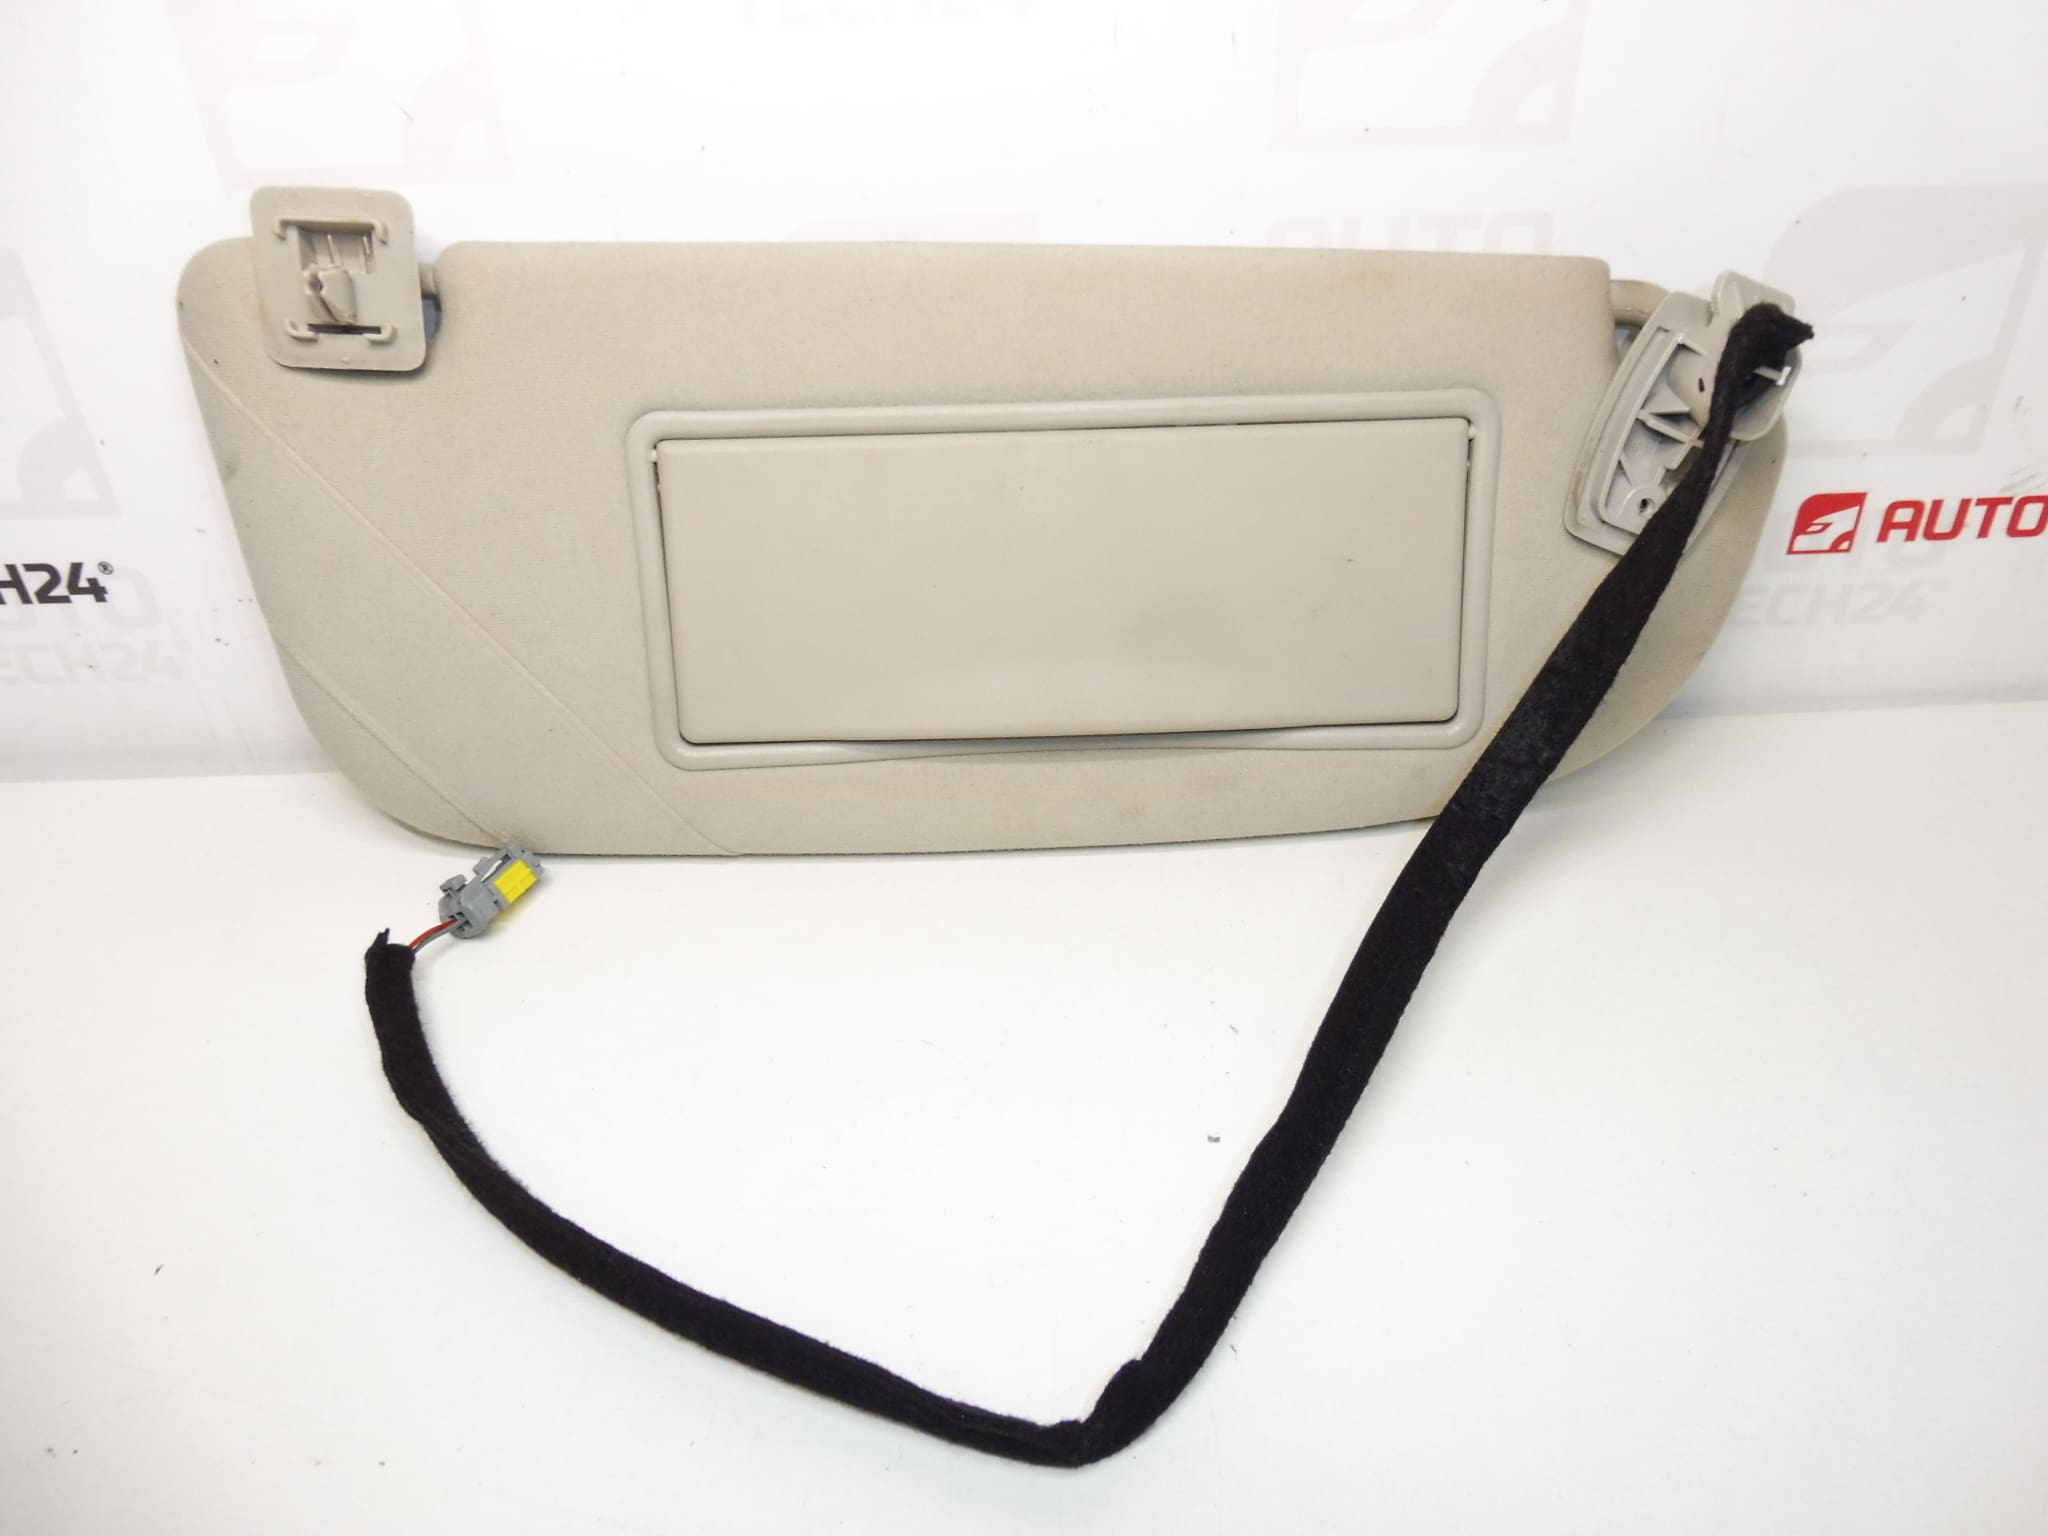
Sun visor with mirror and lighting for PEUGEOT 307CC
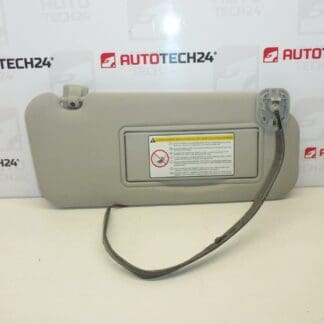
This is a used part – possible slight soiling
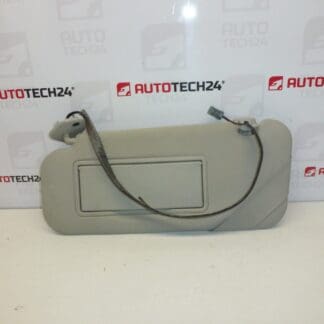
Right side – passenger
Part description
This right sun visor is designed for the Peugeot 307 CC and is equipped with a mirror and lighting, so it will improve the comfort and functionality of the interior. It is suitable as a replacement in the event of a broken joint, damage to the cover, non-functioning mirror lighting or a loose/weak hold in extreme positions.
This is a used part, therefore it is necessary to take into account that it may bear normal signs of use (e.g. light dirt).
Technical information
Design: right side (passenger), with mirror and lighting.
Product codes
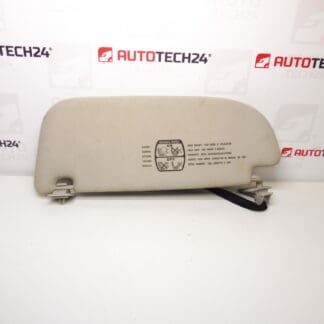
- Product codes: 8143HH
Installation recommendations
Generally/typically applies to interior sun visor replacement; the exact steps may vary depending on the specific car model.
1) Before assembly
- Compare the new and original part: right side (passenger), the shape of the aperture, the type of attachment and the design of the mirror and lighting.
- Check the connector/wiring (if included) and the condition of the contacts – they must not be bent, oxidized or torn.
- Check the mechanics of the joint: smooth operation, no excessive play and no cracks in the plastic.
2) Necessary tools and materials
- Set of screwdrivers or bits (according to the type of connecting material in the car)
- Plastic pry bar for disassembling interior parts (to minimize damage to upholstery)
- A clean cloth or a mild interior cleaner
- Gloves
3) Step-by-step assembly procedure
- Turn off the ignition and disconnect the negative terminal of the battery to be safe (especially if the shutter contains lighting).
- Set the screen in a position that allows access to the fixings at the ceiling.
- Carefully pry off the cap/mounting cover (if applicable) using a plastic pry bar.
- Loosen the shutter fixing screws.
- If the screen is illuminated, disconnect the electrical connector (do not pull the cables, but the body of the connector).
- Remove the original screen and check the contact of the attachment in the ceiling (threads, holder, play).
- Place the replacement screen in place and connect the lighting connector if necessary.
- Tighten the fastening so that the screen holds firmly and at the same time can be folded out smoothly (do not pull the plastic parts).
- Return the mounting caps/covers to their original position.
- Connect the battery and turn on the ignition.
-
4) Post-assembly checks and functional test verification
- Verify the smooth movement of the aperture (tilt, fold, possibly turn to the side) without rubbing and without excessive play.
- Check that the screen stays in position and does not fall on its own.
- Verify the operation of the mirror lighting (if included) and the correct seating of the connector.
5) The most common assembly mistakes + how to avoid them
- Swap sides (left/right) – always compare with the old part and be sure it is the right screen.
- Ceiling damage when prying – use plastic tools and work slowly.
- Pulling the screws into the plastic – tighten with sensitivity to avoid cracking the holder or tearing off the thread.
- Plastic and joint fatigue due to frequent tilting and positioning of the screen.
- Cracking of the holder after careless handling (e.g. strong pressure or pulling).
- Contamination and wear of the cover (grease, dust, bruises) due to normal use.
- Mirror mirror lighting malfunction (loose connector, damaged contacts, defect in wiring or in the lighting module itself).
- Mechanical damage after an accident or during dismantling of the interior.